Balancing the washing machine drum
 Balancing the drum of an automatic washing machine is necessary to minimize noise and vibration during operation of the equipment. An imbalance significantly reduces the service life of the “home assistant”, makes it impossible to start the device at night and causes significant inconvenience even during the daytime.
To avoid such a problem, it is important to install the washing machine correctly and use it, following all the manufacturer’s recommendations. In the event of a breakdown, you can balance the washing machine drum yourself. We'll tell you how to do this and why this kind of malfunction can occur.
Why does bad balance occur?
There can be many reasons why the machine is unbalanced. They are often trivial and can be eliminated in just 5-10 minutes. Sometimes the malfunction is more serious, and dealing with it on your own is not so easy. Let's figure out why an automatic machine may malfunction.
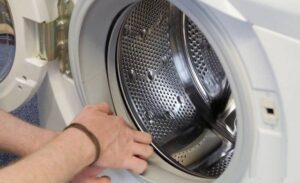
- Violation by the user of the rules for operating the equipment. This is either exceeding the permissible load weight, or, on the contrary, washing too few items. Also, an imbalance can occur if clothes are thrown into the washing machine in a lump, without distributing them over the surface of the drum.
- Installation of the device is not level. If you place the “home assistant” on an uneven floor and do not adjust the legs, a “skew” will form. Further, this “curvature” can lead to imbalance and other problems.
- Failure of shock absorbers. If one of the springs becomes deformed, the tank will skew, which will lead to an imbalance.
- Wear of the bearing unit.Often imbalance is caused by broken bearings. It is necessary to replace components as soon as possible.
- Displacement or destruction of counterweight blocks.
- Tachogenerator failure.
- Transport bolts forgotten inside the machine. If you leave the screws in the washer and start the wash, you can break many components and parts, including unbalancing the drum.
Any of the above factors can lead to failure. You can guess about the imbalance by the characteristic “symptoms” - knocking, grinding and increased vibration when the machine is operating. Let's figure out how to fix the problem in one case or another.
Incorrect installation and operation of the machine
After purchasing and connecting a new automatic machine, some users are in such a hurry that they forget to remove the transport bolts. The purpose of the screws is to securely fix the tank in the body so that it does not dangle during transportation. By starting the washing machine without removing the fasteners, you can seriously harm your “home assistant”. The machine will try to start washing, but will not be able to spin the drum normally and will make noise and hum. The solution to the problem is simple - stop the cycle and unscrew the 4 transport bolts. The main thing is to notice such a problem in time.
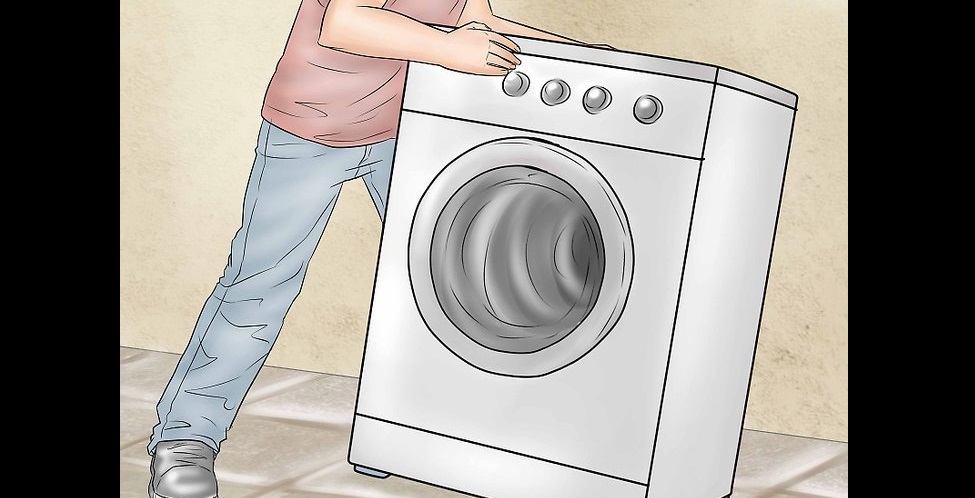
The next reason that the machine became unbalanced after a while could be that the equipment was installed out of level. The floor under the machine must be level and hard. Ideally, the base should be tile or concrete.
Many users often neglect to level the equipment, and this is a big mistake. If the drum is skewed, adjust the washer. Take a building level, place the tool on the machine and tighten the legs of the machine.If after this the “home assistant” continues to make noise and “shake,” then the breakdown must be looked for inside.
Often the imbalance is caused by constant overload of the washing machine.
Many housewives try to “fill” the drum to the maximum, forgetting about the maximum permissible load weight. If there is an overload, the “home assistant” begins to reduce speed during the spin cycle, which over time leads to imbalance and breakdown of some internal components.
The same thing happens when the machine is spinning almost empty - if there is only a T-shirt or sweater in the drum. This extreme is also harmful to the washing machine. To prevent imbalance, the manufacturer's minimum and maximum load weights must be strictly observed.
If you are sure that the problem is definitely not due to the reasons listed above, you need to diagnose the automatic machine. You will have to disassemble the device body. We'll tell you where to start checking.
The shock-absorbing element has failed
Broken shock absorbers can cause a lot of problems. Dampers perform an important function - they hold the tank, preventing it from wobbling in different directions and hitting the body and internal parts. To check the elements you need to:
- turn off the power to the machine;
- remove the top cover of the case by unscrewing two bolts;
- press firmly on the tank.
If the shock absorbers are working properly, the tank will rise sharply into place and lock in its normal position. If the tank wobbles in different directions, the dampers will have to be replaced.
Depending on the model, the machine can be equipped with standard shock absorbers or more modern dampers. The progress of repair work will depend on this. The easiest way to change the suspension springs located on top.To do this you need:
- turn off the power to the washing machine;
- remove the housing cover;
- lift the drum and fix it in the highest position;
- Use pliers to pull out the old ones and put new springs in place.
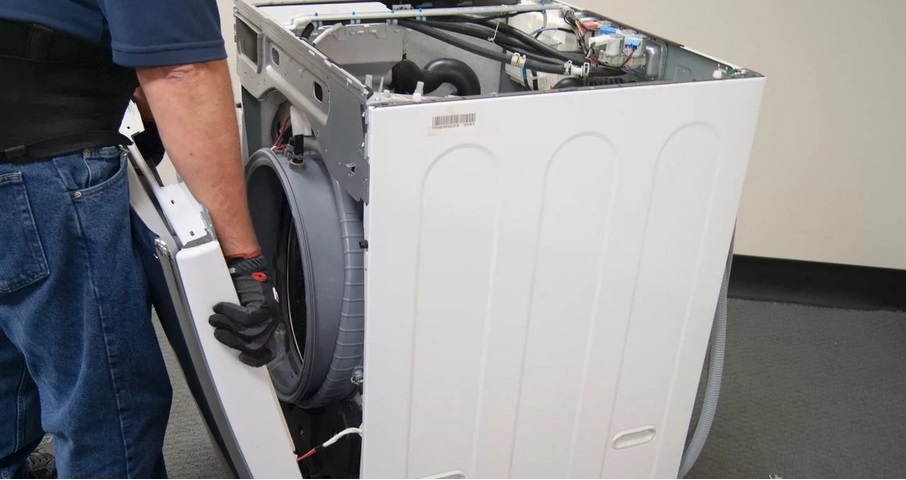
To remove shock absorbers or dampers directly, you will have to either lay the machine on its side or remove the front panel of the case. Everything will depend on the model. Usually the algorithm of actions is as follows:
- remove the top panel;
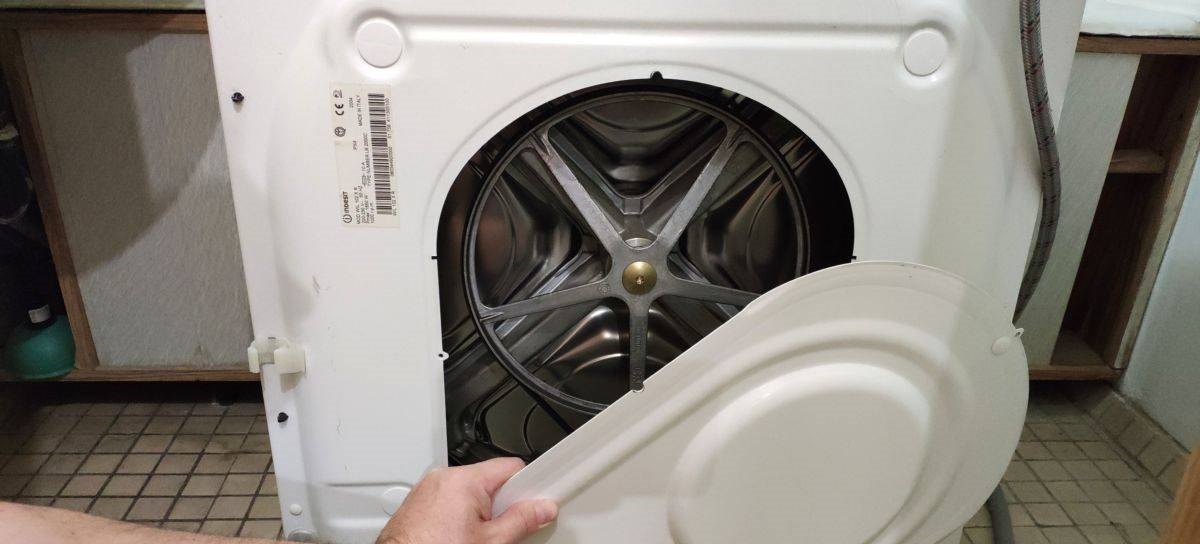
- remove the back wall of the case;
- remove the powder receptacle;
- remove the decorative false panel located below;
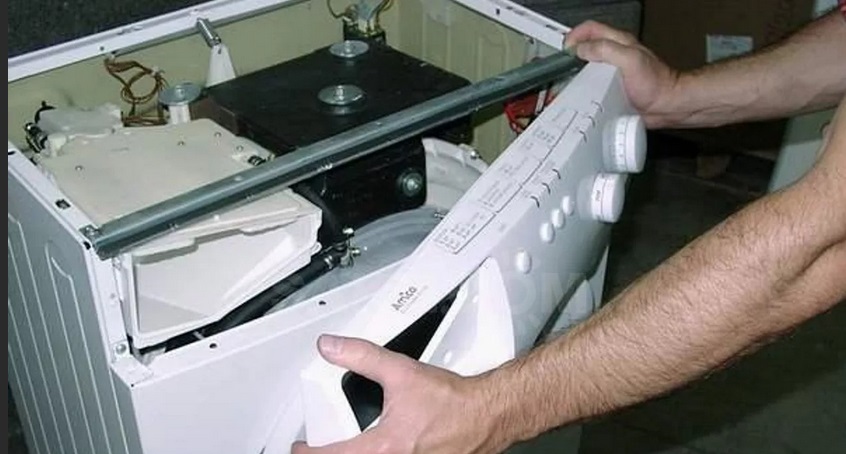
- Unscrew the bolts around the perimeter of the “tidy”;
- disconnect the wiring and move the control panel to the side;
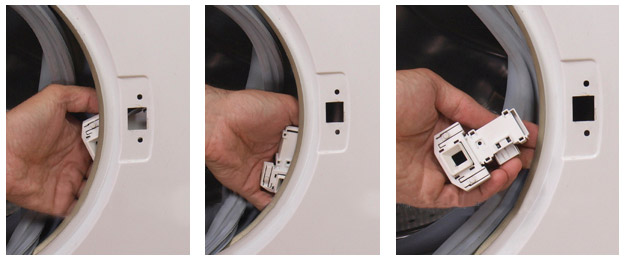
- remove the clamp securing the door cuff and tuck the seal inside;
- unscrew the bolts holding the UBL and pull out the lock;
- remove the screws around the perimeter of the front panel and remove the wall;
- remove damaged shock-absorbing elements.
Shock absorbers and dampers are usually secured to the body with bolts or special latches. The screw must be unscrewed and the plastic clamp must be pressed in to unhook the fastening pin. Replacement of parts is carried out in the same way.
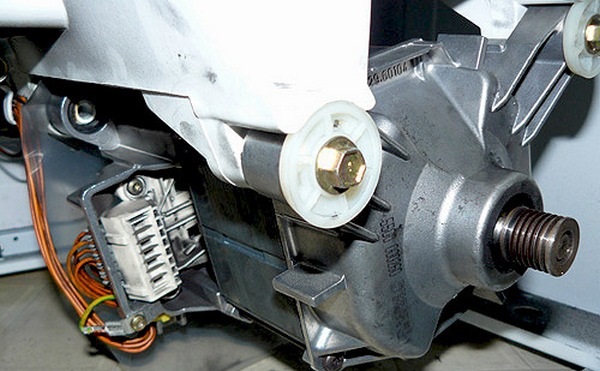
Engine speed sensor problem
A tachogenerator is needed to measure the rotation speed of the drum. If the sensor breaks down, the intelligence of the machine is unable to control the engine speed. Then the “centrifuge” may spin too quickly, which will lead to an imbalance. To check the Hall sensor, you need to measure the resistance between its wires. Normally the indicator is approximately 60 ohms. If you switch the multimeter to voltage measurement mode and spin the shaft manually, the values on the tester screen should increase.
If the tachogenerator fails, it will need to be replaced.
The reason may not be a breakdown of the sensor, but a weakening of its fixation. It may be enough to simply tighten the fastener to fix the problem.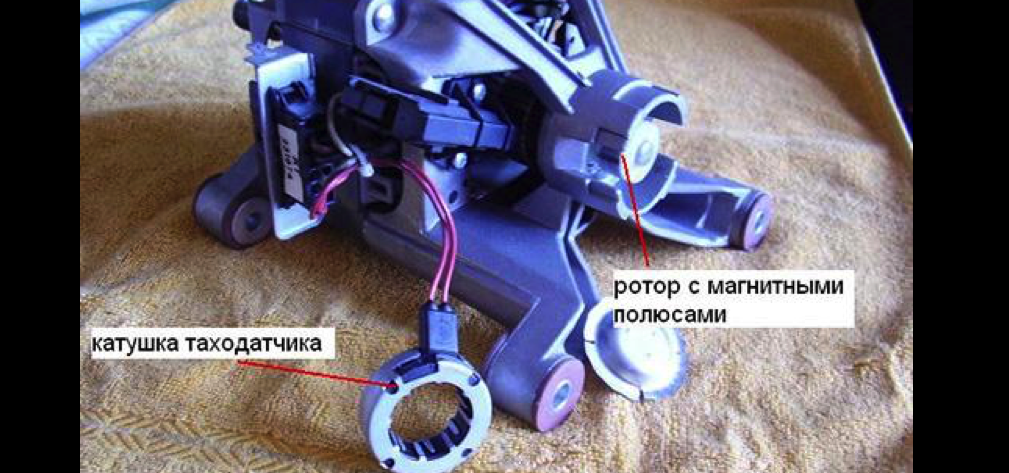
Bearing failure
Over time, the bearing assembly of front-loading and top-loading washing machines wears out. When the bearings “break”, the machine begins to hum and vibrate strongly during operation, and significant play in the drum is observed. You can replace parts yourself.
During the work you will need:
- screwdrivers;
- small hammer;
- punch;
- lubricant for oil seal and bearings;
- replacement parts;
- a set of keys;
- aerosol liquid WD-40.
To begin, remove the top, back and front walls of the case. The first stage of work will be the same as when replacing shock absorbers. Next you will have to:
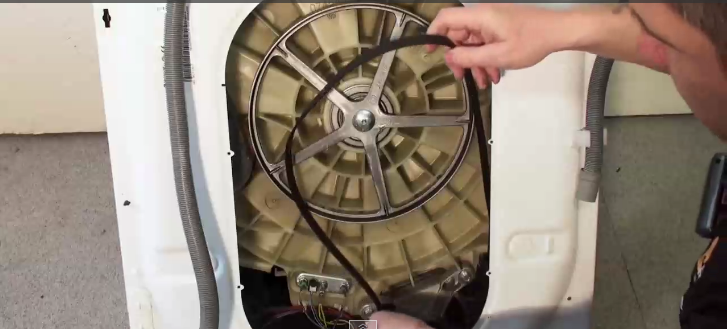
- remove counterweights;

- remove the drive belt;
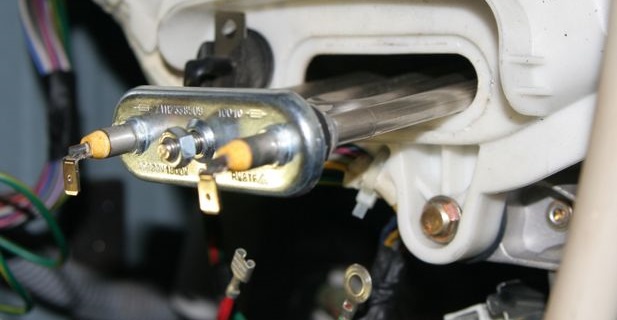
- disconnect the wiring from the heating element and remove the heater;
- get the engine;
- pull out the hatch cuff;
- disconnect all sensors, pipes and wiring from the tank;
- pull the tank out;
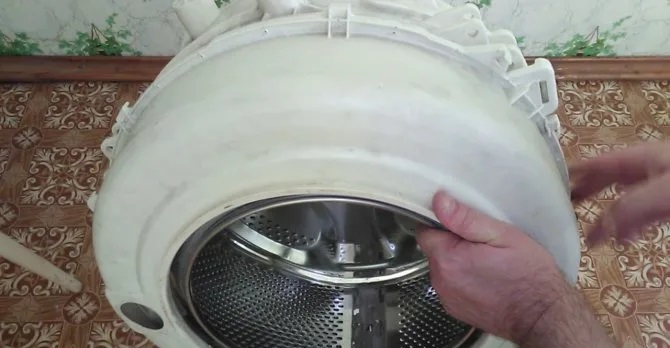
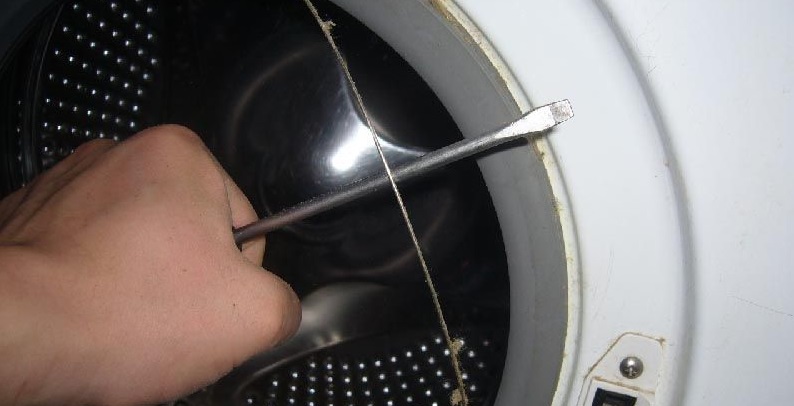
- disconnect the pulley and carefully knock out the shaft;
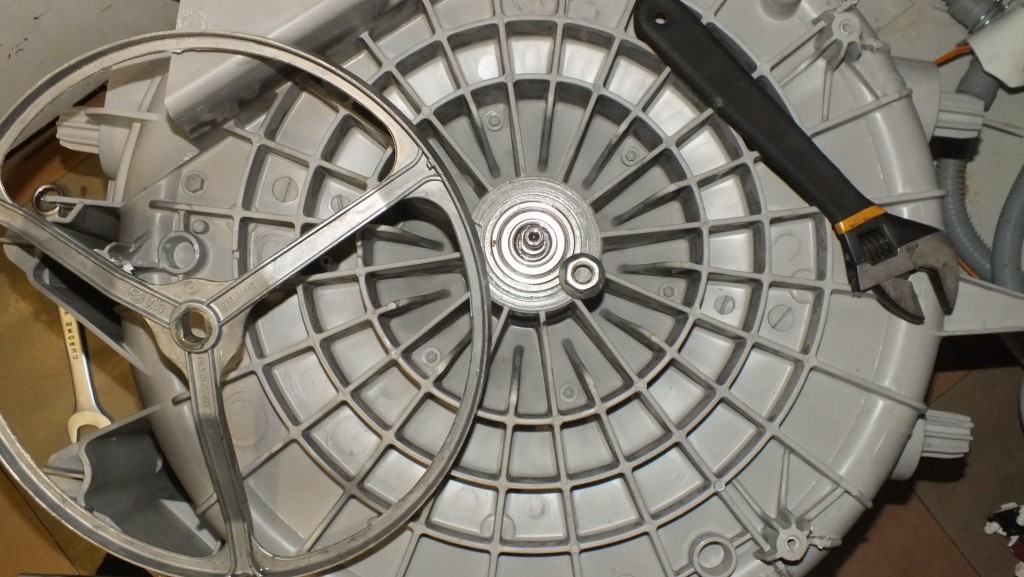
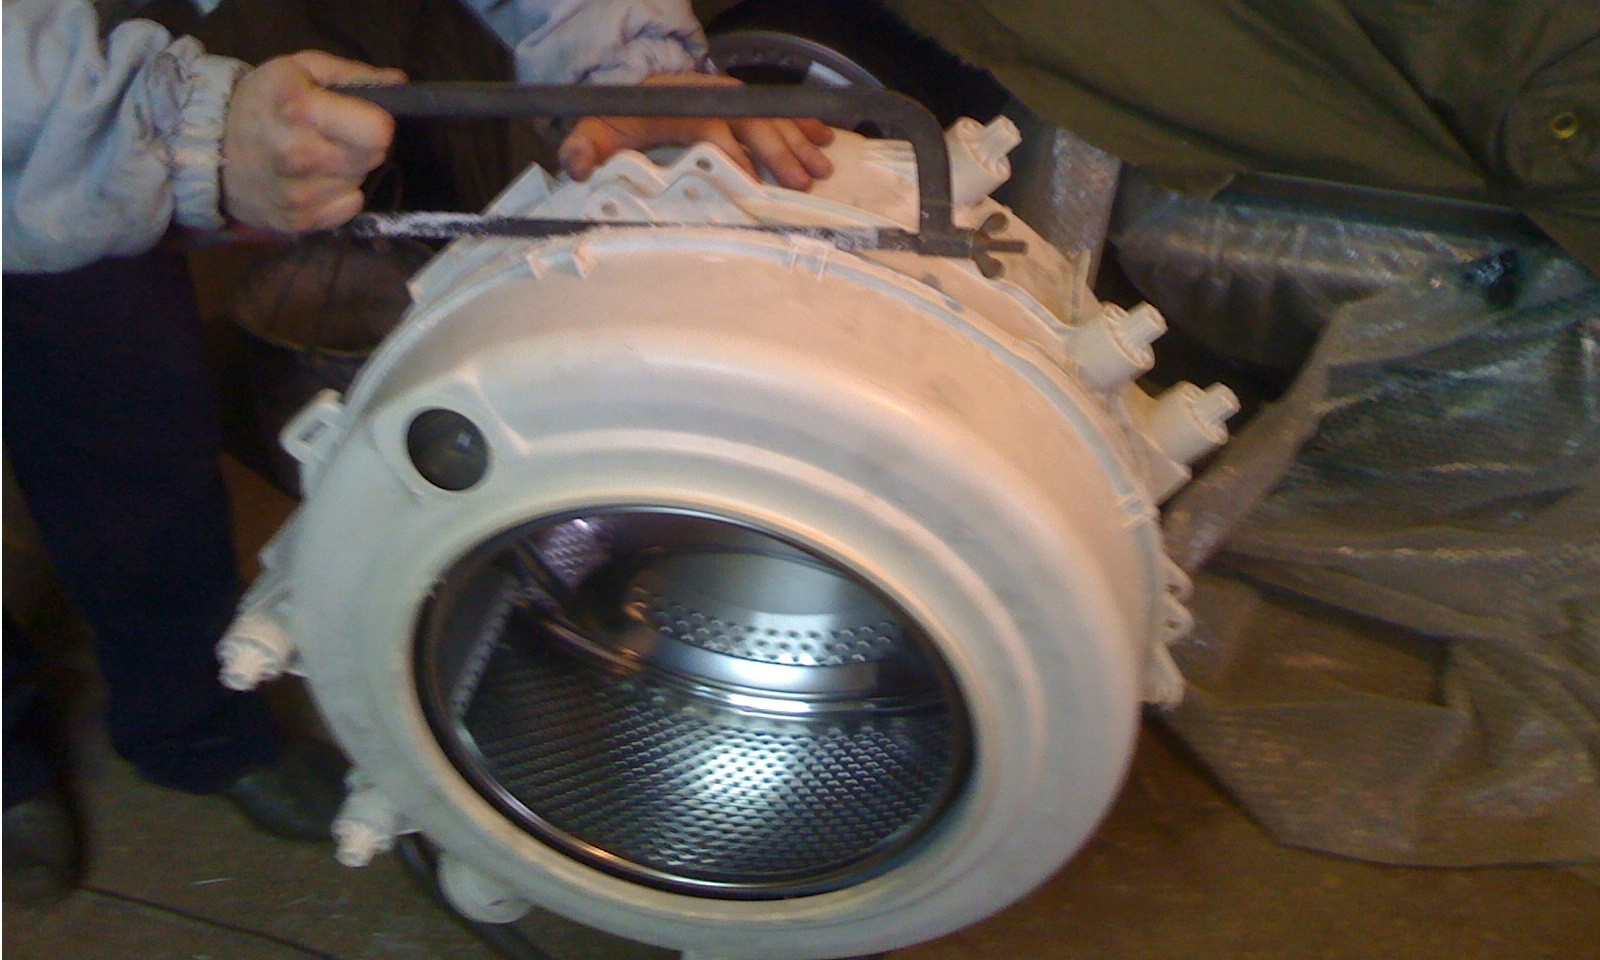
- halve the tank;
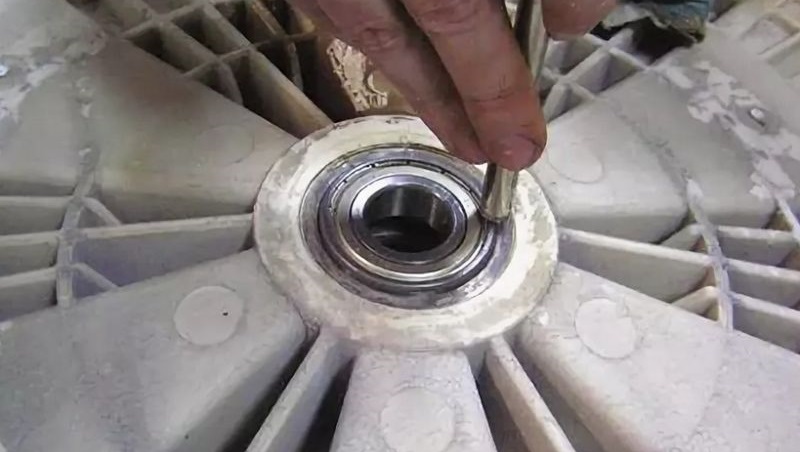
- using a drift and a hammer, knock out the broken bearings;
- clean the area from dirt, rust and old grease;

- Press in new bearings and oil seal.
In top-loading washing machines, the operating principle will be the same - disconnect all elements that interfere with removing the tank. How these or other parts are located can be found in the instructions for the equipment.
Interesting:


Reader comments
- Share your opinion - leave a comment
Categories
Washing machine repair


For buyers


For users


Dishwasher


Add a comment