Error E05 in Hansa washing machine
 Hans washing machines are not deprived of self-diagnosis systems, so in most cases, if a breakdown occurs, the owner will know about it by the fault code on the display. But it’s not enough to see the error code; it still needs to be deciphered correctly in order to diagnose the problem and then fix it. For example, error E05 in the Hans washing machine can be associated with either very minor problems or serious malfunctions within the device. What to do in this case?
Where did this error come from?
As a rule, all problems associated with this combination are related to the tank being full of water. The alarm is triggered when the water does not reach the required level within 10 minutes. But this is only a consequence, and the main reasons for this behavior of the washer are as follows:
- lack of water in the pipes, or too low pressure;
- formation of congestion in water supply hoses;
- supply valve failure;
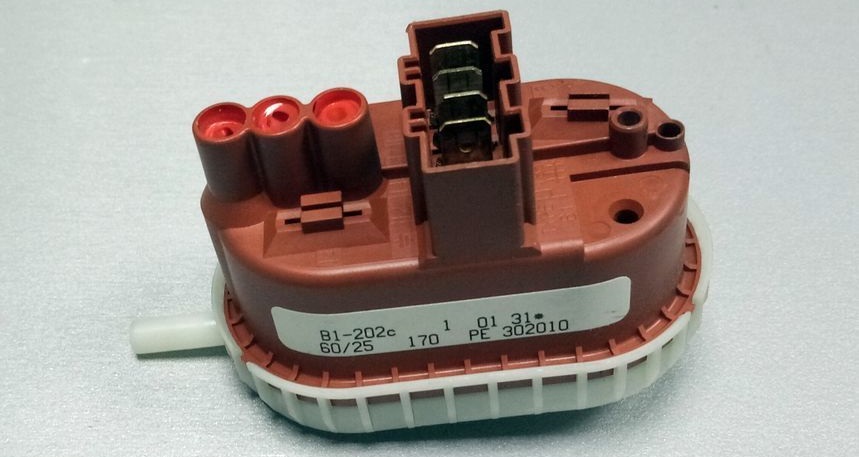
- the pressure switch responsible for monitoring the fill level of the tank has failed;
- the electronic controller or its communication contacts with other important elements of the washing machine’s water supply system are faulty;
- the valve is stuck in the off position (relevant for models with the Aqua Spray system).
First of all, of course, check the presence of water in the water pipes. If there is water and the pressure is normal, then you need to see if the filter mesh (located at the inlet to the inlet valve) is clogged with debris. To do this, turn off the water supply, then unscrew the filling hose and carefully remove the strainer. If there is a blockage, remove all debris and return everything to its place.After this, in half the cases the error code disappears when the machine is restarted.
Inlet valve
If the above does not work, return to the intake valve itself. To do this, remove the top cover of the washer and look inside. You can easily understand that this is the one in front of you by the hoses attached to it leading to the detergent compartment. To begin with, a visual inspection is enough; perhaps by its appearance you will immediately understand that the valve is broken. If everything is in order, let's proceed to a more detailed analysis:
- take pliers and loosen the metal clamps at the base of the valve hoses;
- after removing the clamps, disconnect the wiring;
- take a screwdriver and remove the screws that secure the valve to the MCA.
In addition to the filter mesh, clogs can also form in the valve hoses, so carefully inspect them for blockages. Also, the valve may not be sealed. This is easy to check. Attach the intake hose over a sink or empty container and open the water. If a leak is detected, it means replacement is required. A working device does not leak water.
There is another verification option that requires extreme caution. If there is a risk that you won’t be able to handle it, it’s better not to try it, otherwise you will have troubles worse than error E05. Apply 220 volts to the device coils. This will ensure that the section opens and fills the container you have chosen with water.. The problem is that water and electricity coming into contact can cause short circuits and fires, which is made even worse by your proximity to dangerous objects. In general, the method is effective, but it is quite difficult to implement it yourself without outside help.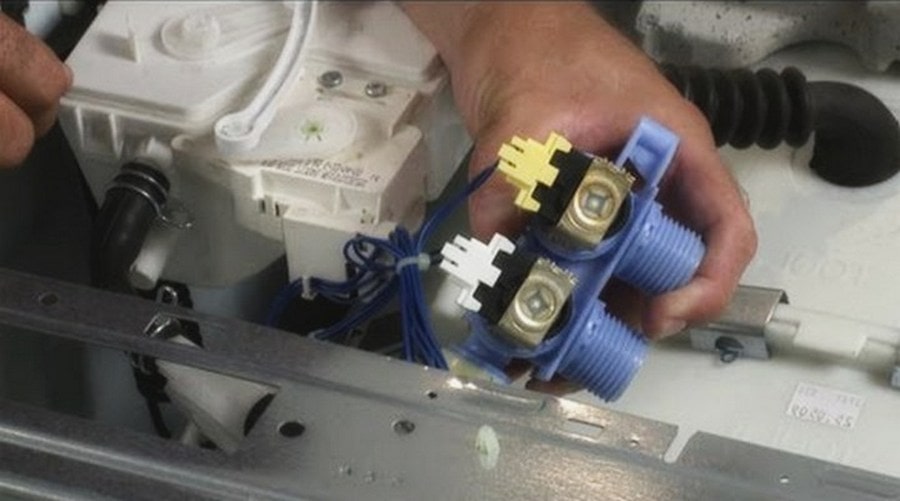
It’s better not to suffer and use the good old multimeter.Apply the tester antennae one at a time to the valve windings in resistance measurement mode. Only numbers 3 or 4 on the display indicate the serviceability of the part. In other cases, repairs are required.
Important! If any part requires replacement, take it with you to the store or write down the model name exactly to the letter. Place the new thing in its place and assemble the unit.
As you remember, first you need to install the valve, attach wiring and hoses to it, and bolt it to the SM body. By the way, it would be a good idea to photograph all the steps before starting dismantling, so as not to mess anything up later.
Now all that remains is to put the top panel back in place and connect the water intake hose. Now you can test the machine and start the washing process.
The machine does not start after repair
Some immediately panic when they realize that after all the attempts to correct the situation, the ill-fated code still appears on the display. But don’t worry, the presence of an error does not mean that you did something wrong. It just needs to be reset.
Turn the selector knob to any mode and hold down the start button. As soon as a square with zeros appears, release the key and wait until the display provides information on the selected program. Then turn the selector to off mode, wait until everything goes out. The unit can now be switched on again.
Interesting:


Reader comments
- Share your opinion - leave a comment
Categories
Washing machine repair


For buyers


For users


Dishwasher


Add a comment