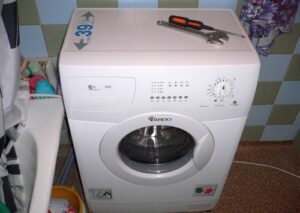
Connecting an Ardo washing machine with your own hands is not as difficult as it might seem at first glance. Even a “newbie” can handle the job; the main thing is to follow all the recommendations and prepare a minimum set of tools. Let's figure out how to properly install the machine and connect it to house utilities.
Organization of the connection point
First of all, you need to decide on the place where the washing machine will be installed. It is advisable to do this before purchasing the equipment in order to select a machine of the appropriate dimensions. For example, a full-size front-mounted unit will fit into a spacious bathroom, a compact vertical unit will fit into a narrow bathroom, and only a built-in model will fit into a kitchen set.
Usually the washing machine is placed in the bathroom. Depending on the preferences of the owners, the machine “settles” near the toilet, washbasin, or right under the sink. Everything is very individual, and depends on the available square meters and the design of the room. The disadvantage of placement here is considered to be high humidity. An undoubted advantage is the location in close proximity to communications.
The next most popular place is the kitchen area. Here, washing machines are either built into a furniture set, or simply placed next to the cabinet. Ventilation is better organized in the kitchen, and there is a lower percentage of humidity in the room. There are also disadvantages - clean clothes can become saturated with “food” odors. Also, while having lunch, it’s not entirely pleasant to watch how laundry is sorted or dirty things are put into the drum.
And the third placement option is a hallway or pantry.A significant disadvantage of installing a washing machine here is the sufficient distance from communications. Sometimes washing machines are installed both in the hall and on the veranda. In general, the name of the room is not so important. It is important that the room has:
smooth and durable floor. The surface under the washer must be level, hard and stable. The ideal option is concrete or tile. The plank floor should be strengthened in advance, and it is better to refuse installation on a laminate - the material may “bubble” if it leaks;
communications. An outlet, a sewer outlet and a water supply system - all this should be located in the immediate vicinity of the installation site of the unit - no more than a meter away.
Before connecting the washing machine, it is important to make sure that the prepared place for its placement complies with all norms and regulations.
It is not always necessary to connect an automatic washing machine to centralized communications. It may be sufficient, for example, in a house without amenities, to organize the drainage of waste liquid into a deep container or onto the street, and the collection of water from a tank or canister. The main task of the user is to provide the equipment with all the conditions for functioning.
Reactivation of the machine
It will not be possible to immediately connect the machine to the water supply and sewer system after delivery from the store. First, you need to let the technique “settle” at room temperature for a couple of hours. Be sure to read the instructions for the washing machine - the manual describes all the nuances, conditions and operating requirements. Unpack the washing machine carefully so as not to damage the body. Be sure to remove film, screed, foam and other protective elements from the walls of the machine.
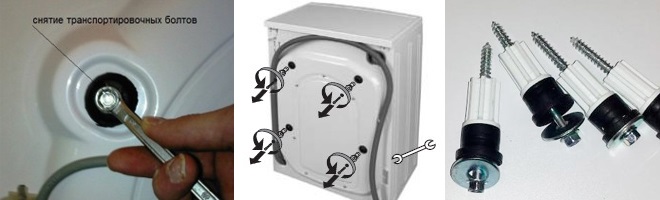
Be sure to remove the transport bolts from the machine - it is prohibited to start the washing machine with the fasteners not removed.
If you forget to remove the transport bolts and start the wash, you can ruin your new machine. Such a breakdown will be considered non-warranty - you will have to pay for repairs out of your own pocket.
To remove the clamps, you will need a wrench or pliers. The transport bolts are located on the rear of the housing. It is necessary to unscrew the screws and close the resulting holes with plugs. There is no need to purchase “lids” separately; they are included in the package of Ardo machines. Now you can connect the machine to communications. It is necessary to move the machine to a prepared place, but so that you can freely work with the rear panel. First, the washing machine is connected to the sewer, then to the water supply, then the body is adjusted for level. It is important not to forget about organizing a separate outlet for the unit.
Sewage drainage
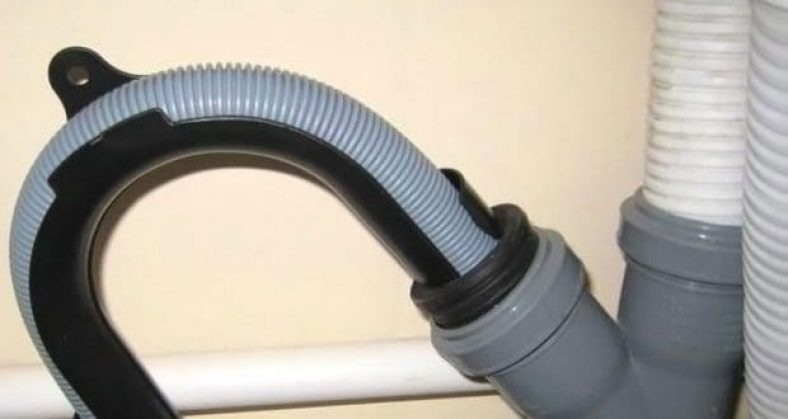
The easiest way to organize the removal of waste water from the system is to direct the drainage hose to the bathtub, sink or toilet. The soapy liquid will flow into the plumbing and then into the sewer. However, this method is unaesthetic and unhygienic. A dirty coating will constantly form on the walls of snow-white ceramics, which will have to be cleaned off. The ideal option is to connect the SMA via a siphon.
The instructions have a separate chapter describing the process of connecting the washing machine to the sewer.
Therefore, it is important to read the user manual. There are requirements for the bending height of the drainage hose. Washing machine manufacturer Ardo recommends organizing the outlet point into the sewer at a distance of 50-60 cm from the floor. After reading all the connection recommendations, you should install a siphon under the sink or bathtub, put a drain hose on the branch (fitting) and secure the connection with a clamp. Direct connection of the hose to the sewer pipe is allowed. In this case, you need to buy a special rubber gasket, place it at the joint and connect the corrugation. It is important to secure all elements well to avoid leaks.
Water supply for the machine
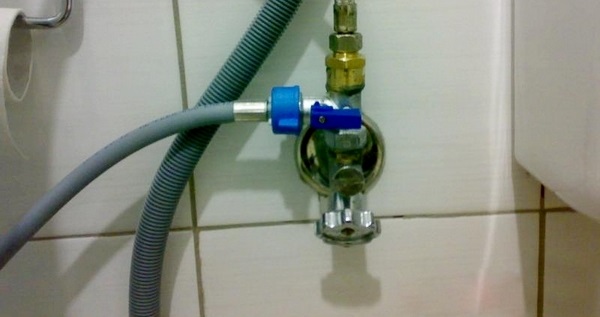
The next step is connecting the machine to cold water. If there was another washing machine in the room previously, then the point in the pipe has already been organized. If not, you will have to make an insert. The algorithm of actions will be as follows:
take the inlet hose that comes with the Ardo machine;
connect the curved end to a special pipe located on the rear panel of the case;
cut a hole in the water pipe. Using a special tee, draw a point to connect the machine;
connect the inlet hose to the water supply;
Tighten the mounting clamps well. The plastic locking nuts should be lightly tightened without using tools.
When installing water sockets or special tees, it is important to use silicone waterproof sealants.
After finishing the work, be sure to inspect the connection location. Even one drop leaking at the joint indicates a leak in the joint. The design will need modification.
Leveling the machine
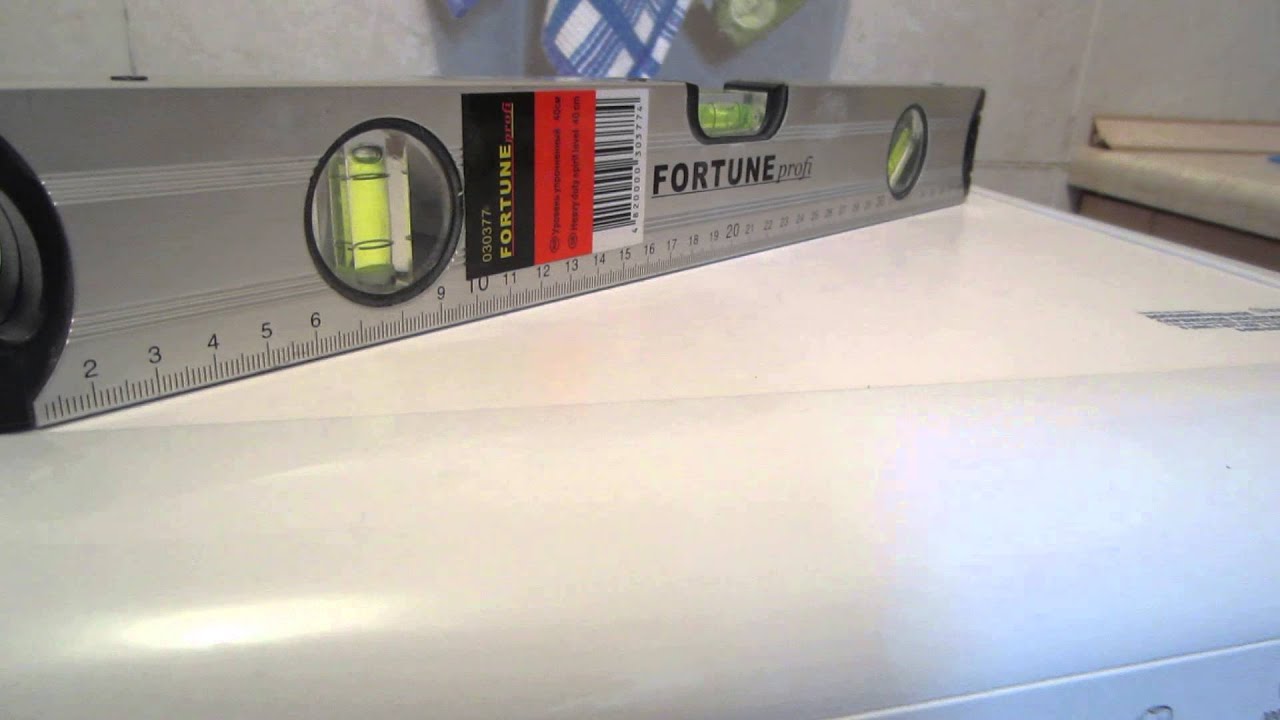
A machine connected to communications can be moved against the wall or placed in a furniture set or niche. It is too early to start the machine - it is important to level the body of the washing machine. Otherwise, the equipment will vibrate strongly, “jump” and hum when operating at high speeds.To adjust the body of the machine, a building level is useful. The tool is placed on the cover of the machine. The next steps are:
looking at the level, tighten the legs of the washing machine;
When finished, check whether the case is stable. If the machine rocks when applying pressure to the corners, the adjustment should be continued;
tighten the nuts.
It is not recommended to use a machine that is not level. The machine will vibrate strongly, which can quickly damage the case and some internal elements. It is advisable to place a special anti-vibration mat under the Ardo washing machine. This will reduce not only the likelihood of breakdown, but also the level of noise emitted by the equipment during operation.
Power supply for the machine
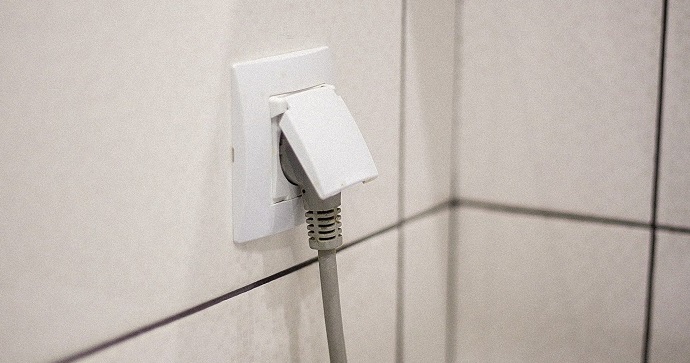
Manufacturers do not recommend connecting the washing machine via an extension cord - this does not comply with safety regulations. An automatic machine requires a separate outlet with grounding and protection from moisture. In addition, a protective shutdown device must be included in the circuit (for bathrooms - with a cut-off current indicator of 10 mA, for kitchens and other “dry” rooms - 30 mA). It will protect the machine from sudden voltage changes.
As soon as the installation of the washing machine is completed, you should run a test wash with an empty drum. Throughout the entire cycle, you need to carefully monitor the equipment in order to notice in time a leak or other malfunction of the equipment.
 Connecting an Ardo washing machine with your own hands is not as difficult as it might seem at first glance. Even a “newbie” can handle the job; the main thing is to follow all the recommendations and prepare a minimum set of tools. Let's figure out how to properly install the machine and connect it to house utilities.
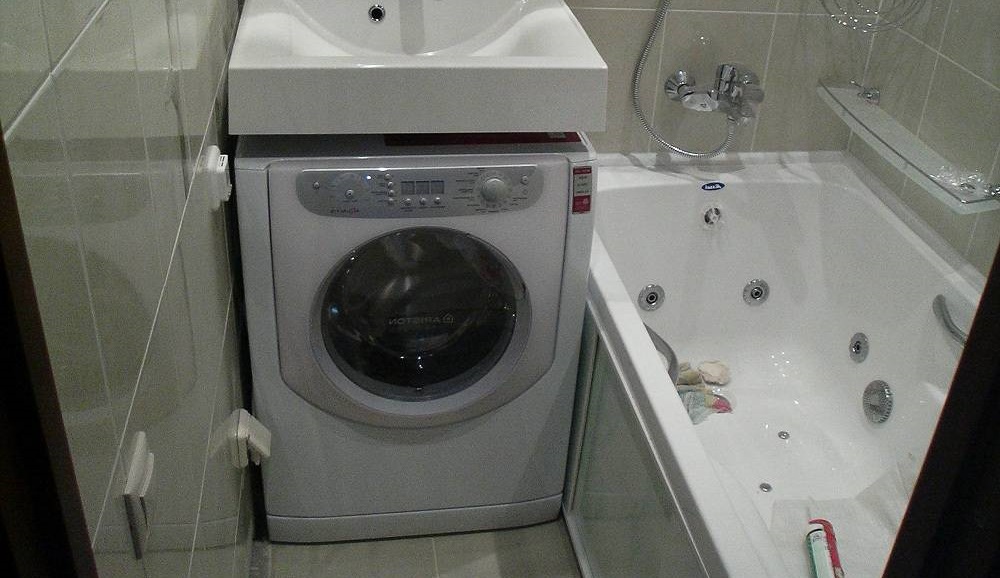


Add a comment