It happens that you need to disassemble the Electrolux washing machine simply for spare parts or for subsequent repairs. But how to do this if you have never encountered such work before? Indeed, without instructions, even with removing the external elements of the machine body, problems may arise, let alone complete disassembly. We have prepared a guide especially for you that will help in this matter.
Prepare thoroughly
Considering the fact that a washing machine is a fairly large device and there are a lot of parts in it, space will be required to disassemble it. It is better not to do such work in a small bathroom. Use the help of a friend and take the equipment to a larger room, or better yet, take the machine to the garage (in the warm season) or to a heated workshop. Before “touching” the washing machine, perform a number of necessary actions:
turn off the power to the machine;
completely remove any remaining water from the bowels of the machine (through a filter, dispenser, hoses);
collect the necessary tools.
When disassembling the machine, you will have to remove a fairly large number of large parts. Fold them in such a way that nothing gets mixed up on one side, and so that everything is at hand on the other. It is better to place fasteners and other small parts in pre-prepared containers (plastic containers, jars, etc.). Prepare a piece of thick wire bent in the shape of the English letter “S”. You will hook it onto the right wall of the case after removing the top cover. You will get a hook on which you can conveniently hang the control panel (so as not to disconnect the wiring from it).
Do-it-yourself repairs usually involve a number of difficulties. In order not to confuse anything, it is better for a novice master to pick up a camera and photograph each stage of the work.
To accomplish this, you don’t need any unique tools. Find in your own drawer: screwdrivers (slotted and Phillips), pliers, a hacksaw, a set of sockets or open-end wrenches of different sizes, hammers with metal and rubber strikers. WD-40 spray in case you have to deal with rusted fasteners. It is also worth preparing a good cloth that does not leave lint. When everything is ready, you can start working.
Dismantling external parts
To quickly and easily disassemble an Electrolux machine, you must first remove the external elements from it. These are the body parts that are visible from the outside: the powder box, the hatch door, the lid, the back and front walls.
! When disassembling the Electrolux, try to follow the instructions.
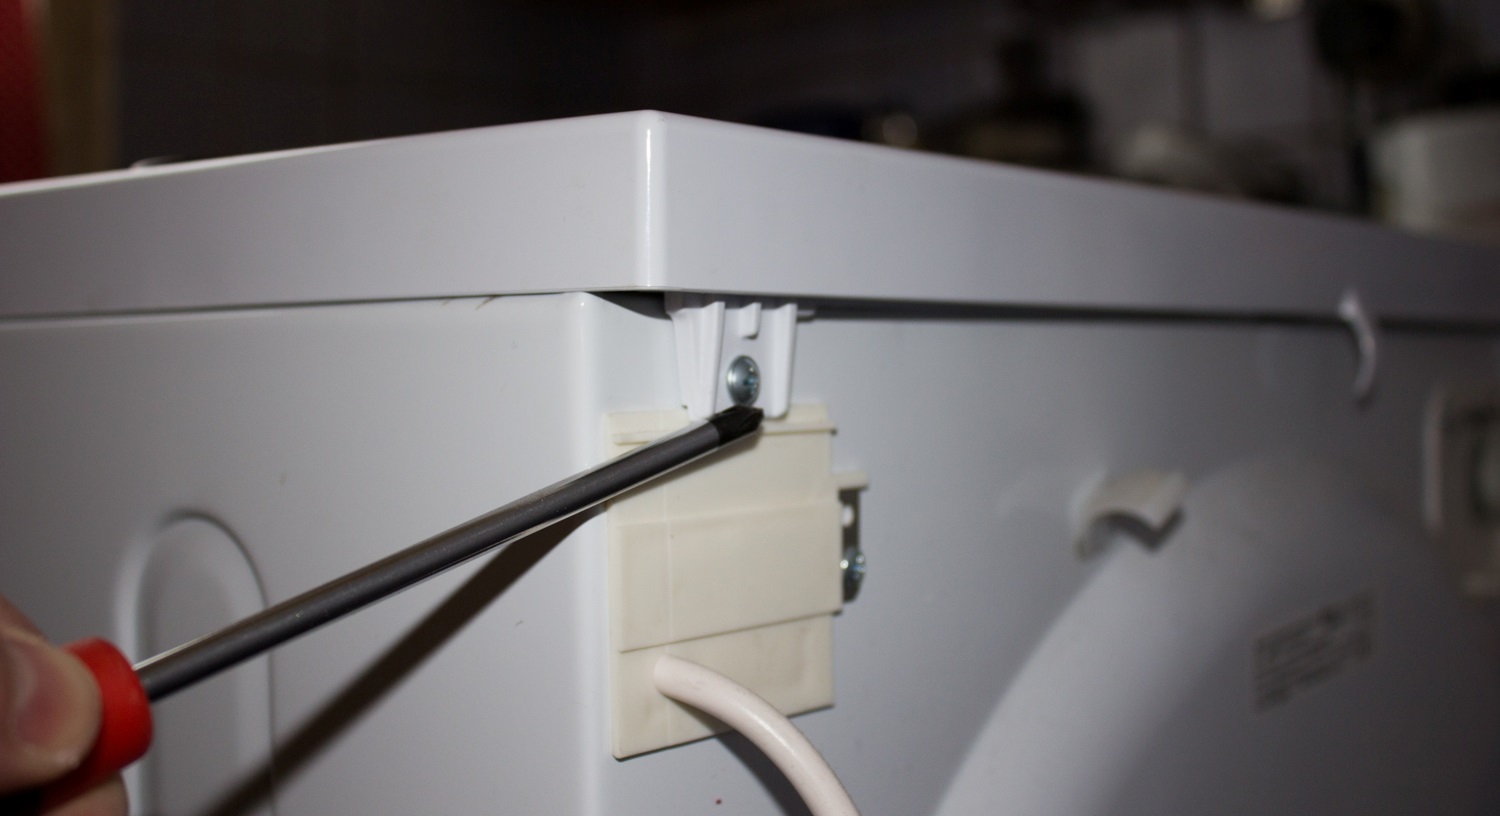
First, find two screws that are located on the back of the machine body on the eyes of the top plastic cover. They are the ones who hold the lid. We remove the fasteners, then push the plastic element towards the rear wall and lift it up.
Pull the powder box towards you as far as it will go. Press the plastic “tab” in the rinse aid compartment. At the same time, pull the tray towards you, and it will be in your hands.
We unscrew the screws that are located at the edges of the dispenser niche (previously they were hidden by the powder drawer).
Unscrew the screws holding the hatch door hinge and remove this element along with the hinge.
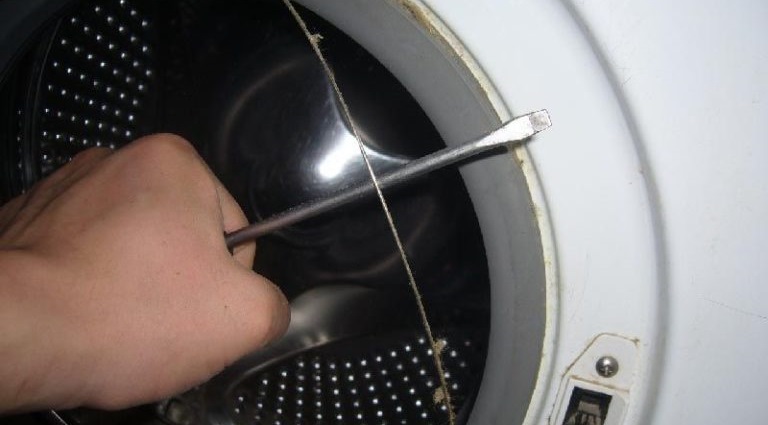
Using a slotted screwdriver, very carefully pry up the special clamp attached to the “elastic band” of the hatch.You don't need to pull too hard to avoid damaging the spring. Slowly and carefully tighten the clamp, and then tuck the cuff inside the drum.
Disconnect the electronic module. To do this, unscrew the screws to the left of the control panel. Next, using a slotted screwdriver, you need to pick up the latches on the top and sides of the panel and carefully unclip them. Without touching the wires, hang the electronic unit on a pre-prepared wire hook.
The screws holding the front wall in place are now exposed. Unscrew the screws located around the debris filter, under the control panel and around the hatch lock. The front part is also held in place by latches, so you will have to pick them up with a slotted screwdriver and snap them off.
The back panel is much easier to remove. It is only held in place by a few screws. We remove the fasteners, and the wall will fall off on its own.
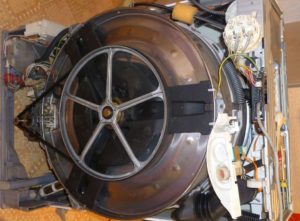
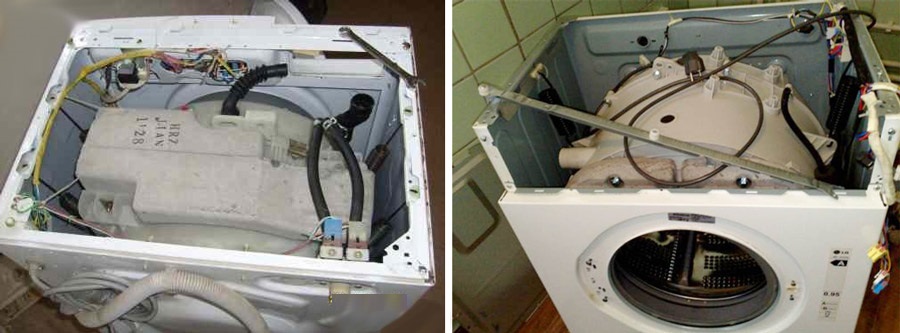
We gained access to almost all parts of the Electrolux washing machine. You can now unscrew the counterweights, remove the drive mechanism, pull out the engine, heating element, remove the shock absorbers, pump, intake valve, pressure switch, or even remove the tank-drum assembly to replace the bearings. We can only continue to disassemble the “home assistant”.
Removing the “stuffing” of the case
The final stage of work will be the removal of the tank-drum assembly from the body of the Electrolux washing machine. When you reach it, you will need to call a friend, since pulling out such a large knot alone is not easy. But before that, you still need to remove quite a large number of parts.
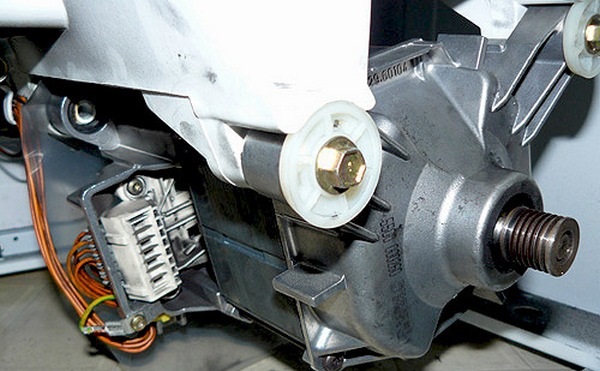
disconnect the terminals of the motor power wires;
Turn the pulley with one hand and remove the belt with the other;
unscrew the screws holding the motor;
move the motor away from you and remove it;
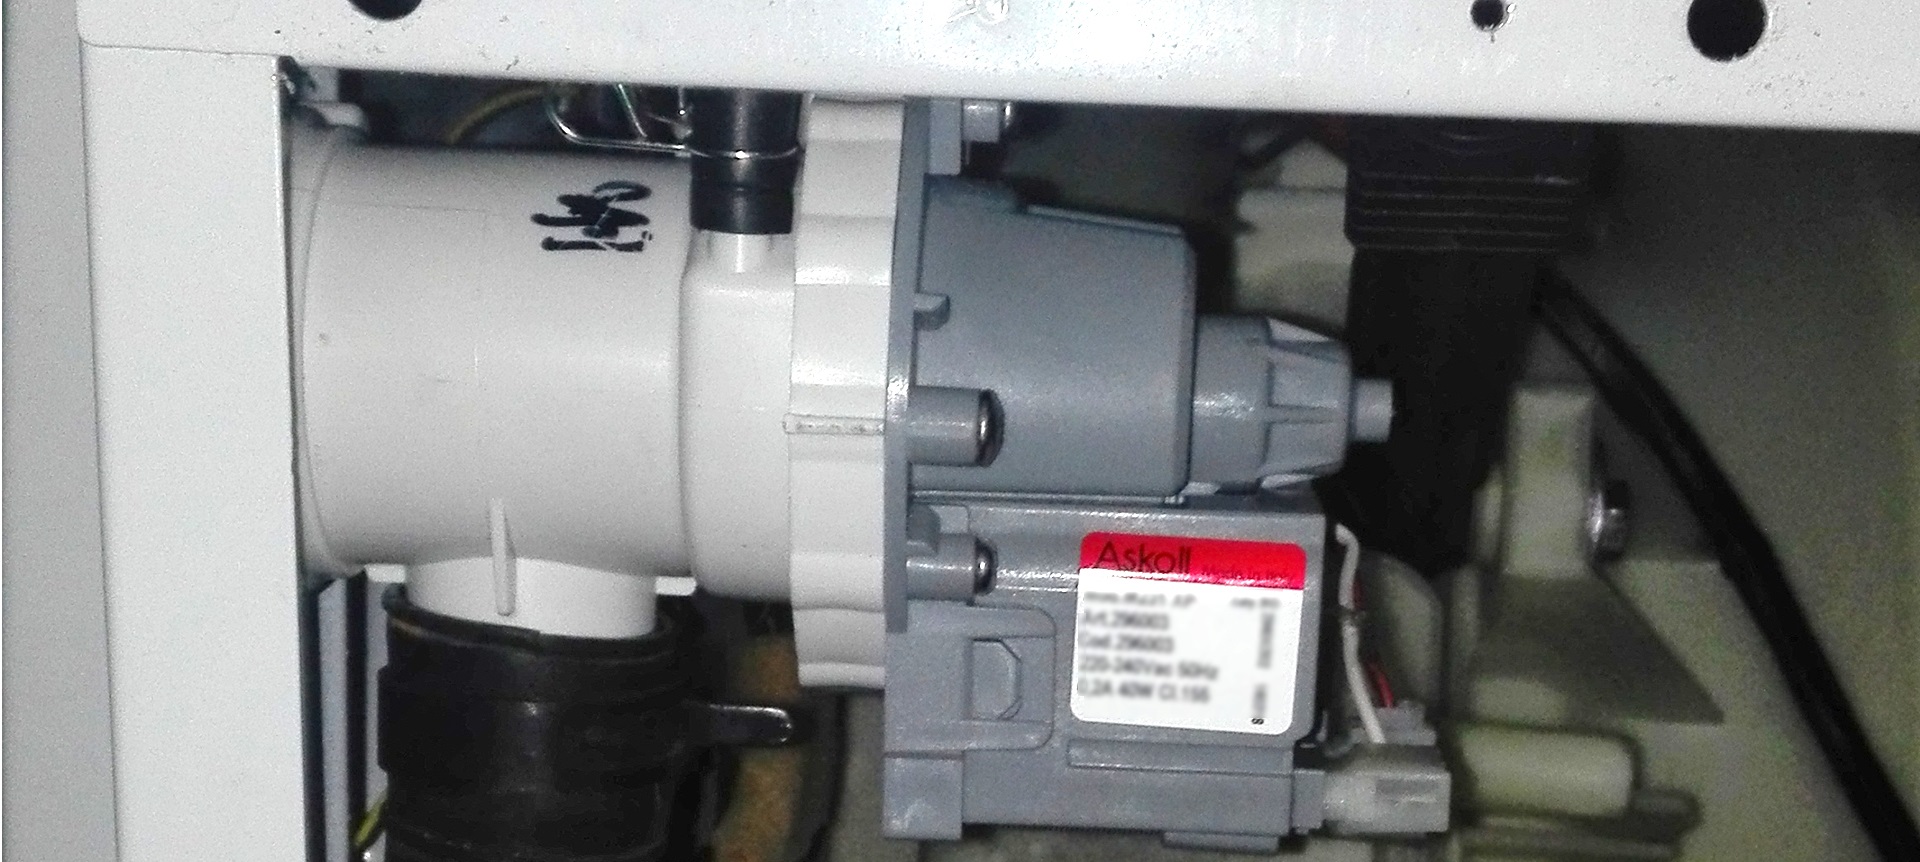
remove the wiring from the pump, unscrew its screws, turn clockwise and remove;
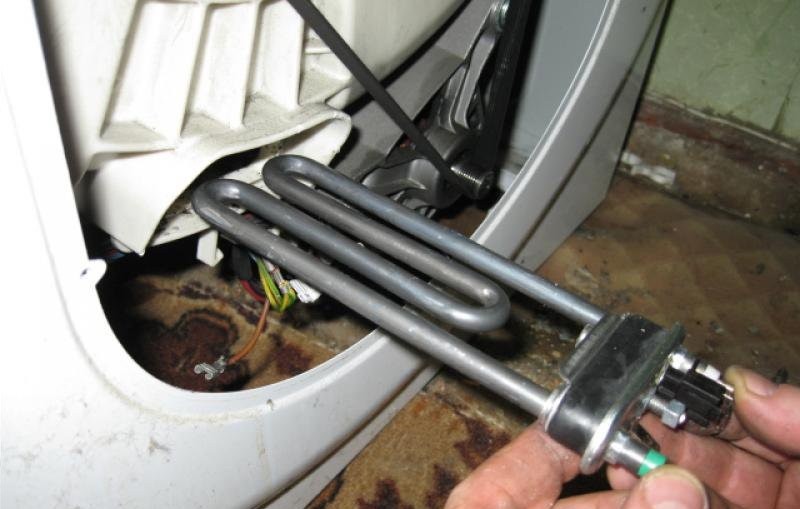
remove the wiring from the heating element and temperature sensor, unscrew the central nut (between the contacts of the heating element), lubricate the sealing rubber of the heater with WD-40, grasp the contacts and remove the heating element using a rocking motion;
dismantle the counterweights by first unscrewing the screws that hold them in place;
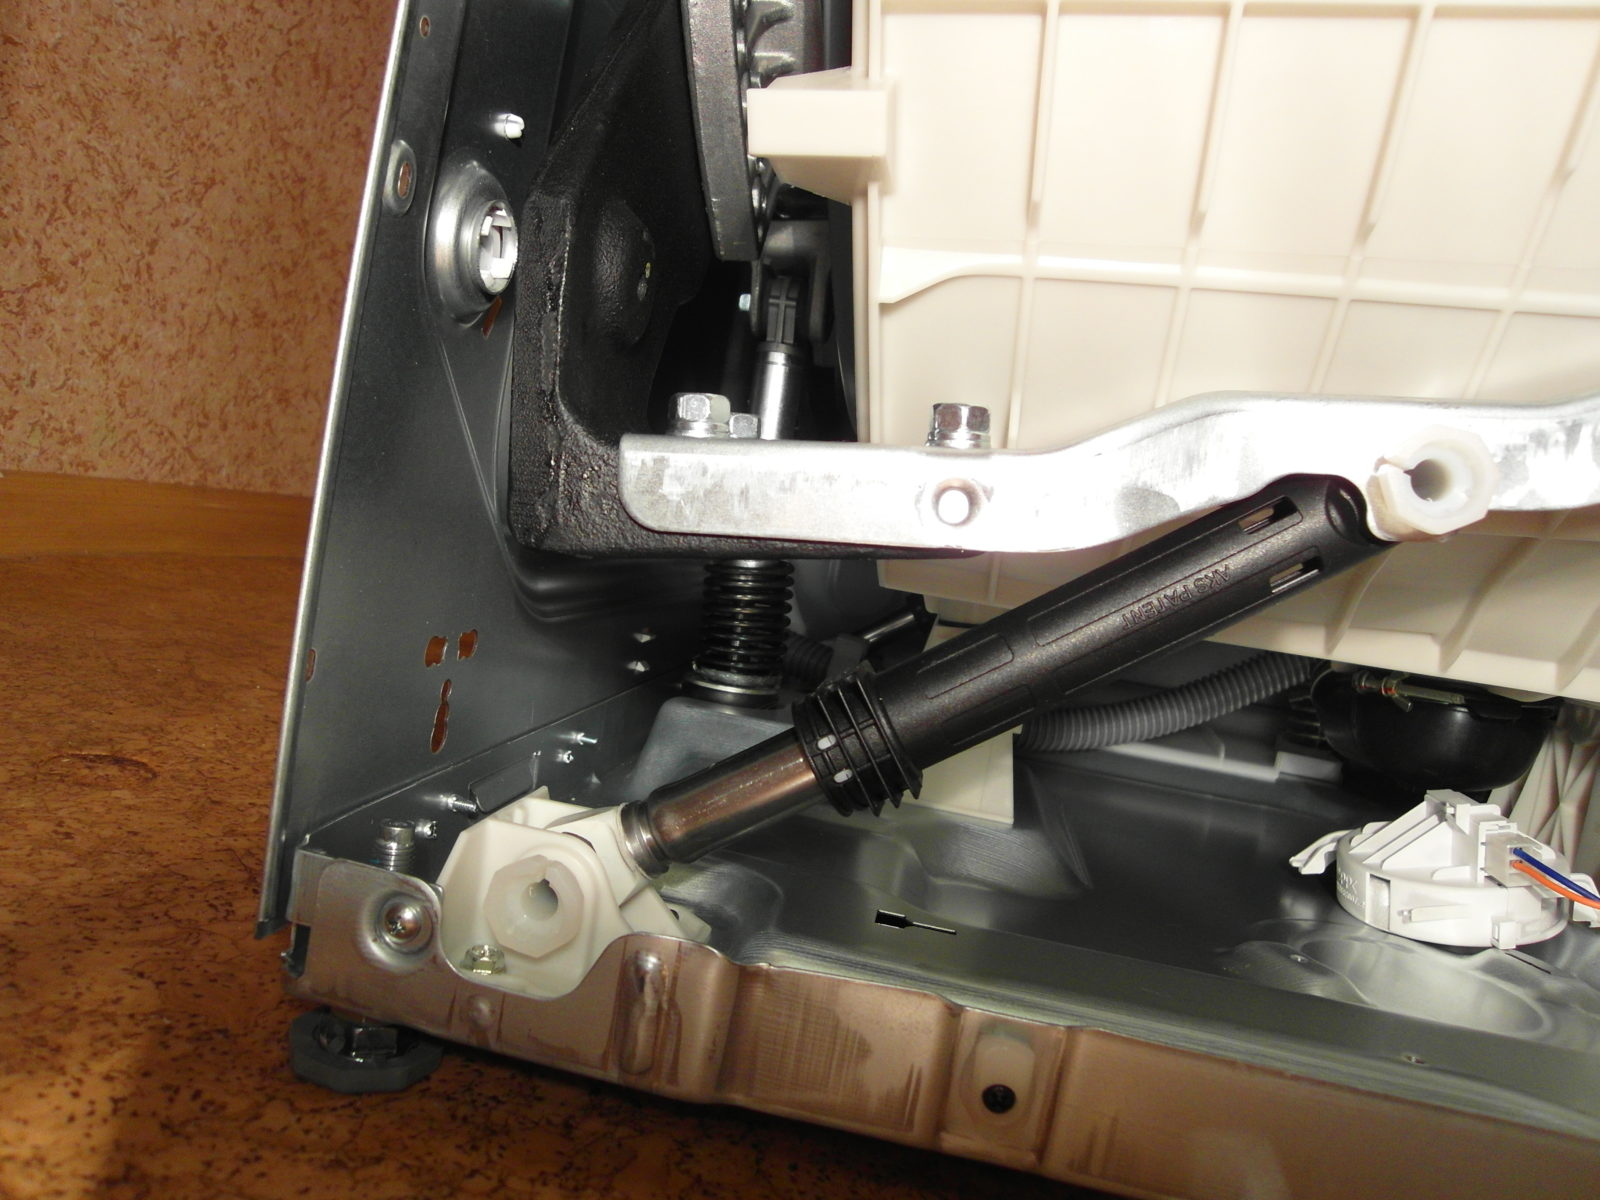
remove the fasteners holding the shock absorbers, remove them, leave the springs for now;
disconnect the dispenser pipes and the filling valve wiring;
separate the tube from the water level sensor and remove the pressure switch.
After these manipulations, you can begin to remove the tank with the drum from the machine body. To do this, you need to hold the tank with your hands (you will need the help of a friend) and remove the upper springs. Next we take out the tank.
Important! If bearing repairs are required, please note that this work is labor-intensive and can only be done by a specialist. In this case, it is better to call a technician from the Electrolux branded service center.
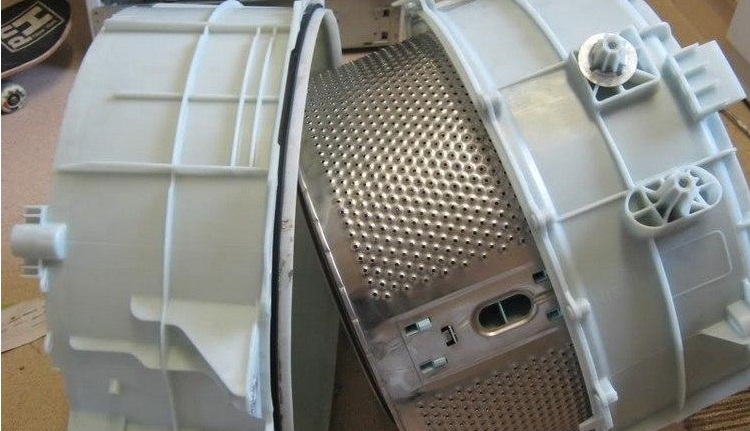
Most Electrolux models contain solid plastic containers, welded using a special technology. Therefore, in order to disassemble the drum, the container will have to be cut with a hacksaw, and then screwed together and glued with sealant. If you have a collapsible tank, you only need to open the latches and unscrew the screws.
If you disassemble the drum with your own hands, you will need two hammers, a chisel and a long bolt (to knock out the bearing). A specially purchased device for removing bearings (removal pullers) will make the task easier, but you can do without it, although it will not be easy.
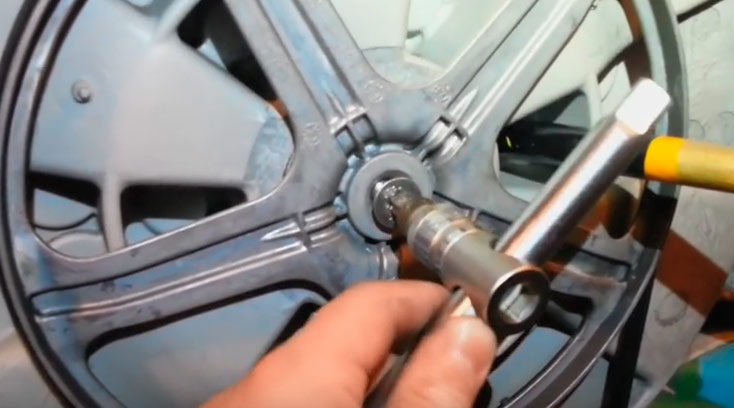
We unscrew the special screw, which is located in the center of the pulley.
We use a hacksaw to saw a plastic container or unscrew it if it is collapsible.
We remove the tank halves to the side.
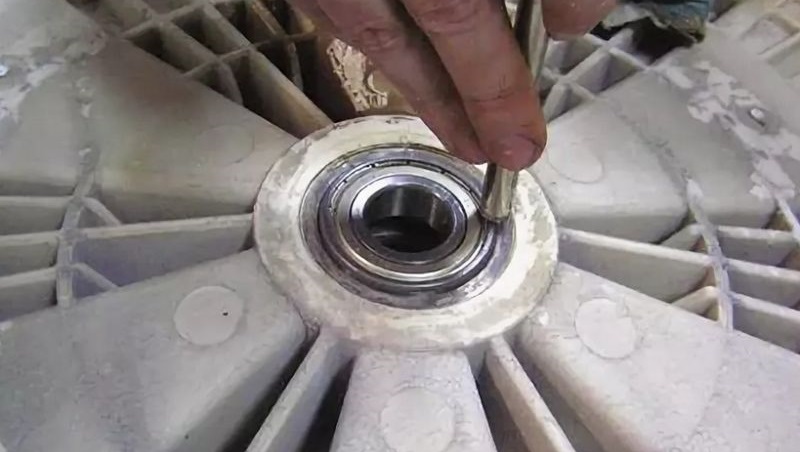
We check the condition of the cross and unscrew it.
We knock out the old bearings from the shaft, clean the seat and press in new bearings.
The machine is assembled after repair in the reverse order, but taking into account the nuances that we will describe in a separate publication. Removing old bearings and installing new ones is not an easy task. If, after a number of attempts, you were unable to go through one or another stage of disassembling the machine on your own, it is better to enlist the help of a specialist.
 It happens that you need to disassemble the Electrolux washing machine simply for spare parts or for subsequent repairs. But how to do this if you have never encountered such work before? Indeed, without instructions, even with removing the external elements of the machine body, problems may arise, let alone complete disassembly. We have prepared a guide especially for you that will help in this matter.
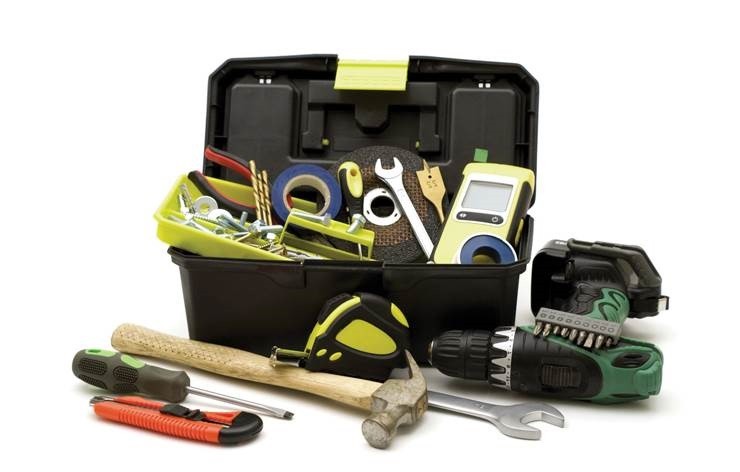


Add a comment