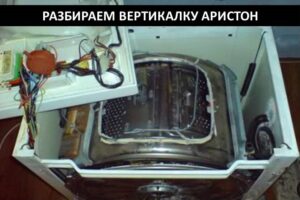
Disassembling the Ariston top-loading washing machine
To fix many problems, you just need to get inside the washing machine. For example, if a pump, engine, electronic unit breaks down, bearings, shock absorbers wear out, or the drive belt stretches. Then users have a question: how to disassemble an Ariston top-loading washing machine?
In fact, you can handle this task at home without calling a professional. The main thing is not to deviate from the instructions for action. We'll tell you where to start disassembling, what difficulties you may encounter during the work, what tools you need to have on hand.
We prepare everything you need
The design of top-loading washing machines differs from front-loading ones, but not by much. Their internal “filling” is the same, only the location of the main components changes. Before you begin disassembling the SMA, you need to perform several preparatory steps:
be sure to turn off the power to the washing machine by unplugging the power cord from the outlet;
close the shut-off valve in front of the washer's inlet hose;
disconnect the device from the sewer;
provide free access to all sides of the SMA body - to do this, move the machine to the center of the room;
prepare a container to collect water (liquid will flow out when you remove the garbage filter);
Cover the floor under the washing machine with dry rags.
You cannot disassemble a machine that is not powered down - it’s so easy to get an electric shock.
It is also better to immediately prepare all the tools that may be needed during the disassembly process. This:
Phillips and slotted screwdrivers;
putty knife;
pliers;
wrenches of different sizes;
set of socket heads;
pliers;
round nose pliers.
The tools available will vary depending on the nature of the problem. In some cases, only screwdrivers will be enough. Here you need to look at the situation.
Also during the work you may need electrical tape, a set of fixing clamps, sealant, and WD-40 liquid. You will also need to immediately buy replacement components. It is advisable to purchase original Ariston spare parts.
It would be a good idea to look through the user manual. The instructions describe the device of the washing machine Ariston, tells which elements are located where. Having studied the information, you can begin to disassemble the vertical frame.
Removing the panel and water level sensor
First of all, you need to remove any remaining water from the washing machine. To do this, you will have to unscrew the drain filter plug. The “trash bin” is located in the lower part of the Ariston SMA case, behind the technical hatch door.
The course of further actions will depend on the final goal. If you need to get to the pressure switch or dashboard, then you need to start by dismantling the upper part of the housing. Step-by-step instructions will be like this:
insert a spatula under the tidy, carefully lift the panel to loosen the two spring fasteners;
carefully pull the control panel towards you;
dismantle the tidy and put it aside;
inspect the opened programmer and inlet valve;
if diagnostics of the control module is required, remember, or better yet, take a photograph of the diagram for connecting the wires and terminals to the unit;
disconnect the wiring from the control unit;
remove the pressure switch tube;
unscrew the two bolts securing the electronic unit;
dismantle the central control unit by untangling the remaining wires.
Now you can begin diagnosing the electronic module.Inspect the board for defects - swollen areas, burns, rust. If everything is visually in order, test the semiconductors with a multimeter.
If it is necessary to remove the water level sensor, unscrew the screws securing the part. Sometimes the cause of the pressure switch not working correctly is a clogged fitting, so try blowing out the tube. If this does not help, replace the part.
Starting capacitor, pump and motor
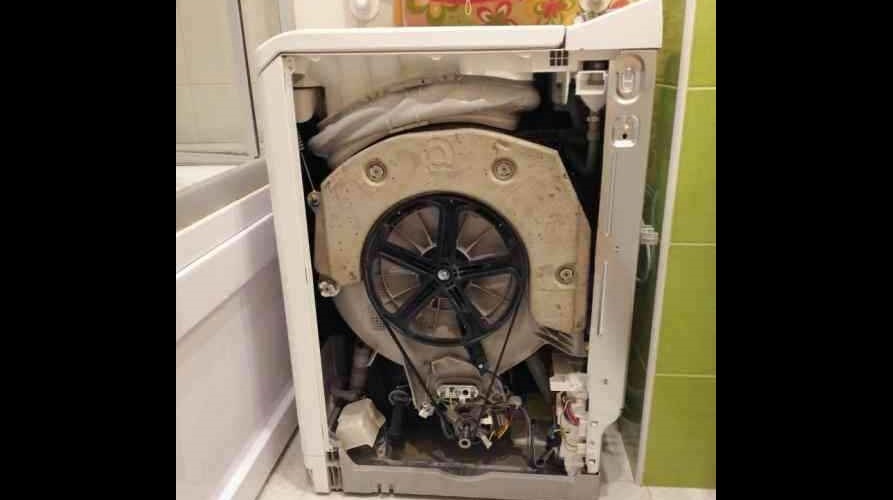
If the purpose of the repair is to get to the motor, then you need to start by disassembling the lower part of the SMA housing. For convenience, the “vertical” is laid on the floor, which is best covered with a blanket beforehand. It is very important to prevent water from entering the electronic module of the machine - this can cause a short circuit. Therefore, first drain the remaining liquid from the washing machine.
To remove the electric motor, you must:
disconnect the drain hose from the SMA body;
secure the top cover of the “vertical” with electrical tape so that it does not rise when laying the machine down;
carefully lower the machine to the floor, placing it on the back panel;
Unscrew the bolts holding the bottom of the housing.
use a 5/16 socket to twist the clamps holding the drive belt;
remove the protective cover;
disconnect the connector connected to the engine;
remove the drive belt;
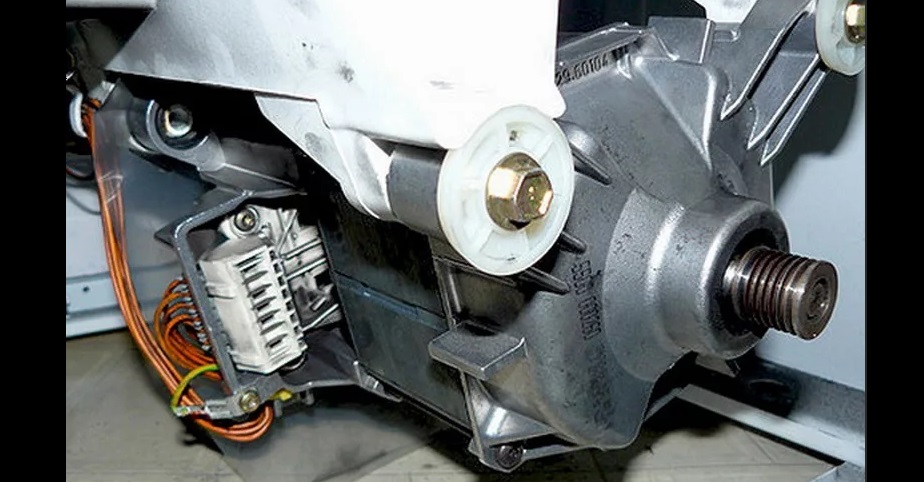
Use a 1/2 socket to loosen the motor mounts.
After this, you can pull the motor out of the SMA housing. Next, the part is diagnosed: the electric brushes are inspected, the winding is tested. Based on the information received, a decision is made whether it would be advisable to repair the engine or whether it is better to completely replace the engine.
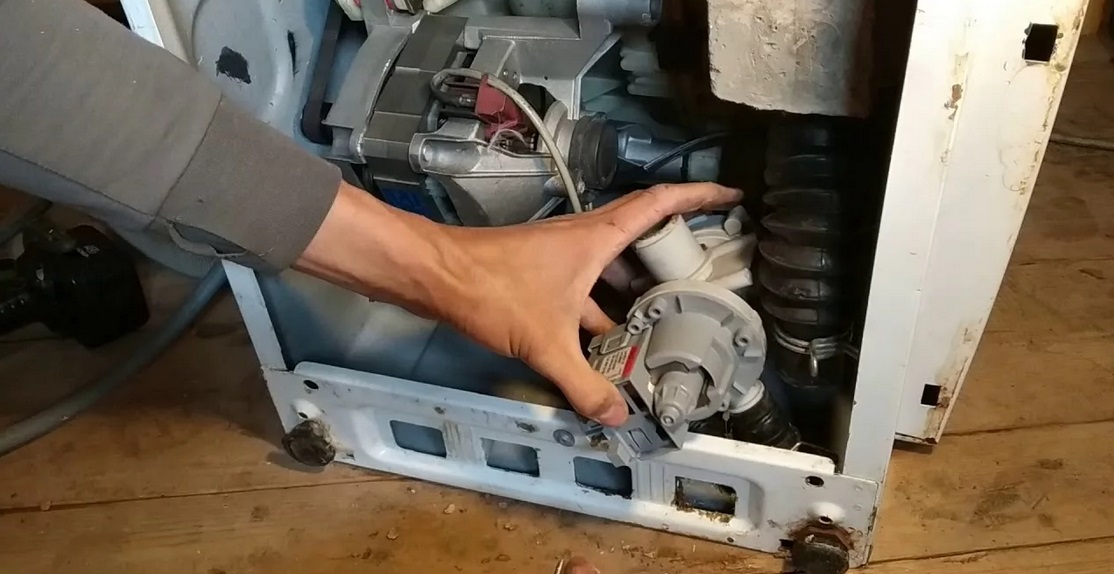
To get to the drain pump, you need to remove the left wall of the Ariston SMA. Disconnect the pipes and wires connected to the pump.Next, all that remains is to pull the part towards you and remove it from the washing machine body.
Dismantling the main unit of the machine
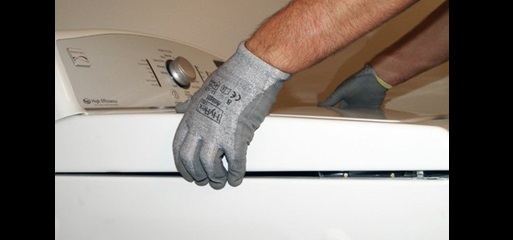
In some cases, complete disassembly of the washing machine is required. For example, when bearings need to be replaced. The drum on verticals is removed in a special way. The SMA must stand on legs. First of all, you need to remove the top cover of the case. For this:
deal with the latches that secure the panel to the body;
slide the panel towards you until you hear a characteristic sound – it will tell you that the latches are triggered;
lift the top cover;
secure the retaining chain in the holders provided on the lid and body;
lower the panel, making sure it is securely suspended.
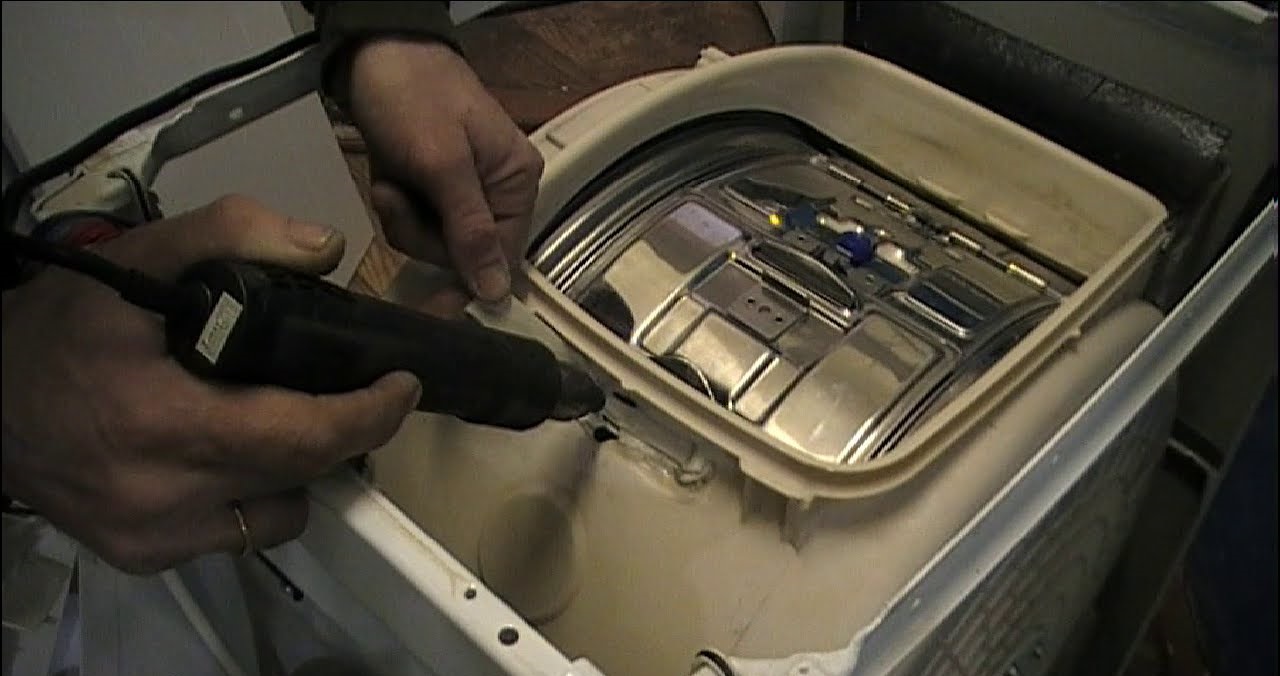
Now you can proceed directly to dismantling the drum. Further algorithm of actions:
Press the tabs with a screwdriver and remove the tank cover;
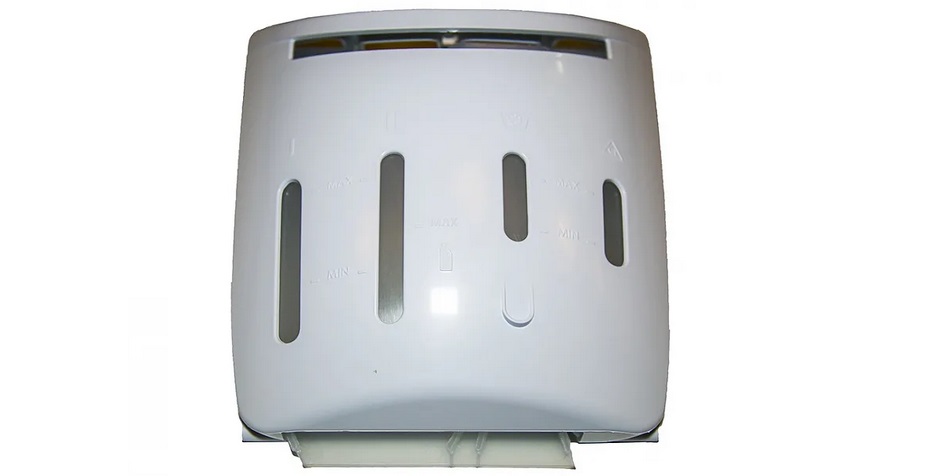
unhook the detergent dispenser;
Use a 7/16 socket to unscrew the drum fasteners;
loosen and remove the tank nut;
find the drive shaft;
loosen the clamps and disconnect the shaft from the drive mechanism;
Unscrew the fasteners located on the drain pump cover;
return the top cover of the case to its place, close it tightly;
carefully place the washing machine on the back wall;
open the pump cover;
disconnect the wire from the drain pump;
unhook the drain pipe from the pump;
pull out the drain pump from the SMA;
disconnect the terminals from the capacitor, electric motor, drive and gearbox;
remove the gearbox;
disconnect the remaining wires from the tank.
Now you need to return the washer to the vertical position again. The top cover is removed and hung on a chain. Here you need to disconnect the pressure sensor tube, wiring harness, weights and ball joints from the tank.
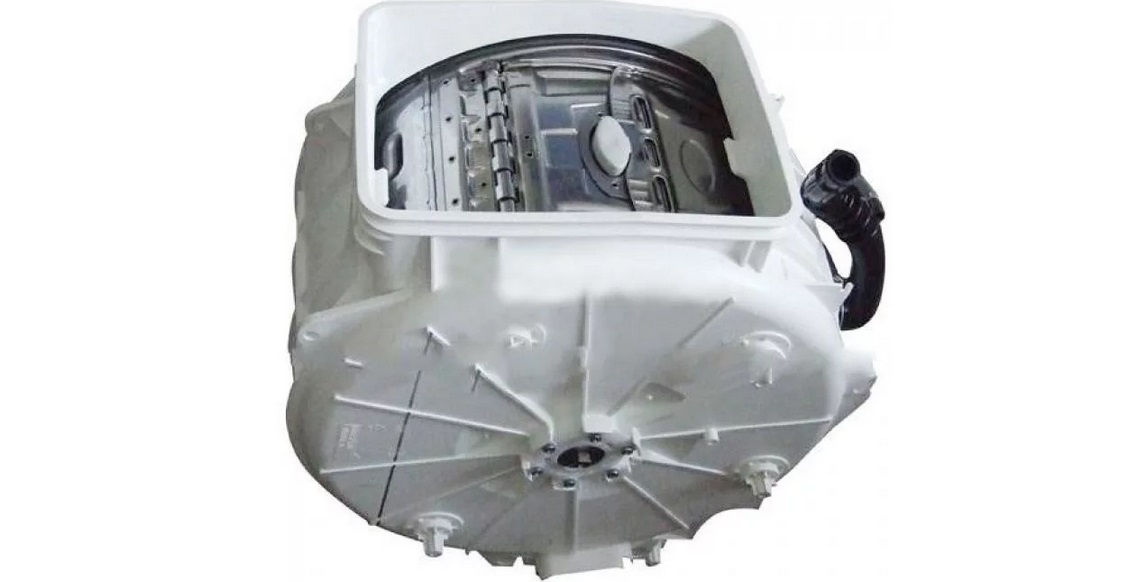
When nothing interferes with the removal of the tank, remove it from the washing machine body. Next, the container is placed on a flat horizontal surface. If you need to replace the bearings, you will have to halve the tank.
The tank of most Ariston models is collapsible, so there will be no difficulties in “dividing” it.
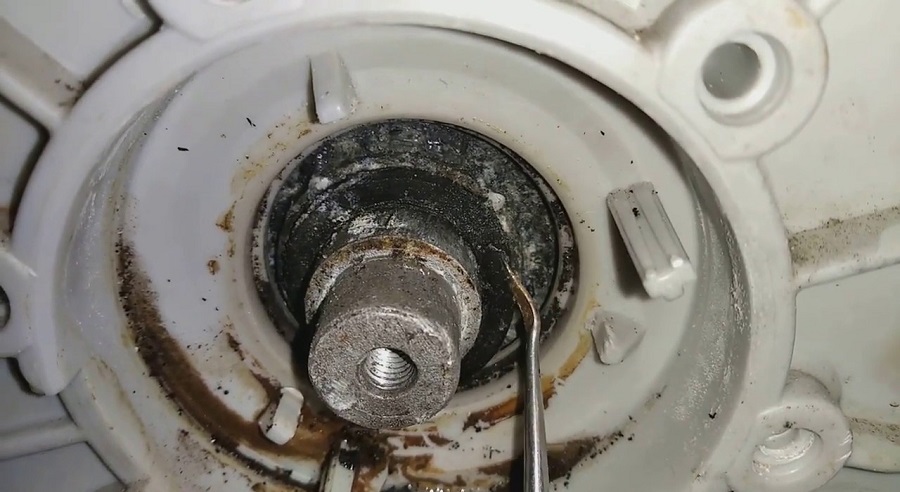
To divide the tank, it is enough to unscrew the fixing bolts located around the circumference and deal with the latches. This will give you access to the bearings and seal. Reassemble the container in reverse order. It is better to additionally use a moisture-resistant sealant - it will provide a more reliable connection of the “halves”.
In principle, there is nothing difficult in disassembling the vertical SMA. The main thing is to strictly follow the instructions. It is not always necessary to completely disassemble the machine; sometimes it is enough to remove only the top panel or side wall. Everything will depend on the location of the element that needs diagnosis and repair.
 To fix many problems, you just need to get inside the washing machine. For example, if a pump, engine, electronic unit breaks down, bearings, shock absorbers wear out, or the drive belt stretches. Then users have a question: how to disassemble an Ariston top-loading washing machine?
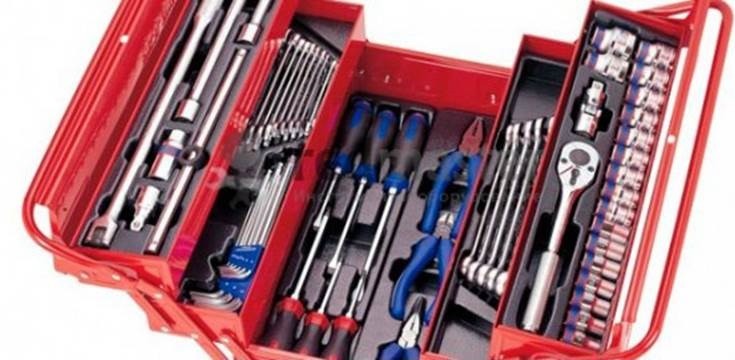


Add a comment