What cable size is needed for a dryer?
 When preparing for a major renovation of a kitchen or bathroom, it is very important to think in advance about the location of electrical and other communications. Even if you don’t yet know what kind of equipment you will install in these rooms, it’s still worth thinking about it in advance. In today's article we will explain what wire size to choose for your dryer and tell you how to prepare the electrical network.
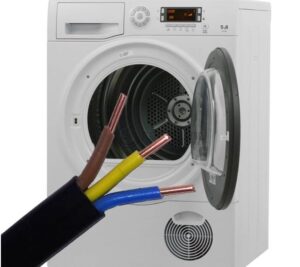
Dryer power cord
Before starting work, carefully consider the choice of wire: you need to decide on its cross-section, number of cores and material, because an incorrectly selected connecting element can lead to overheating and malfunctions. Be sure to check the power of your dryer. Usually this value is indicated on it itself or in the instructions. The scalar physical quantity of a device is measured in watts or kilowatts. For example, if the machine's power is 5 kW, it is better to take a 6 kW wire.
An equally important factor is the distance from the electrical panel to the drying unit. The greater the distance, the thicker the wire will have to be used, because with increasing length the resistance also increases, which ultimately entails a decrease in voltage. Pay attention to the material too. Experts recommend avoiding the use of aluminum wires to connect large consumers. They believe that copper conductors are a more reliable choice, so it is better to give them preference.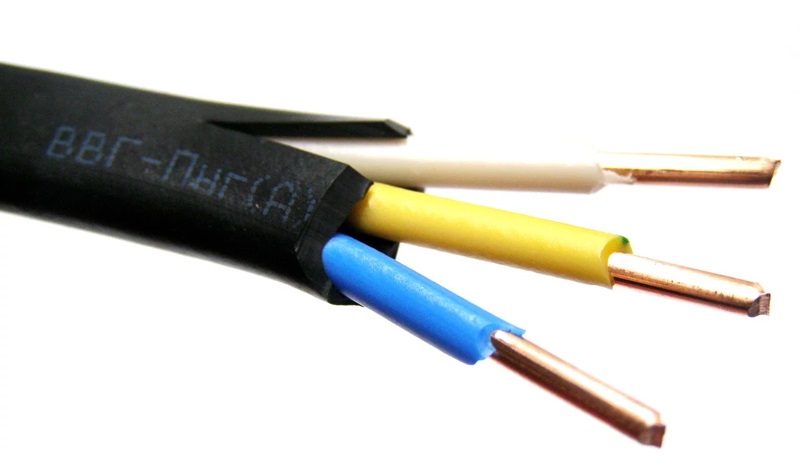
Then you need to decide on the number of cores.According to technical standards, the power cord of any modern drying equipment must be grounded, and this means that a special socket must be installed. You must choose a wire with three wires: one for phase, second for neutral and third for ground.
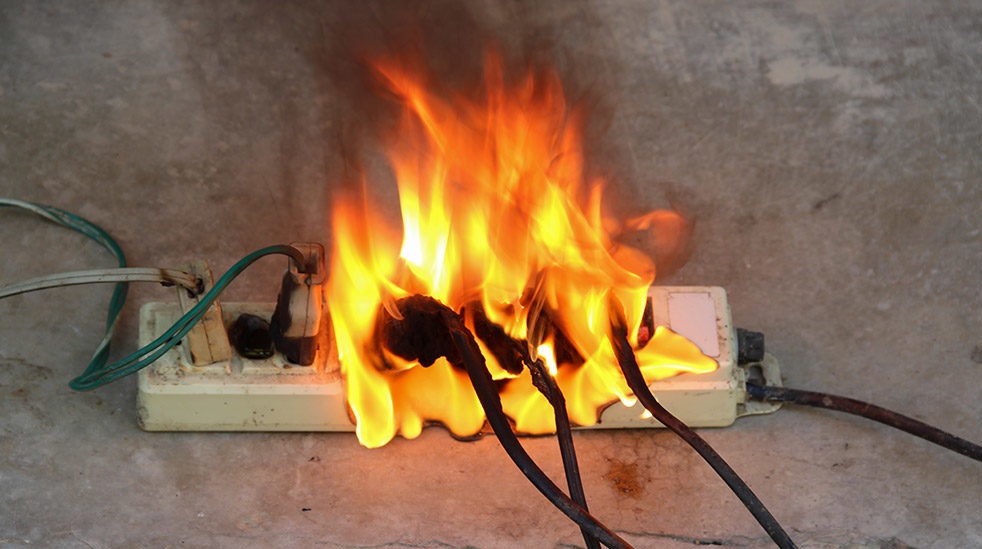
The wrong choice of electrical product can lead to overheating and short circuit, which is dangerous for you and your home!
Now you need to calculate the cross-section of the three-core wire that will be used to install the socket. We could share a table indicating the cross-section, current and power for which a cable of the appropriate thickness is designed, but we decided not to do this. Firstly, the average power of the device is 2500 kW. Secondly, we mentioned earlier that, just in case, it is better to choose a conductor with a load reserve. Taking into account the information received and the recommendations of experienced specialists, we opt for a three-core copper wire with a cross-section of 2.5 mm and high-quality insulation.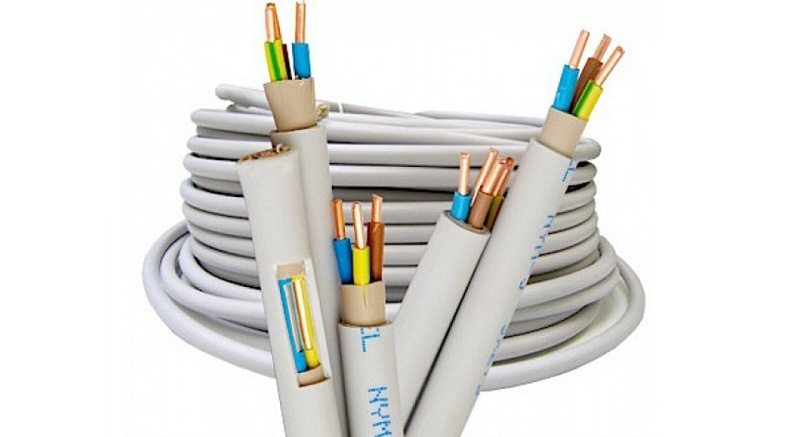
It is worth noting that the drying unit includes a whole complex of wires and connections. They are the ones who provide it with food. They include:
- network explorer;
- control and ground cable (one for signal transmission, the other for safety);
- other wires (from fan power or lighting).
If you still experience certain difficulties when choosing an electrical conductor, it is better to contact a qualified specialist. He will carry out calculations taking into account all the necessary factors and give recommendations on choosing the optimal wire for your dryer. This way you will be able to avoid all unforeseen consequences.
Other components for connecting the dryer
The dryer is an amazing device that makes drying clothes convenient. However, in order to connect such a device, you need to have not only the device itself, but also several additional components. We can’t get by with just one wire; we’ll also need:
- moisture resistant socket;
- difavtomat;
- copper terminals and socket box;
- plastic cable channel.
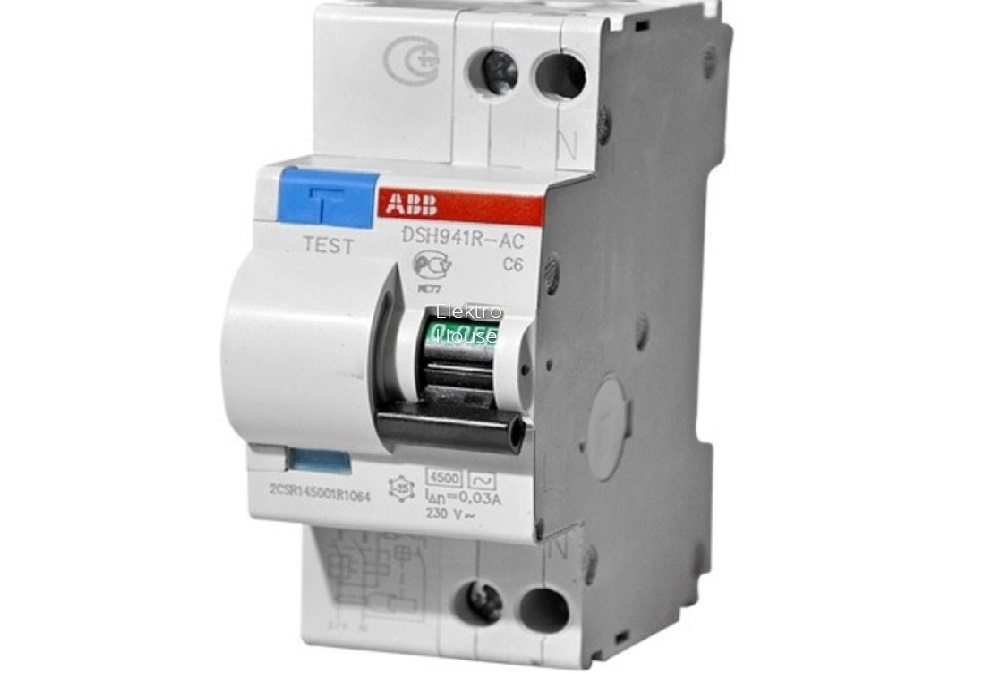
It is necessary to install moisture-proof sockets, since the dryer will be used in bathrooms and kitchens where humidity and condensation are present. Installation of the difavtomat will provide reliable protection against possible failures in the electrical network. The use of copper terminals will contribute to the reliable connection of parts of the electrical wiring, but ideally it is better to avoid unnecessary combinations. You cannot connect copper and aluminum wires. Safety should be more important than savings.
To install a high-load socket, it is important to choose only high-quality sockets to avoid fire. By paying attention to high quality products, you ensure safe operation and avoid future problems. Plastic cable duct should also be chosen from the best materials.
Some electrical installation experts believe that when you run a wire into a trench cut into a wall, you can do without additional protection, since the conductor has its own insulation. However, we recommend that it be protected, taking into account possible unforeseen circumstances. This can be done using a cable channel.
Maybe you should save money and connect the dryer through an extension cord?
Many people are trying to save money on electrical communications.And this, in general, is understandable, but it is worth remembering that such an approach can lead to serious consequences. The dryer must not:
- connect to the outlet via an extension cord;
- connect to an outlet to which a large energy consumer is already connected;
- connect to an outlet with unreliable wiring.
Why are such restrictions set? In fact, everything is very simple - a clothes dryer consumes a large amount of electricity, which creates a significant load on the electrical network. Maximum stress occurs when the machine operates in intensive drying mode at high temperatures.
At such moments, the aluminum wires in the socket may overheat and be a potential cause of fire!
Here, the most optimal solution is to run an additional wire from the electrical panel to the installation location of the dryer. It must be of the appropriate size and made of suitable material to provide safe and reliable power to the moisture-resistant socket through which the dryer will be connected. This approach will avoid the risk of fire and preserve the integrity of your expensive household appliances.
Preparing the electrical network for the dryer
Before laying and connecting the conductor, it is necessary to determine the optimal location of the outlet. It is important to take into account not only the height of its placement, but also the distance from the switchboard. It should be remembered that the further the outlet is from it, the more costs will be required for materials, and the work of cutting the wall for the wire will be long. This process is quite labor-intensive, so a careful approach to choosing the installation location is required.
When you lay out the route for the wire, do not forget to mark it with a marker on the wall. Also indicate the location where you will need to drill the hole for the socket box. All subsequent actions will depend on what material the wall in which the gutter needs to be made is made of.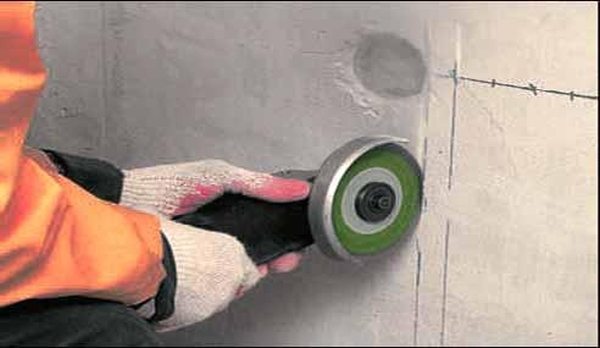
If it consists of soft materials, then you can use traditional methods using a hammer and chisel. In the case of reinforced concrete, a wall chaser or hammer drill in combination with a grinder will be required. Using a hammer drill, we drill holes along the future channel, and then connect them using a chisel and hammer. In this case, we will stumble upon the fittings along the way and, in order to facilitate the passage of the wire, we will have to partially remove it with a grinder.
We begin to pull the electrical conductor from the panel to the outlet. We will determine the locations for the wires (phase, neutral, grounding), but we will not connect them yet. You will also need to install a differential circuit breaker in the panel. Let's pass the neutral and phase wires through the defavator, and connect the grounding separately.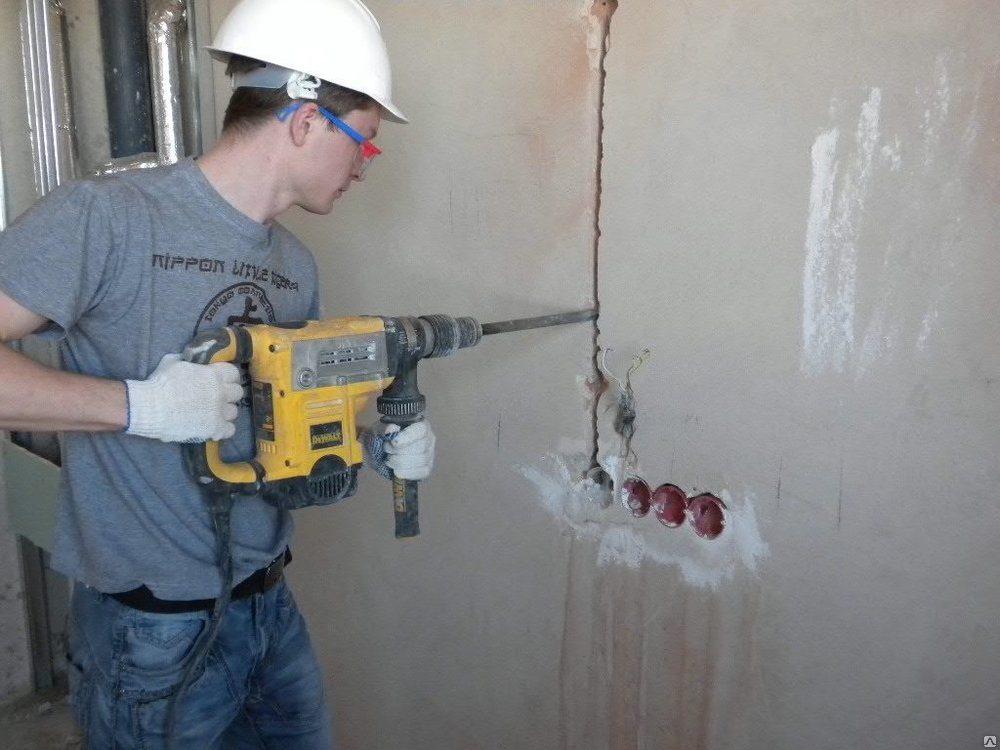
It is also important to remember that all connections must be carefully insulated. We take the wire out of the electrical panel and pull it along the dug channel. You can also place a plastic cable in it, placing a copper conductor there. Having brought it to the place where the socket is installed, we leave it alone and move on to the socket itself. You will need:
- Make a hole in the socket box using a puncher (for convenience, you can use a special drill);
- insert the socket box into the recess and attach it to cold welding or sealant;
- bring the ends of the wires into it;
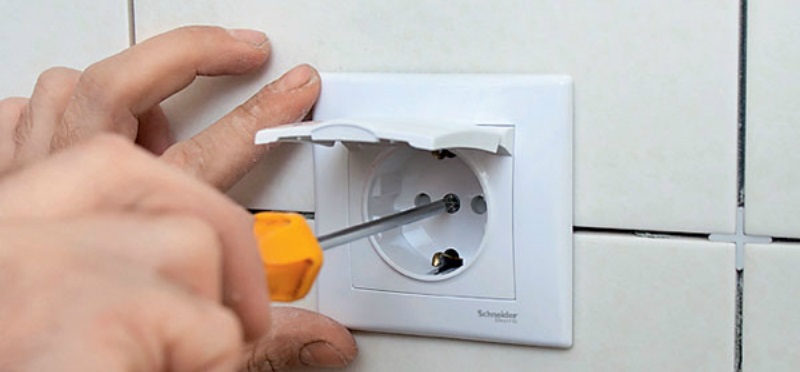
- unpack the new moisture-resistant socket, and then connect the phase, neutral, and ground wires to the corresponding contacts;
- then secure the base in the socket so that it fits tightly;
- screw the plastic part of the socket and make sure that nothing is loose.
It remains to take the last steps. You need to connect the phase, neutral and ground wires in the electrical panel, and then connect a table lamp to the socket. You can also use a special tester to check the presence of power. Once you have verified that the outlet is working properly, you can begin to complete the work by caulking the cut out wall and putting the wires into a special cable channel.
As you can see, you need to pay attention to the electrical communications for the dryer in advance. It is very important not only to choose the right wire, but also to think about the placement of the line and ensure its protection. If you have doubts about your own electrical skills, we recommend contacting a specialist who can install everything in accordance with all safety requirements.
Interesting:


Reader comments
- Share your opinion - leave a comment
Categories
Washing machine repair


For buyers


For users


Dishwasher


Add a comment