The washing machine does not always spin clothes
 Service center specialists identify about 20 different problems with washing machines, due to which the spinning stage of things is disrupted. Very often, a washing machine spins clothes every other time, alternating a successful working cycle with an unsuccessful one. It is logical that in one situation everything is fine, but in another, something is preventing the “home assistant” from doing her job. Let's figure out why this could happen.
Linen bunched up
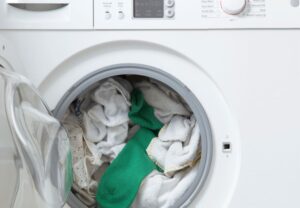
If the machine does not always spin out the laundry, then most likely there is no serious problem with it that needs to be fixed urgently. Typically, in this case, the cause of the malfunction is an imbalance in the drum, caused by the fact that large clothes or bedding have collected in one large lump. The fact is that new washing machines can detect an imbalance and activate a special protection, which will either start a slow rotation of the drum to “disassemble” the lump, or stop the spin cycle and display an error code.
When this happens to your device, fixing everything is very simple - you just need to turn off the SM, carefully distribute the clothes and start a separate spin mode, skipping the washing and rinsing stage. If this situation occurs often, then you should sort out your clothes more carefully before loading them.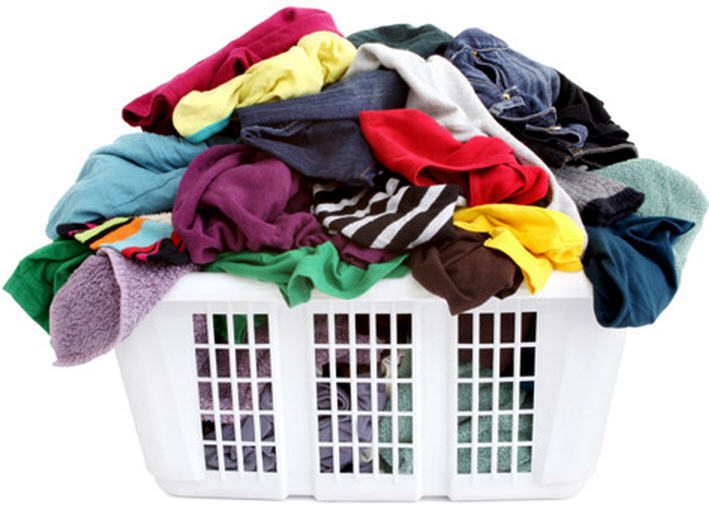
In addition, it is very important not to overload the drum, for example, if the maximum load is 6 kilograms, then it would be optimal to wash about 3 kilograms of things in it at a time. If things are large and absorb liquid well, then it is better not to add more than 2 kilograms of clothing for one working cycle. At the same time, it is important that there are not too few things.
Do not overuse the use of laundry bags, because things very often get lumped together in such bags.
You should also separately consider cleaning the duvet cover in the CM, because this is the element of bed linen in which small things usually get clogged and create a large lump, causing an imbalance in the drum. To prevent this, housewives often tie the opening of the duvet cover to prevent anything from getting inside. There is also an option to sew a zipper into it, which will not only simplify its use, but also prevent things from getting inside during washing.
Engine brushes worn out
When the reason is not clothing, which creates an imbalance and overload of the drum, then the problem may be due to wear on the motor brushes. If these parts are worn out, then the machine may freeze during the spin cycle, which is the first stage of the problem before the washing machine stops spinning clothes altogether due to the fact that the electric motor cannot work under high load.
To replace graphite brush rods, you need a small set of tools that should be in any home. In addition, new rods will be needed. The parts must be exactly the same as those that were installed in the “home assistant” initially. Remember that brushes should always be replaced in pairs, even if only one is worn out. When the components are at hand, all that remains is to prepare the tools.
- Phillips and slotted screwdrivers.
- A simple pencil or pen.
- 8mm TORX key.
Prepare the machine for repair, for which you first need to disconnect it from the power supply and water supply, and also remove the inlet hose from the body. Afterwards, it is necessary to drain the remaining liquid, after covering the floors with rags or towels so as not to damage the floor covering and not to flood the neighbors. Place a water container under the CM, placing it in the area of the garbage filter, and then open it to drain all the water remaining from previous operating cycles. When all the liquid has drained, move the appliance away from the wall to get started.
The brushes are mounted on a commutator motor, so you must first gain access to the electric motor. To do this, remove the top panel of the device by unscrewing the retaining bolts, and remove the back panel by removing the clamps. Now you can see the electric motor located under the tank, which you have to work with.
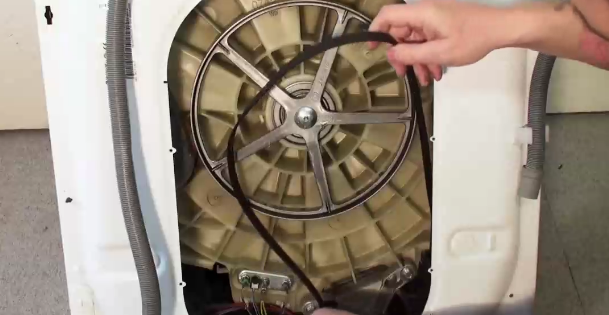
- First you need to remove the drive belt from the pulleys.
- Then you need to disconnect all the wires from the motor.
Be sure to take a few photos of the correct wiring connections so that you have a detailed example at hand later.
- Afterwards you need to unscrew the fixing bolts to remove it and pull it out of the SM body.
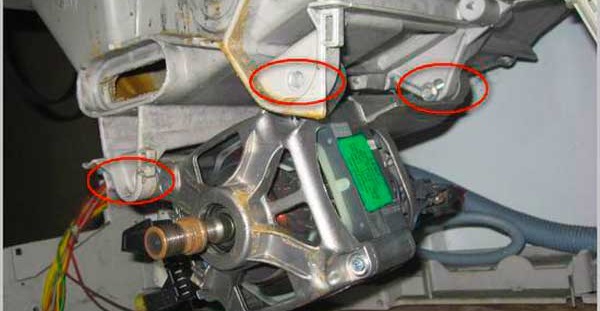
- Finally, you need to disconnect the brushes by first unfastening the wire, moving the contact down and carefully stretching the spring.
All that remains to be done is to install new graphite rods in place of the damaged ones, placing them with the tip in the socket, and then returning the spring to its original position. Next, you need to cover the brush with a contact and attach a wire to it, connect it to the engine, and then return the electric motor itself to the machine body.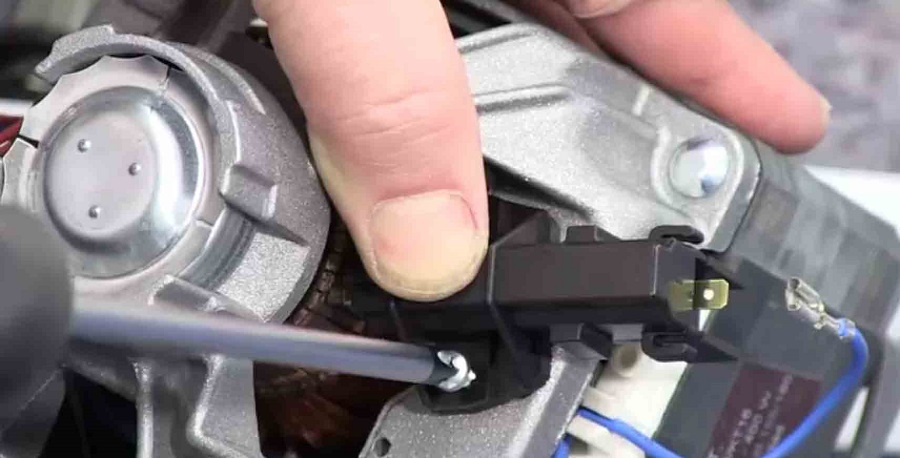
When the element is installed in the washing machine and all the wires are connected, you need to return the drive belt to its place. To do this, it should be pulled first onto the pulley, and then onto the “wheel” of the drum.Then you should return the rear and top panels of the case to their original position.
The completion of the repair will be the return of the “home assistant” to its place, connection to all communications and the launch of a test operating cycle, which will demonstrate the serviceability of the equipment. At first, the machine may spark a little and make some noise, but this will go away after a few washes, as the brushes will finally “grind in.”
Interesting:


Reader comments
- Share your opinion - leave a comment
Categories
Washing machine repair


For buyers


For users


Dishwasher


Add a comment