Water leaks from the washing machine when washing
 When your washing machine is leaking from the bottom during a wash cycle, you need to act as soon as possible. There are two options: invite a specialist to diagnose the equipment or try to find out the cause of the leak yourself. Let’s figure out where to start checking the “home assistant” and which parts of the machine to inspect first.
Looking for a leak
If you notice that water is leaking out during washing, be sure to immediately turn off the power to the electrical appliance. It is important not to step into a puddle near a working machine - this could result in an electric shock. If there is too much water on the floor and you cannot reach the power cord of the washing machine, turn off the power supply using the switch.
What to do next? Collect water from the floor and inspect the automatic machine from the front, back, and sides. You also need to tilt the washing machine and examine the bottom. To check the equipment more completely, it is better to remove the rear (for front-facing cameras) or side (for vertical cameras) panel of the case.
It is important to accurately determine the location of the leak - only by finding the cause of the problem will it be possible to eliminate it.
For example, if the plastic tank of a machine leaks, the tank will need to be replaced - and this is a rather expensive repair. Perhaps the problem is in the drain hose, and to fix the problem you just need to buy and install a new corrugation. When water leaks out from under the drum hatch during washing, the sealing lip is most likely leaky.
Therefore, you should find the location of the leak, and then plan the course of further repairs. The washing machine may leak due to:
- violation of recommendations for the use of automatic machines;
- use of low quality powders, gels and conditioners;
- factory defects;
- damage to an individual unit or internal part of the machine.
You can usually fix a leak at home, on your own. Let's figure out how to diagnose a “home assistant”. What elements to inspect at the very beginning.
Through the filter or the base of the drain hose
A leak is not always a sign of a breakdown. Sometimes a puddle appears due to the user’s simple carelessness. So, you need to check whether the “plug” of the garbage filter is tightened well and whether the pipe intended for emergency drainage of water is filled.
If you have recently cleaned the drain filter, make sure that the trash can “lid” is straight and firmly locked in place.
If the drain filter plug is screwed on correctly, inspect the area where the drain hose connects to the pump. To do this, you need to look under the washer. Often this joint begins to leak due to a loose clamp or the formation of cracks in the fitting. Usually, it is enough to lubricate the cracked area with a moisture-resistant sealant. It is much safer to replace the entire snail.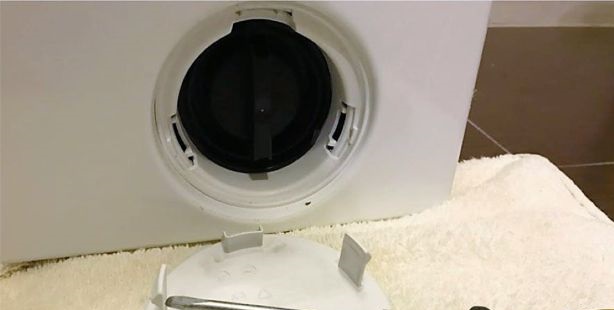
Powder box or tube
Even if a puddle forms under an automatic machine, the source of the leak may be located much higher from the floor level. Therefore, the powder receiver will be next in line. Carefully inspect the detergent drawer; it is probably very dirty, which is causing it to overflow. When water encounters an obstacle on its way, it does not go in, but flows out of the washer.
Checking the powder tray is very easy. It is necessary to fill its compartments with water, wipe the bottom with a napkin so that it is dry.Next, watch the cuvette - if it is really leaky, you will notice how droplets appear from below.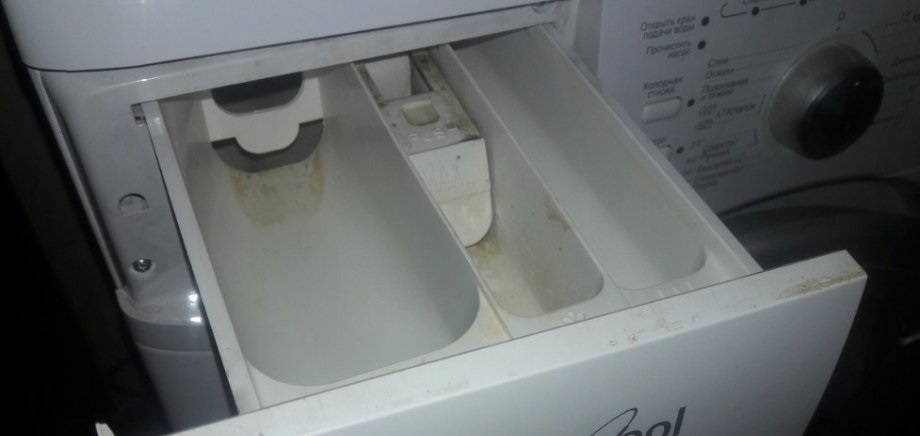
The inlet valve pipe may begin to work incorrectly even on washing machines that have been in use for 1-2 years. Some manufacturers are trying in every way to reduce their costs by equipping machines with low-quality components. Therefore, even during careful operation, the first malfunctions may be observed after a short time.
If the washer starts leaking immediately after starting the cycle, the water intake valve connection is probably to blame.
For diagnostics, you will need to remove the “cover” of the machine body. Locate the inlet valve and inspect the pipe. The fixing clamps have probably loosened or cracks have formed on the surface of the hose. You can replace the tube yourself.
Sometimes a leak occurs due to damage to the drain pipe connecting the tank and the pump. To confirm or refute this guess, you should look under the washer. If smudges are visible on the corrugation, you will have to install a new, whole element. Sometimes it is enough to simply tighten the clamps at the joints.
The cuff is torn, the tank is leaking
The worst thing is if the cause of the leak is a crack in the tank. It is usually impossible to cover the hole with sealant or put a “patch”; you will have to buy a new “reservoir”. Such repairs will be quite expensive for the owner of the machine.
A hole in the plastic can occur if a sharp object gets into the space between the tank and the drum. For example, a bra wire, a bobby pin, a self-tapping screw, a paper clip. That’s why it’s so important to wash underwear in special bags and carefully check the pockets of items before putting them in the machine.In addition, holes are formed when heavy shoes are frequently washed in a machine.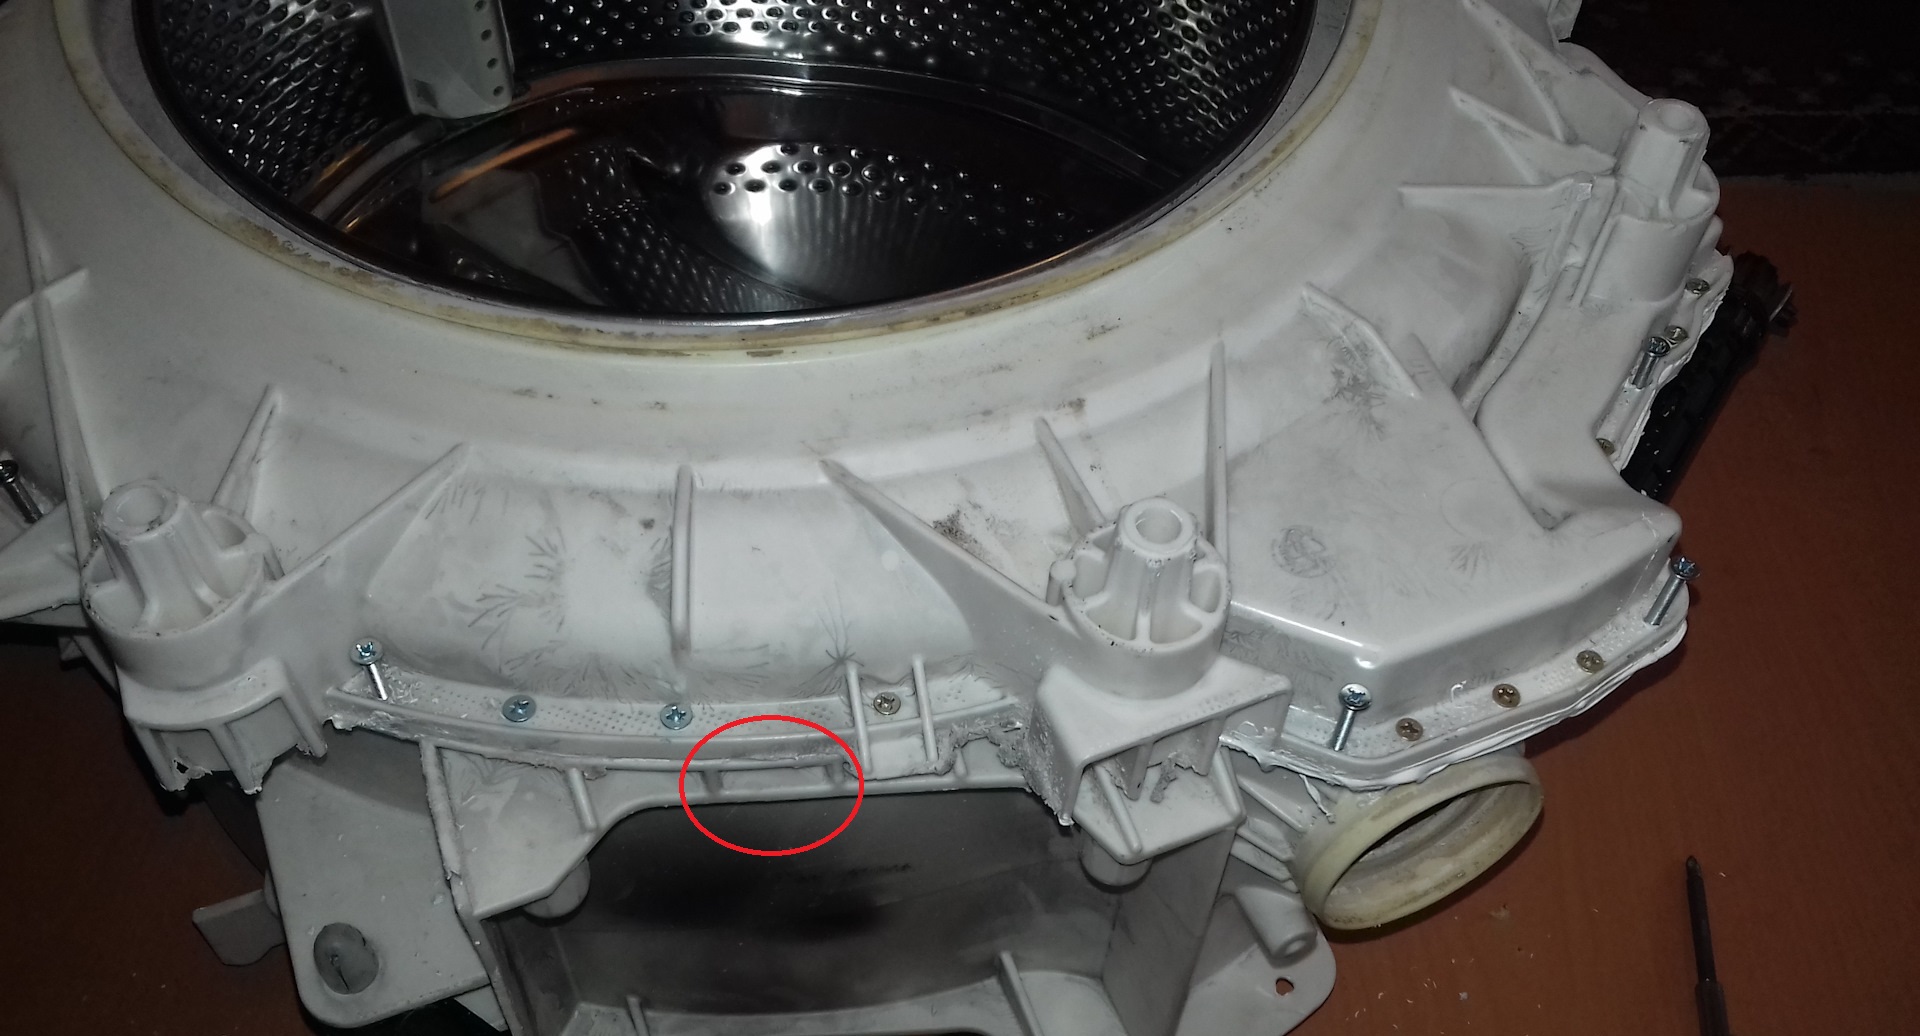
When streams flow out from under the hatch door, you need to inspect the cuff. If small cracks are noticeable on its surface, you can treat them with a special waterproof glue. When the defect is significant, it can be “fixed” with a rubber patch. In extreme cases, the seal can be replaced entirely - the part is inexpensive and quite easy to install.
It is up to the user to prevent rapid wear of the rubber seal. To prevent the cuff from deteriorating for as long as possible, it is important to carefully insert and remove laundry from the drum and not overload the machine. It is also necessary to ensure that no objects that could damage the gasket get inside: coins, paper clips, keys.
We carry out repairs
If you decide to repair the machine yourself, you should act carefully. First, study the documentation for the equipment. When the automatic machine is still under warranty, it is better to call the service center and call a specialist. If the warranty period has long expired, you can go “inside” yourself.
Now we will describe in detail what to do in each specific case. The algorithm of actions will differ depending on the area where the leak is located. First, let's figure out what to do if water flows out from below.
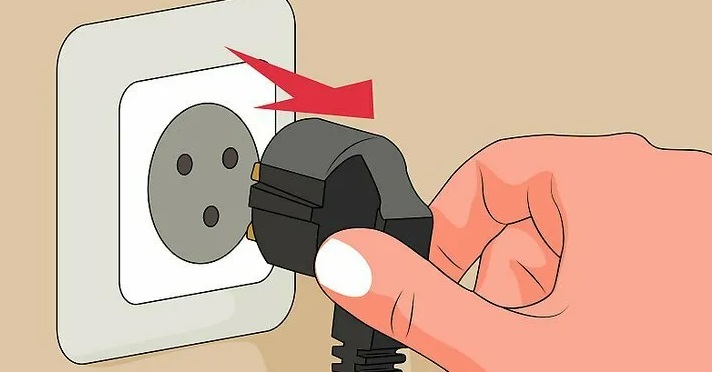
- Disconnect the device from power. You must pull the cord out of the outlet carefully, without touching the water. This precaution will help prevent electric shock. If it is impossible to pull out the plug without stepping into a puddle, you should turn off the power supply through the panel.
- Close the valve responsible for the water supply.
- Remove water from the washer using the emergency drain pipe or garbage filter.To do this, you need to remove the lower false panel or open the technical door.
- Open the hatch and remove the laundry from the drum.
- Find out the cause of the breakdown and begin troubleshooting. So, if the pipes are damaged, replace them or lubricate them with moisture-resistant glue. When the clamps are loose, fix them tighter. If the problem is a leaky gasket, buy and install a new gasket.
After repair, an idle cycle should be started. Observe the machine during the test wash. This will help ensure that the cause of the leak has indeed been corrected.
If water is leaking from the top left corner, it is most likely the dispenser. Remove and inspect the powder receptacle. If there is a thick layer of plaque on the walls, clean it off. When the cuvette is cracked, you will have to purchase a new tray.
Also, the cause of a leak from the left corner may be too much pressure. In this situation, you just need to close the inlet valve, thereby weakening the stream of water pouring into the washer. If leaks “come out” from under the drum door, in almost 100% of cases the problem is in the cuff. Look to see if there are any cracks in the elastic, check if it has dried out. Minor damage can be smeared with water-repellent glue or disguised with special patches.
If the sealing rubber has lost its elasticity or has extensive damage, it is better to immediately install a new cuff.
When the SMA leaks during the tank filling stage, be sure to check the inlet valve pipe. To do this, you need to remove the “cover” of the machine body. If defects are discovered, it is better to immediately install new hoses.
Sometimes a leak at the beginning of the cycle is caused by the tank filler pipe. After removing the top panel of the washer, look for any drops at the connections.If you find any leaks, you need to unhook the hose, clean the mounting area from residual sealant, wipe it dry, re-treat the base of the tube with special glue and put it back, securing it with clamps.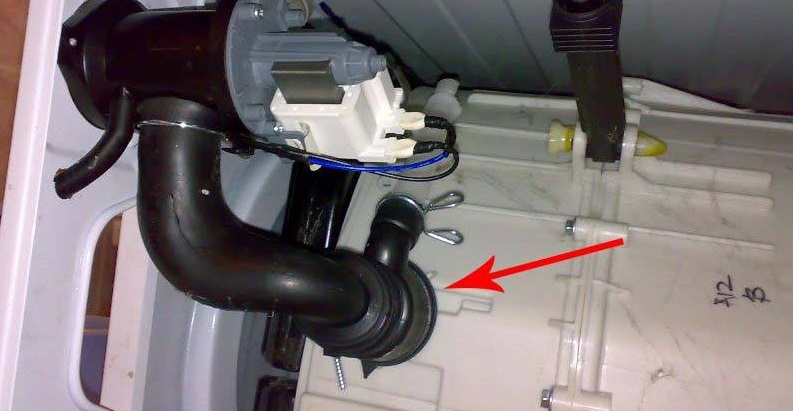
When it comes to a damaged tank, you need to almost completely disassemble the automatic machine. It will be difficult to remove the unit from the washer alone, so you will have to call an assistant. If the crack is significant, be sure to replace the entire plastic tank. Small defects can be covered with a special sealant.
Sometimes the washing machine starts leaking during the spin cycle. In such a situation, with a high degree of probability, we can talk about damage to the oil seal and wear of the bearing assembly. To get to the elements, you need to disassemble the tank of the machine.
During the repair process, you will have to unhook the top, rear and front panels of the case, remove the “tidy”, disconnect all wiring from the tank, pipes connected to it, sensors, etc. The work of replacing the oil seal and bearings is considered quite difficult. Therefore, it is better for complete “newbies” to seek help from specialists.
Interesting:


Reader comments
- Share your opinion - leave a comment
Categories
Washing machine repair


For buyers


For users


Dishwasher


Add a comment