How to remove the drum from an Ardo washing machine?
 In most cases, you can repair the washing machine yourself - you just need to understand how the machine works, where the parts are located and what they are responsible for. For example, you can change the bearings with your own hands; to do this, you need to remove the drum on the Ardo washing machine. The same actions will have to be performed, for example, if the tank breaks down. Let’s figure out how to remove the “centrifuge” and what tools will be needed during the work.
We stock up on tools and patience
You don’t need any “unique” tools to remove the drum; a standard set found in every home will suffice. During the work process, you will need a pair of screwdrivers (Phillips and minus), a small hammer, a screwdriver, a drill, a set of hexagons, pliers, and a hacksaw. In addition, you will need WD-40 aerosol lubricant, silicone sealant (for subsequent assembly of the tank), a marker and several screws.
It is better not to buy components that need to be replaced in advance, as it is easy to make a mistake with their labeling. It is much more correct to first disassemble the washing machine, remove the parts, and only then purchase new elements. Having collected all the tools that will be required to disassemble the machine, it is worthwhile to start preparing the machine and the workplace. The upcoming repairs will take a lot of time, so it is better to equip yourself with a full-fledged home “workshop” so that nothing interferes with your work. The ideal option is to take the car to an empty garage and perform all the manipulations with it there.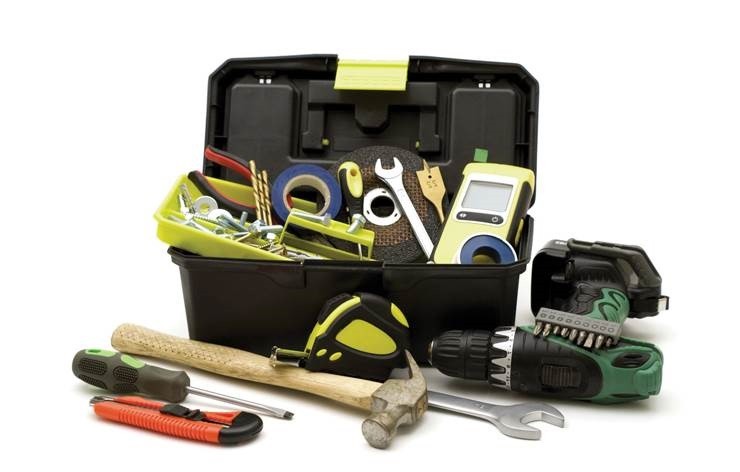
If you can’t work in a garage, you can set up a space at home.The unit should be moved to a spacious room where 3-4 square meters will be free. It is better to cover the floor under the machine with film or old rags. When everything is ready, you can start disassembling the body of the Ardo washing machine.
Removing parts around the tank
When working with household appliances, it is important to follow safety regulations. Be sure to disconnect the washing machine from the power supply, turn off the water supply tap, and unhook the drain corrugation and inlet hose from the body. Then you need to drain the remaining water from the system:
- prepare a small container to collect liquid;
- open the technical hatch in the lower corner of the machine;
- place a basin under the body of the washing machine, in the area where the garbage filter is located;
- unscrew the “plug” of the garbage bin;
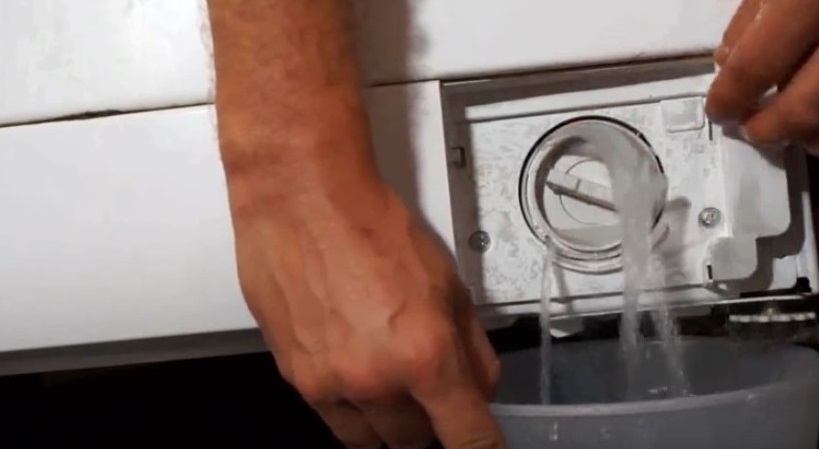
- collect water in a container;
- Rinse the filter under running warm water and dry. The fixing element must be screwed back in after the repair work is completed.
When disassembling the washing machine, it is important to photograph the wiring diagram, sensors and pipes, so as not to make mistakes during reassembly.
After turning off the power to the washer and draining the water from the system, you can begin disassembling. The algorithm of actions will be as follows:
- unhook the “top”. To do this, you need to unscrew a couple of bolts securing the cover at the back. To remove the panel, you need to move it slightly back from the control panel and immediately pull it up;
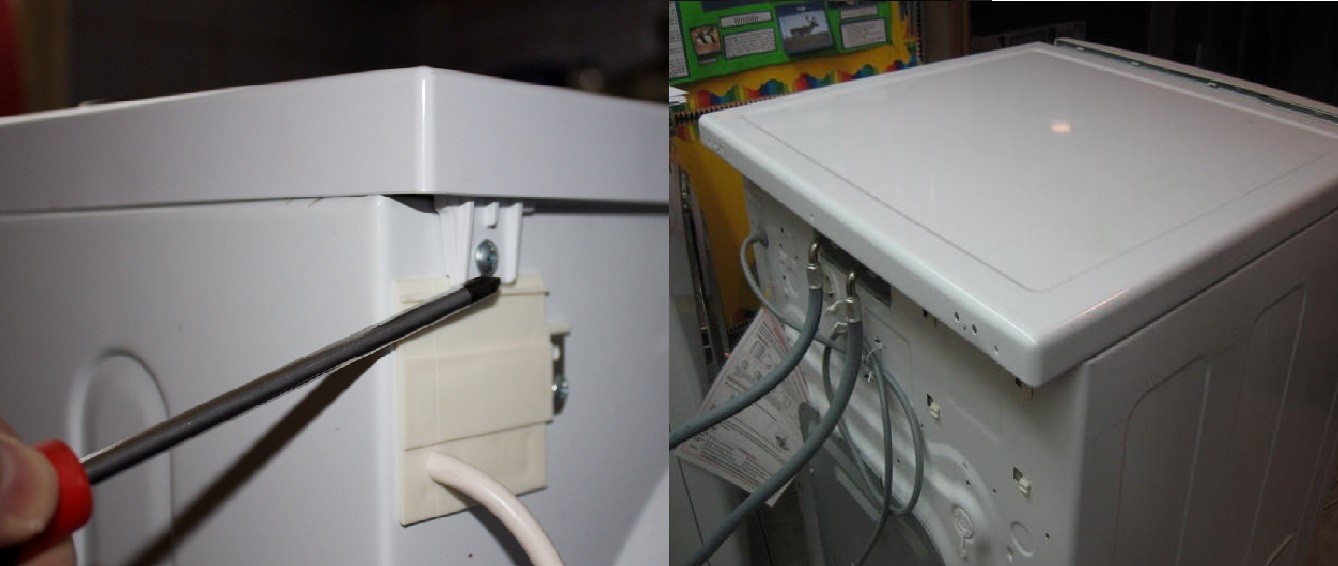
- Unscrew the screws located around the perimeter of the rear wall of the case. Remove the panel and set aside;
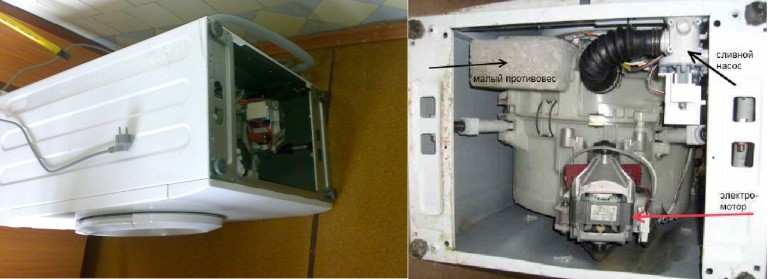
- inspect the “insides” of the machine. Before your eyes there will be a tank, a pulley, a motor, and a drive belt. If there are rusty smudges on a plastic container that “come out” from the center, we can safely say that the oil seal is worn out and the bearings are damaged;
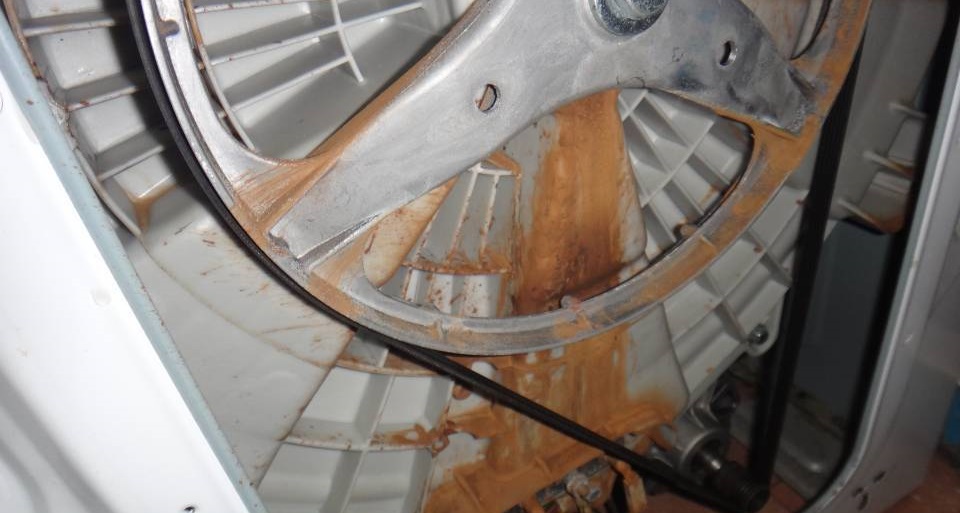
- remove the drive belt from the pulley;
- disconnect the wiring connected to the tank. This is the power supply for the heating element, thermostat and engine;
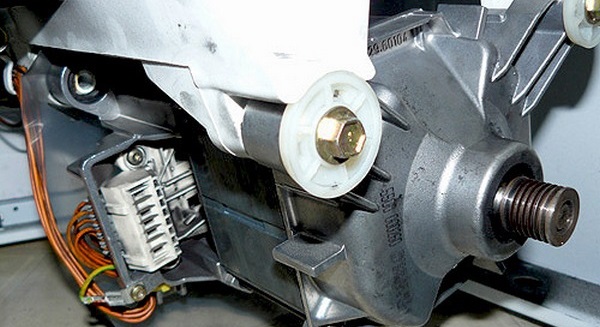
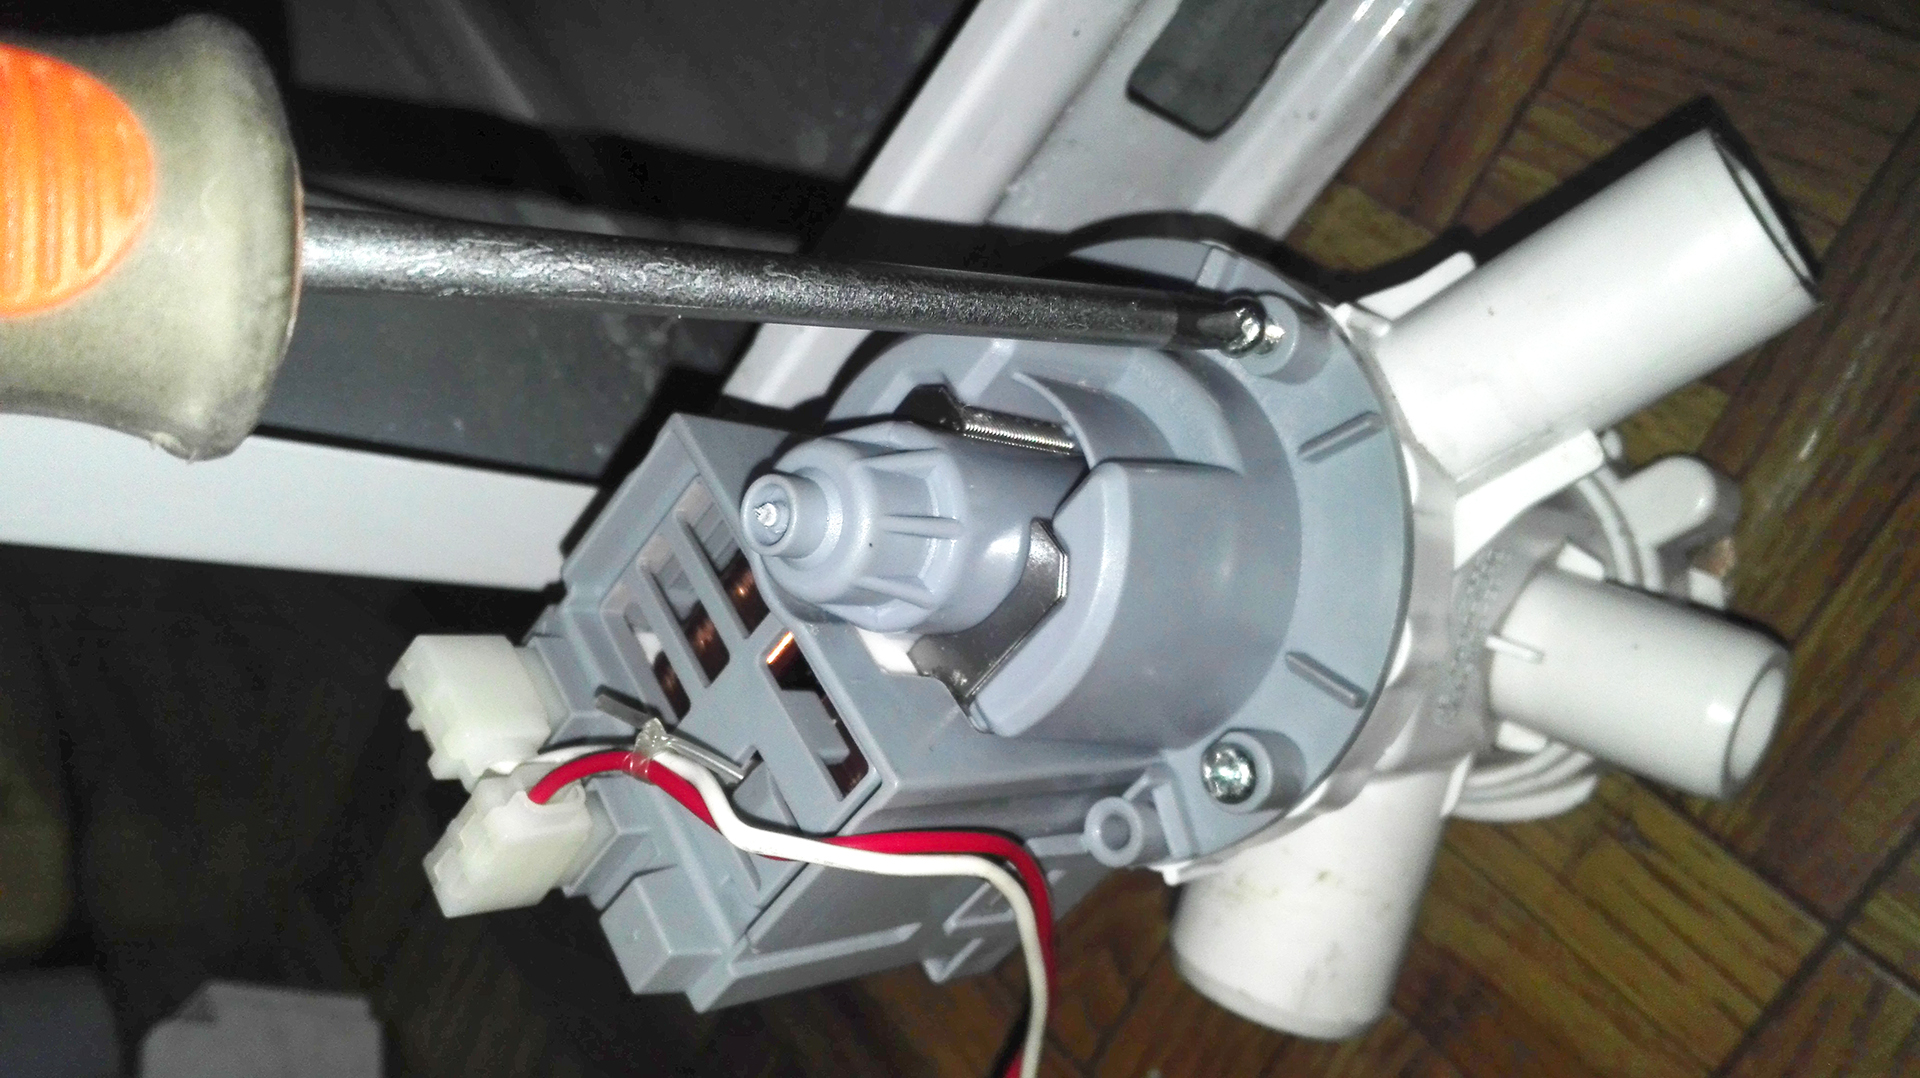
- unscrew the screws securing the washing machine motor;
- loosen the central nut of the heating element, then remove the tubular heater from the unit;
- remove the counterweight using a hex wrench. The concrete block is located on top, directly under the machine cover. It is necessary to weigh down the washing machine. Due to the “stone”, the machine does not jump during operation and vibrates less during spinning;
- Unhook the hose and wiring from the pressure switch. Then carefully remove the water level sensor from the housing;
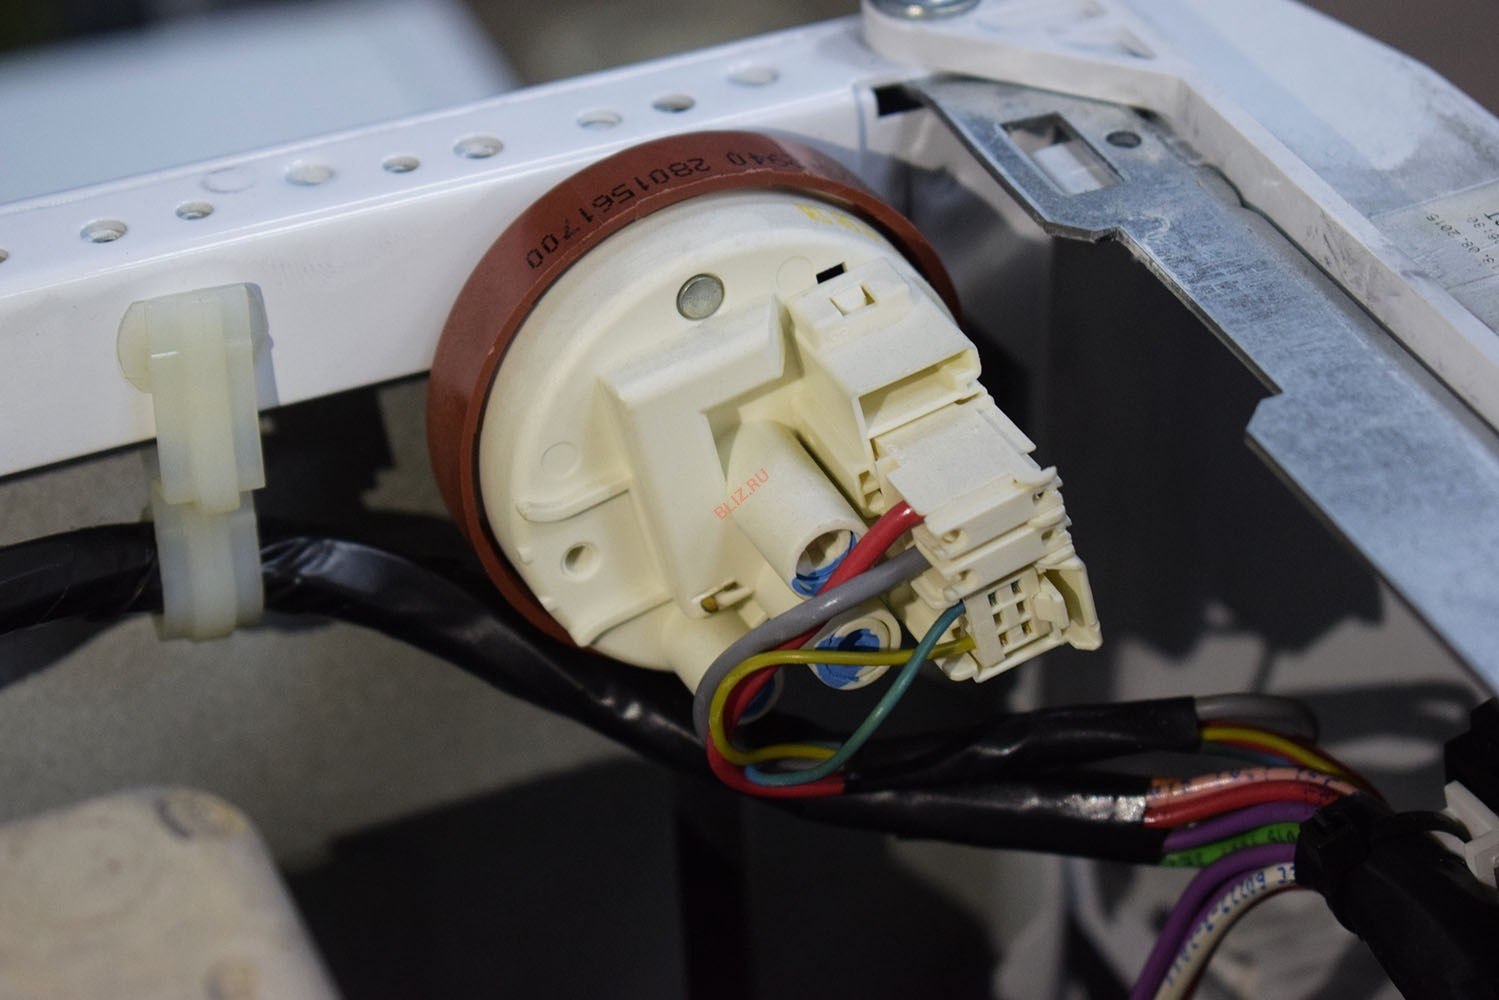
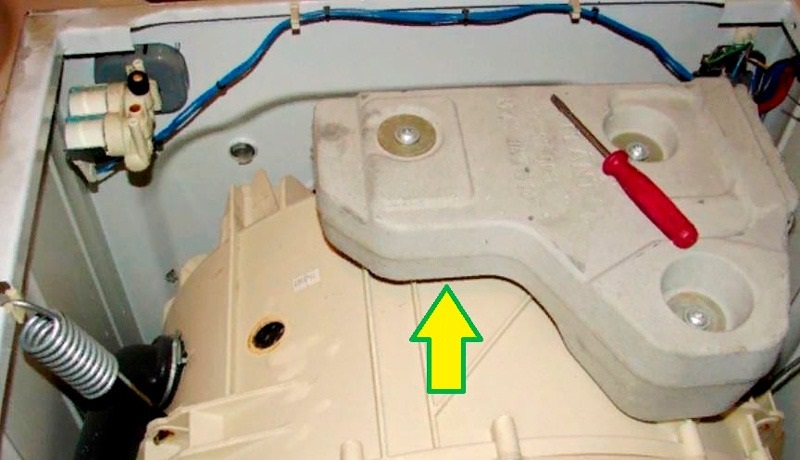
- remove the powder container;
- loosen the clamps securing the pipes directed to the powder receptacle. After this, remove the detergent dispenser “hopper” from the machine;
- Carefully lay the machine on its right side. If Ardo has a bottom, unscrew the screws and remove the tray;
- Unscrew the bolts located to the right and left of the garbage filter;
- push the snail, where the filter is inserted, into the machine body;
- disconnect the wiring from the drain pump. Loosen the clamps and disconnect all pipes from the pump;
- remove the pump from the washing machine;
- take out the electric motor of the machine. Since its fasteners were already unscrewed earlier, all that remains is to move the motor back and pull it down;
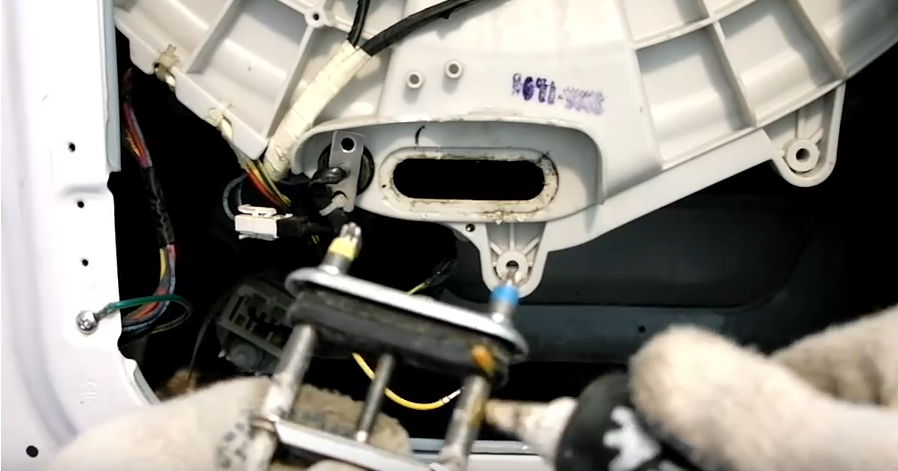
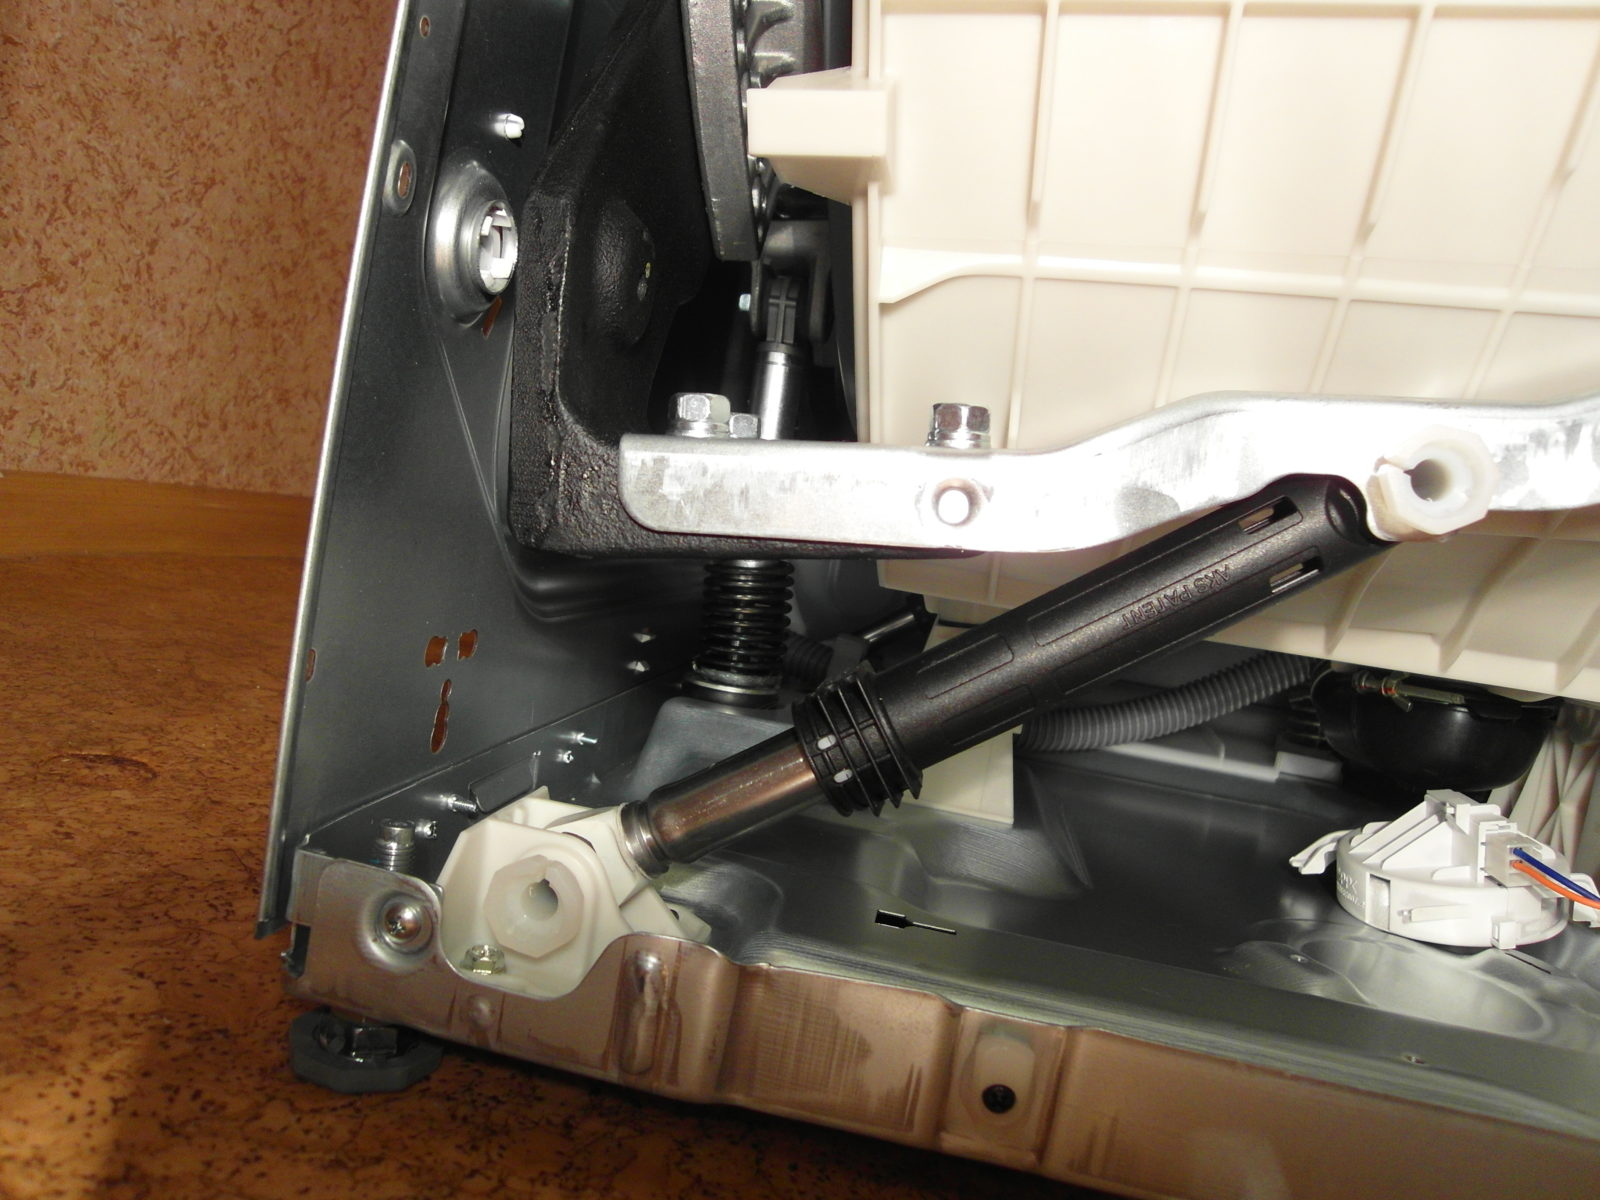
- Unscrew the shock absorbers that support the tank.
Now nothing prevents you from removing the tank and drum from the Ardo automatic machine. All main elements and sensors are disconnected from the plastic container. We'll tell you what to do next.
Dismantling and disassembling the tank
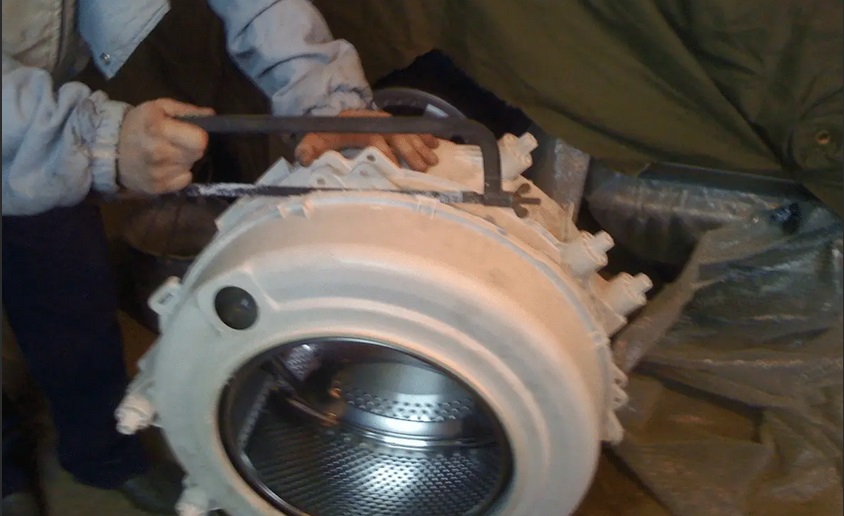
At this stage, the Ardo washing machine is lying on its side - you need to put the machine on its legs.You need to be very careful when returning the device to a vertical position, since the “tank-drum” assembly is now held in the housing by just a couple of springs.
If the control module prevents the drum from being removed, the board must be removed.
Removing the electronic unit is easy. It is necessary to unscrew the board fasteners and remove the control module by releasing the latches. At the stage of removing the plastic container, it is better to call an assistant. Pulling out the drum with four hands is much easier. You should grab the tank, remove it from the shock-absorbing springs and remove it from the washer through the top.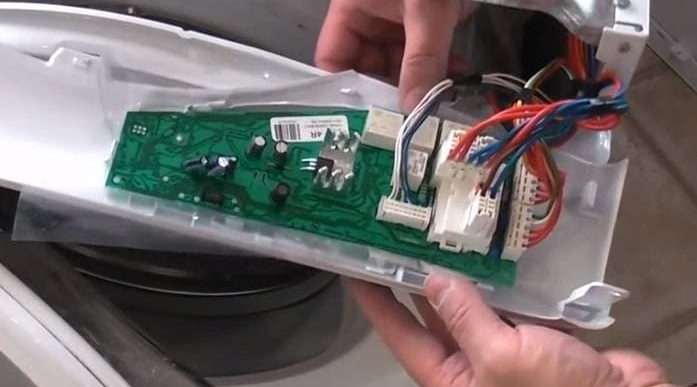
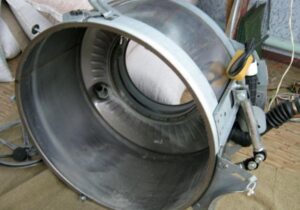
Now all that remains is to “get” inside the plastic tank, that’s where the drum is “hidden”. The main difficulty is that Ardo washing machines are equipped with non-separable tanks. However, such an unpleasant “surprise” will not prevent you from repairing your automatic machine.
Of course, monolithic tanks complicate the repair of washing equipment. It’s easy to understand why the manufacturer equips machines with just such components - this allows them to reduce the cost of equipment. Another reason is that the manufacturer hopes that even in the event of a trivial failure of the bearing assembly, the user will have to buy either a whole replacement tank or a new automatic machine. And this is a good profit for the seller.
However, craftsmen and DIYers have long figured out how to repair an automatic Ardo machine without purchasing expensive components. To remove the drum, you need to carefully cut the tank, replace the necessary parts, and then glue the halves together with a special waterproof compound. The algorithm of actions will be as follows:
- inspect the plastic container. Find where the factory connecting seam is;
- Using a marker, mark a line along which you will cut the tank. It should go straight along the weld seam;
- using a drill with a thin drill, make several holes along the intended strip, at a distance of 3-5 cm from each other;
- Using a hacksaw for metal, halve the tank, moving strictly along the marks;
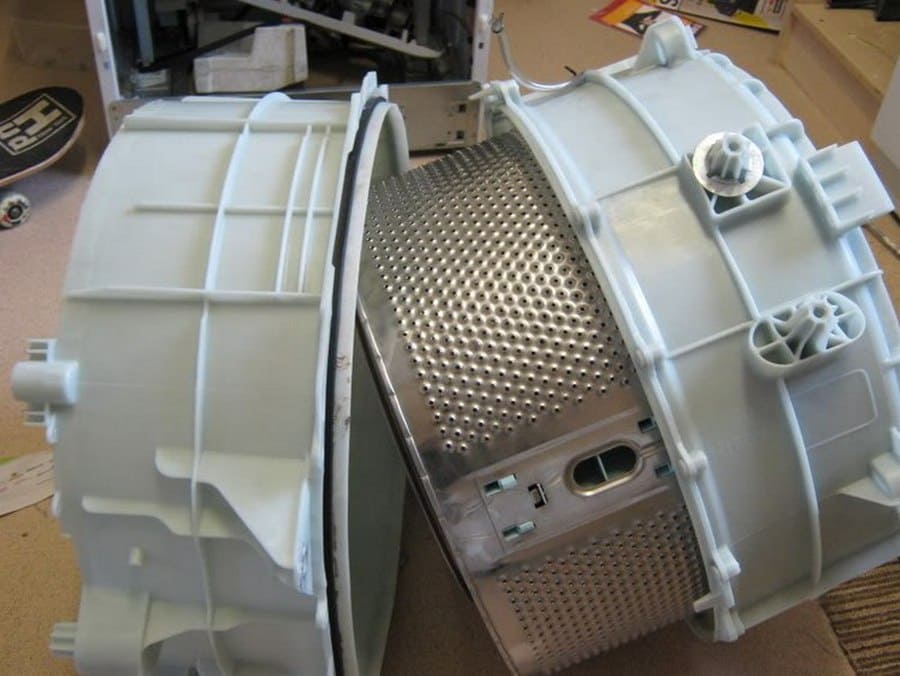
- remove the top of the tank;
- turn over the bottom half of the tank to find the wheel that secures the drum to the plastic;
- remove the fasteners and remove the drum;
- install the oil seal and bearings (or other elements that need replacement);
- assemble the structure: secure the drum in the tank, then connect the halves of the plastic container together.
To reliably “glue” the sawn parts together, craftsmen use moisture-resistant silicone sealant.
The seam area should be degreased and a layer of sealant should be applied to it. After this, you need to lay the upper part on the lower one and press on the halves for several minutes. It is strongly recommended to further strengthen the structure with self-tapping screws. Now all that remains is to return the tank-drum assembly to its place, install all the previously removed parts, connect the wires and pipes. Photos taken while disassembling the machine will help you do everything right.
The process of removing the drum from the washing machine is quite labor-intensive. However, by carrying out the repairs yourself, you will be able to save a decent amount of money, which a service center technician would have charged for his services. If you do not deviate from the instructions and strictly follow the recommendations, even a “newbie” will succeed, and the machine will work as before.
Interesting:


Reader comments
- Share your opinion - leave a comment
Categories
Washing machine repair


For buyers


For users


Dishwasher


Add a comment