How to remove the drum from a Samsung washing machine?
 The need to remove the drum on a Samsung washing machine arises if the machine is faulty and requires repair or is hopelessly broken and disassembled into parts. In any case, disassembly must be carried out consistently and carefully so that the removed tank and other parts of the washing machine are not damaged during the dismantling process. To reduce risks and avoid surprises, you should follow the instructions.
Don't rush to get to work
It is not difficult to remove the drum from the washing machine without completely breaking the unit. The main thing is to act consistently and thoroughly prepare for dismantling. The preparation process necessarily includes the following steps:
- determine the location for disassembly;
- study the washing machine instructions, electrical diagram and other technical documentation;
- collect the materials and tools necessary for work;
- prepare the equipment for the upcoming disassembly.
The first step is to find a suitable room for disassembly. This should be a spacious, ventilated and illuminated place with a free area of at least 4 square meters. m. Ideally, it is recommended to take the washing machine to a garage or workshop. The floor must be covered with rags or old newspapers, which will help to avoid a “flood” and severe contamination.
When disassembling a Samsung washing machine, do not forget about safety precautions!
Next, we prepare the equipment required for dismantling and subsequent repairs:
- screwdriver or set of screwdrivers (slotted and Phillips);
- a set of wrenches and an 8 mm hexagon;
- pliers;
- pliers;
- multimeter;
- impact wrench;
- hammer;
- chisel;
- marker;
- lubricant-cleaner WD-40;
- sealant;
- CV joint type lubrication;
- rag;
- basin or other container.

If you plan to put the machine back together, it is better to take care of video or photo recording. In this situation, it is easier to track your manipulations and return the equipment to its previous state, acting in reverse order. We will talk about the dismantling process further.
Step-by-step instruction
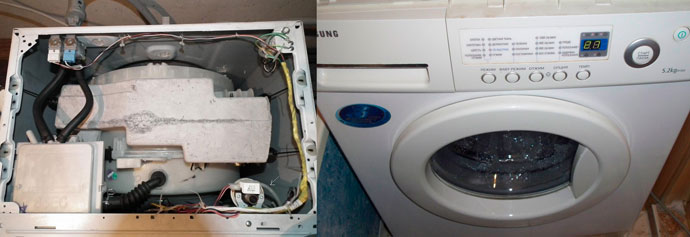
It is not difficult to disassemble a Samsung washing machine with your own hands and remove the drum if you act carefully and consistently. Having prepared all the tools and materials, you can begin to work. The main thing is to follow the given instructions.
- Disconnect the washing machine from communications: power supply, water supply and sewerage.
- Remove the cover. Using a Phillips screwdriver, unscrew the screws holding the “top” located on the rear wall of the case. Then push the panel away from you and pull it up.
- Remove the dashboard. To do this, you need to loosen all the provided latches. The first are located under the detergent tray, the others are located around the perimeter of the control unit. It is not necessary to unhook the wiring: just carefully place the “board” on top of the machine or hang it on a special side hook. But if desired, the wires can be marked, photographed and disconnected.
- Remove the technical hatch door. It is located in the lower right corner of the case and hides the garbage filter. To remove it, just pry up the panel with a flat-head screwdriver. Be prepared for residual water to pour out of the hole (it is advisable to place a container or lay a rag nearby).
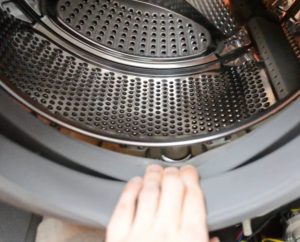
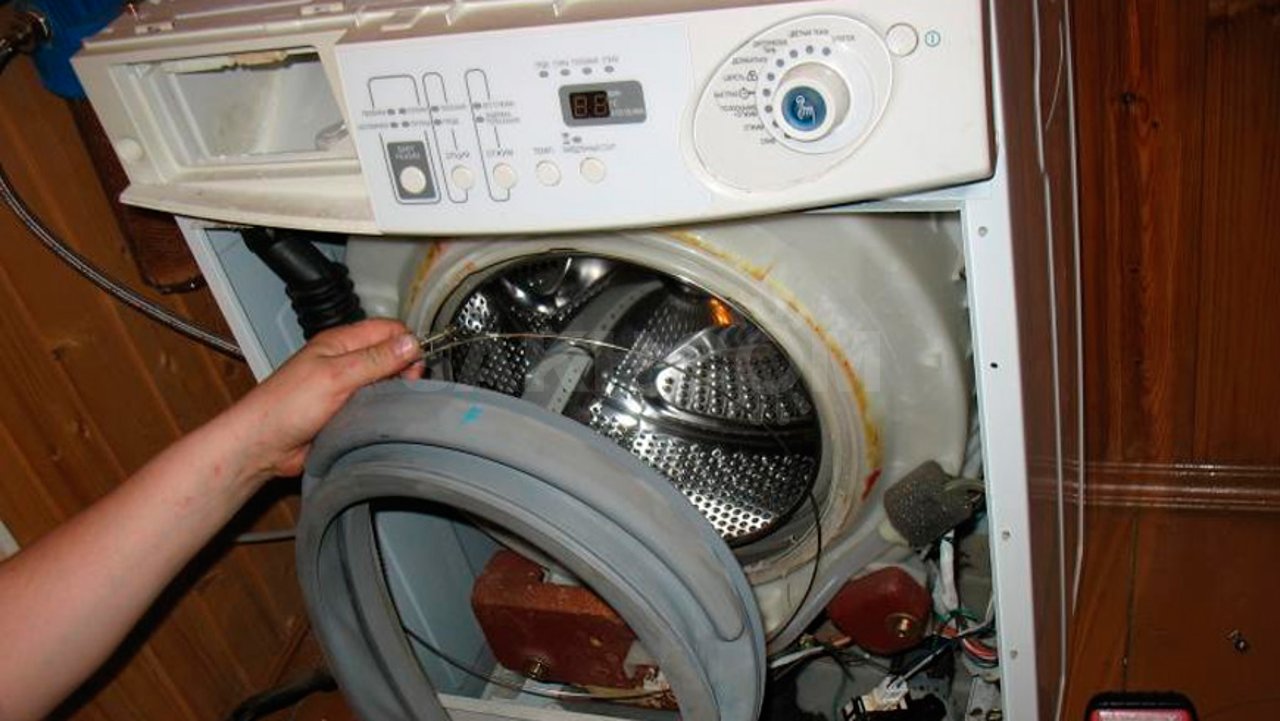
- Unhook the front wall. First, you need to loosen the metal or plastic clamp on the hatch cuff by picking it up with a screwdriver, and then bend the seal inside the drum.Then we unscrew all the screws around the perimeter of the panel and unhook it from the machine body by 2-3 cm. Through the opened space, we disconnect the liner from the UBL from the end or remove the blocker completely.
- Remove all other “obstacles”. All conductors leading to the drum from the heating element, electric motor, pump and other sensors are disconnected. It is also necessary to remove the inlet valve and pressure switch from the unit, and then remove the pipe connecting the tank and the powder receiver. You must act as carefully as possible so as not to damage the elements.
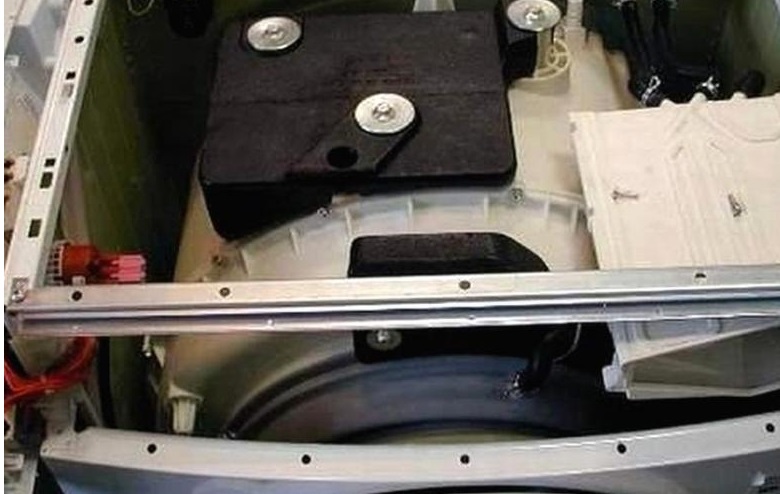
- Pull out the counterweights. Most modern Samsung models have two concrete blocks located under the top cover of the machine. It is necessary to unscrew the bolts holding them. Be careful - concrete is extremely heavy.
- Remove depreciation. First, the lower shock absorbers or dampers that secure the tank are unscrewed. The second in line are the springs that hold the drum on top.
Be prepared for the fact that the Samsung washing machine tank is heavy: it is better to enlist the help of additional hands.
Having taken the tank out of the unit, you need to place it on a flat, dry surface with the pulley facing up. Then loosen the fastening on the motor and remove the engine by disconnecting the drive belt.
When disassembling the washing machine, it is recommended to conduct a comprehensive diagnostic of the equipment and check all components for functionality. A multimeter will help with this; it can be used to “ring” all electrical components. At the same time, you can quickly clean the contaminating elements: heating elements, hoses, pump impeller, dispenser and garbage filter.
Final stage of work
Pulling out the tank is half the battle. Next, you need to open it and remove the desired drum from the “shell”.But before getting down to business, you should determine the method of connecting the tank container and the material for its manufacture. Then disassembly will be faster and without undesirable consequences.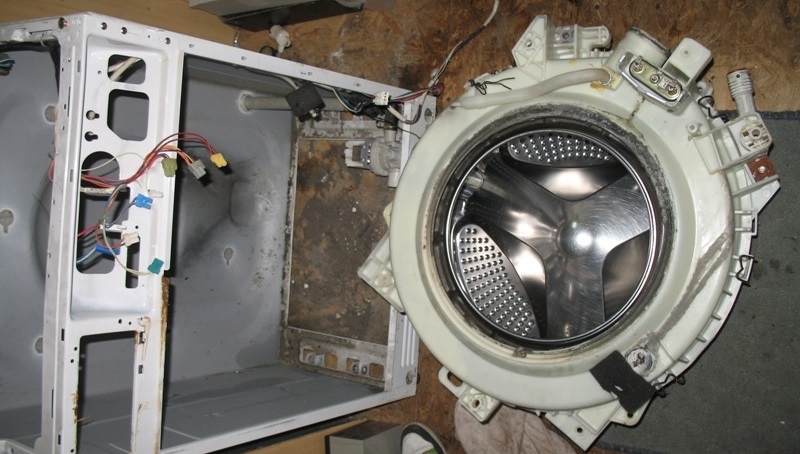
As a rule, Samsung produces washing machines with plastic and collapsible tanks, which simplifies the disassembly process. So, to halve the container, you will need to unhook the brackets or unscrew the screws around the perimeter. The first ones are pryed off with a flat screwdriver, and in the second case a screwdriver is useful.
Next we proceed like this:
- unhook the lower half of the tank (where there is no cross and pulley);
- remove the pulley from the tank by unscrewing it with a suitable wrench;
- insert a bolt into the vacant space and use a hammer to knock it out in the opposite direction;
- generously spray the hole with WD-40 cleaner.
If you cannot “knock out” the shaft, then the joint must be thoroughly treated with WD-40 lubricant and left for 15-20 minutes.
That's it, the drum has been successfully removed from the washing machine and the tank. If the goal was to repair or replace the bearing assembly, then after work it is recommended to replace the lubricant and treat all joints with silicone sealant. A container from non-working equipment can be used for other purposes by turning it into something useful.
Interesting:


1 reader comment
Add a comment
Categories
Washing machine repair


For buyers


For users


Dishwasher


Great, thank you very much. I took it apart and will change the bearing.