How to remove the drum of an Ariston washing machine
Despite the high quality of assembly, modern household appliances still need diagnostics and repair. This is often impossible to do unless you remove the drum of the Ariston washing machine. This is hard work that is usually performed by service center employees. However, with our detailed instructions, even a person without experience and knowledge can cope with this process. We will analyze in detail what tools are needed and how to remove this element from the washing machine step by step.
How will we disassemble the machine?
The most important thing is to carefully prepare for the analysis of the “home assistant”. First of all, you need to find a convenient place to work, because during dismantling you will need a lot of free space. It is best to carry out repairs in a garage or other non-residential premises, but if this is not possible, then you can simply move household appliances to the living room or other large room.
Be sure to cover the disassembly area with dry rags or towels before moving the equipment there.
When the machine is ready for dismantling, all that remains is to prepare a minimal set of tools. In our case, it will include a number of positions.
Phillips and slotted screwdrivers.
Hammer.
Bit.
Keys.
WD-40.
Lubricant for key SM components.
Additional components to repair damage.
The last item on the list of tools is directly affected by the element that has failed in the drum. For example, if you need to replace a seal with bearings, you will first have to buy exactly the same parts at a hardware store, and only then start disassembling the machine. Experts always recommend purchasing only original parts so that they fit perfectly with your Ariston washing machine. Once the device has been moved to a convenient location and the entire set of tools has been assembled, you can begin to dismantle one of the key components of the washing machine.
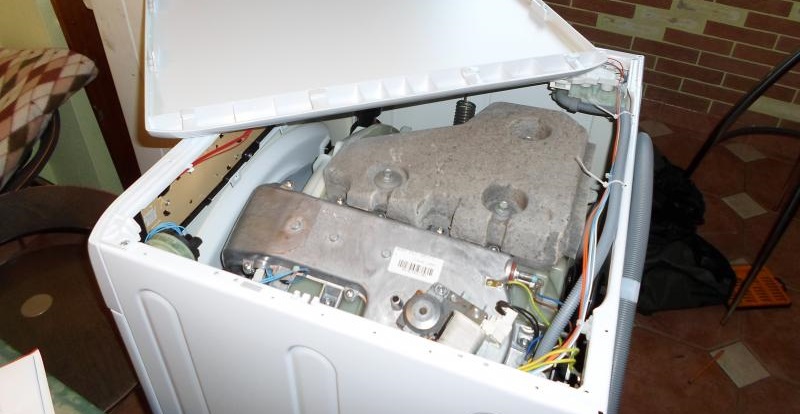
Removing the elements of the upper part of the body
Do not rush to start disassembling household appliances, because first you need to disconnect them from all communications. After this, you need to get rid of the remaining water by unscrewing the garbage filter and replacing it with some kind of container. Then proceed to the main stage of work and strictly follow the instructions.
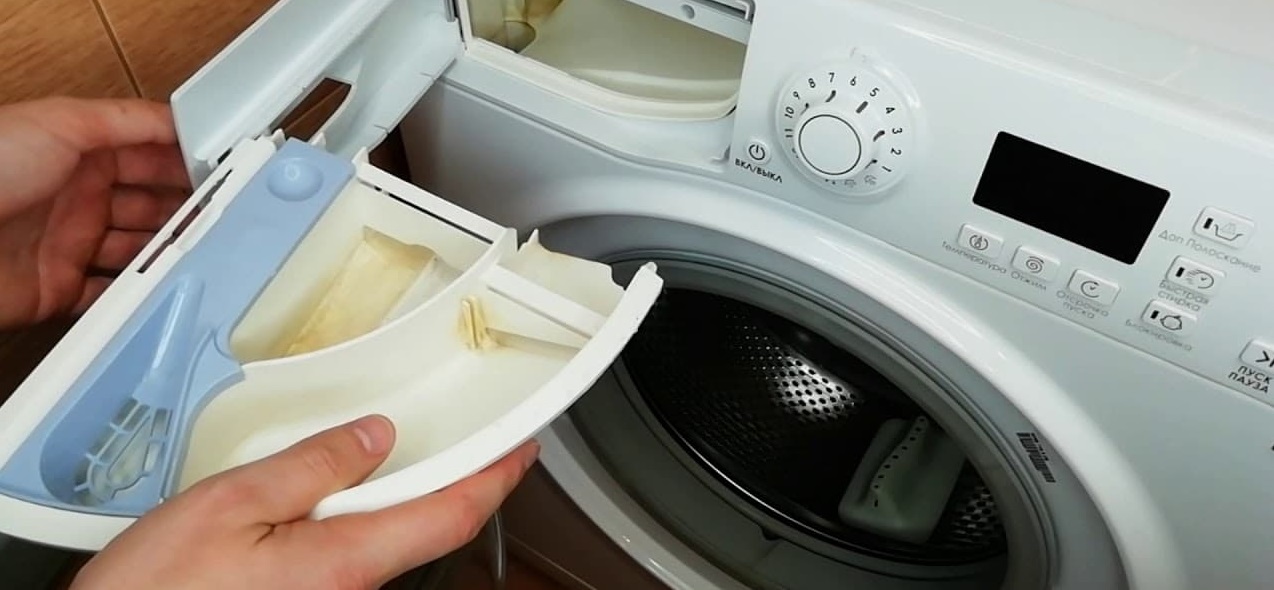
Squeeze the central latch of the powder receptacle in the rinse aid compartment to remove it easily.
Unscrew the fixing bolts that hold the top panel of the CM.
Remove the cover of the machine and set it aside.
Remove the four screws that are located on the transverse metal strip.
Using a Torx wrench, remove the counterweight and pull it out of the washing machine.
Remove the latches of the compartment for household chemicals, the pipe, and then remove the detergent dispenser itself.
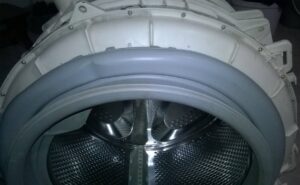
Loosen the clamp that secures the pipe to the tank and remove the part.
This way you will free the upper part of the tank from all parts that could interfere with your further work.
Tank rear parts
At this point you need to move to the back of the Ariston Home Assistant. It is necessary to carefully detach the wall to gain access to the pulley, drive belt, motor and other important components of the device. To do this you will need:
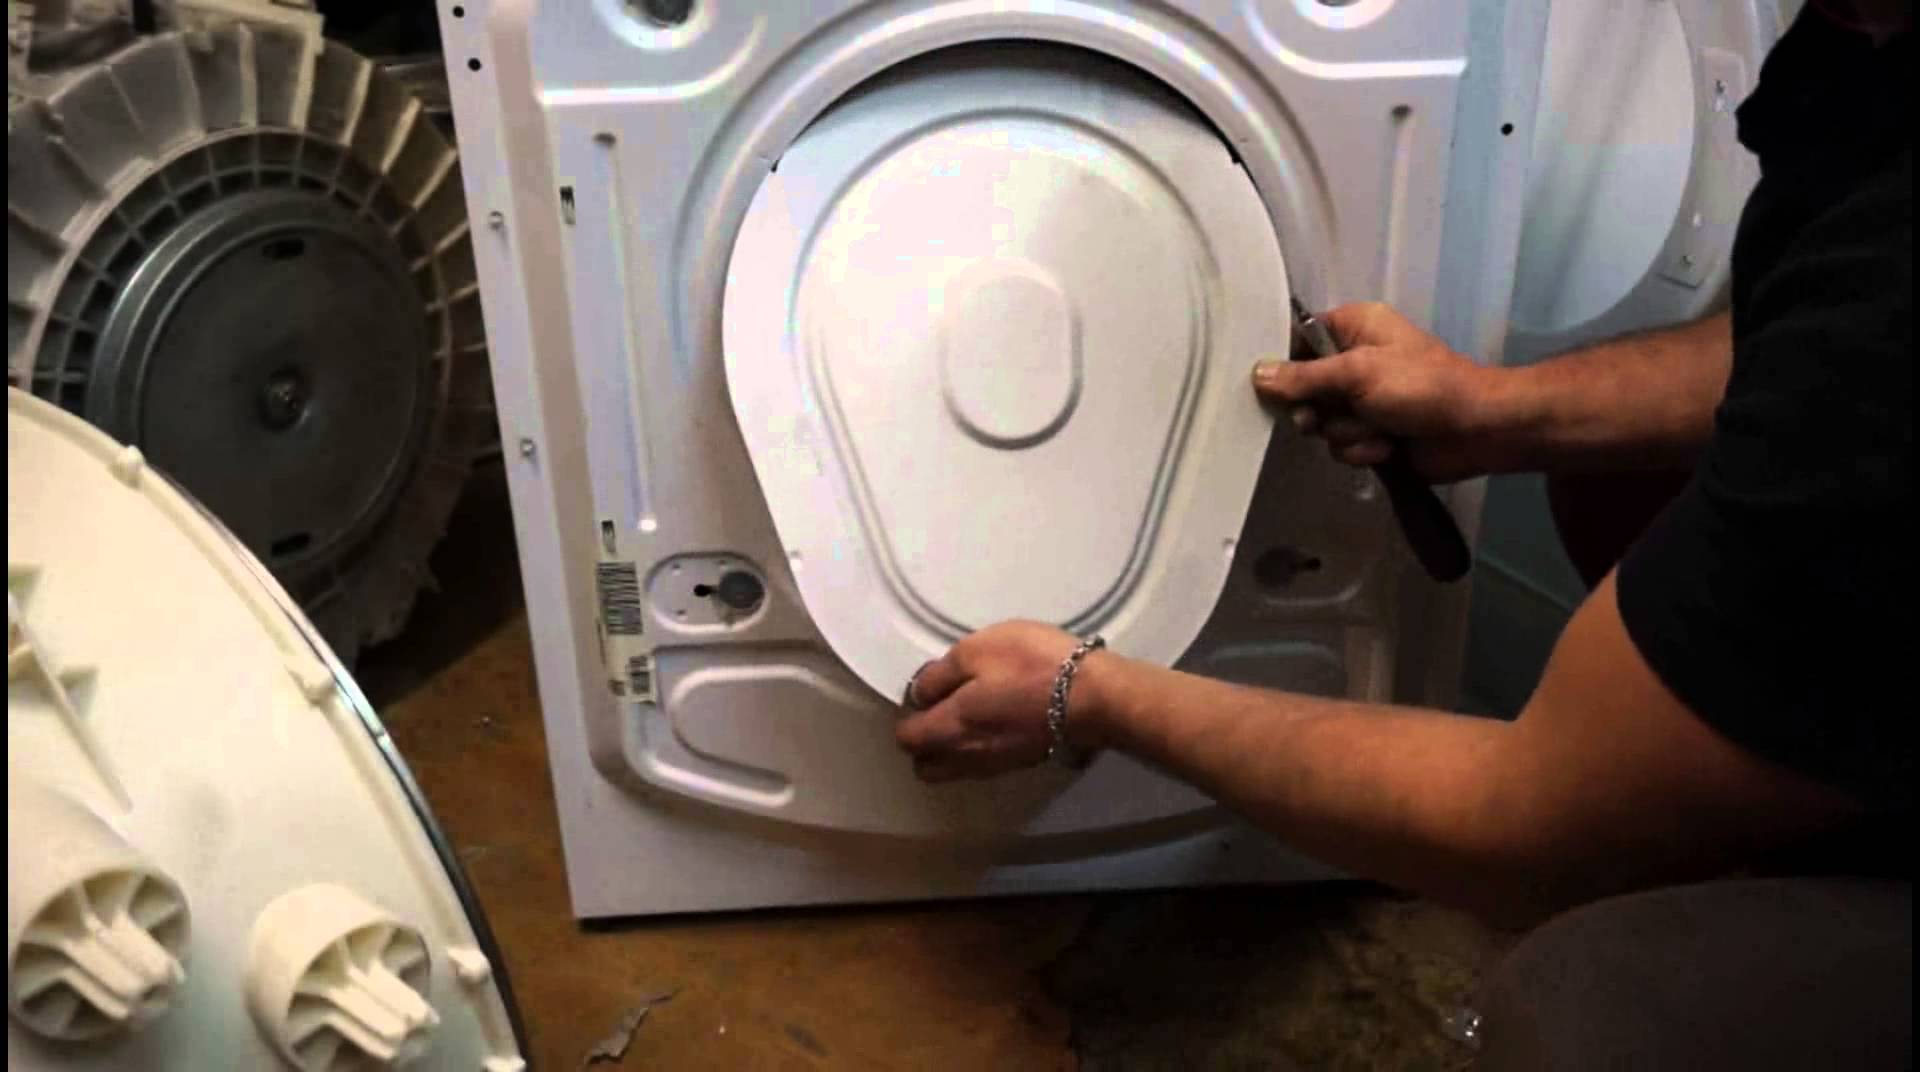
remove the bolts around the perimeter of the rear part of the SM;
remove the back wall;
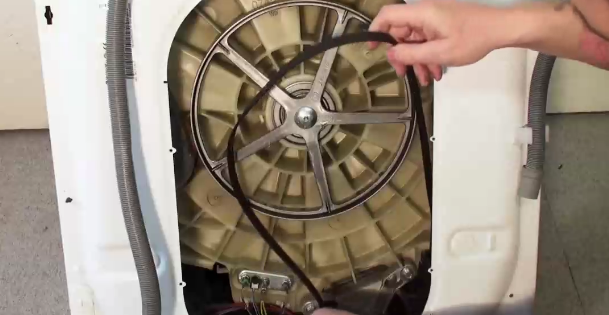
reset the drive belt;
disconnect the wiring from the water heating element;
Be sure to take photos of wiring connections to electrical components to provide an example of properly configured wiring during reassembly.
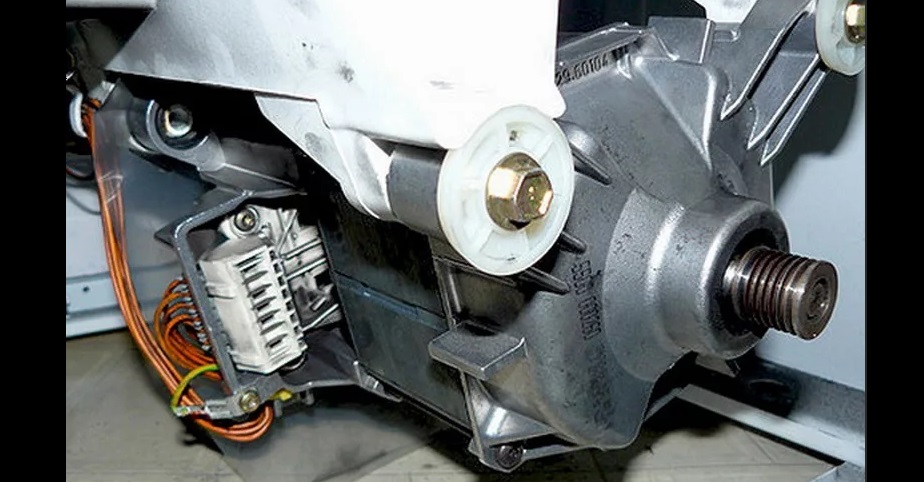
disconnect all wires from the electric motor, remove the fixing bolts and pull out the motor;
loosen the clamp of the drain pipe, and then disconnect the hose from the tank of the machine;
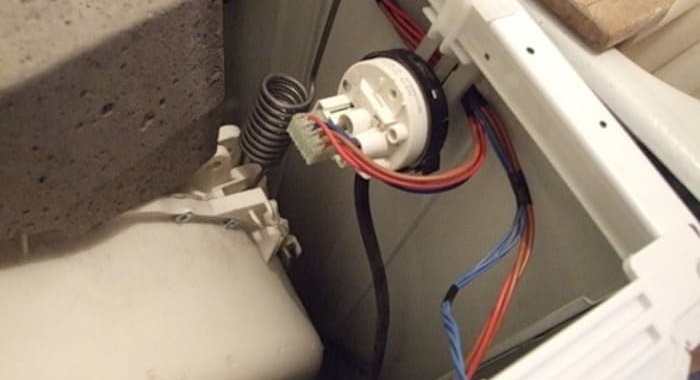
disconnect the pressure switch tube from the tank;
remove the central bolt holding the pulley and remove the drum “wheel”.
The bolt may not budge, so in this case it is better to have WD-40 on hand.
Afterwards all that remains is to remove the shock-absorbing spring fasteners. Upon completion of the second stage of dismantling, you will have access to the drum from the back and top, so all that remains is to prepare the front wall of the washing machine.
Details of the front part of the machine body
After all the manipulations done, only the cuff of the hatch door, as well as the front panel of the “home assistant,” will interfere with the removal of the drum. Therefore, without delay, we proceed to the final stage of work.
Open the hatch CM.
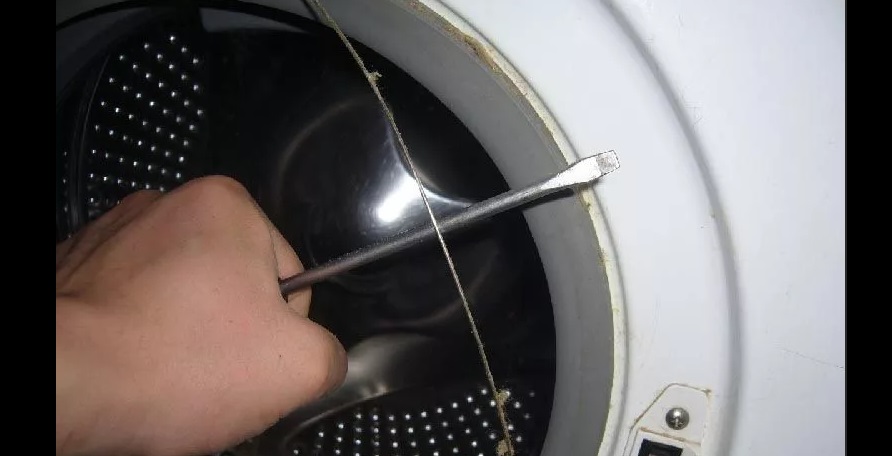
Bend the outer edge of the rubber seal.
Using a slotted screwdriver, loosen the metal clamp that secures the cuff.
Now you need to tuck the rubber band inside the drum.
Remove the bolts installed around the perimeter of the front panel of the washing machine.
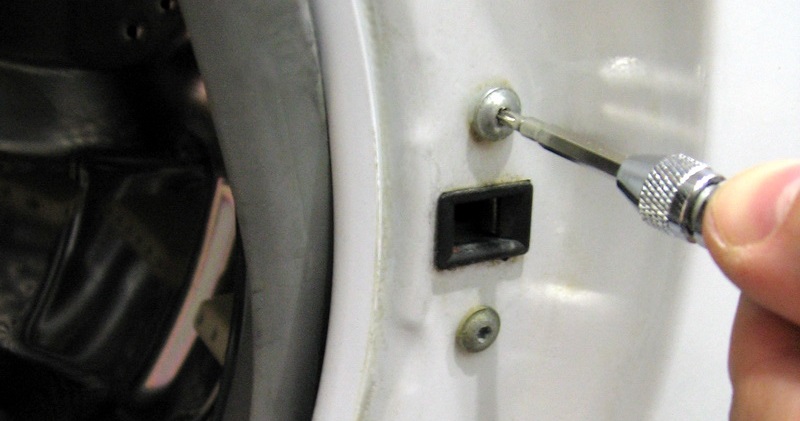
Remove the screws that secure the hatch locking device.
All that remains is to lift the front panel up a little to remove it.
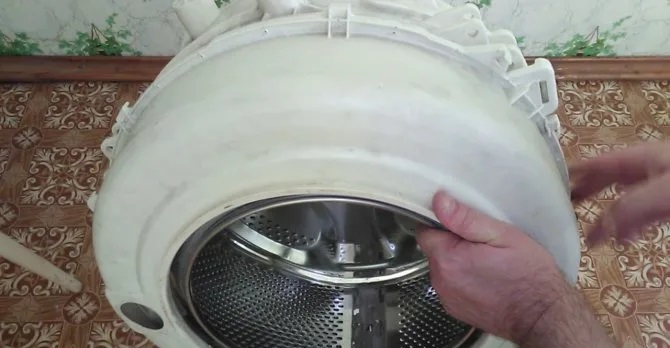
This will complete the dismantling and you will have access to the tank and drum of the Ariston washing machine. For the convenience of further work with the unit, you will need to lift the tank and remove it from the hooks. Calmly restore the functionality of the element, and then follow our instructions in reverse order to assemble the household appliance correctly.
 Despite the high quality of assembly, modern household appliances still need diagnostics and repair. This is often impossible to do unless you remove the drum of the Ariston washing machine. This is hard work that is usually performed by service center employees. However, with our detailed instructions, even a person without experience and knowledge can cope with this process. We will analyze in detail what tools are needed and how to remove this element from the washing machine step by step.
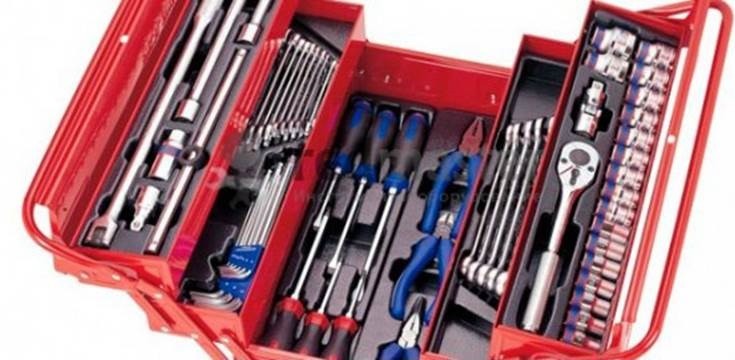


Add a comment