How to remove the impeller from the pump of an LG washing machine?
 The plastic impeller on the pump is quite fragile and often breaks, which leads to problems with draining water. Experts, in this case, recommend not saving money and replacing the entire pump. But many people want to “cheat” and extend the life of the device by repairing cracked blades. If you correctly remove the impeller from the drain pump of the LG washing machine and create a solid base for it, you can establish drainage without investment. Let's figure out what and how to do.
Removing the pump
Repairing the impeller is not easy - it will take at least an hour of painstaking work. But there are no risks, since the pump will have to be changed in any case. To get to the screw, you must first remove the pump from the washing machine. It is located at the bottom of the machine - attached to the volute, drain hose and pipes. The dismantling sequence is as follows:
Before dismantling the pump, it is necessary to turn off the power to the machine and disconnect it from the water supply!
- disconnect the washing machine from communications;
- drain the water by unscrewing the garbage filter;
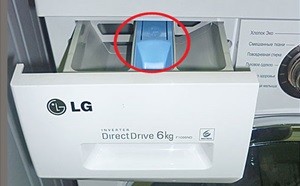
- remove the powder receptacle (pull it all the way and, holding the central latch, remove it from the recess);
- lower the machine gun to the left side;
- find the pump;
- disconnect the wires and hoses connected to the pump;
- turn the pump clockwise;
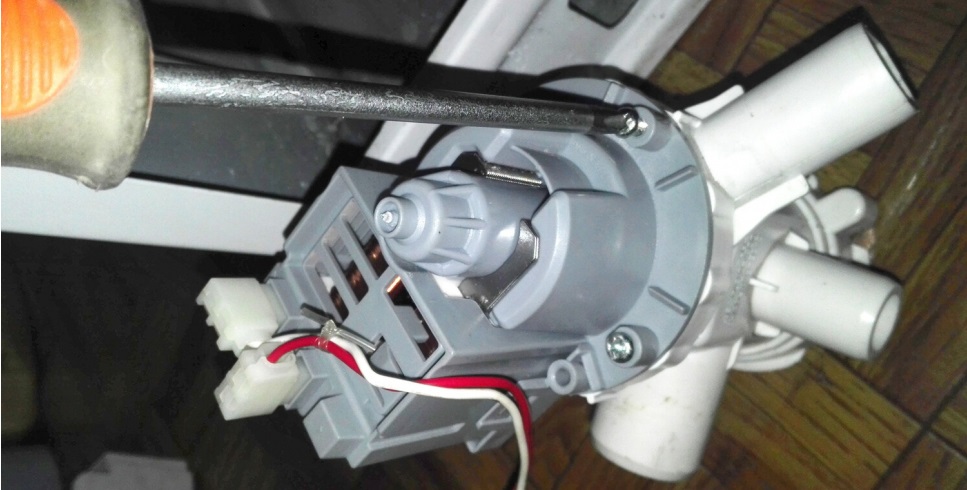
- remove the device from the grooves.
If your LG washing machine model has a tray, you will need to first disable the Aquastop system. To do this, disconnect the power supply from the float and unscrew the holding bolts. The removed pump is placed on a flat surface with the impeller facing up.
Pulling off the broken impeller
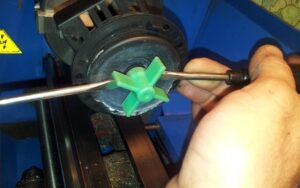
The second step is to remove the plastic impeller.In order to install a new one instead of a broken plastic one, you must act strictly according to the instructions. The algorithm is like this:
- cut off part of the plastic from the tip of the impeller (use a hacksaw);
- pull out the base along with the blades from the pump;
- fix the dismantled base in a vice;
- take two slotted screwdrivers;
- Place the screwdrivers on the bottom of the screw and press the impeller several times, moving from bottom to top.
You cannot put excessive pressure on the plastic - you need to gradually move the impeller up. As a result, its base will “fly off” from the fasteners and expose the shaft, which spins the entire system. The main thing is not to overdo it, otherwise you can break the threads on the axle and make further repairs useless.
Use WD-40 cleaner to remove stuck and rusted parts.
The next step is to remove the rod shaft from the pump. The vice is unscrewed from the tabletop, turned over and installed with the clamps down. The pump is fixed in them, or rather, its dismantled axis. Further instructions look like this: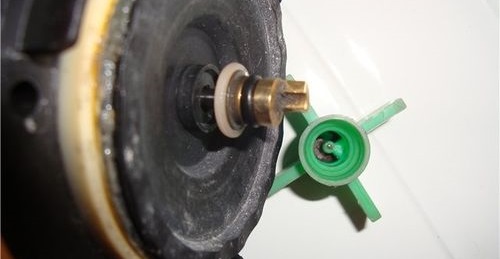
- take a screwdriver commensurate with the diameter of the shaft seat;
- insert a screwdriver into the hole mentioned;
- tap the rod with a hammer (with light but increasing blows).
After tapping, the shaft will remain clamped in a vice, and the rest of the structure can be taken apart without difficulty. But there is no need to rush to replace the impeller and reassemble it. First, it is recommended to carefully inspect the pump, clean it of debris and scale. Let's immediately pay attention to the axial rubber. As a rule, due to the rotation of the blades, it is greatly abraded. If the damage to the cuff is severe, it should be replaced.
Building a Solid Foundation
Before you can put the impeller back in place, you need to restore its solid foundation.Afterwards you can put the structure back together. The general sequence is:
- insert the shaft into the new plastic impeller (to make the part “seat” more tightly, press it with a screwdriver);
- treat all rubber seals with lithol;
- insert the shaft with blades into the rubber ring;
- clean the “socket” for installing the impeller;
- install the shaft with the blades in the “socket” (they should be magnetized to the pump);
- Lubricate the top of the impeller with sealant (where it was previously cut off).
When replacing the impeller, be sure to use sealant - otherwise water will penetrate into the pump and the pump will break.
It will take about 60-90 minutes to dismantle and reinstall the drainage device. The work will go faster if you prepare the components and tools in advance, and also first study the structure of the pump and its rotating element.
Is the impeller really damaged?
If there are problems with drainage, it is irrational to immediately begin dismantling the impeller. Damage to the propeller is a rare breakdown; more often the blades are blocked by debris, or the entire drainage unit fails. It is better not to rush into repairs, but first diagnose the drain system. Then it will become clear where the failure occurred and whether the pump requires inspection.
If the LG washing machine does not pump out water, then you need to pay attention to the following points: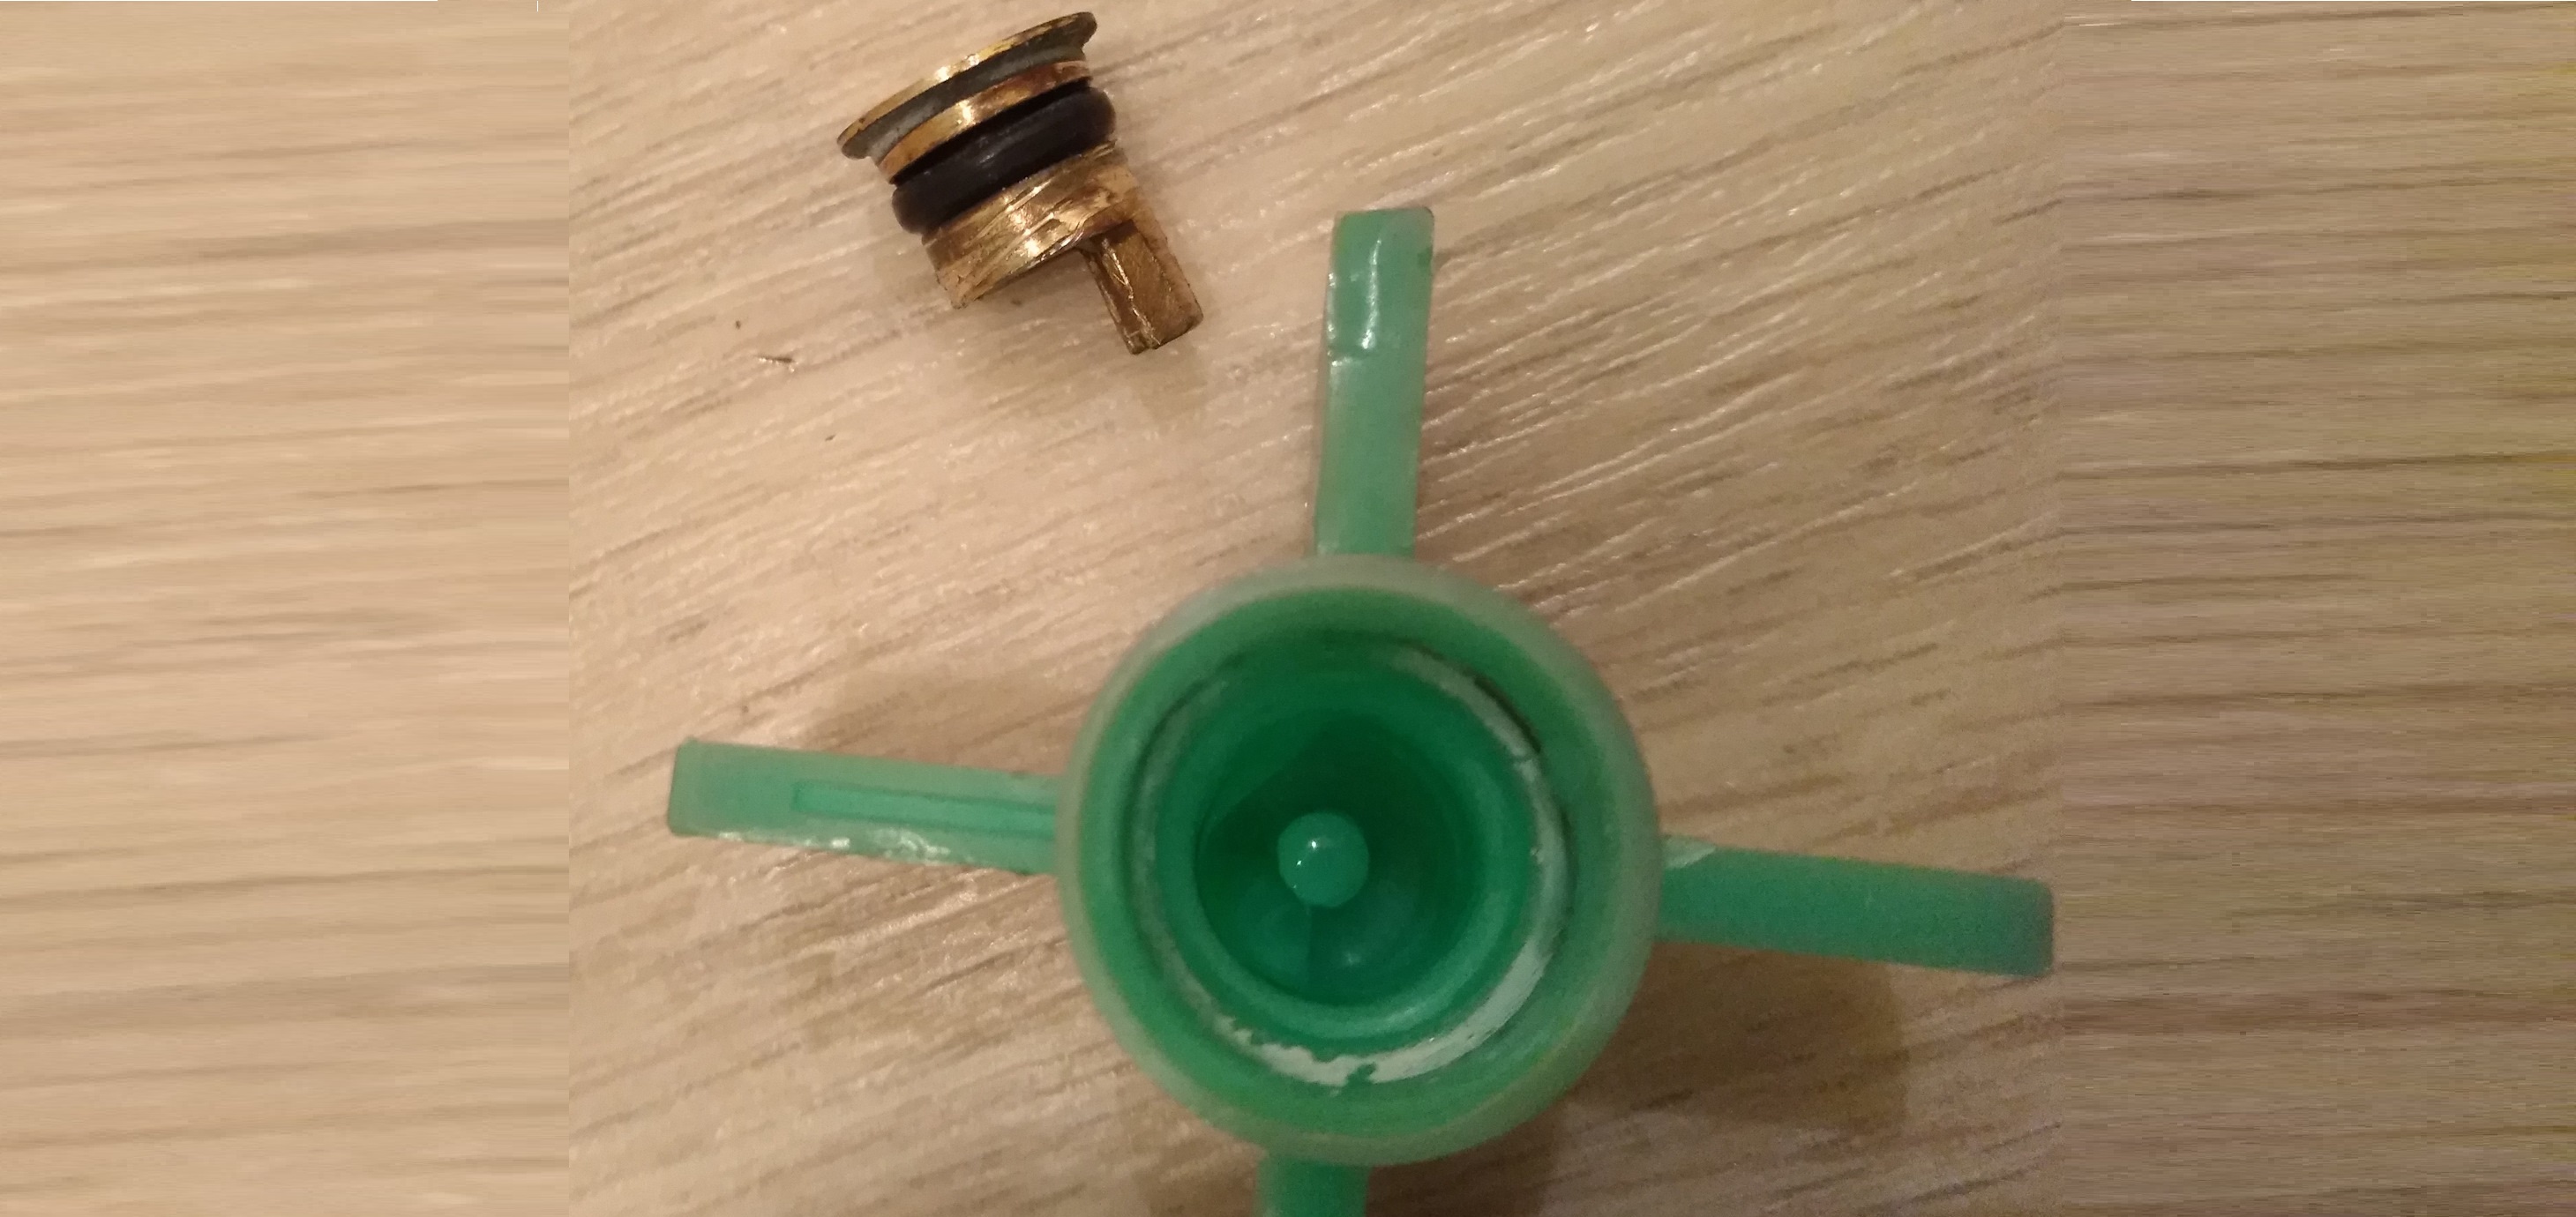
- listen to how the drain works (whether it makes an intermittent noise or hums evenly);
- check the garbage filter for blockages (perhaps it is clogged and does not allow water to flow into the sewer);
- feel the drain hose (if it is squashed or clogged, it will require cleaning);
- turn the impeller by hand (it is important to make sure that it is not slowed down by hair or debris);
- assess the condition of the sensors and wires connected to the pump (are there any burnt out or loose contacts).
A broken impeller is not a reason to replace the entire pump. If desired, you can replace the plastic separately. The main thing is to make sure that the part is broken and follow safety precautions.
Interesting:


Reader comments
- Share your opinion - leave a comment
Categories
Washing machine repair


For buyers


For users


Dishwasher


Add a comment