A special bearing puller is a rather specific tool that not every repairman can find in his inventory, to say nothing of ordinary people. Most often, washing machine bearings are removed using a regular hammer and drift, but in a situation where the bearing is deformed or covered with rust, knocking it out becomes an impossible task. In this case, it is better not to risk the “home assistant” tank, but to make a washing machine bearing puller with your own hands. Let's tell you how difficult it is to create it at home.
Materials and tools for the puller
First of all, it is worth noting that such work should not be done in a residential area. The best place to create a tool is in a garage or workshop, where there is a workbench, a vice, an anvil, as well as other simple devices.
To make a bearing puller, you need to prepare in advance a hammer, pliers, an angle grinder with a cutting and grinding wheel, a drill, a ruler, a caliper, plus, wrenches and electric welding with electrodes. As for consumables, you need to prepare a strip of metal with a length of approximately 20 centimeters and a thickness of 1 millimeter, as well as threaded rods with hex nuts.
A simple and effective homemade puller
When everything is prepared, you can start creating the tool. Follow the instructions carefully to make a high-quality device that can be used at work.
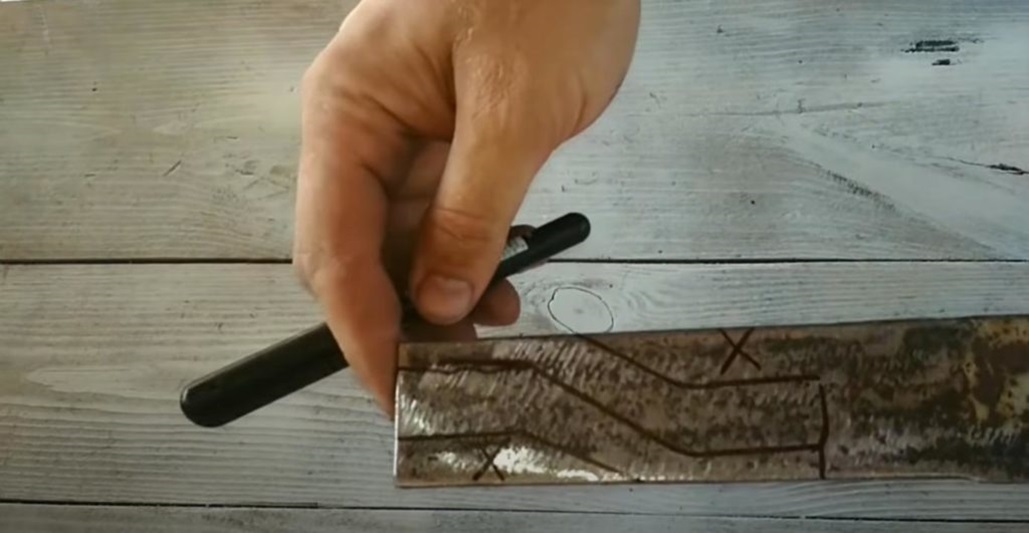
First of all, you need to prepare the hooks.Cut a piece of metal strip and mark two parts on it, as shown in the photo.
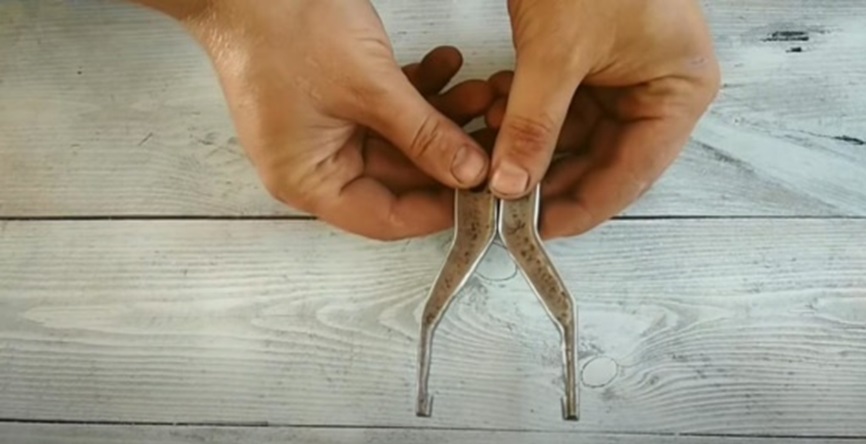
Next you need to carefully cut out the parts themselves.
Now they should be polished with an ordinary grinding wheel.
Then carefully drill holes in the parts, thereby preparing the hooks.
Return to the metal strip again to cut another blank with it, and then cut grooves on it along the edges to accommodate the hooks.
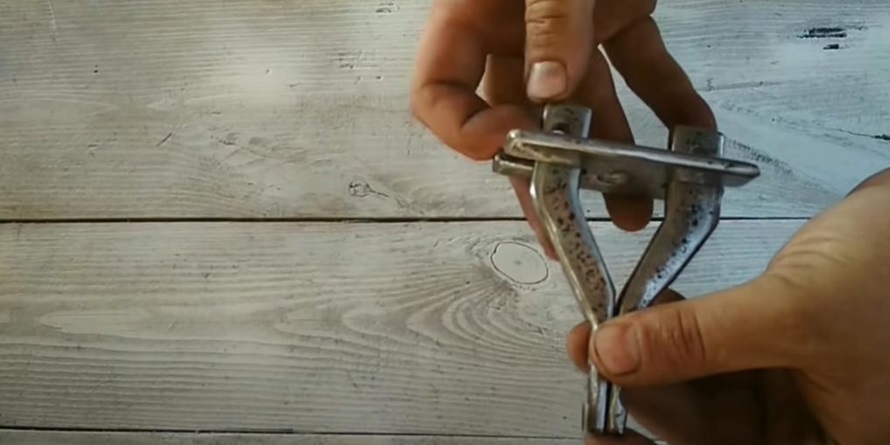
On the upper section of the plate, you need to weld some kind of ears necessary for fixing the hooks.
Alternatively, you can weld regular hex nuts to the element.
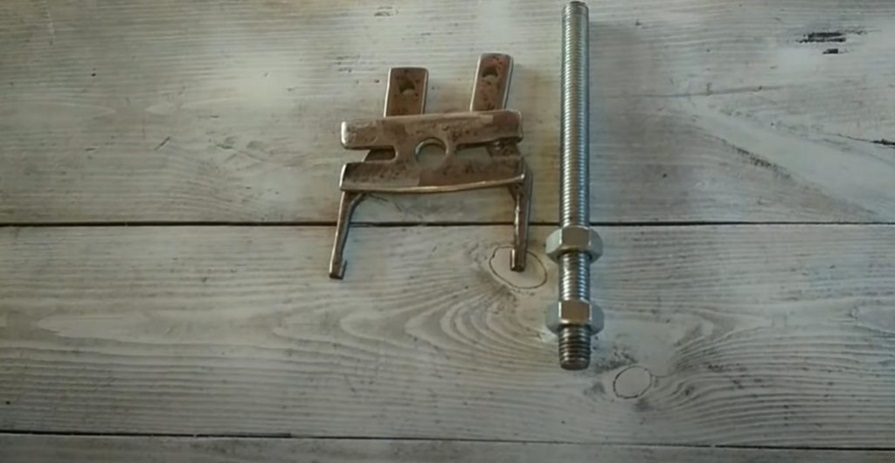
Next, weld the guide nut for the threaded rod on the lower portion of the plate directly below the hole.
Now you need to cut out the next plate from the prepared strip, and then drill three holes on it.
You need to install a threaded rod in the center so that it presses on the hooks from above, thus moving them in different directions.
Install stop pins in the other two holes.
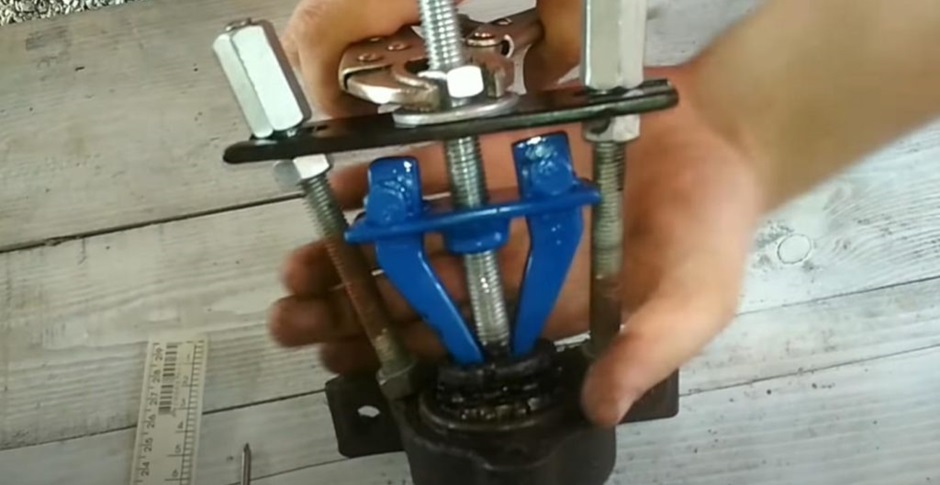
At this point, the homemade device is complete and almost ready to start using for repairs. Additionally, you can carefully clean the welds and paint the puller to make it look better, but this is not necessary. The most important thing is that the tool performs its main function.
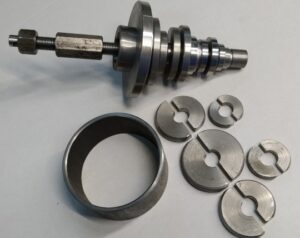
Removable device made from a bolt and several pieces of iron
You can also make a simple puller from a regular bolt and a couple of iron parts. Such a tool will not be as convenient as the example from the previous paragraph of the article, but it will be much easier and faster to make. What is needed for such a removable device?
Old bolt.
A few nuts.
A couple of washers.
A small piece of round steel pipe.
Angle grinder.
Vise.
Electric welding.
Spanners.
Pliers.
If everything is ready to go, then you can start creating a homemade tool. What should I do for this?
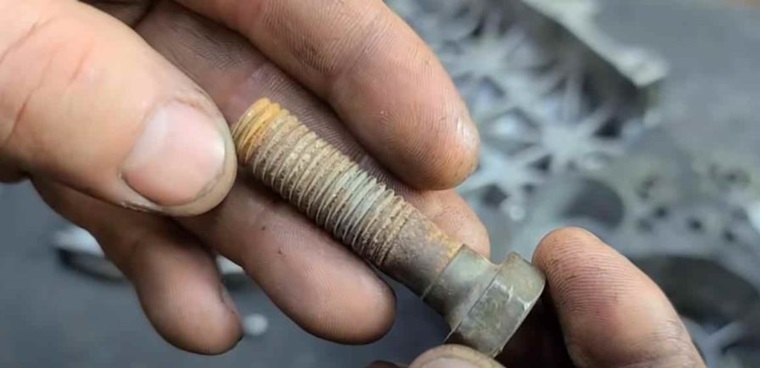
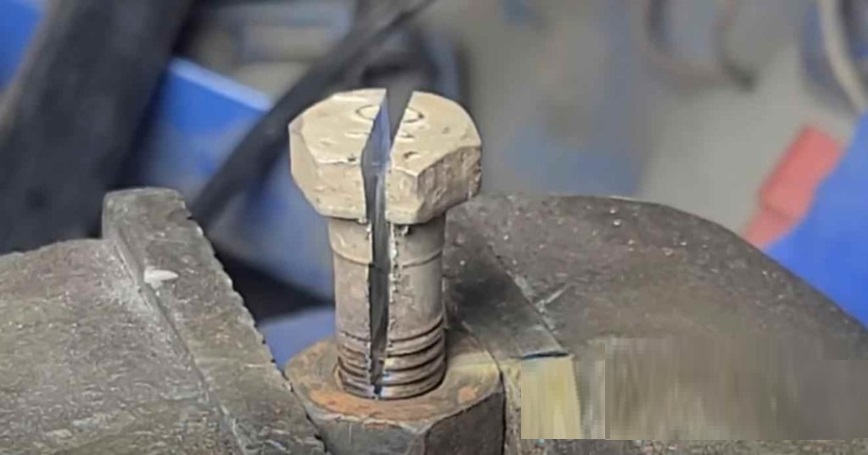
Using a grinder, cut the old bolt into two halves as shown in the image.
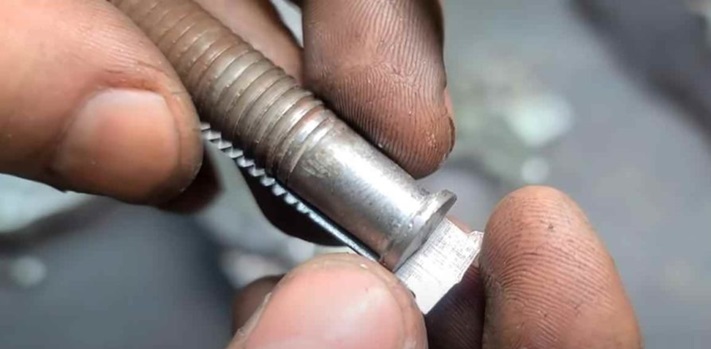
Then clamp both parts of the part in the chuck of a drill or screwdriver to grind off the edges on the head with a grinder and a flap wheel.
The cap must be ground down until its diameter becomes slightly larger than the diameter of the bolt leg.
Cut off the excess part of the bolt head.
Now you need to cut off the narrow strip of metal needed to fit between the bolt halves, thereby wedging them apart.
At this stage you need to prepare a small piece of steel pipe along with a washer.
Weld them together to form a cylinder of sorts for the bearing.
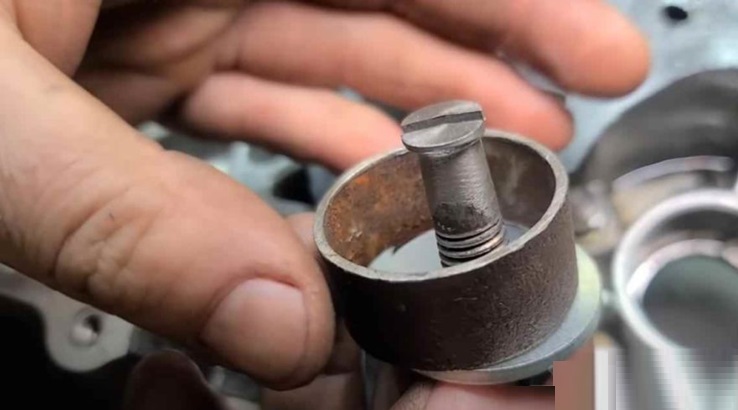
Place the cylinder on the seat in which the bearing is installed.
Insert the bolt into the bearing hole and then wedge it to begin threading the nut.
This way you can remove the bolt, the end of which will lift the bearing.
Since it is not very convenient to unscrew the bolt leg with your own hands, it is worth cutting off the side edges on top and welding a nut there. This way you can install an improvised puller, unscrew the nut and quickly squeeze it out washing machine bearing out.
 A special bearing puller is a rather specific tool that not every repairman can find in his inventory, to say nothing of ordinary people. Most often, washing machine bearings are removed using a regular hammer and drift, but in a situation where the bearing is deformed or covered with rust, knocking it out becomes an impossible task. In this case, it is better not to risk the “home assistant” tank, but to make a washing machine bearing puller with your own hands. Let's tell you how difficult it is to create it at home.
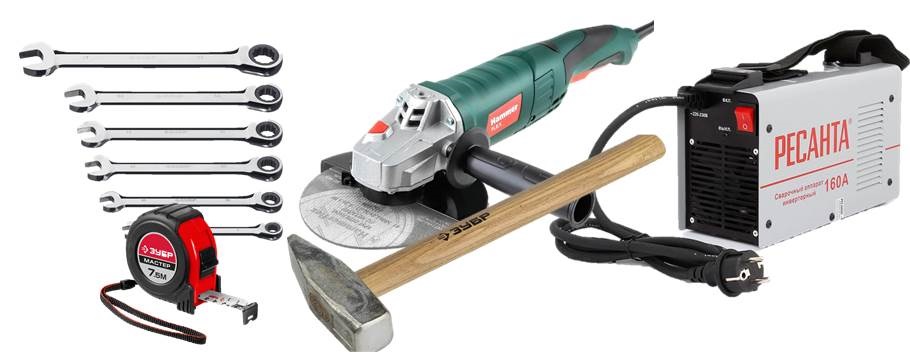


Add a comment