How to install a Korting dishwasher
 Today, everyone is trying their best to make money on any little thing, even something like installing a Korting dishwasher. From the outside it may seem that this is a complex, time-consuming process, for which it is really worth paying the service center technician $100 and not worrying, but in fact there is nothing complicated in the installation that cannot be dealt with without instructions. We will tell you in detail how you can prepare your dishwasher for use yourself.
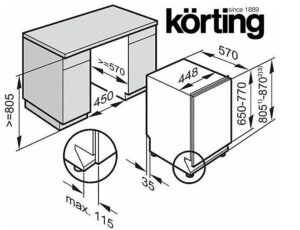
Installation site requirements
New equipment has been purchased, packaging has been removed, all excess foam and other debris has been removed, where to start? First of all, you always need to take care of the place where the “home assistant” will stand in the future. Regardless of whether you have a built-in dishwasher or a free-standing one, it should be provided with everything you need.
- The installation location should be near water lines to make it easier to connect the inlet and drainage hoses.
- There should also be a separate outlet nearby with grounding and moisture protection to protect the house from fire due to possible flooding.
Do not use extension cords if the power cord of the Korting dishwasher is not enough - it is better to make a new socket or simply move the machine to another place, because the extension cord can cause a fire in the house.
- When installing the machine in a kitchen cabinet, make sure that the PMM door is flush with the kitchen counter.
- If the dishwasher will stand on the floor separately from the kitchen furniture, then it is very important that the floors are as level as possible and that the machine stands without tilting.Otherwise, there is a risk of a critical imbalance in the “home assistant” mechanism, due to which it can either break itself or damage the floors.
Make sure that all points have been completed, and then you can move on to installing the door front so that the appliances do not stand out from the overall design of the kitchen.
How to hang the door front?
We proceed to install the external panel, for which service center specialists usually demand a “round sum”. To seriously save time on calling a technician and the family budget, you can hang the door facade with your own hands as follows:
- carefully remove the door front;
- install hooks on the outer panel of the washing chamber door;
- insert the fixing hooks into the hole located on the PMM door;
- secure the decorative panel tightly;
Be sure to make sure that the distance from the side of the open dishwasher door to the edge of the kitchen counter is at least 50 millimeters, otherwise the door will not open freely.
- Finally, adjust the door spring tension. Usually it is installed at the factory by the manufacturer, but in the case of installing an external panel, the user needs to additionally adjust the elasticity of the spring with his own hands. To do this, you need to rotate the adjusting screw, either loosening the steel cable or tightening it more. A signal about the correct state of the spring will be the completely open door of the washing chamber, which can be closed with a light touch.
As you can see, installing the decorative panel on the door of household appliances turned out to be even simpler than the initial preparation of the niche. All that remains is to connect the equipment and begin the first wash.
Installation of PMM
The last stage of preparing the machine for operation is connecting to the water supply and sewerage, as well as to the electrical network.Let's proceed in order.
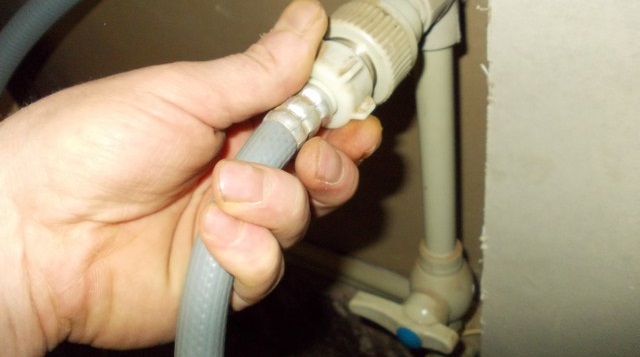
- First, you must determine the location of the drain. This can be either an ordinary sink, where you will have to take out the drain hose each time, or a drain pipe, to which you need to tightly connect the drainage hose, using a special plastic holder, which you can find complete with the PMM.
Remember that the drain hose itself should be placed at a height of 35 centimeters to 1 meter, fixing it on the wall using a special holder.
- Now you can connect the inlet hose to establish a water supply to the washing chamber of the dishwasher.
- At this stage, you need to connect the machine to the electrical network. It is advisable that the outlet be at a height of at least 25 centimeters from the floor level to eliminate the risk of moisture entering as a result of a system break or other emergency situation.
- Move the equipment to its place. It is advisable that after this you still have free access to the outlet. This is necessary in case of emergency when you may need to urgently unplug the power cord from the outlet.
- Carefully align the position of the “home assistant” by adjusting the legs. The rear legs can be conveniently adjusted from the front of the machine by turning the screws on the left and right of the kitchen counter. The front legs need to be adjusted with a wrench until the equipment is as level as possible.
- When leveling is completed, you need to secure the machine so that it does not change its position during operation. If you have a regular surface, then you can secure the equipment using standard wooden screw-on fasteners. If you have marble or granite at home, then you should install a bracket on one of the walls of the PMM, and then attach the dishwasher to the adjacent furniture.For reliability, place a rubber nozzle on the mount.
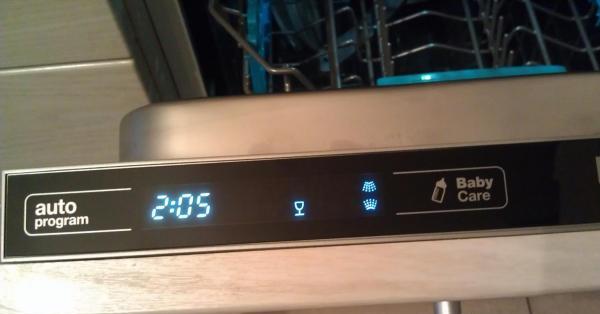
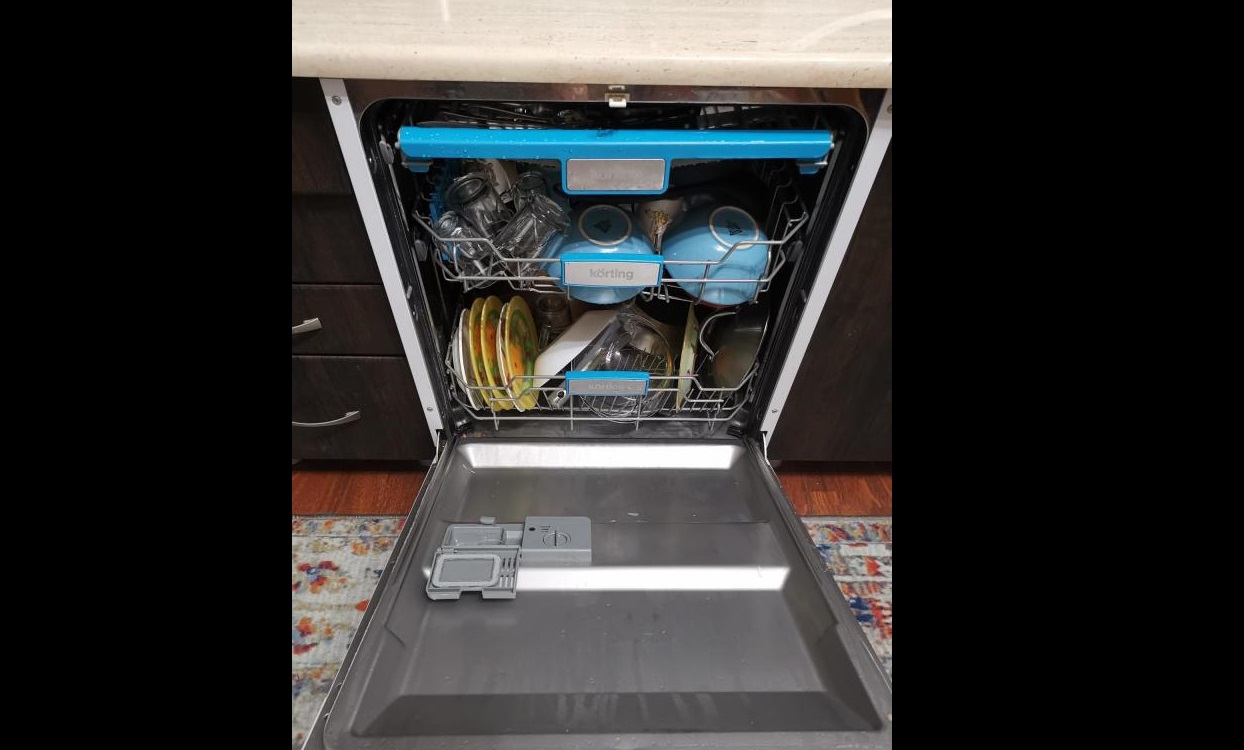
- The last step is to check the functionality of the equipment, as well as the correct connection. To do this, you need to use household chemicals from the starter kit that comes with most Korting dishwasher models - add special salt, dishwashing detergent and rinse aid. After this, you need to start an idle operating cycle, which will not only allow you to check all the main functions and quality of installation, but also clean the insides of the device from dirt and dust that may have remained during assembly at the factory or storage in the warehouse.
It is the final test that will show whether the equipment is installed correctly. Do not move far from the equipment during idle washing to make sure that nothing is leaking anywhere, water is drawn into the washing chamber, heats up well, and then completely goes down the drain. If everything is in order, then you can start a full work cycle in order to properly evaluate the new acquisition.
Thus, with your own hands it is really quite easy to prepare a place for household appliances, attach a decorative panel, and install the machine in its place. Calling a technician is most relevant when you need to install a ¾ shut-off valve, or make a separate grounded socket to safely connect a Korting dishwasher. In any other case, it is better to save on installation if you are confident in your abilities.
Interesting:


Reader comments
- Share your opinion - leave a comment
Categories
Washing machine repair


For buyers


For users


Dishwasher


Add a comment