Error F2 in the Atlant washing machine
 If error F2 appears on the Atlant machine, it means that there is a malfunction in the temperature sensor. Machines without a display indicate a problem with the temperature sensor by flashing the third indicator on the panel. In any case, you will not be able to continue washing - you will have to stop the cycle and start diagnostics. We suggest you find out in what sequence to act and what to pay attention to.
What does the code say?
It is strongly not recommended to continue washing with “F2” on the display. The fact is that this code indicates problems with water temperature control. If you do not intervene, the machine will simply overheat.
Error code F2 indicates a faulty temperature sensor.
An efficient device monitors the heating of the machine and, when a predetermined point is reached, sends a command to the control board to turn off the heating element. A broken sensor is not able to stop the increase in degrees, which leads to overheating of the heater, even to the point of death. Therefore, it is important to quickly respond to an error and understand what to do to correct the situation.
We test the sensor and change it
The repair begins with diagnosing the temperature sensor. To do this, the device must be removed from the washing machine. There is a thermistor on the heating element, which in turn is located in the lower part of the housing. We proceed like this: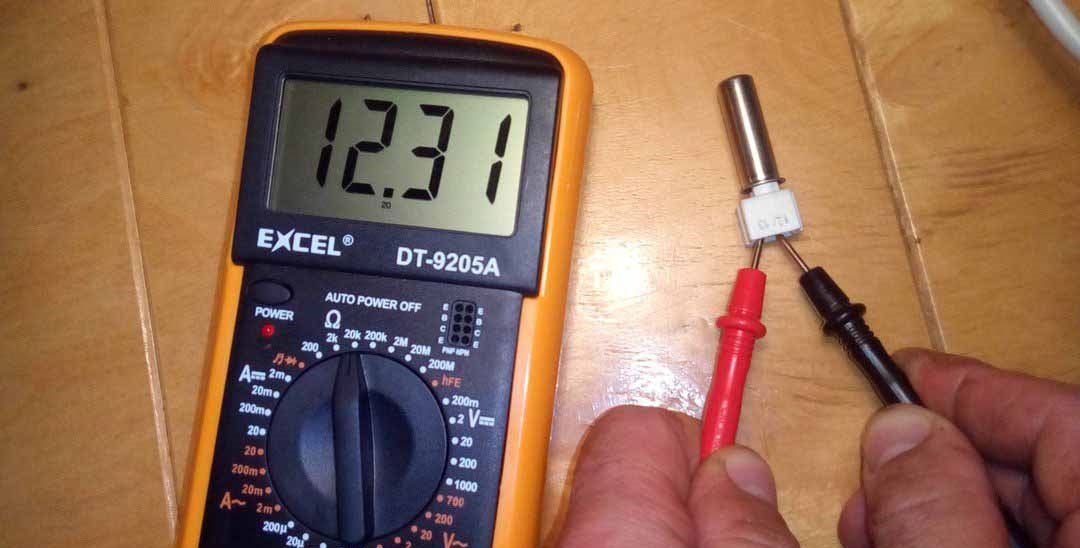
- disconnect the washing machine from the power supply;
- we move it away from the wall, providing free access to the “back” of the washing machine;
- remove the back wall by unscrewing all the retaining bolts;
- find the heating element located immediately under the tank;
- disconnect the wires going to the temperature sensor from the common “chip”;
- loosen the clamp holding the thermistor;
- Unhook the sensor from the heating element and take it out.
After removing the thermistor, we begin diagnostics. We take a multimeter, set it to “Resistance” mode, attach the probes to the sensor contacts and evaluate the result. When the temperature reaches 200 degrees, approximately 6000 Ohms should be displayed. The next step is to lower the device into hot water and monitor the values on the display: if the number drops and at 500 degrees it equals 1350 Ohms, then there is no malfunction.
A faulty thermistor cannot be repaired. It is necessary to purchase a similar device and install it on the heating element, proceeding in the reverse order.
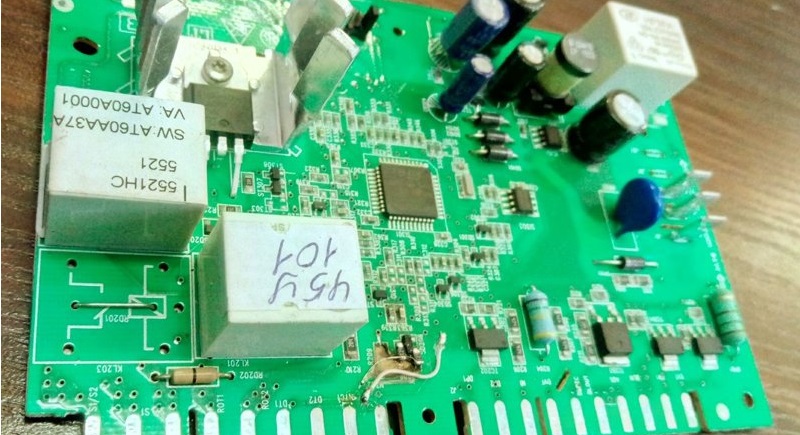
Control board diagnostics
If the thermistor is in working order, then we look for the problem elsewhere. The second reason leading to the appearance of F2 is a problem with the control board. The difficulty is that it is almost impossible for a non-professional to visually confirm a module failure. Faulty soldering of diodes, resistors, “tracks” and other small microelements can lead to a failure, and the slightest mistake will aggravate the situation to a disastrous end. It’s better not to experiment, but to trust the service center.
However, you can check the board at home. The main thing is to be careful and know how to solder. It is also necessary to prepare tools and materials:
- multimeter;
- soldering iron;
- rosin;
- solder.
First of all, the capacitors are inspected. They are responsible for stabilizing the voltage, and when the load is exceeded, they become deformed and swell. The “diagnosis” is confirmed with a multimeter: if “1” is displayed, then a break is confirmed, if “0” - current leakage.
Next, the resistors are checked. Here it is important to take into account the order of the elements: the first row has values of 8 Ohms and up to 2 A, and the second group has values of 120 Ohms and up to 5 A. If a deviation from the norm is detected, then replacement is indicated.
It is strongly not recommended to check and repair the board at home!
Error code F2 also indicates a breakdown of the thyristor unit. This element is very vulnerable and fails during sudden voltage surges. For diagnostics, a negative resistance is adjusted on the tester, after which the first-order LEDs “ring.” The final value should not exceed 20 Volts.
At the “finish” we try to identify burnt-out elements. Much can be seen with the naked eye, catching the smell of burning or noticing dark spots and melted contacts. Another option is to set the multimeter to buzzer mode and “break through” the filter. The maximum voltage in this case is 12 V.
Diagnostics and repair of the control board is a complex and time-consuming task. It is necessary to act extremely carefully, remember the polarity and not damage the thyristor ports. We repeat that it is better not to experiment, but to immediately contact the service center.
Interesting:


Reader comments
- Share your opinion - leave a comment
Categories
Washing machine repair


For buyers


For users


Dishwasher


Add a comment