Error F5 in Gorenje washing machine
 If you encounter error F5 in the Gorenje washing machine, then you cannot hesitate. This code is on the list of the most dangerous, so you should not delay diagnostics. What parts are at risk, where to look for the “culprit” of the accident and how to repair the equipment? Now we will talk about this in detail.
Why did this code appear?
In 50% of cases, the reasons for the appearance of error F5 on Gorenje washing machines lie in the electronics and result in expensive firmware for the control board. The fact is that modern washing machines are sensitive to voltage changes in the network, especially at the stage of spinning clothes. If at this moment the current readings jump, then the motor control circuit gets lost, and the electronic unit loses control over the situation.
To eliminate the influence of voltage drops in the network on the electronics of the washing machine, it is worth including a special stabilizer in the circuit.
Error F5 also signals engine overheating. This is caused by long-term and continuous use of the machine. So, a code is often displayed on the display if the user, after a 2-3 hour program, immediately turns on the next program. In this case, the system detects an increased temperature on the motor housing and issues a code warning. To correct the situation, just let the machine rest for 15-30 minutes.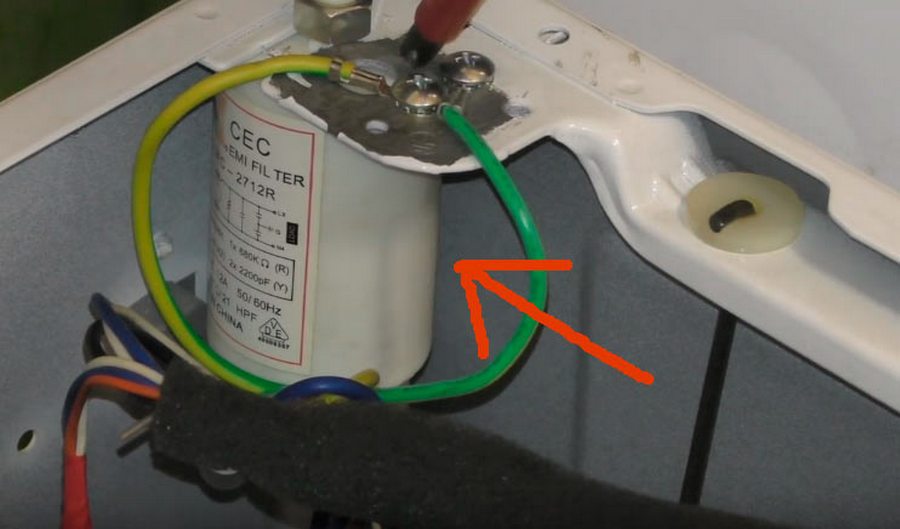
Inspection and repair
If the engine has cooled down, but error F5 has not disappeared, you will have to figure out what to do next. The main object of attention will be the washing machine motor, which must be removed from the housing and checked for leaks and integrity. We disconnect the machine from the power supply, water supply and sewerage and begin partial disassembly of the machine.
- We unscrew the screws from the back panel, remove it and take it to the side.
- We find and remove the drive belt by pulling out the rubber band while rotating the pulley.
To avoid errors during reassembly, it is recommended to record on the camera the location of the wiring connected to the engine.
- We loosen the bolts holding the engine and, loosening the part, remove it from the seat.

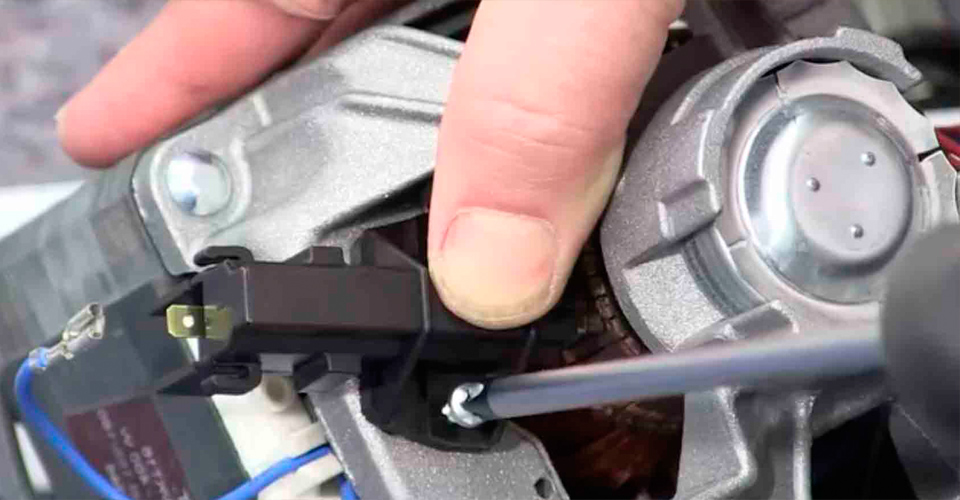
From this moment the direct repair begins, which consists of a step-by-step check of all the “sore points” of the engine. First on the list are electric brushes, which are made of graphite and wear off on the motor housing during operation of the machine. If the tip is strongly worn, then electricity is not transmitted to the motor, the rotation of the drum stops, and the brushes themselves begin to spark. Therefore, we unfasten the wiring, unclench the terminal and assess the condition of the “coals”. When half is erased, replace them as follows:
The electric brushes on the engine are replaced in pairs, even one of them is intact.
- remove graphite dust from the seats;
- we purchase similar brushes;
- clamp the spring and insert it into the “socket”;
- return the terminal and connect the wiring.
When the brushes are still intact, we continue troubleshooting and ring the rotor winding. When shorted and broken, the motor does not work at full strength, causing the drum to rotate too slowly or stand still. The engine often stops, since the thermostat on the engine shows an excess of the norm, auto protection is triggered and the system stops. But even a slight increase in temperature leads to detachment of the lamellas and other negative consequences. It’s easy to check the condition of the winding with your own hands.
- Set the multimeter to resistance mode.
- We connect the probes to the two lamellas.
- We evaluate the result on the display. If numbers within 20-200 ohms are displayed, then the part is fine. Exceeding the norm indicates a break has occurred, and low values indicate a short circuit.
- We check whether the rotor is closed. We turn on the buzzer mode on the tester, apply one probe to the rotor, and attach the second one to the lamellas one by one.
- Let's listen. The absence of a squeak will confirm the functionality of the rotor and the absence of damage.
Next, we check the integrity of the stator windings. We close the wiring, apply the tester probe in buzzer mode and listen again. The squeak will tell you about the short circuit and engine burnout that has occurred. In this case, it is useless to repair the motor, and rewinding the winding is expensive and impractical. It is better to replace the engine with a working one.
Error F5 is also caused by peeling of the lamellas, both due to heating and when the bearings jam. A spell is also provoked if a program with an open drum is started in top-loading machines. In any case, contact with the rotor is lost and the engine does not operate properly. You can eliminate the problem by turning the problem areas on a lathe.
If there is no doubt about the performance of the engine, then in F5 the control board is to blame. It is strongly not recommended to repair the module on your own. It is better to immediately contact professionals.
Interesting:


Reader comments
- Share your opinion - leave a comment
Categories
Washing machine repair


For buyers


For users


Dishwasher


Add a comment