Manufacturers rarely use standard spring shock absorbers in washing machines, preferring to install dampers with a simple design. Despite the fact that these parts are much cheaper, they sometimes last for decades, practically without deformation. However, this does not mean that these elements cannot fail at all. That’s why today we will look in detail at the main signs of a faulty washing machine shock absorber, as well as ways to restore this important unit, which will help you prevent serious damage to your “home assistant” in the future.
Is the shock absorber broken?
You should not immediately start disassembling household appliances in order to remove and replace the damper. First you need to check the functionality of this element, and only then plan repairs. What exactly needs to be done to find the problem?
Disconnect the equipment from all communications.
Remove the top housing cover by first removing the bolts holding it in place.
Reach your hands into the washer tub.
Gently press down on it from above to lower it by about 5-7 centimeters.
Then suddenly release your hand and see how the tank behaves.
If the dampers are working properly, then they should work instantly - the tank will instantly rise, take its original position and stop. In a situation where an element begins to actively swing in different directions like a pendulum, the shock absorbers clearly need to be replaced or restored.
In addition, it is usually possible to detect a broken rack even without such diagnostics. You can understand that the shock absorber is faulty as follows:
During washing, the machine clumps and makes a lot of noise;
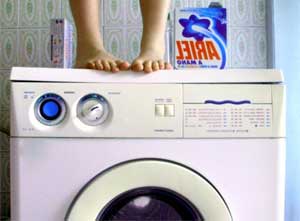
During the spin stage, the washing machine actively bounces in place or even changes location using peculiar jumps.
Any of these symptoms indicates that something is wrong with the “home assistant”. But it is important not only to identify the breakdown, but also to determine the cause of the malfunction. What could these very reasons be?
Natural wear and tear of the automatic transmission - long-term operation affects the integrity of the liners and dampers.
Deformation - appears due to errors in operation, transportation, as well as due to manufacturing defects.
Worn fasteners – bolts can become loose or simply break over time.
Only broken shock absorbers with damaged cylinders cannot be restored. If the breakdown is associated with wear of the gasket or weak fixation of the element, then the dampers can be repaired with your own hands, even without calling a household appliance repair service employee.
Disassembling the shock absorber
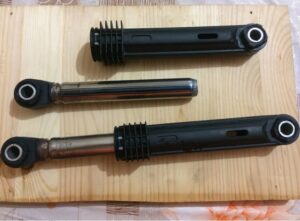
First of all, we will carefully study the design of the shock absorber of the washing machine, so that the reader has an idea of what he will have to deal with to fix the breakdown. This will also help the user understand whether he wants to do the repairs himself, or whether it is better to entrust the work to a service center specialist.
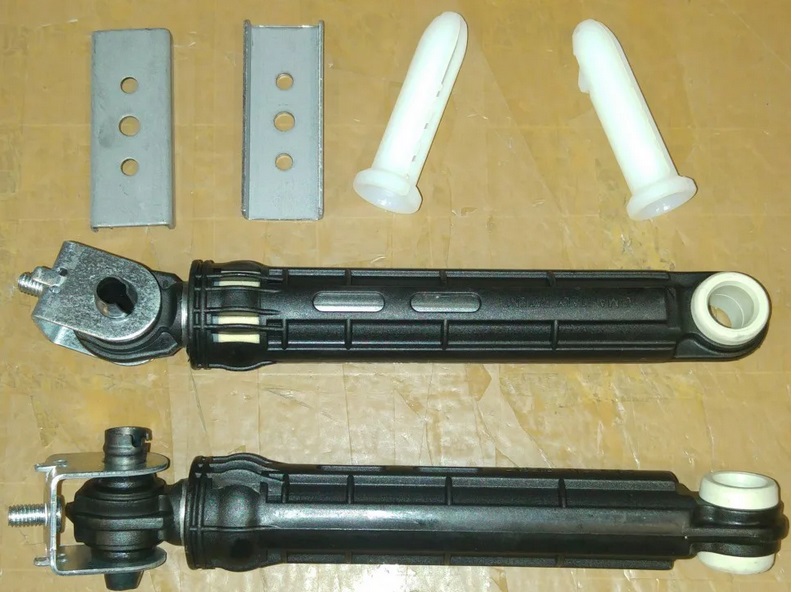
The washer's shock absorber has a simple design - it consists of a plastic cylinder, a metal rod, a pair of bushings attached to the cylinder and rod, plus a special gasket that acts as a piston. It is the gasket that deteriorates over time, which cannot prevent large amounts of lubricant being added inside the cylinder in order to create additional friction.
Once the gasket is destroyed, it will stop working as a piston, so the rod will move in the cylinder without difficulty, and in some situations it will even begin to fall out of it. Let's further imagine that the gasket has not yet completely failed, so it partially works like a piston, but the rod has already begun to move freely along the cylinder.
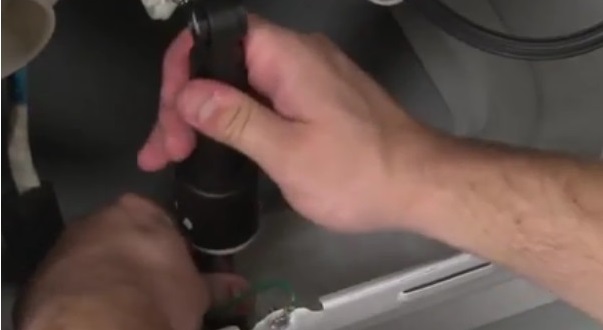
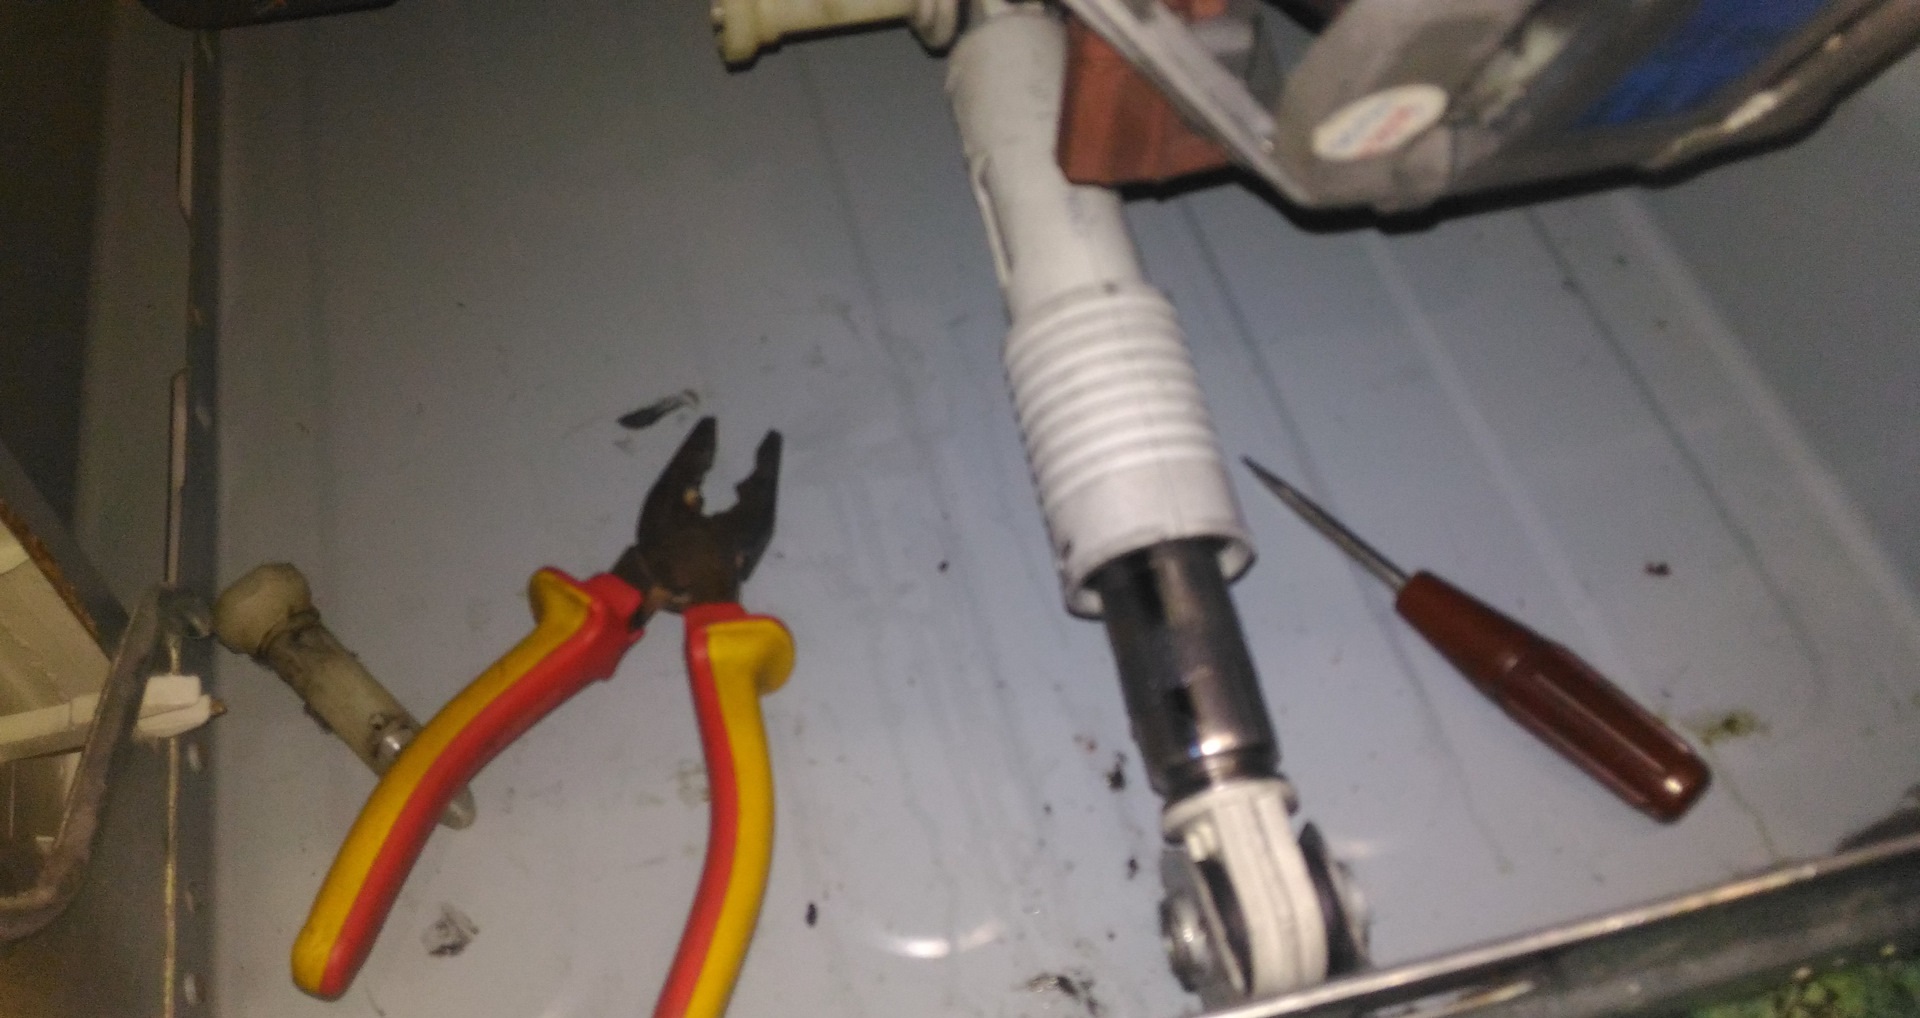
In this situation, the user must carefully disassemble the shock absorber and remove the rod from the cylinder so as not to accidentally break the plastic cylinder. You can try to remove the rod with your own hands by carefully grasping the part with your fingers. Usually this can work, because the piston in this state has very little resistance.
If you can’t remove the part with your bare hands, then you need to wrap the rod with a rag, carefully hold it in a vice, and then remove it by pulling out the cylinder. During extraction, you should also not use brute force or rush. Over time, the part will come out of its seat, and the shock absorber will be disassembled.
In addition, you should consider the situation in which the washer dampers are equipped with an additional cover with a screw thread made of plastic. This addition is installed so that the rod does not fall out of the cylinder, however, even with such a device, it can fall out during active operation of the SM. If your model has shock absorbers with such a cover, then it must first be removed from the rod.
We extract and “reanimate” the part
Finally, we move on to dismantling and restoring the unit. The most important thing is not to delay repairs if you have already discovered a breakdown, because otherwise, due to imbalance, the machine may fail as a result of mechanical damage. For example, the bearings and tank of the washing machine may be damaged, the restoration of which will take a lot of money. That's why it's worth starting repairs immediately after discovering a problem.
Usually shock absorbers are easy to restore, because all you need to do is replace the rubber gasket. It is necessary to partially disassemble the device, remove the dampers, remove the damaged seal from them and install a new spare part in its place. How to do this correctly?
Unplug your home assistant for your safety.
Remove the top cover.
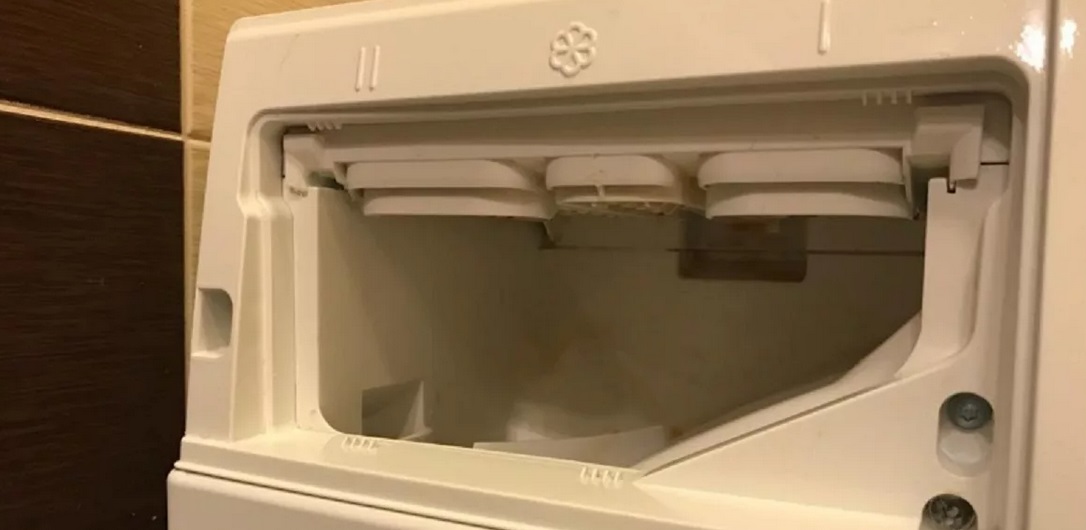
Remove the household chemical cuvette.
Remove the CM control panel.
Disable the sunroof locking device.
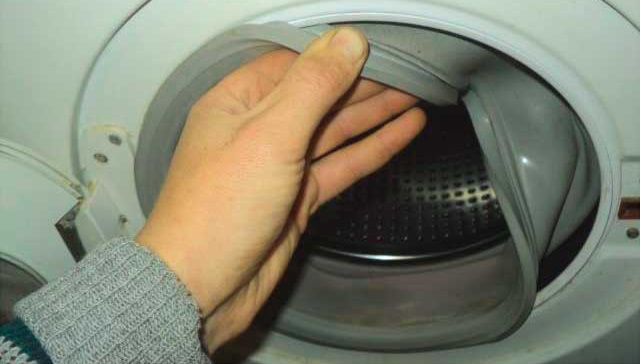
Thread the cuff into the drum, making sure to first loosen the outer clamp holding it in place.
Detach the front wall of the case.
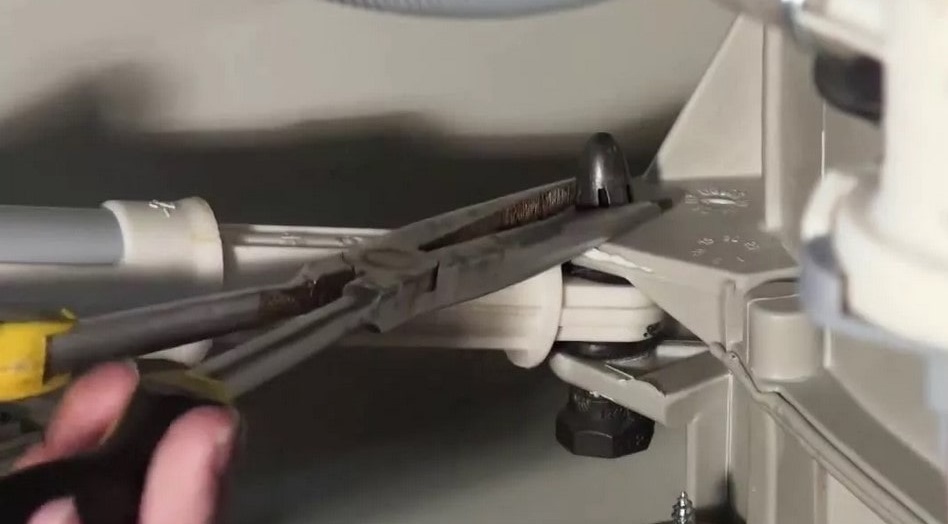
Loosen the fasteners that hold the dampers.
Remove the shock absorbers.
Disassemble the elements to check the integrity of the gaskets.
If they need to be replaced, then prepare spare parts by cutting them out with your own hands from PCB or a piece of rubber.
Install the gaskets.
Just in case, take photos of the machine during disassembly, especially when working with wiring, so that later you have an example at hand for reassembly.
In a situation where it is impossible to repair the parts, you will have to buy new ones to install them instead of the damaged ones. Unfortunately, in this case, the entire assembly will have to be replaced, even if only one damper has failed, due to the need to ensure uniform vibration damping. Otherwise, one damper will be subject to wear more than the other, so the entire system will quickly fail.
As for replacement, it should begin with removing the faulty shock absorbers.In some washing machines they can quickly become detached from the washer tank, and in this case you can only dismantle the front panel, remove the old dampers and install new ones. However, there are models in which it is impossible to remove the racks without a tank. Then you will need the following to work:
Unplug the machine.
Remove the top panel, powder receptacle, control panel, top springs, and front panel.
Disconnect every pipe, sensor and device from the tank.
Remove the tank along with the shock absorbers.
Carefully replace damaged parts.
When disassembling household appliances, it would be a good idea to carefully examine other key components, such as bearings, crosspieces and drains. This will help avoid clogs and other common unpleasant breakdowns. During maintenance work, you should use WD-40 technical lubricant, which will help remove scale, rust and other contaminants.
When the diagnosis is completed, assemble the “home assistant” according to our instructions in reverse order. After assembly, be sure to check its functionality using any quick work cycle.
 Manufacturers rarely use standard spring shock absorbers in washing machines, preferring to install dampers with a simple design. Despite the fact that these parts are much cheaper, they sometimes last for decades, practically without deformation. However, this does not mean that these elements cannot fail at all. That’s why today we will look in detail at the main signs of a faulty washing machine shock absorber, as well as ways to restore this important unit, which will help you prevent serious damage to your “home assistant” in the future.
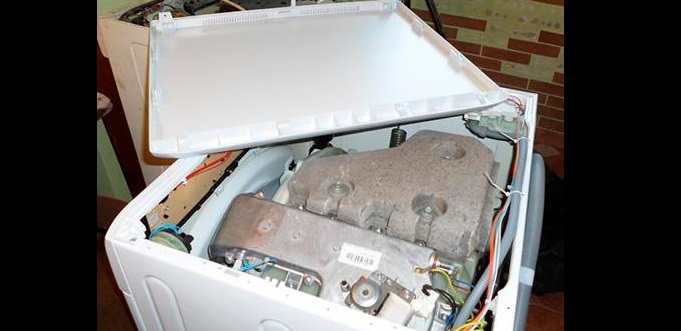


Add a comment