The SMA plastic tank contains parts that ensure smooth rotation of the drum. So, when the bearing unit wears out, the machine begins to make noise, grind and vibrate strongly during the spin cycle. There is also a slight backlash.
Unfortunately, wear of the bearings is a problem that almost all users encounter after several years of using the SMA. We'll tell you how to disassemble the tank of a Candy washing machine and what difficulties you will encounter in the process. Let's list what tools you will need for the job.
Is this type of repair available?
It is thanks to the bearing unit that the washing machine drum can rotate softly and smoothly. However, the rings are constantly under increased load and are therefore subject to natural wear. When the bearings break, the washing machine begins to make noise and knock during operation, especially during the spin phase.
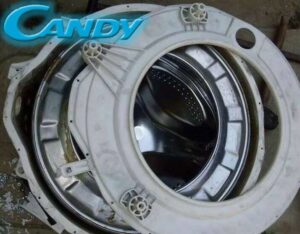
The bearings are located on the drum cover. To gain access to them, you need to not only remove the main container from the machine body, but also halve it. The problem is that most SMAs Candy equipped with non-separable tanks.
Therefore, the task of removing the tank from the housing will not be the most difficult. It is much more difficult to disassemble a “molded” plastic container. In such a situation, workshops and service centers offer to replace the entire unit, but the cost of such repairs can be 60-70% of the price of a new washing machine.
In fact, you can halve a non-separable tank and then put the tank back together without losing its tightness even at home.
Therefore, if you don’t want to spend money on expensive repairs, you can try to halve the tank using a hacksaw, replace the bearings and then glue the plastic container back together. You can save a lot of money, but you need to understand that such work will require a lot of time, patience and skill.
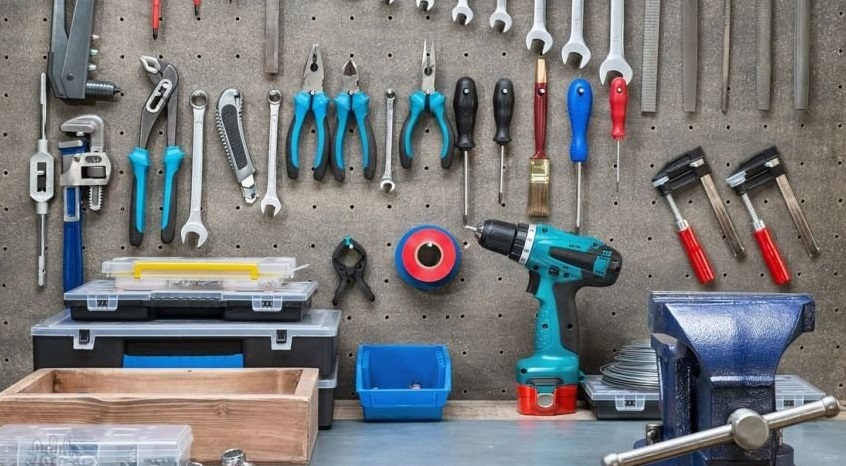
What tools do you need to get?
You need to prepare for the upcoming renovation. In order not to be distracted by searching for tools during the process, it is better to immediately collect all the essentials. So, you should have on hand:
a hacksaw or grinder;
pliers;
marker;
open-end wrenches of different sizes (from 8 to 18 mm);
Phillips and slotted screwdriver;
set of heads with knobs;
hammer;
punch;
awl;
drill.
It is also better to buy spare parts immediately. When selecting components, you should focus on the model and serial number of the Candy washing machine. Most automatic machines of this brand have two bearings and one oil seal.
Where will we repair?
It is important to provide yourself with comfortable working conditions. Since almost complete disassembly of the machine will be required, there should be a lot of free space. Ideally, transport the SMA to a workshop or garage. If this is not possible, move the machine to a room where there are 2-3 empty square meters.
Before moving the washer:
de-energize the device by unplugging the power cord from the socket;
Unhook the drain and fill hoses from the machine.
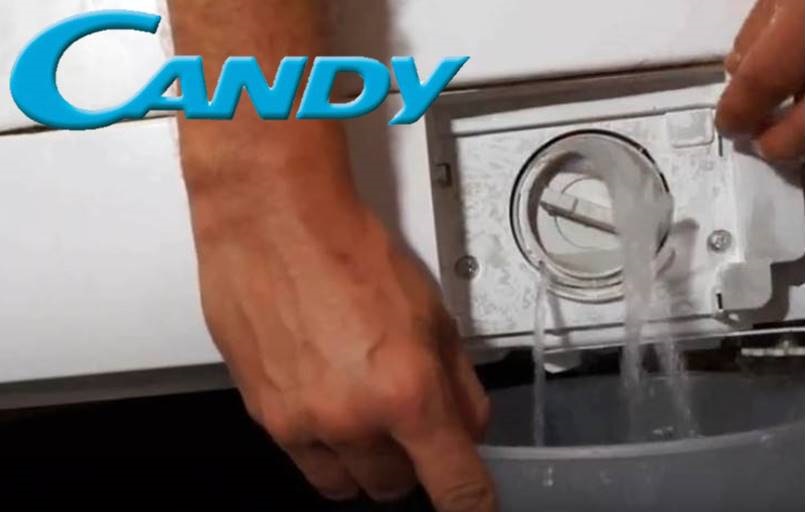
Next, prepare the work area - cover it with cloth or newspapers. Then move the machine to this area. Then remove the powder receptacle from the washer and move the tray to the side. The next step is to drain the remaining water from the SMA tank. For this:
place a low container under the machine, at the location of the “trash bin”;
start to unscrew the drain filter little by little;
wait until the water drains into the container;
Rinse the drain filter in warm water.
It is also worth thinking in advance where you will put small elements: screws, latches, clamps. It is better to immediately allocate a place for detachable parts - you can already place a powder receiver and a garbage filter there. Afterwards, the actual disassembly of the SMA begins.
We are trying to “get close” to the tank of the car
The next, rather lengthy stage is disassembling the machine. To remove the tank from the housing, you need to unhook all the wires, pipes, and parts from it. The algorithm will be as follows:
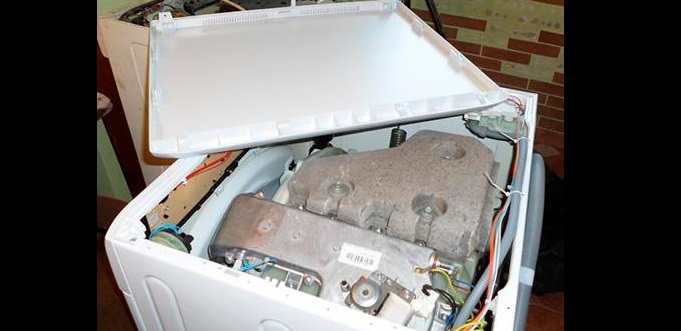
remove the cover of the SMA housing - to do this, unscrew the bolts holding the “top”, then pull it towards you and up;
remove the technical hatch (the panel is located on the rear wall of the case);
unscrew the intake valve mount and pull the element out;
disconnect the pipe and remove the powder receptacle niche;
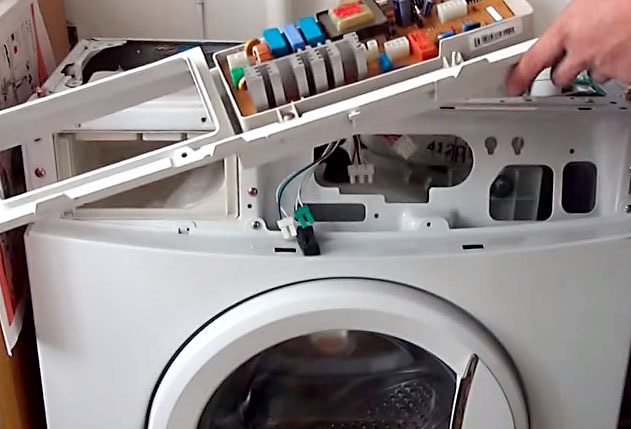
unscrew the bolts holding the “tidy”;
reset the contacts connected to the dashboard (after photographing the connection diagram),
Having dealt with the latches, disconnect the device from the body and move it to the side;
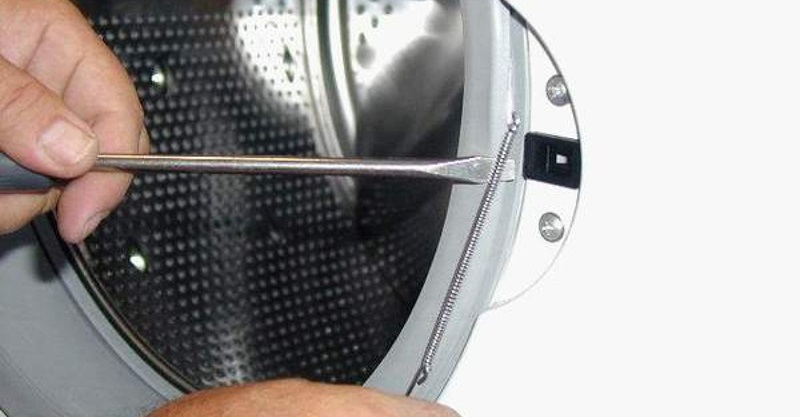
remove the outer crimp clamp of the drum cuff; to do this, use a screwdriver to engage its fastening;
tuck the rubber cuff inside the machine;
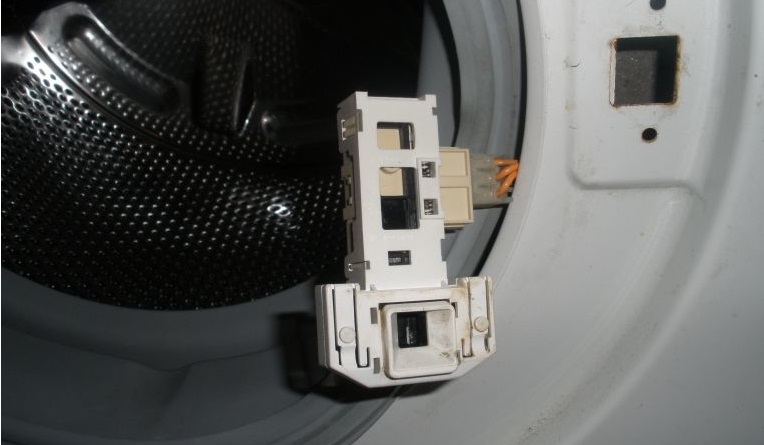
disconnect the UBL contacts;
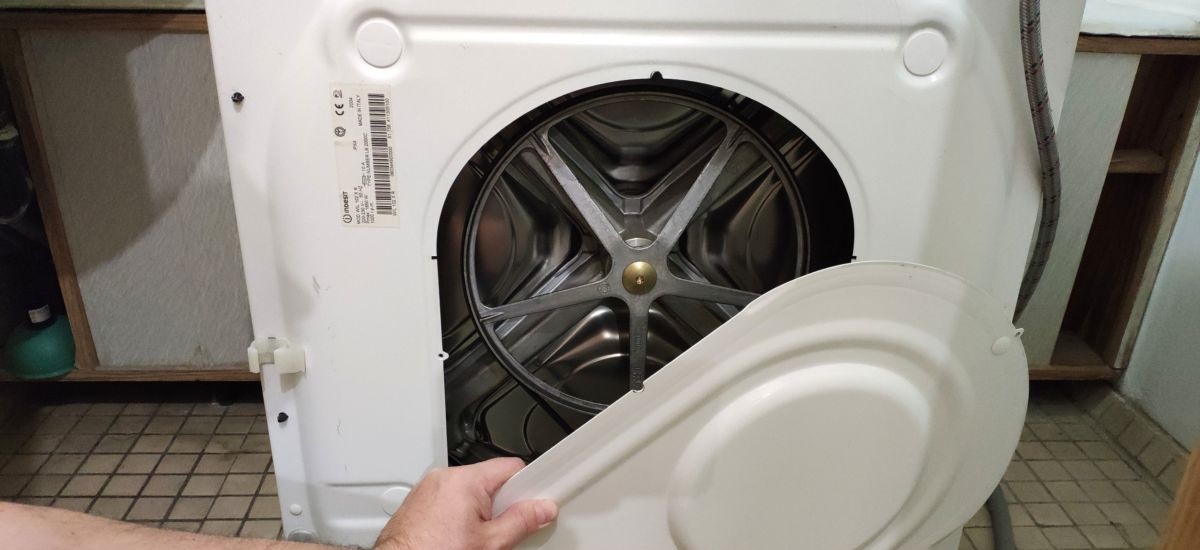
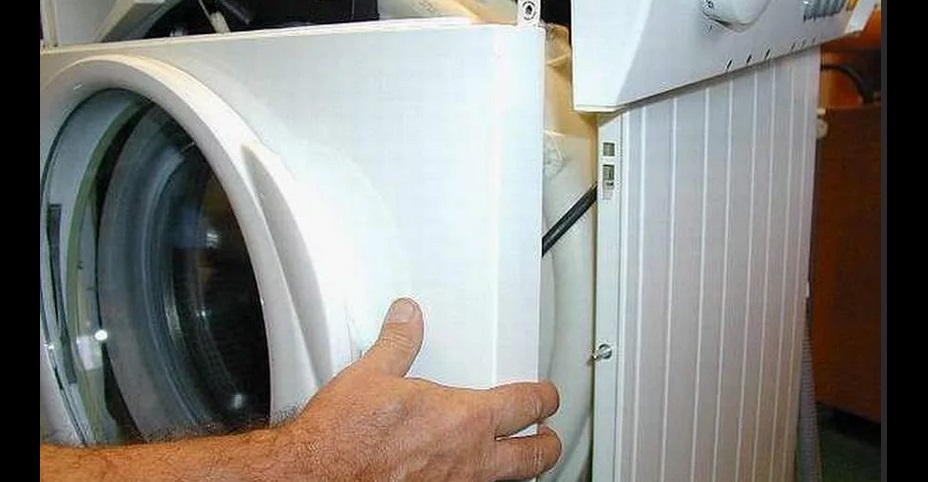
remove the front and back walls of the case, first removing the fixing screws;
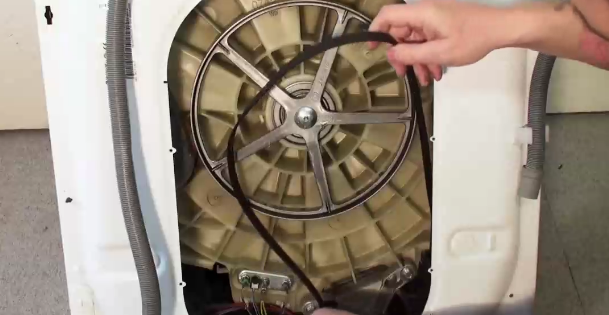
Pull the drive belt off the pulley.
At this stage, you need to carefully examine the back surface of the tank. If rusty smudges “come out” from the center, then it’s definitely time to change the bearings and seal. Let's continue with the disassembly:
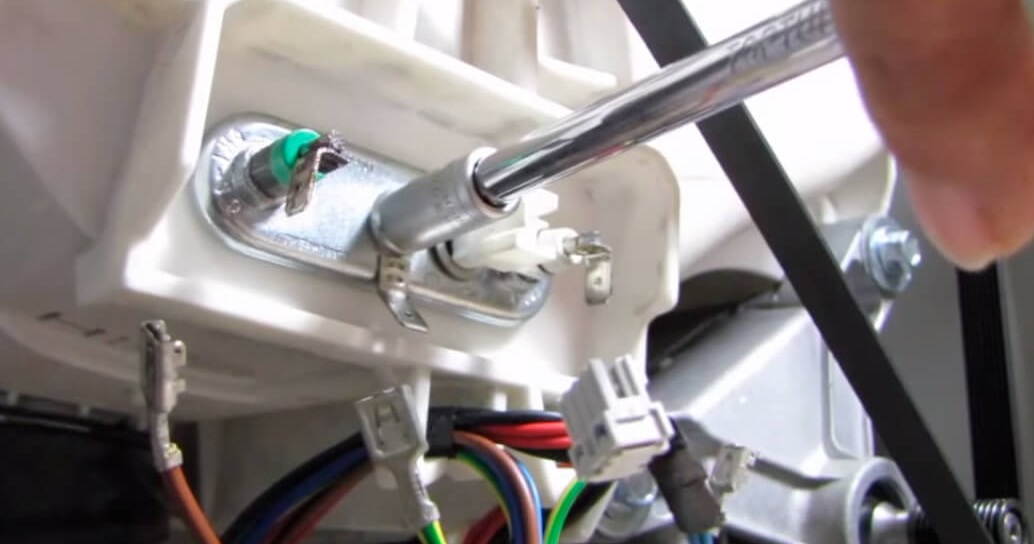
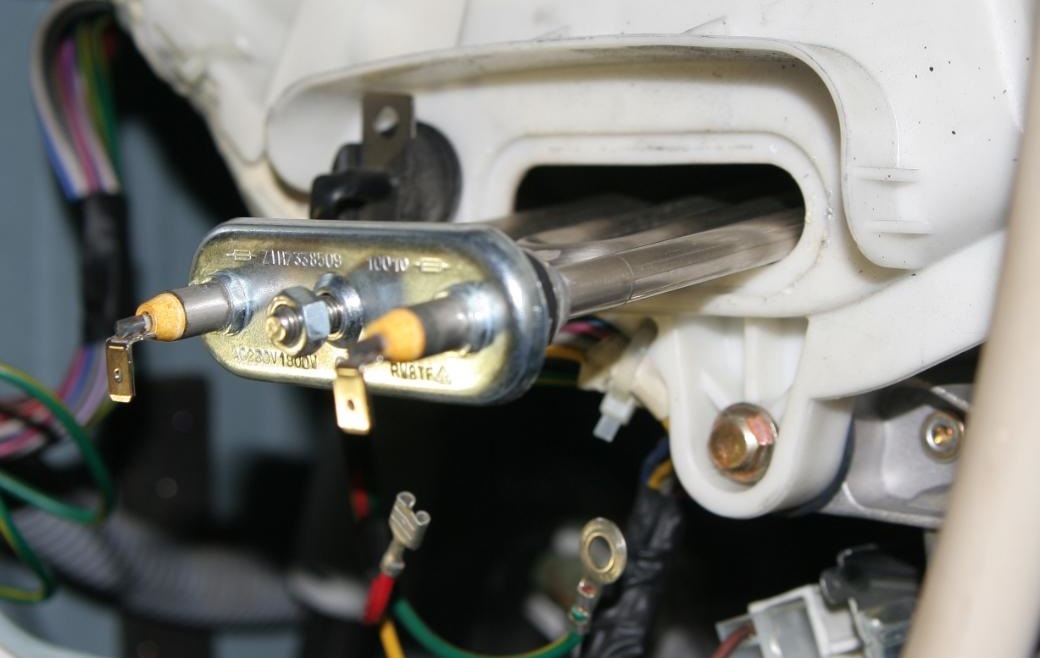
find the heating element, disconnect all contacts from it;
twist the heater nut;
remove the heating element from the groove;
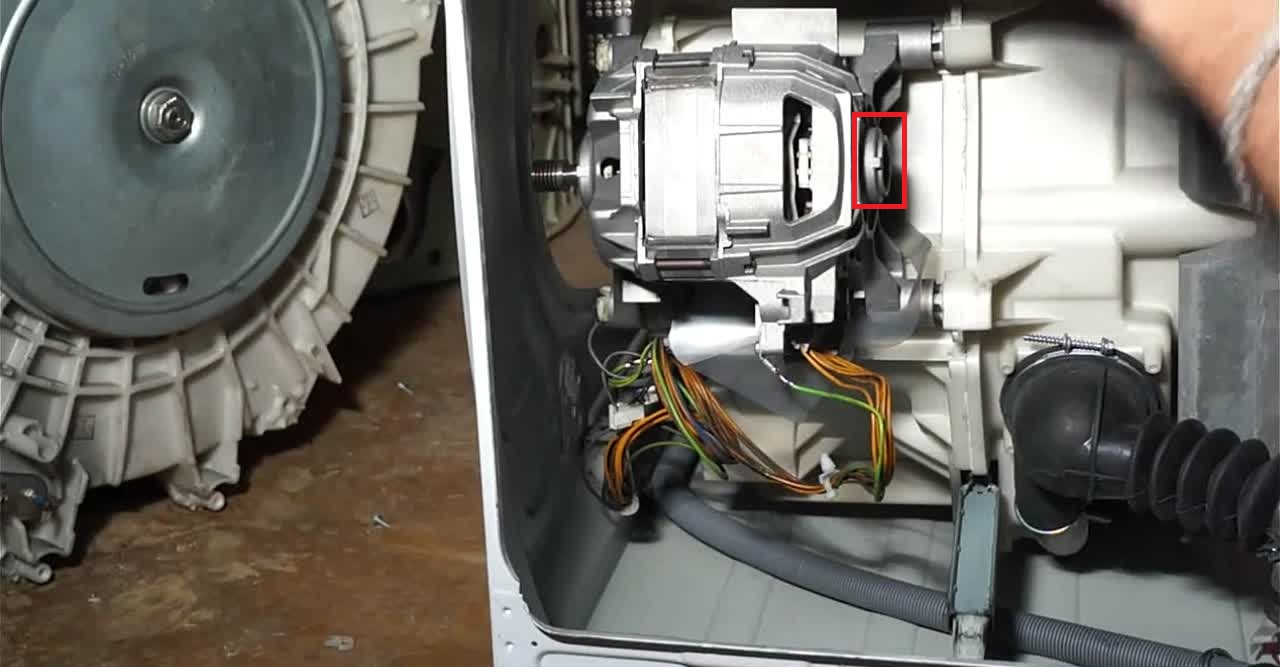
remove the chips and electrical wiring from the engine;
Unscrew the bolts holding the motor and remove the motor from the housing.
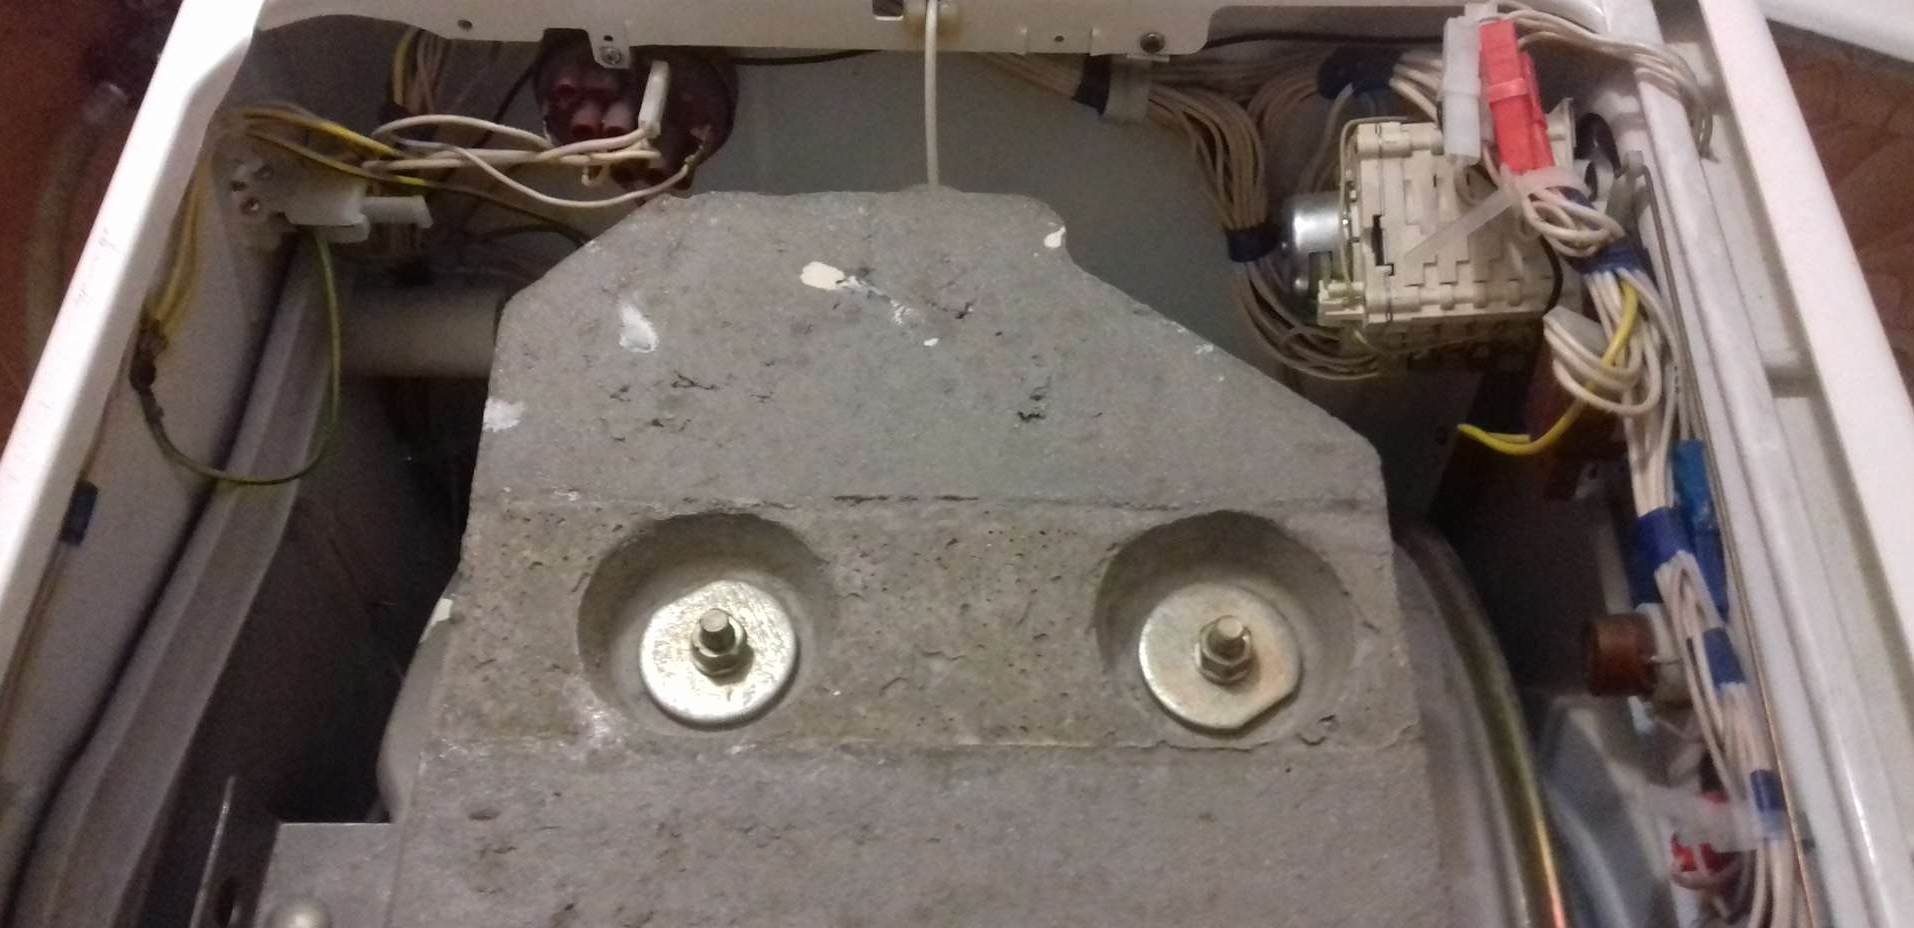
Now you will have to work with the upper part of the automatic machine. Next in line is the counterweight. It is designed to dampen the centrifugal force that occurs during operation of the washing machine. The weight looks like a large, smooth stone.
The counterweight is removed using a socket wrench. It is necessary to unscrew the bolts that secure the concrete block. The weighting agent can be put aside.
The counterweight is quite heavy, so be careful when removing it.
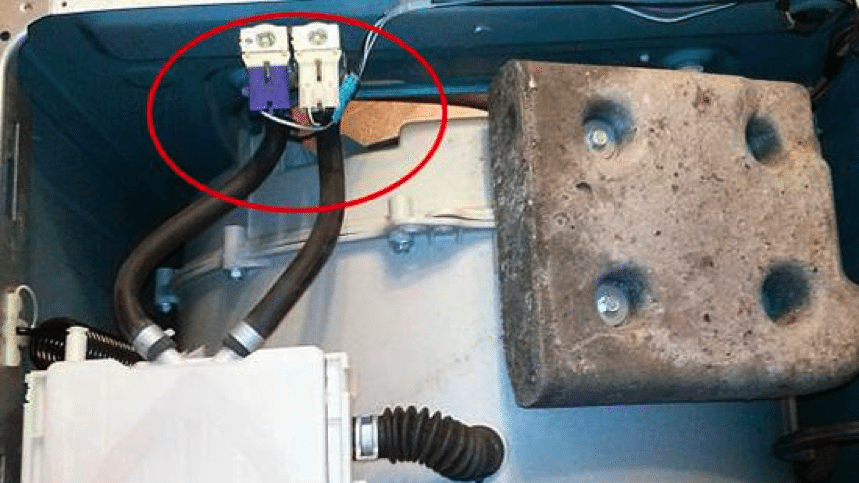
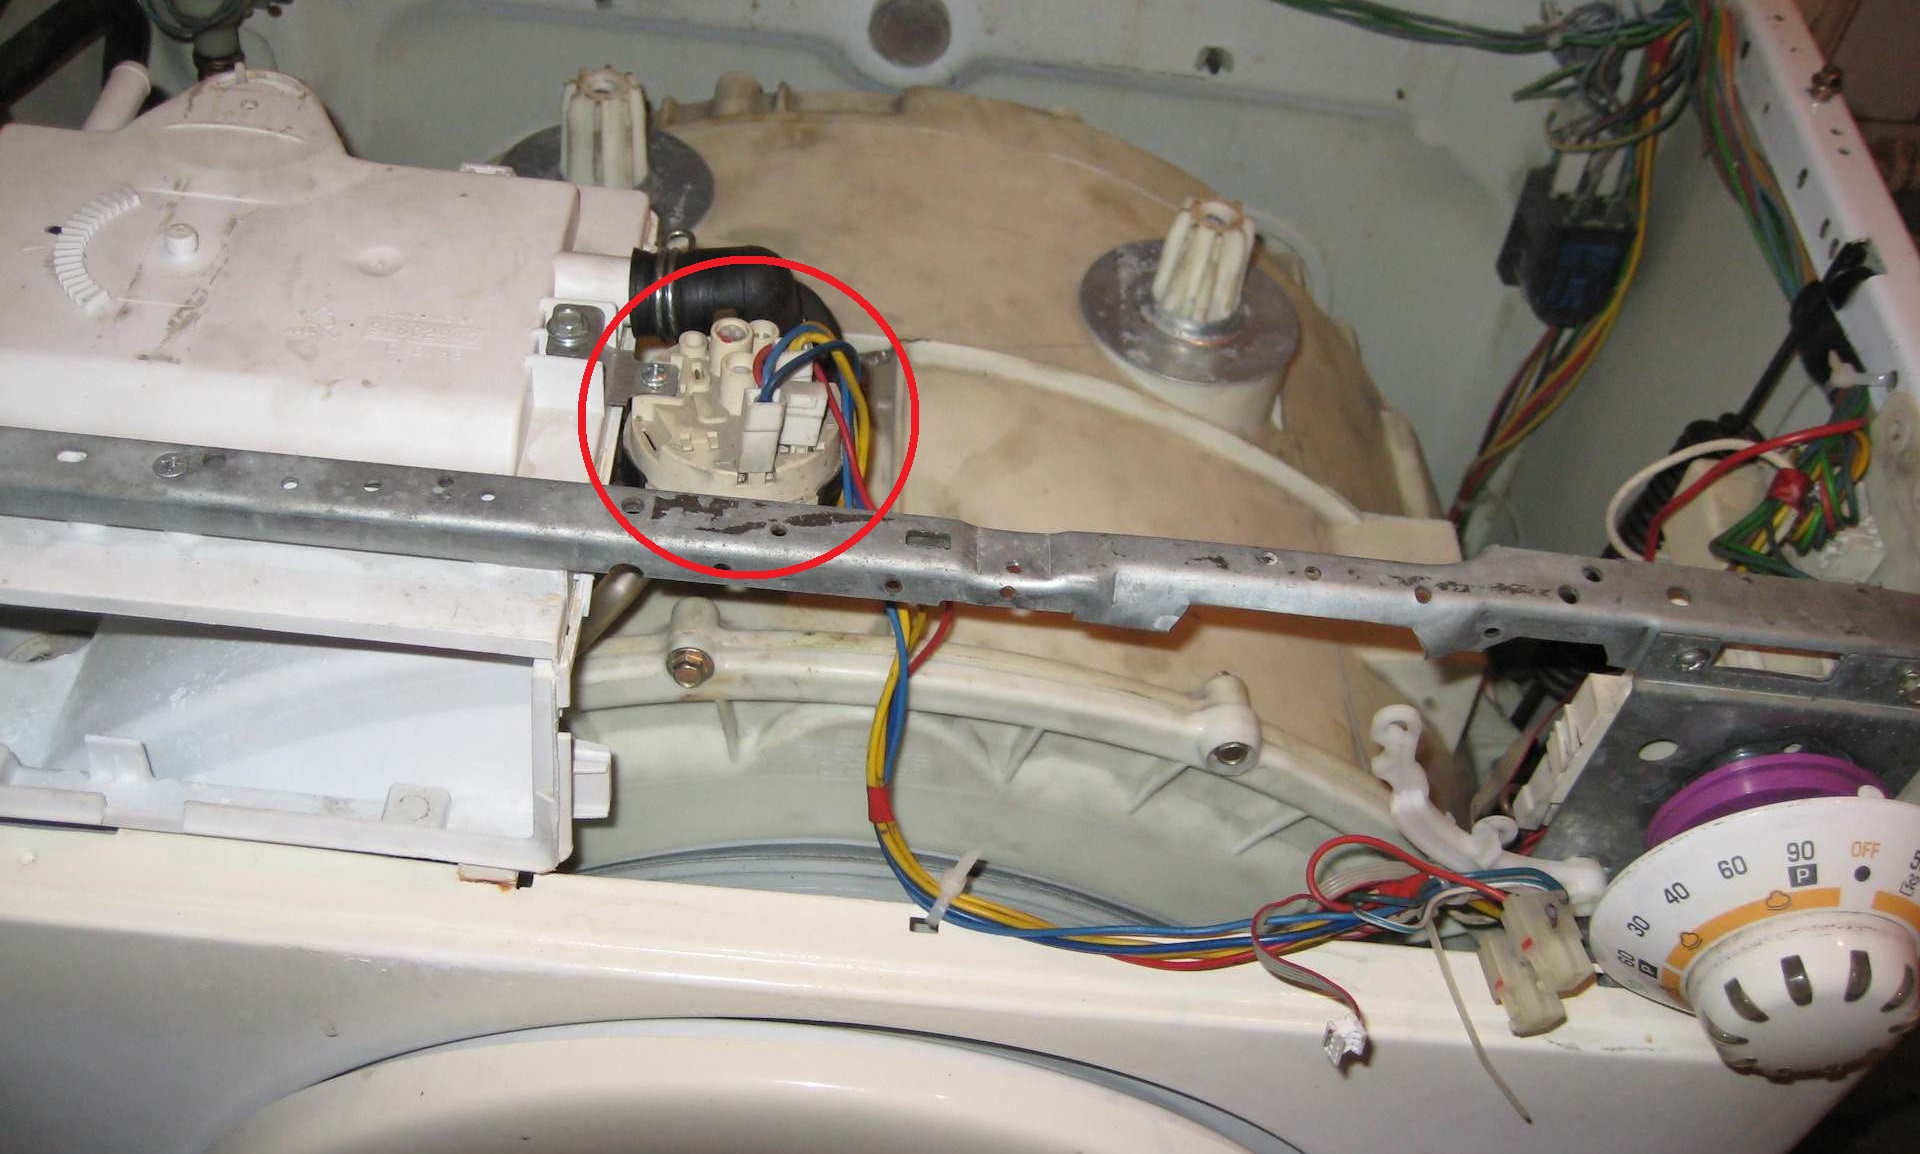
It is also necessary to remove the water level sensor. Disconnect the wiring from the pressure switch, then unhook the element from the mount. It is important to act carefully so as not to damage the plastic retainer.
After this, you need to carefully lay the washing machine on its right side. Most Kandy models do not have a bottom. If there is a tray, remove the panel.
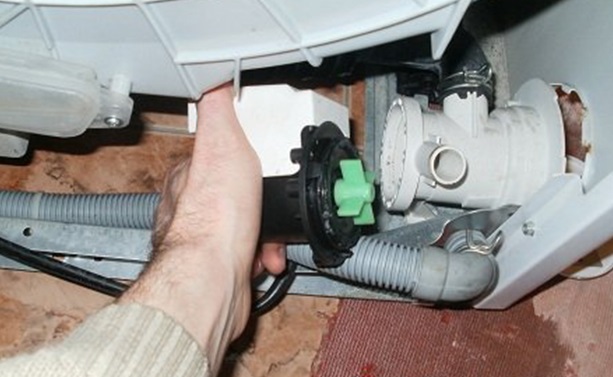
Next in line are the pump and drain pipe. The hose is very easy to disconnect - just loosen the clamp. The pump is also removed from the housing after removing the fixing bolts.
And finally, you need to disconnect the shock absorbers from the tank. Unscrew the fasteners that hold the posts. Take out the dampers. After this, you can put the washing machine upright again.
How to properly saw the tank of a Kandy machine?
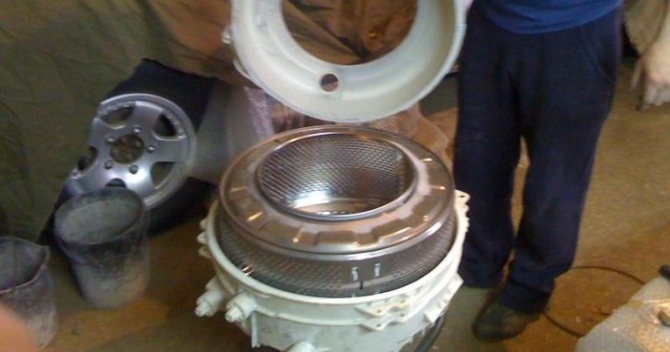
The plastic tank is sawn outside the body, so first the assembly must be pulled out of the machine. It’s difficult to do this alone – it’s better to take out the container together. Therefore, involve an assistant in the matter.
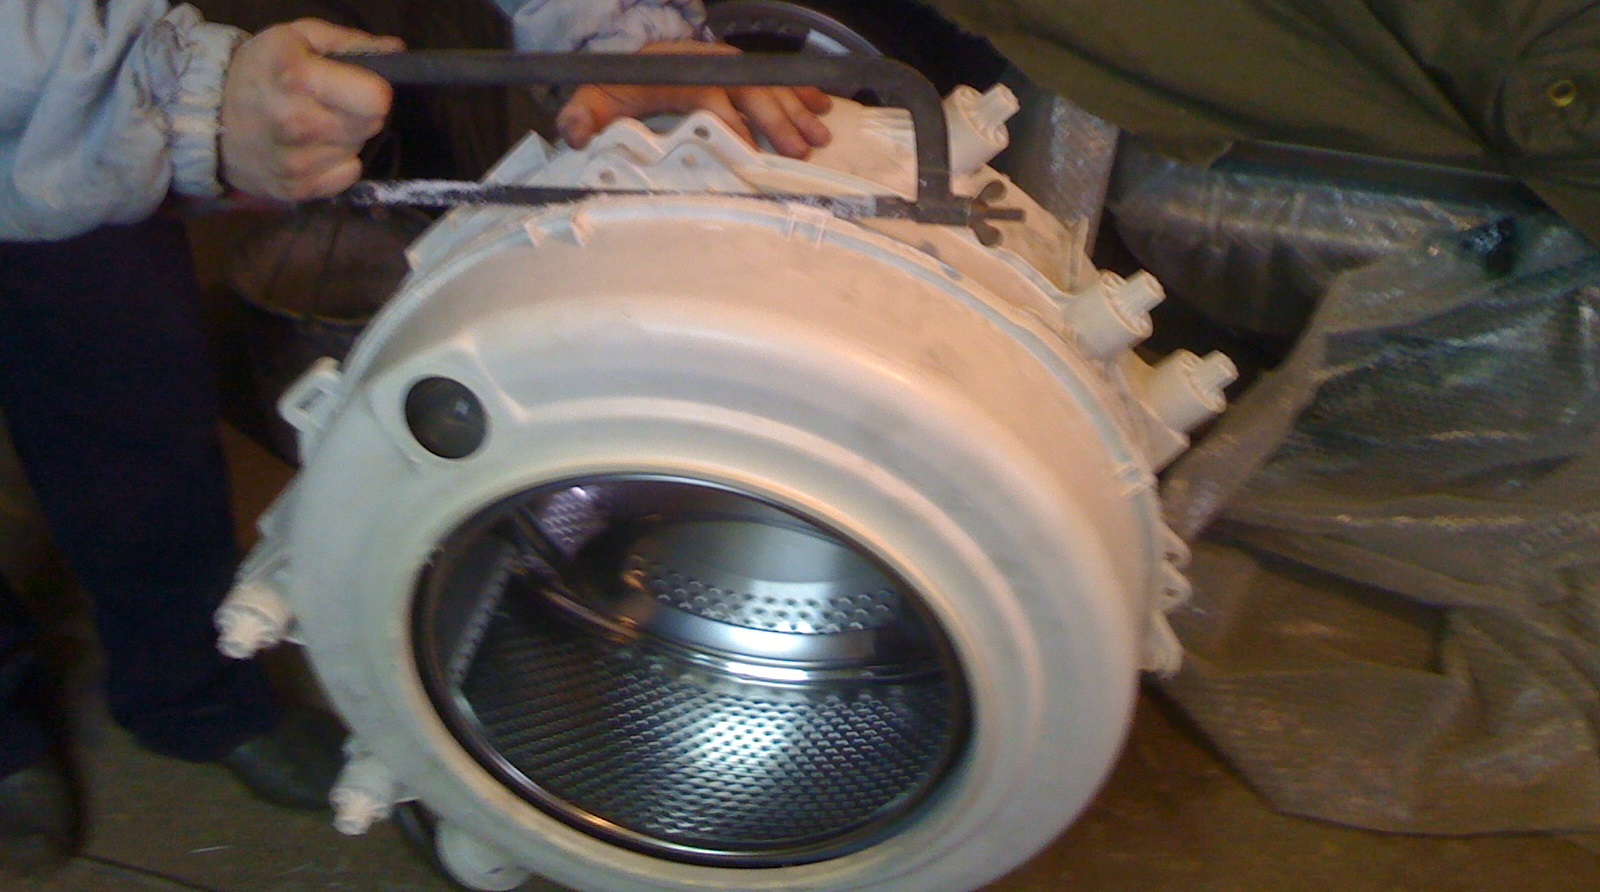
Next, lay the tank on the floor. Make sure that the structure is truly permanent.In this case, the halves of the container will be soldered, and there will be no bolts and nuts along the seam.
The plastic tank is sawed with a hacksaw or grinder.
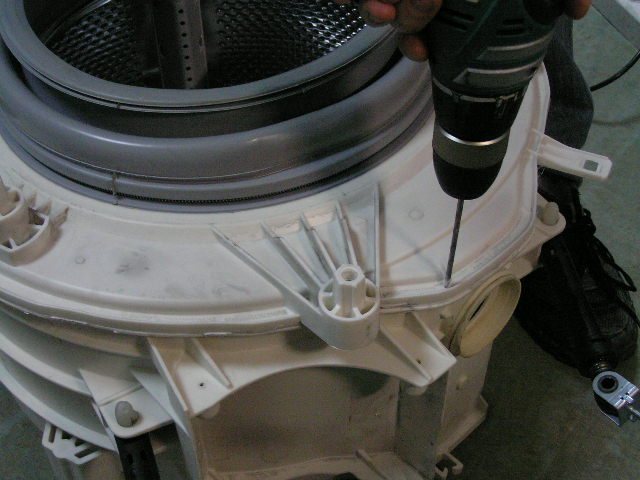
The cut must be made exactly along the weld seam. Before sawing the tank, place it vertically. Also, 5-6 holes need to be drilled on the central rib, at a distance of 6-7 cm from each other. During reassembly, screws will be screwed in there to provide additional reliability to the structure.
After sawing, set aside the top half of the tank. The drum and bearings are located at the bottom. Further work will be done with it.
Divide the tank into halves, remove the bearings
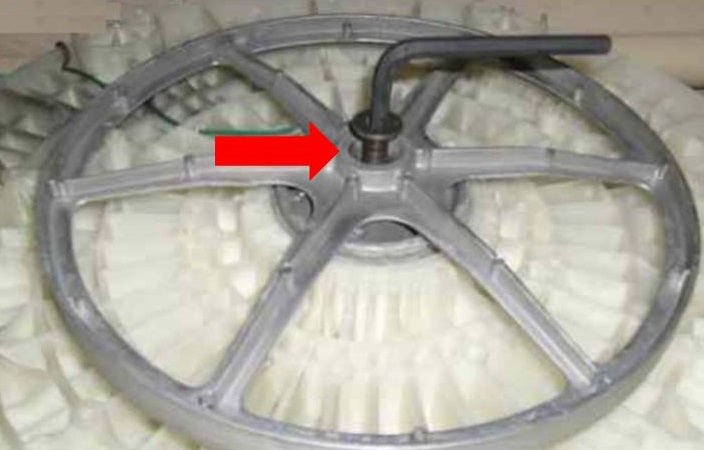
Now you need to separate the drum from the bottom of the tank. First, the nut securing the pulley is unscrewed. If the fastener is stuck to the shaft, you should treat it with WD-40 and wait 15-20 minutes. Then try again.
Having dealt with the nut:
disconnect the pulley;
screw any bolt into the thread (only not removed from the machine, otherwise it may become damaged);
place the rubber part of a mallet or a small wooden block on the bolt;
tap the block with a hammer until the drum pops out of the tank half;
If the parts do not separate, spray the area around the bolt with WD-40 spray lubricant, wait 15 minutes and tap the structure with a hammer again.
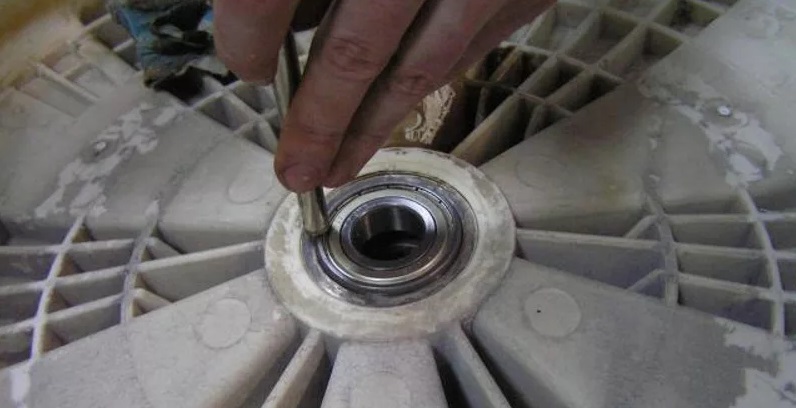
The bearings are located on the drum shaft. You can remove them using a special puller. If there is no tool, then pressing is done with a hammer and drift.
Rings are always replaced in pairs. At the same time as the bearings, the oil seal is also changed. Also, the elements must be treated with a special lubricant - it will extend the service life of the parts. Spare parts are purchased for a specific CMA Candy model.Pressing in new components is also done with a hammer and drift.
Now you can start assembling the tank. Clean the edges of the halves and treat them with moisture-resistant silicone sealant. Next, place the parts of the container on top of each other. Then screw the bolts into the previously drilled holes and secure them with nuts.
Assembly is performed in reverse order. First, install the tank, connect shock absorbers, counterweights, and pipes to it. Replace the heating element, engine, cuff, drain pump. Reconnect the discarded wires and pins. Secure all housing walls and control panel. Insert the powder receptacle into the dispenser.
Once you have finished assembling your Kandy washing machine, be sure to run a test cycle. Watch how the “home assistant” works. There should be no leaks, extraneous noise, or strong vibrations. If everything is in order, the repair can be considered successfully completed.
 The SMA plastic tank contains parts that ensure smooth rotation of the drum. So, when the bearing unit wears out, the machine begins to make noise, grind and vibrate strongly during the spin cycle. There is also a slight backlash.
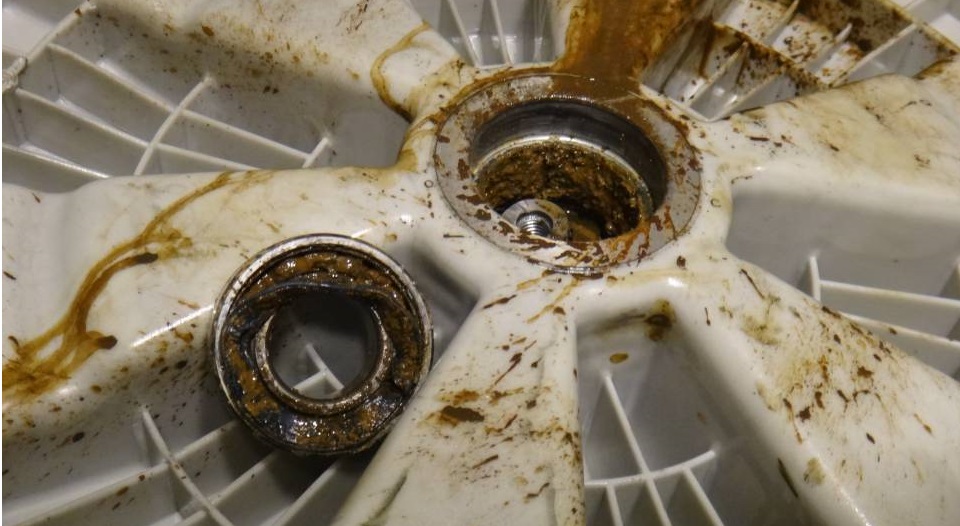


Add a comment