How to disassemble the drum of a Beko washing machine?
 Over time, the drum assembly of any washing machine fails: the shaft becomes loose, the seal leaks, and the bearings wear out. All this interferes with smooth rotation and leads to backlash, which increases the outgoing vibration and noise of the machine. This situation is not uncommon for Beko owners, so you should prepare for possible failures. To solve the problem, you will have to disassemble the drum of the Beko washing machine and replace the worn parts. All that remains is to find out where to start the repair and how to finish it.
What are you going to face?
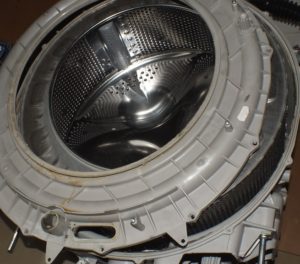
Before you start disassembling, it is worth outlining the scope of work and understanding what you will have to deal with. So, it is the bearing assembly that ensures the rotation of the drum, transmitting impulse from the engine through the shaft. Due to high load, bearings deteriorate faster than other washer spare parts, making it difficult to unwind the mechanism. To correct the situation, you will need to replace the worn elements.
The difficulty is that the bearings are located on the drum cover. To get to the problem area, you will have to not only disassemble the washing machine almost completely, but also half the tank. It’s even more difficult for Beko owners, since this manufacturer’s equipment is equipped with solid cast containers that cannot be repaired normally.
Beko washing machines are equipped with solid tubs, so a metal saw is required to disassemble them.
A solid tank cannot be disassembled using conventional methods. Therefore, service centers charge a high price tag for replacement, and most often advise completely dismantling the worn-out unit and installing a working one.The cost of “exchange” is not cheap - as a rule, about 50-70% of the price of the washing machine. You can go the other way and buy a new washing machine, but you will have to fork out even more.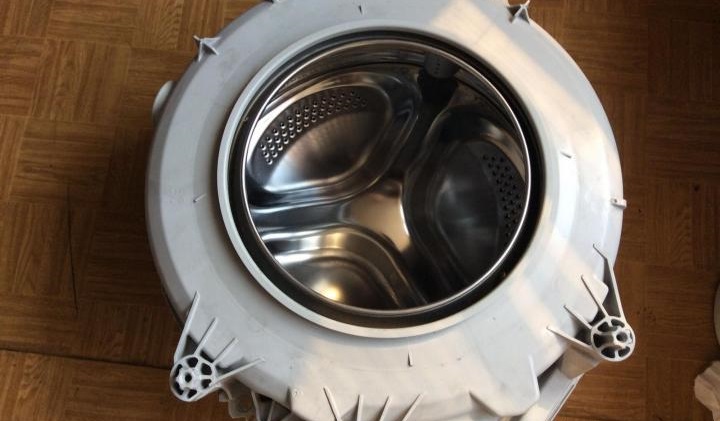
If you don’t have the money to buy a new tank or a whole machine, then you can try to do the repairs yourself. You will need to cut the non-separable container with a metal saw, replace the bearings, and then glue everything together and return it to its place. It's a lot of work, but you save a lot of money. Have you decided? Then we offer step-by-step instructions and recommendations.
Let's prepare thoroughly
If you decide to do the renovation yourself, you should be thoroughly prepared. First of all, we collect or purchase the required minimum of tools. Fortunately, the list is standard:
- a set of screwdrivers (flat, Phillips and indicator);
- saw or hacksaw for metal;
- mites;
- pliers or pliers;
- set of open-end wrenches (8-18 mm);
- set of heads;
- puller (car version is suitable);
- socket wrenches;
- hammer;
- awl;
- chisel;
- multimeter
After collecting the tools, we begin to prepare the workplace. If the washing machine is installed in a spacious bathroom, then you can work here. In small rooms where it is difficult to turn around, it is worth looking for another option - an entrance hall, kitchen, workshop or garage. It is necessary to provide at least two free square meters, otherwise disassembling the machine will be problematic. In general, we act like this: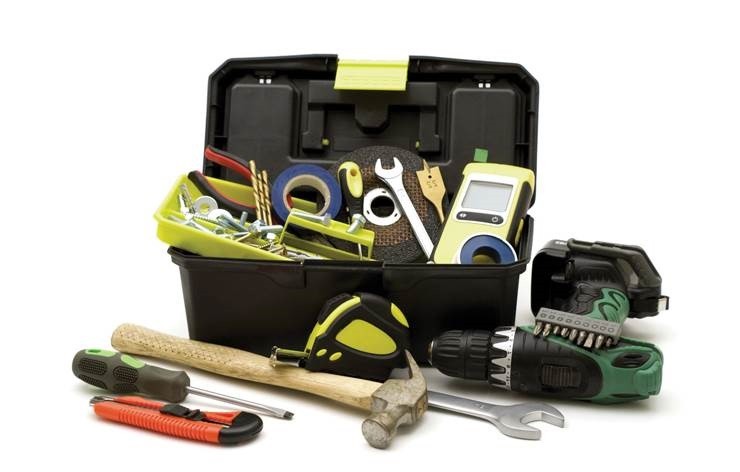
- disconnect the machine from all communications (electricity, sewerage, water supply);
- move the washing machine to a place convenient for repair;
- we cover the space surrounding the equipment with oilcloth, rags or newspapers;
- pull it towards you and remove the detergent tray from the body;
- Having unscrewed the garbage filter, drain the residual water from the tank.
Before disassembling, the machine must be de-energized and disconnected from the sewer and water supply!
For convenience, it is recommended to allocate a separate place for small parts - bolts, screws, clamps and other fasteners. Having completed the preparations, we proceed to directly troubleshooting the problem.
Removing the tank by disassembling the machine
To get to the tank, you will have to disassemble the machine almost completely. In fact, everything is not so scary - anyone can cope, the main thing is to know what to do and in what order. So, dismantling begins with the elementary:
- remove the top cover of the case by unscrewing the retaining bolts from the back and pulling the panel forward and up;
- remove the “backdrop” by unscrewing the corresponding fasteners;
- unhook the drive belt from the pulley;
If there is rust or oil stains on the wall behind the pulley, the bearings are damaged.
- We remove the heating element from its seat, having previously disconnected the connected wiring.
In theory, you can disassemble the washing machine down to the tank without removing the heater, but experienced craftsmen recommend not to risk it. The fact is that refusal to remove the heating element often leads to damage to the latter: the contacts are broken or the “spiral” itself is deformed. It is better not to try to save time, but to protect yourself from the subsequent replacement of an expensive part.
Next in line is the electric motor. It also needs to be removed from the washing machine, for which we remove the line connected to the motor, loosen the bolts, swing the part and pull it towards ourselves. We act extremely carefully so as not to damage the tachometer located on the engine.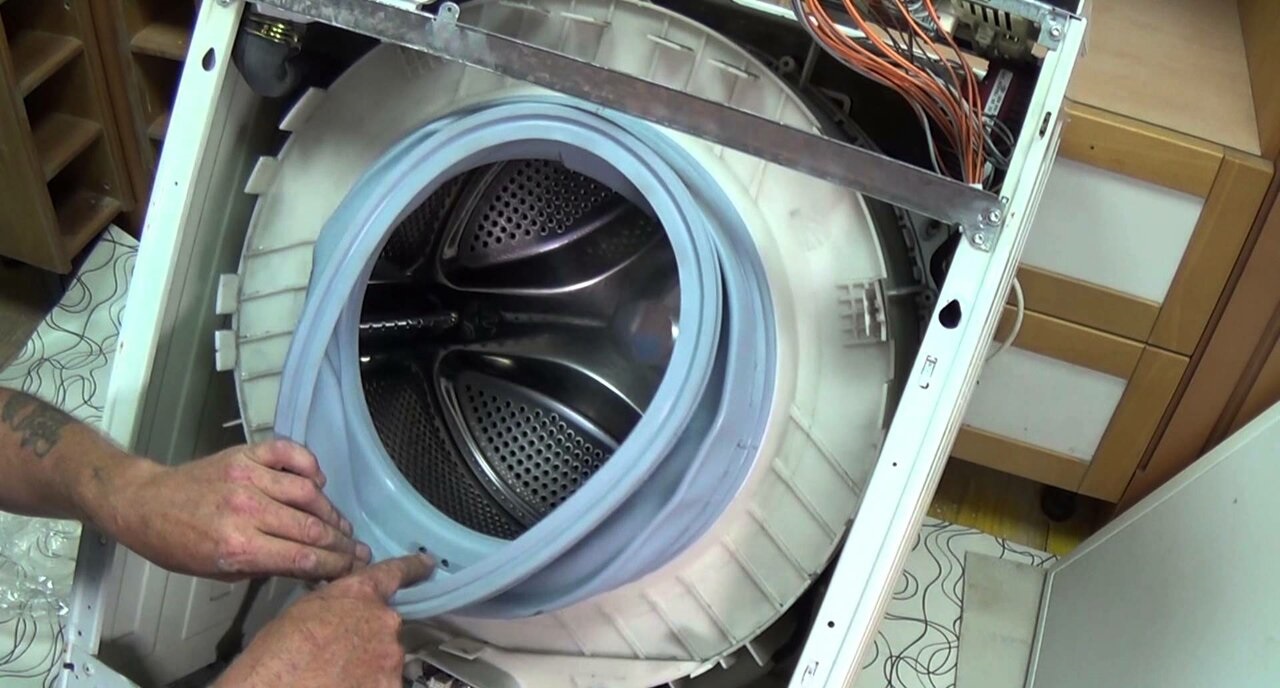
Let's move on to the “upper” part, more precisely, to the counterweights.These are concrete blocks that are located above the drum and absorb the centrifugal force emanating from it. Removing the stones is simple: just unscrew the holding bolts with a socket wrench and remove the concrete from the machine. But don’t forget about its weight - it’s better to call someone for help.
Now you need to remove the dashboard. This is done according to the following instructions:
- unscrew 2-4 bolts located next to the powder receptacle;
- loosen another lock located on the left side of the case;
- remove the board from the plastic latches by lifting the panel up;
- disconnect the wires leading to the intake valve;
- We hook the removed panel onto the service hook or move it to the side.
Next, pay attention to the inlet hose. Next to it are the inlet valve and the powder receptacle niche, which also need to be removed from the housing. Everything is extremely simple: use a screwdriver to pry up the clamps and disconnect the supplied pipes and wiring.
You need to remove the pressure switch from the machine. To do this, unhook the wires from the “washer”, unscrew the holding screws and carefully pull the plastic tube out of the tank. There is no need to rush - the part is very fragile and can be easily damaged by sudden movements.
We go down to the hatch and loosen the clamp holding the rubber seal. Then we tuck the cuff inside the drum and turn off the UBL. Then turn the washer on its side. The reason is simple - most Beko models do not have a tray, so it is easier to get to the drain system through the “empty” bottom. Here the fasteners are loosened, the clamps are removed and the drain pipe is removed. The shock absorbers are twisted using a socket wrench. Now that’s it – you can return the machine to a horizontal position and start cutting the tank.
Divide the tank into two halves
It will not be possible to saw the tank located in the machine - you need to take it out. Despite the apparent lightness, this knot is very heavy, so it is better to enlist an assistant. Next, we grab the edges of the drum, swing the container to the side, lift it slightly and pull it towards us. The tank should move and leave its seat.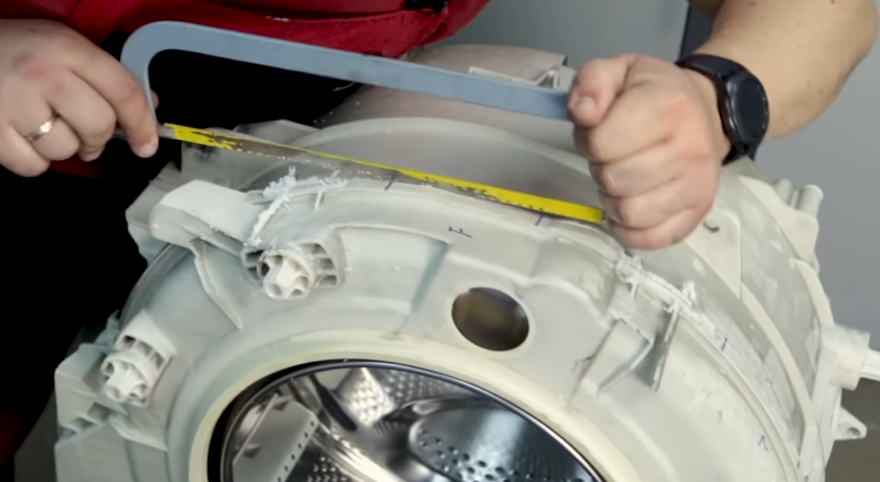
Having freed the tank, we inspect it. You need to make sure that the container is solid and really needs this manipulation. If so, let's get to work:
- prepare the place for cutting: put a tire on it, which will increase stability;
- Place the tank on the tire vertically, seam side up;
- take a saw or hacksaw for metal and halve the tank strictly along the seam.
It is necessary to act extremely carefully, since the slightest deviation to the side in the future will affect the tightness of the container. Having finished cutting, remove the upper part of the tank and turn the lower cross upside down. The bearings are “hidden” right under the shaft, so we move on to the next stage - removing the seals and “rings”.
Removing damaged bearings
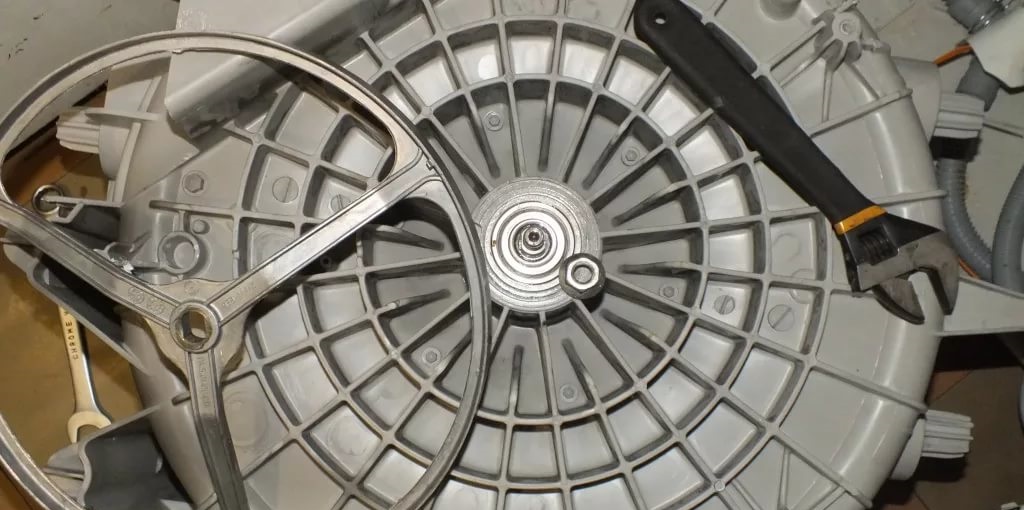
To get to the drum and bearings, you need to deal with the “back”. If the upper part of the tank can be easily and quickly removed after cutting, then you will have to work longer with the lower half. The first step is to loosen the nut securing the drum pulley. Then we proceed like this:
- remove the pulley;
- screw a bolt into the free thread (it is better to use a third-party bolt, since after the “procedure” it is greatly deformed);
- cover the head of the bolt with the rubber part of the mallet (if there is none, then an ordinary wooden block or a thick piece of rubber will do);
- generously treat the threads with WD-40 (if it is clear that the joint is strongly stuck and rusted);
- tap the structure with a hammer until the lower part moves.
WD-40 will help deal with stuck parts.
By removing the second half of the tank, you can finally gain access to the drum. We need bearings that are on the shaft. To remove the ball rings, just use a car puller. In the absence of the latter, we resort to the help of car mechanics or arm ourselves with a hammer and chisel.
Afterwards all that remains is to knock out the old bearings and install new ones in their place. Having completed the replacement, we put Beko back together. First, we connect the two halves of the tank together with bolts and sealant, then we return the drum to the washing machine body, and then the rest of the components. We will not describe the assembly process in detail - we follow the above instructions, only in reverse order.
Interesting:


Reader comments
- Share your opinion - leave a comment
Categories
Washing machine repair


For buyers


For users


Dishwasher


Add a comment