Disassembling the Hansa washing machine
 In some cases, it is necessary to completely disassemble the Hansa washing machine, for example, for spare parts or for complex repairs. Even a user who has never had to “dig” into a slot machine can cope with this. The main thing is to strictly follow the instructions for action and understand the structure of the washing machine. We'll tell you what tools you'll need in the process and where to start.
We will prepare everything you need
An automatic machine is a fairly large household appliance consisting of a large number of parts. To avoid distractions during work, you need to free up 3-4 square meters. meters. It will be inconvenient to disassemble the washing machine in a cramped bathroom or kitchen; the ideal option is to take the unit to the garage. When this is not possible, move the “home assistant” to a spacious room.
When disassembling electrical appliances, be sure to follow safety regulations.
Before you start disassembling the Hansa washing machine, you need to:
- de-energize the equipment;
- turn off the valve responsible for supplying water to the washing machine;
- unhook the drain and inlet hoses from the body;
- remove remaining water from the system through a garbage filter;
- collect at the workplace the tools that will be needed for repairs.
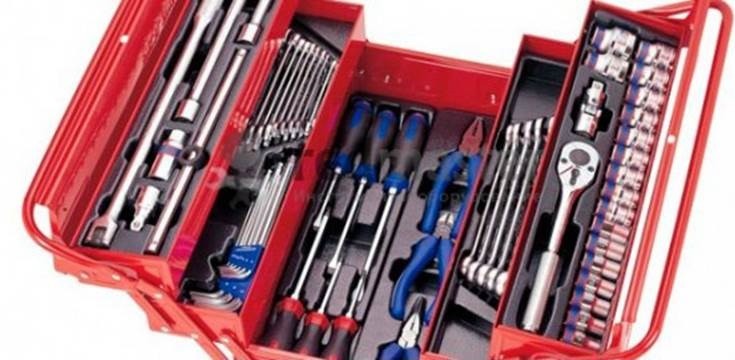
To easily dismantle all the parts of the Hans washing machine, you will need the following set of tools:
- a pair of screwdrivers (positive and negative);
- wrench 19 and 8/10;
- ticks. Will be needed to loosen the clamps;
- pliers;
- pliers;
- wire cutters;
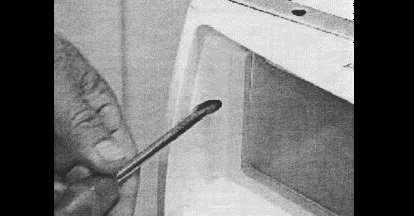
- service hook.
Usually, all of the listed tools, except the last one, are available in every home. A service hook can be purchased at a specialty store or ordered online. It looks like this: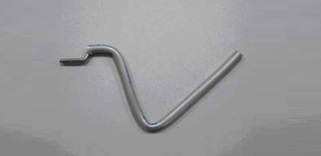
That's all you need to disassemble the automatic machine. No expensive tools or special equipment. Let's figure out where to start.
We open the case and expose the details
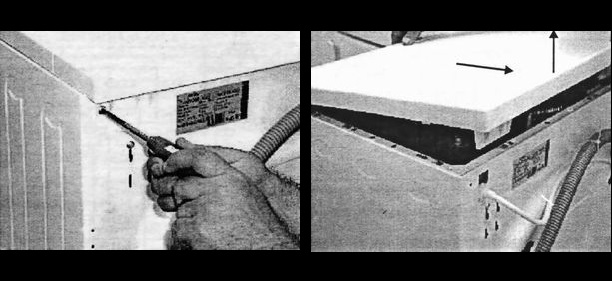
First of all, it is necessary to remove the external parts from the automatic machine. We are talking about a cuvette for detergents, a hatch door, a lower false panel and the walls of the housing. The algorithm of actions will be as follows:
- unscrew the two bolts located at the back of the washer on the “eyes” of the top panel. Push the cover back slightly and lift it up. Place the removed element aside;
- Pull the powder container out of the machine as far as it will go. Then press the plastic tab in the center of the cuvette. Pull the dispenser towards you again - it will be in your hands;
- Having dealt with the latches, remove the lower false panel behind which the garbage filter is hidden;
- Unscrew the screws located around the perimeter of the dispenser niche (before that they were hidden by the detergent tray);
- unscrew the bolts holding the washing machine door, remove the hatch along with the hinge and put it aside;
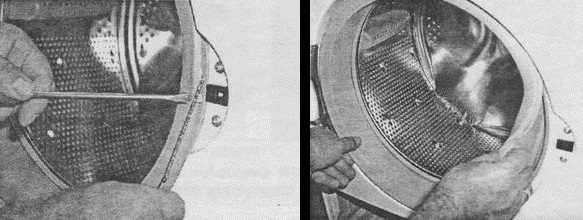
- Now you can work on the cuff. Using a thin screwdriver, pry out the outer clamp securing the seal. Do not pull too hard so as not to damage the spring. Carefully pull out the “ring”, then tuck the “rubber band” inside the drum;
- Unscrew the bolts holding the control panel. Then use a screwdriver to pry up the latches located on the top and side of the “tidy” and carefully remove them. Remove the board and hang it on a pre-made wire hook. Be careful not to damage the electronic module wiring;
- Now all the bolts holding the front wall will be visible.Unscrew the screws located around the garbage filter, under the “tidy”, near the hatch locking device. The front part is additionally held in place by latches, which can be removed with a thin screwdriver;
- Unscrew the screws securing the back wall of the case. Remove the panel and put it aside.
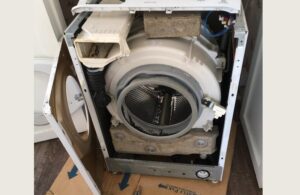
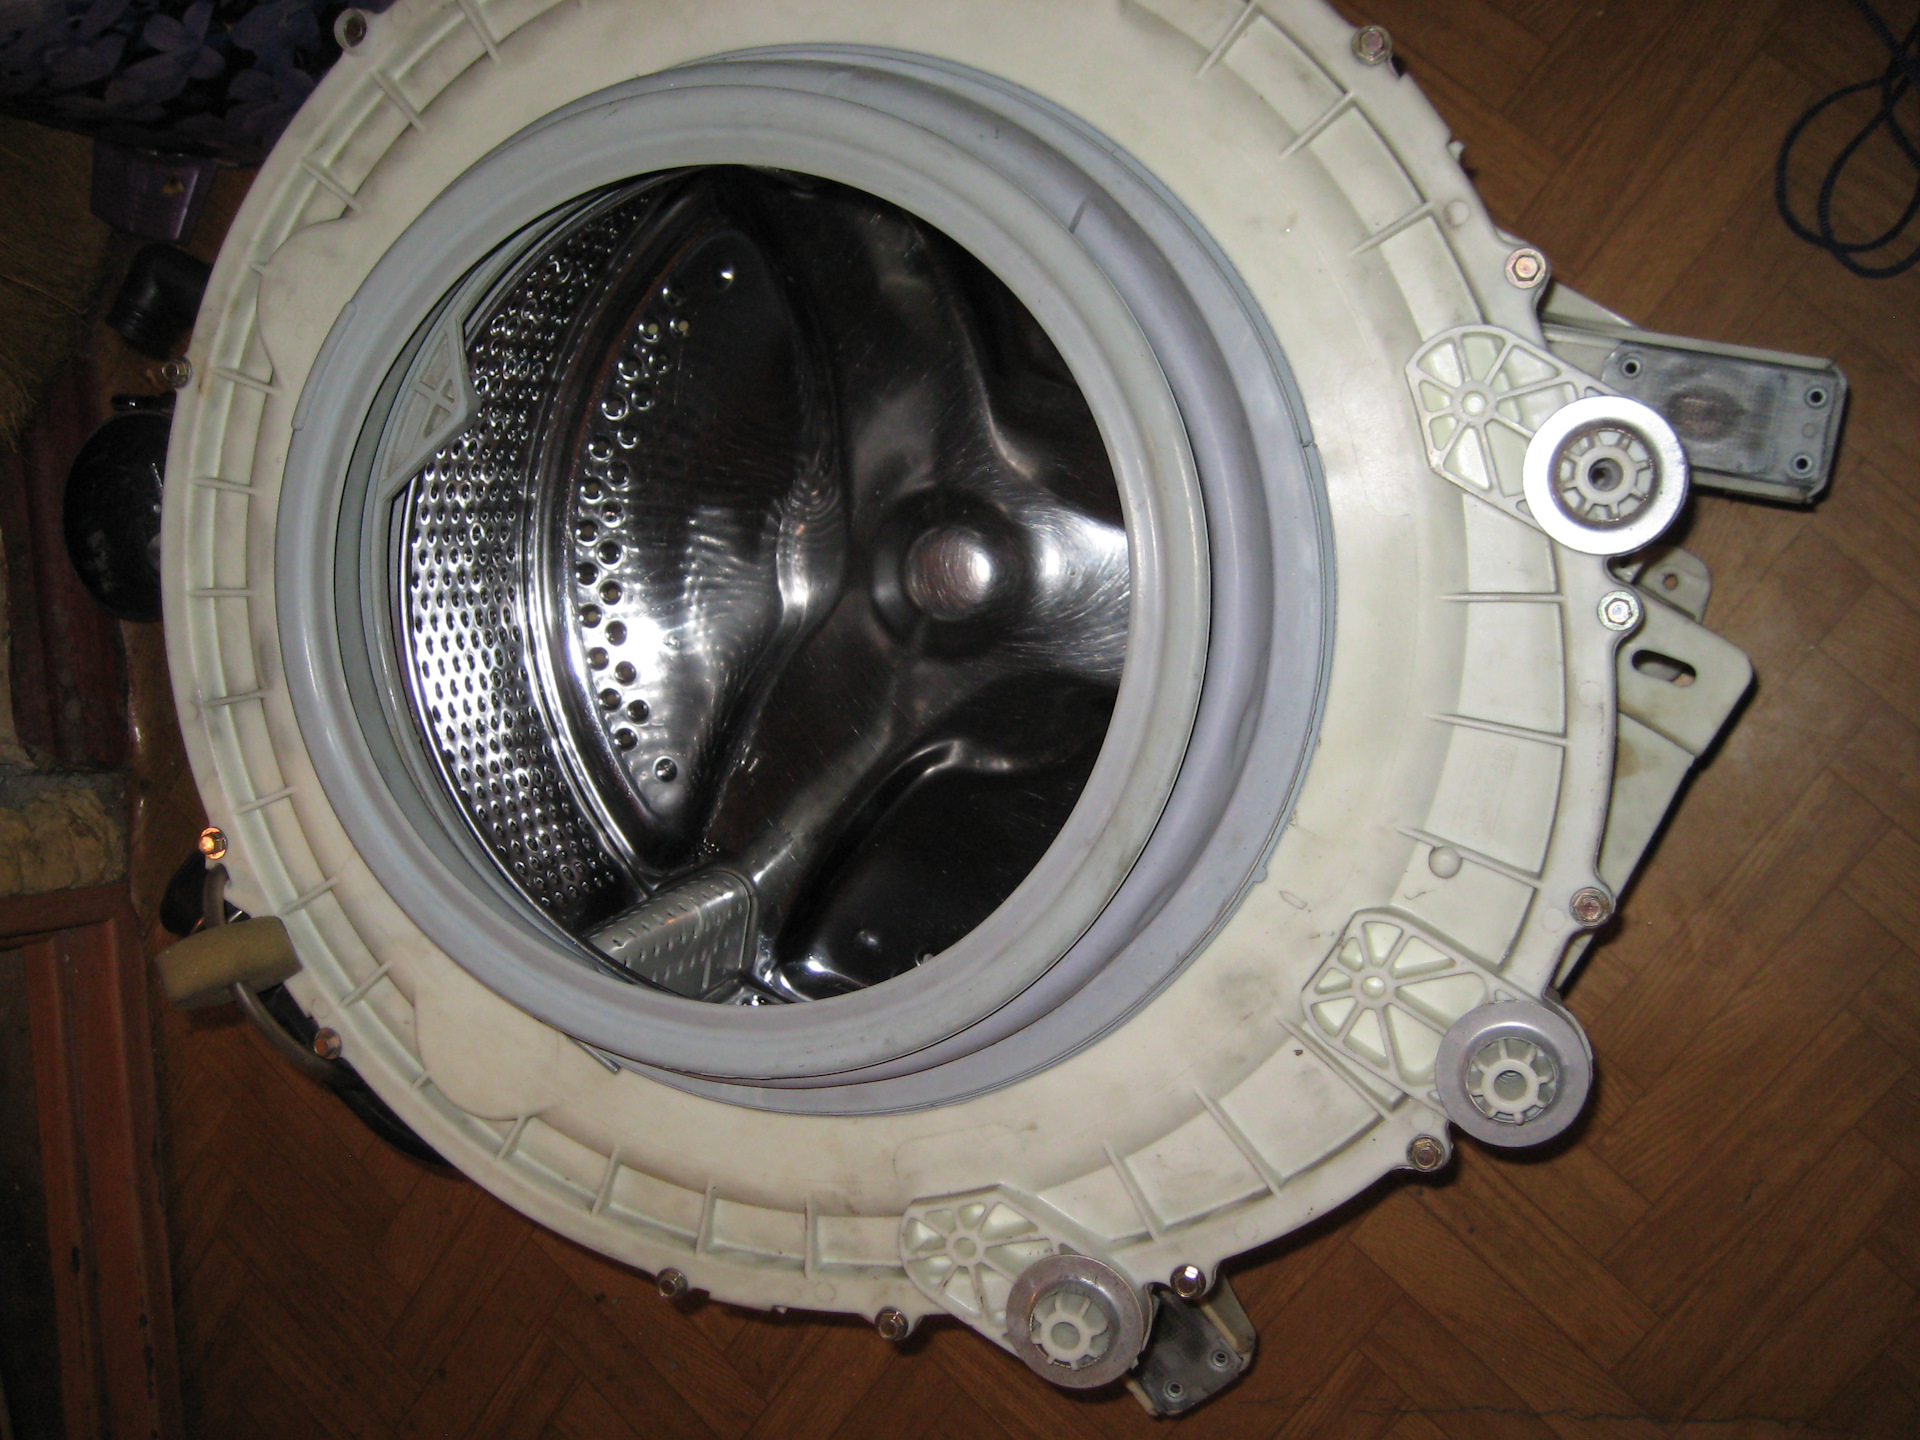
After these steps, you will have access to all the “insides” of the Hansa washing machine. Now you can easily remove the counterweights, drive belt, pressure switch with your own hands, remove the heating element, drain pump, motor, and even pull out the tank. We will tell you in what order it is better to disconnect the machine components.
We take out the main components and parts
You can disassemble the entire washing machine yourself. The only difficulty may arise with removing a heavy tank. Due to the large mass of the structure, it is better to pull it out together with an assistant. Before you begin removing the tank, you will have to remove many other parts from the housing. We'll tell you in what order disassembly should be done. The algorithm of actions will be as follows:
- reset the drive belt. Slowly rotate the drum pulley and pull off the rubber band;
- remove the power wires from the motor terminals;
- unscrew the screws holding the engine;
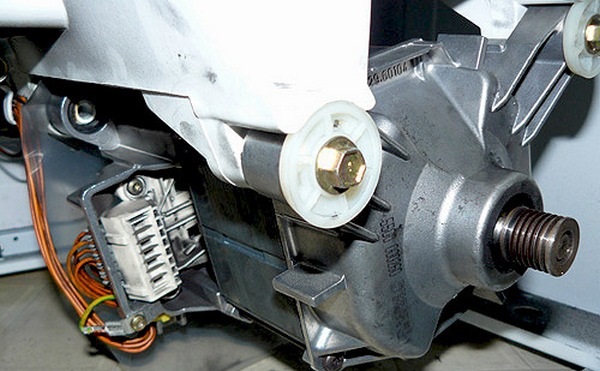
- “loose” the motor to the sides, then pull it out of the machine;
- disconnect the wires from the pump, unscrew the screws holding the pump. Remove the part from the housing;
- unhook the drain pipe from the main container;
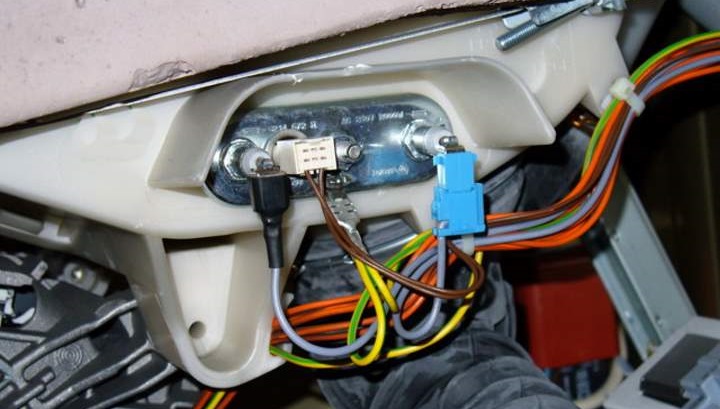
- remove the contacts of the heating element, remove the wiring from the temperature sensor, loosen the central nut of the heater and remove the element;
If you have difficulty removing the heating element, you can treat the heater gasket with WD-40 aerosol lubricant, this will make removal easier.
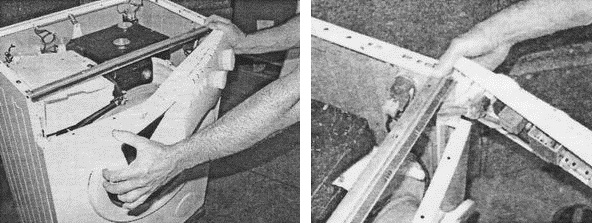
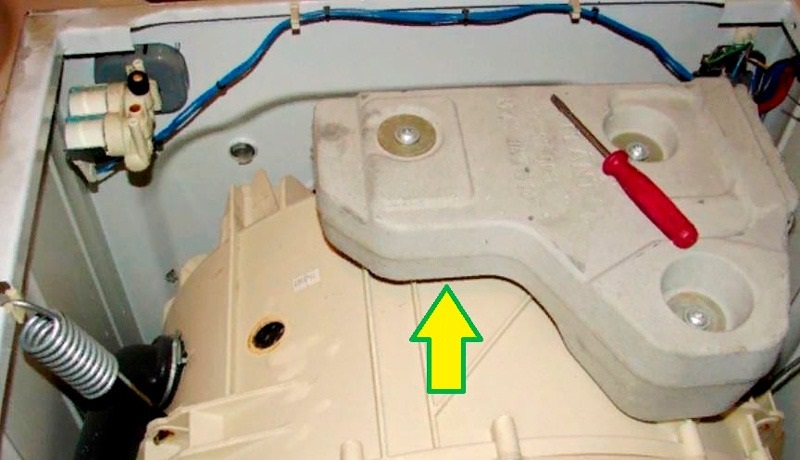
- remove the counterweight blocks.To do this, unscrew the bolts securing them;
- work with the shock absorbers: remove their fasteners. The springs themselves do not need to be removed at this stage;
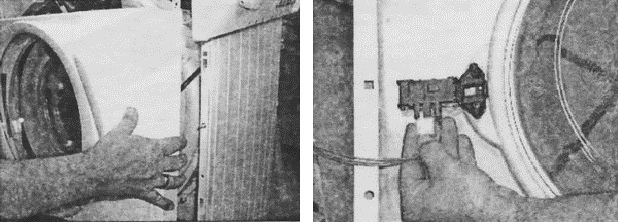
- unhook the dispenser pipes from the tank, as well as the inlet valve contacts;
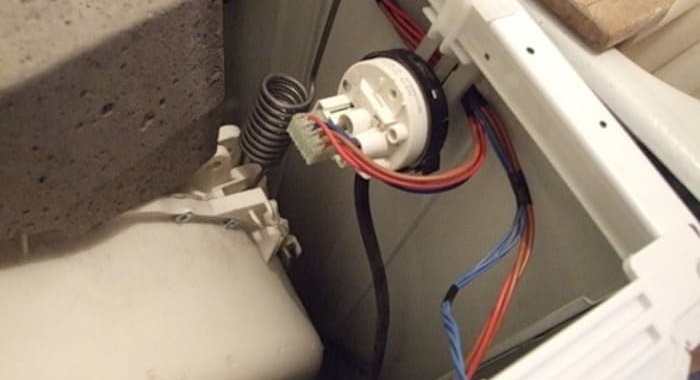
- disconnect the pressure tube from the pressure switch, remove the water level sensor from the housing;
- remove the tank by removing the upper shock-absorbing springs.
Some models are equipped with plastic non-separable tanks. In this case, to gain access to the inside of the container, you will have to cut it in half. Usually it is necessary to “climb” into the drum when the bearing assembly fails. Only by disassembling the “centrifuge” can you replace the bearings and seal. The algorithm of actions will be as follows:
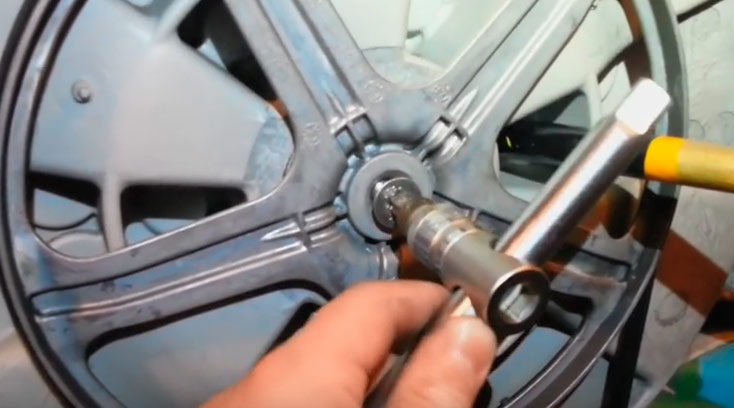
- Unscrew the screw located in the center of the pulley;
- using a hacksaw, cut the plastic tank along the factory weld;
- separate the tank halves;
- inspect the crosspiece, unscrew it;
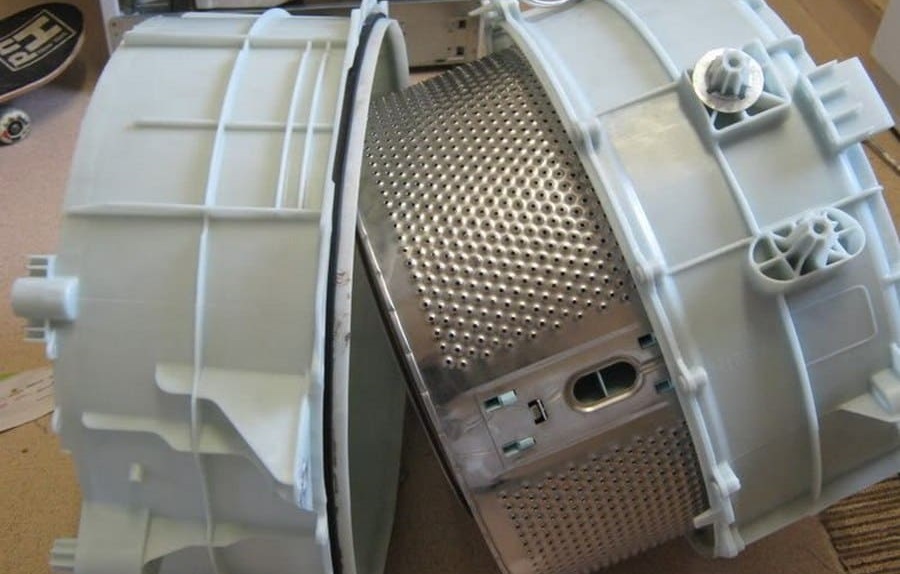
- start replacing the bearings: knock out the worn rings, press the new parts into place.
Not all washing machine models require the use of a hacksaw. If the automatic machine is equipped with a collapsible tank, simply unscrew the screws around the circumference and open the latches. This will give you access to the drum. Reassembling the washing machine after repair is carried out in the reverse order. To begin with, the halves of the tank are connected, it is placed in the housing and fixed with shock absorbers. The remaining elements are returned to their places: pressure switch, counterweights, heating elements and others. It is better to take photographs of the disassembly stages so that later you can connect the wiring and pipes without errors.
Interesting:


Reader comments
- Share your opinion - leave a comment
Categories
Washing machine repair


For buyers


For users


Dishwasher


Add a comment