Disassembling a Zanussi top-loading washing machine
 If your Zanussi vertical washing machine begins to behave incorrectly, it is better not to delay diagnostics. You can deal with most problems yourself. We'll tell you how to disassemble the vertical frame and what tools you'll need.
Preparatory stage
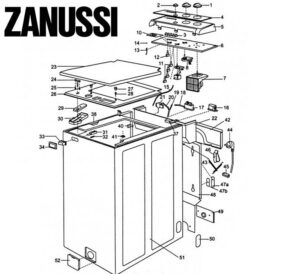
You should be prepared for any manipulation. This also applies to SMA diagnosis and repair. To properly disassemble the washing machine Zanussi vertical loading, you need to understand where which nodes are located.
The first step in disassembling the SMA is to study the instructions for the equipment.
First, you should read the user manual. The instructions for the vertical camera contain a lot of useful information about the specific Zanussi model. There is also a diagram of the location of the main components of the SMA.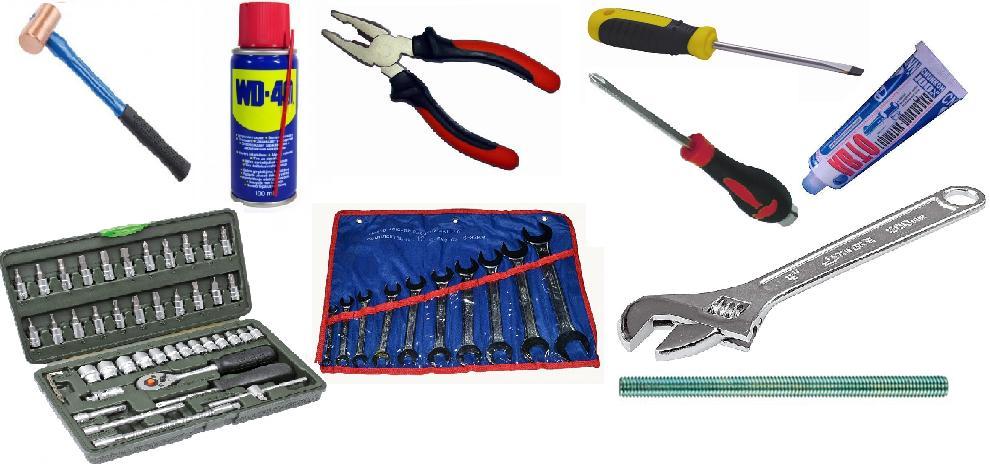
Next, prepare the tools that will be needed during disassembly. This:
- slotted and Phillips screwdrivers;
- set of open-end wrenches;
- socket heads of different sizes;
- wire cutters;
- pliers;
- aerosol WD-40.
You will also need a few dry rags. It is better to have a smartphone with a camera on hand. It is advisable to take photographs of how the terminals and wires were connected, so as not to make mistakes when subsequently assembling the washing machine.
Having prepared the tools and materials, you can start working on the machine. Be sure to unplug the CMA power cord from the outlet - the washing machine must be de-energized. Only after this can the machine be disconnected from the communications. Next, the “home assistant” moves away from the wall so as to provide free access to all sides of her body.
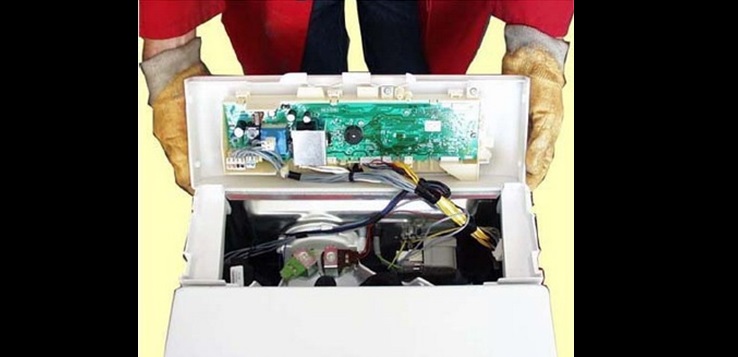
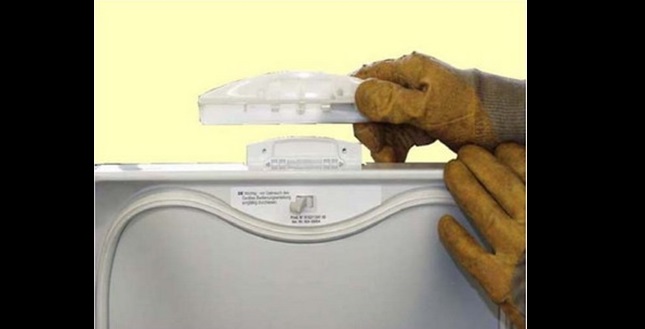
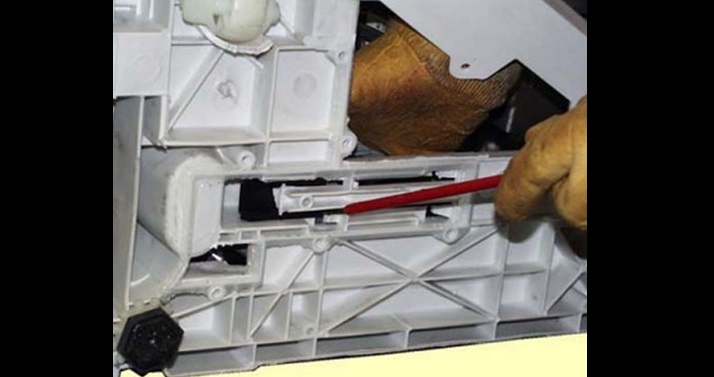
Removing the control panel
There is nothing difficult about disassembling the vertical.The main thing is to strictly follow the instructions for action. You need to start by dismantling the dashboard. The algorithm will be as follows:
- release the “tidy” from the latches on the sides;
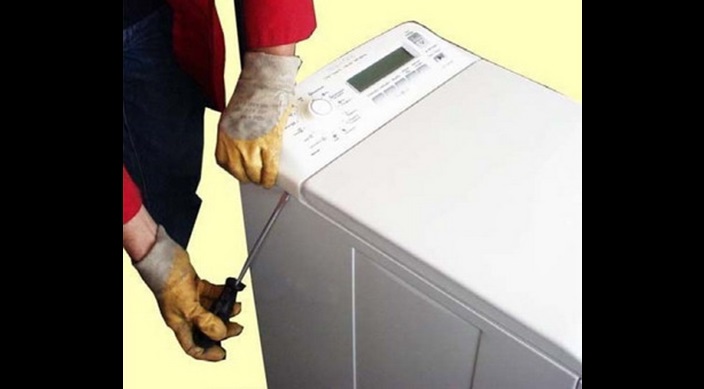
- pull the panel up and towards you;
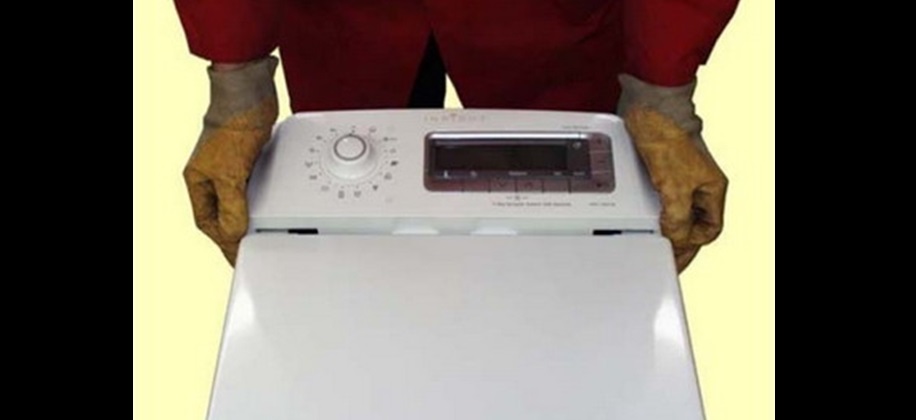
- tilt the “tidy” back, take a photo of the wiring diagram;
- disconnect the terminals and wires;
- unhook the dashboard.
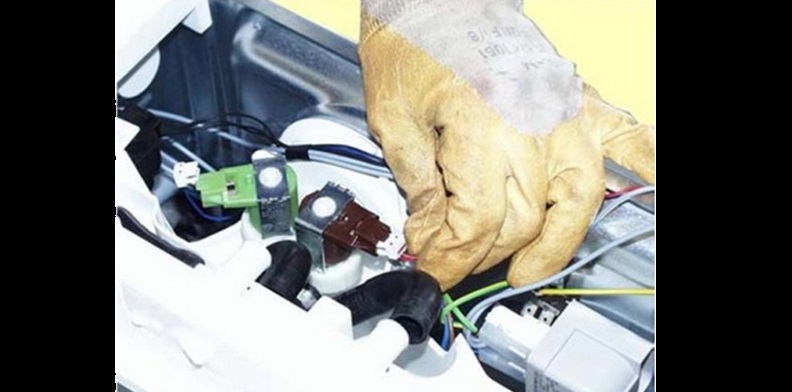
After dismantling the control panel, access to:
- electronic module;
- water level sensor;
- network filter;
- inlet valve.
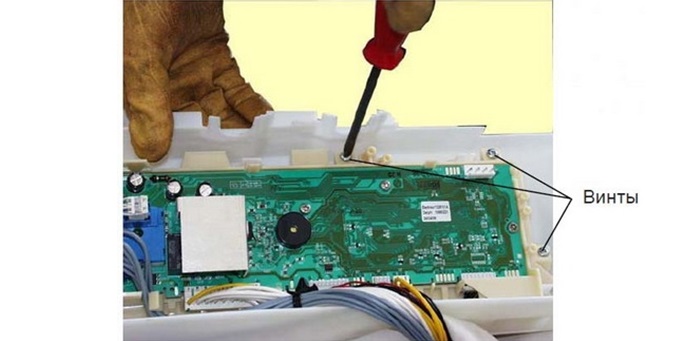
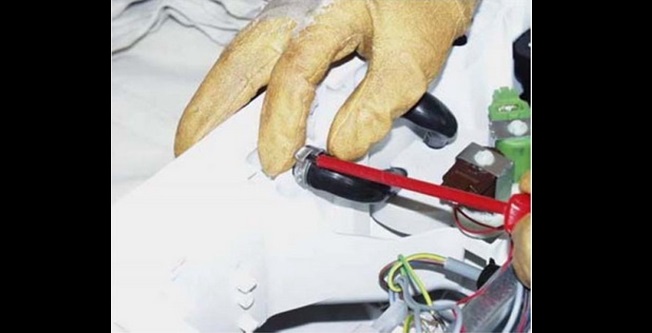
Next, you can begin to disconnect the electronic unit from the “tidy”. To do this, unscrew the bolts holding the module. After this, the board can be easily removed.
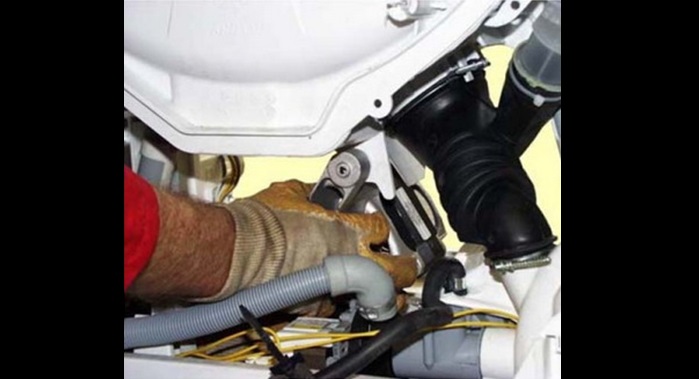
Dismantling the elements of the filling system
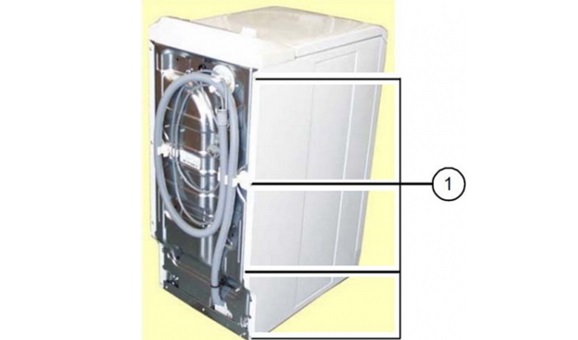
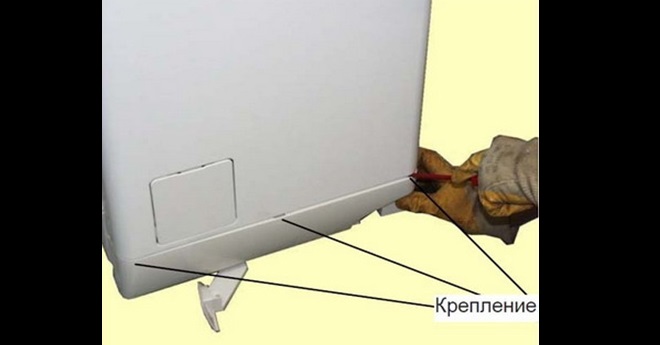
The next stage of disassembly is to disconnect the inlet valve, water distributor, and filler pipes. Before doing this, you need to remove the left side wall of the Zanussi over/under housing. This is easy to do - just unscrew the screws securing the panel and deal with the top and front fastenings.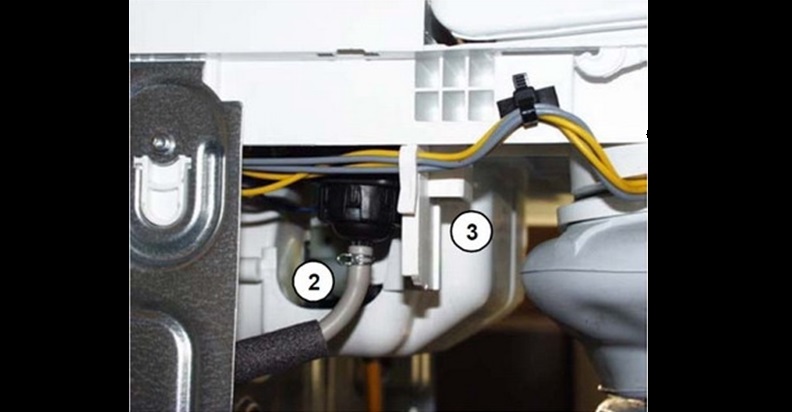
Dismantling the elements of the filling system is carried out in the following order:
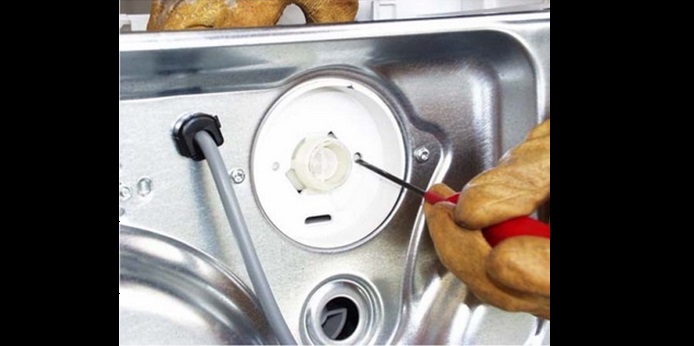
- unscrew the inlet hose from the SMA body;
- remove the clamps from the filler pipes leading to the water distributor;
- remove these pipes;
- reset the wires connected to the intake valve;
- press the clamps with a flat screwdriver and turn the filling valve;
- remove the inlet valve from the CMA body;
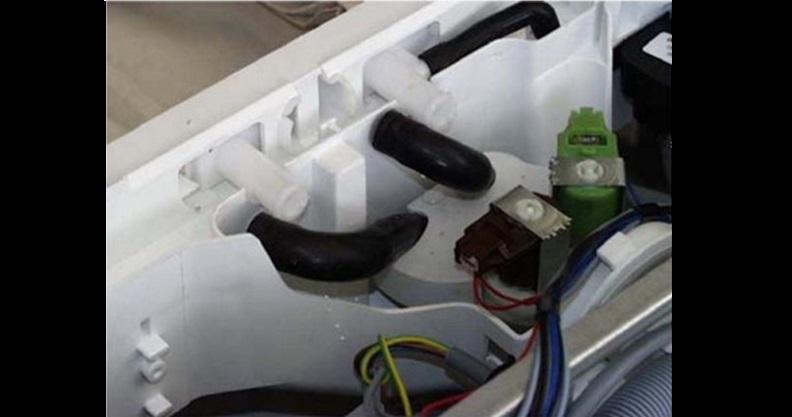
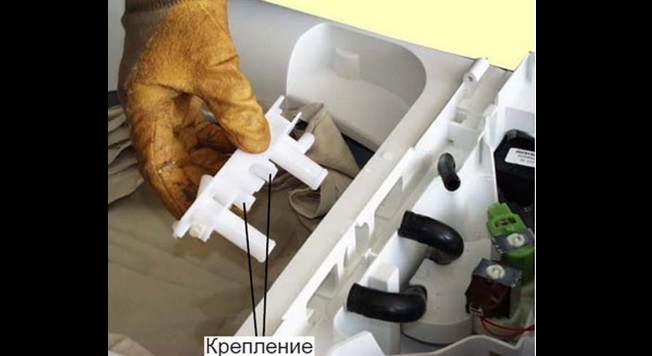
- dismantle the pipes coming from the water distributor by removing the clamps;
- remove the water distributor.
You can finish this if the washing machine, for example, refuses to take in water. When the problem is different, you will have to disassemble the machine further. Next in line are the front panel and the top cover of the case.
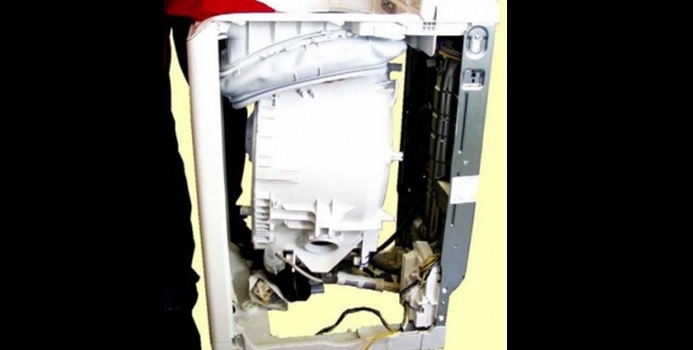
Removing the remaining external housing elements
For deeper diagnostics, it may be necessary to completely disassemble the body of the Zanussi vertical washing machine. Both the top and front panels of the machine are removed. This is done in this order:
- unscrew 2 bolts from the bottom and top sides;
- detach the front panel;
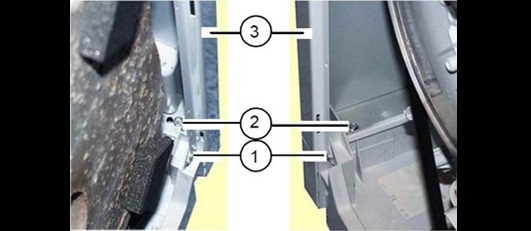
- Having dealt with the fastenings, remove the right side wall of the case;
- lower the transport wheel;
- open the top cover of the machine;
- unscrew the two bolts securing the handle;
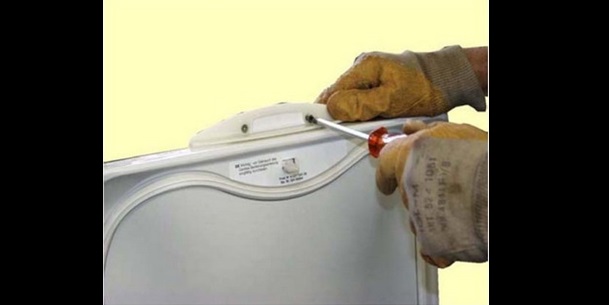
- disconnect the handle from the lid;
- unscrew the pins securing the top panel of the case;
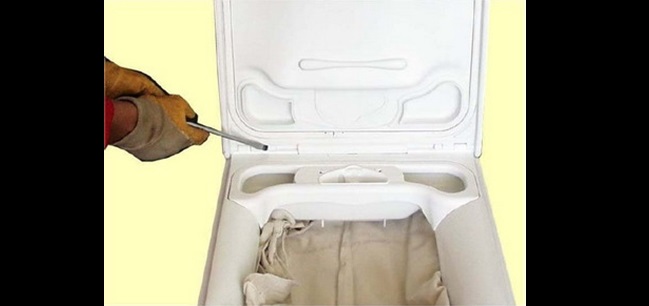
- remove the washer cover.
Be careful that the locking pins do not fall inside the washing machine when dismantling.
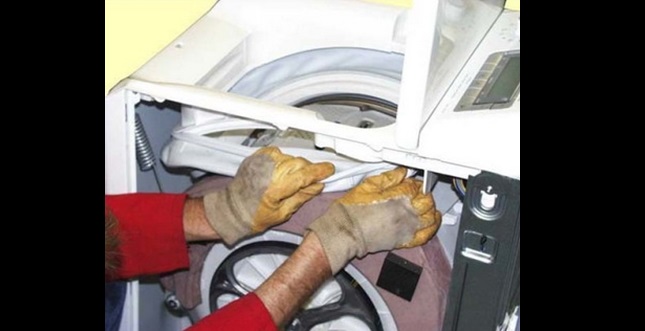
Now you can begin to remove the remaining internal parts of the machine. We are talking about the hatch cuff, counterweights, heating element, bearings, motor. The extent of disassembly of the SMA will depend on the type of malfunction. If you need to replace the heating element, it is not at all necessary to remove the engine, pump, etc.
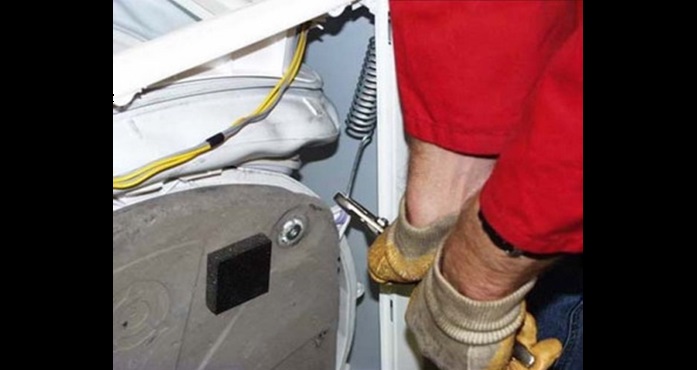
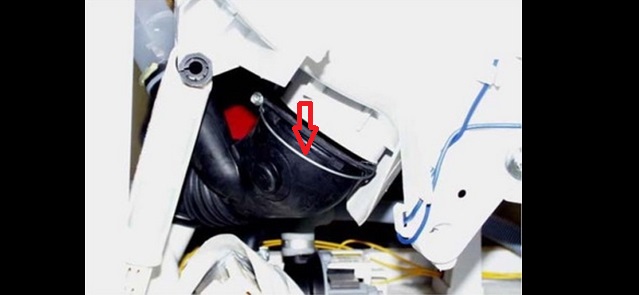
Dismantling the internal elements of the case
When disconnecting wiring and other parts, it is better not to be lazy and take pictures of how everything was connected. This will help prevent errors during reassembly. The next stage is dismantling the remaining internal elements:
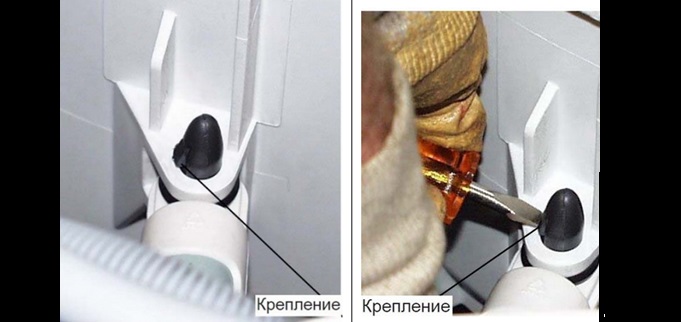
- remove the springs holding the tank;
- use pliers to remove the clamps securing the hatch cuff;

- remove the rubber seal;
- remove the foam damper located on the right side of the case;
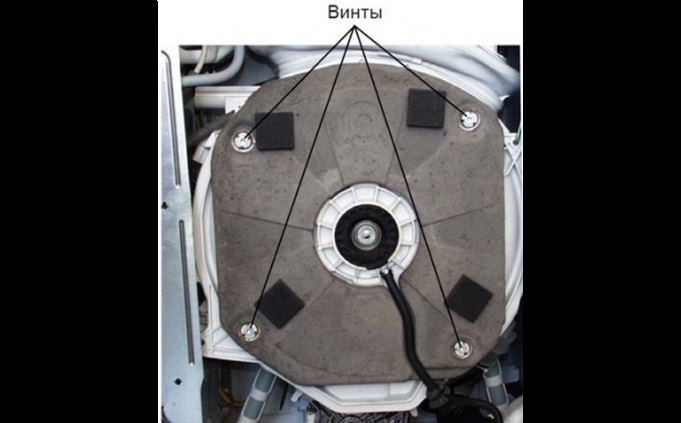
- remove the bolts holding the right counterweight, remove the weighting material;
- remove the left foam damper;
- unhook the circulation pump pipe;
- remove the left weight;
- find shock-absorbing elements;
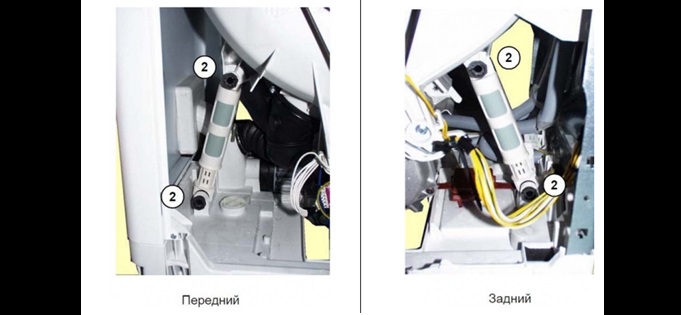
- deal with the shock absorber fastenings, remove the elements from the SMA body;
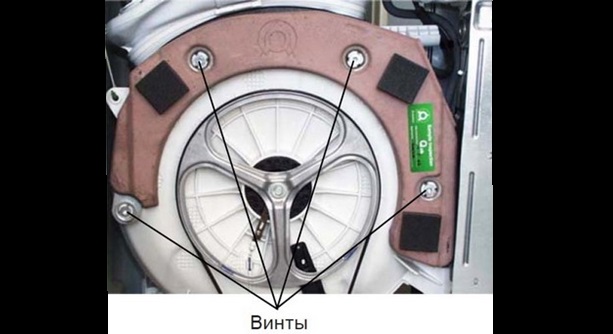
- remove the drum screw (if there is a need to remove the left bearing);
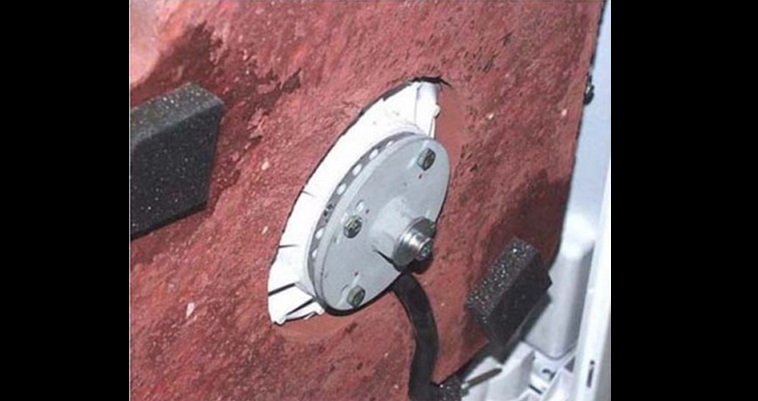
- remove the pulley and drum screw on the right (if you need to gain access to the right bearing);

- unscrew the 2 screws securing the DSP and remove the drum self-positioning device;
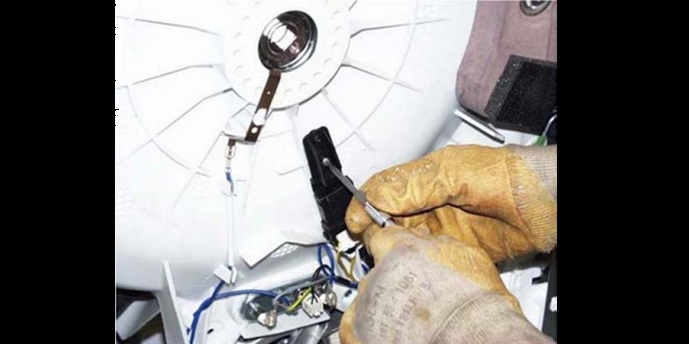
- remove the wiring from the heating element, loosen the nut, press the screw in and remove the heating element;
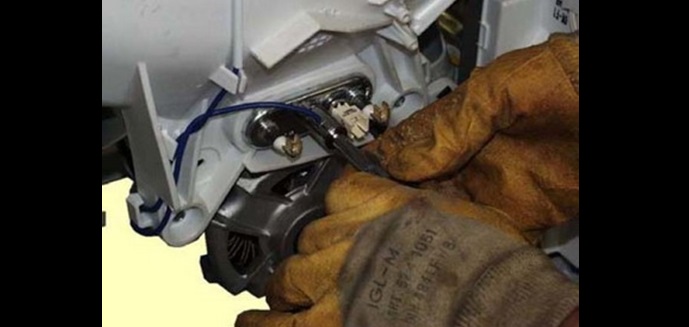
- disconnect the grounding and other wires from the motor;
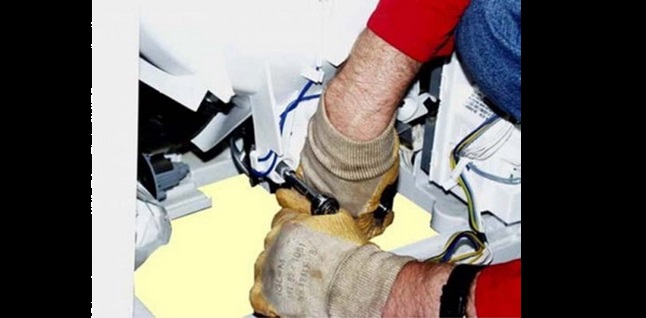
- unscrew the two fixing bolts and remove the engine from the machine;
- release the latch of the drain pipe and remove it from the washing machine;
- remove the remaining springs on the tank, on the right and left sides;
- lay the machine on its side;
- remove the SMA pan;

- disconnect the wires from the pump and, having released the latch, remove the drain pump;
- return the machine to a vertical position;
- remove the tank from the SMA body (if required).
This is how you can completely disassemble the vertical loading Zanussi SMA. The elements are returned to their place in reverse order. It is better to rely on the photos taken to avoid mistakes.
Interesting:


Reader comments
- Share your opinion - leave a comment
Categories
Washing machine repair


For buyers


For users


Dishwasher


Add a comment