The washing machine does not wash, but spins and rinses
 It is easy to understand that a washing machine does not wash, but rinses and spins. In such a situation, when you start the standard program, the machine “freezes”, and when you activate the “Rinse + Spin” mode, it starts working. Complete washing becomes impossible. The strange “behavior” of the technology can be explained by several reasons. To make a final “diagnosis”, it is necessary to conduct a comprehensive diagnosis of the washer.
How does the machine draw water?
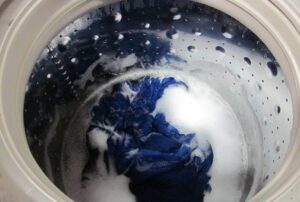
If you have problems starting the wash, the first thing to do is try again, assessing the quality of the wash. Immediately after activating the main program, pull out the detergent tray and look at the behavior of the machine. If the equipment hummed and water poured into the powder receptacle, but after a few minutes the system froze, then the problem is in the heating element.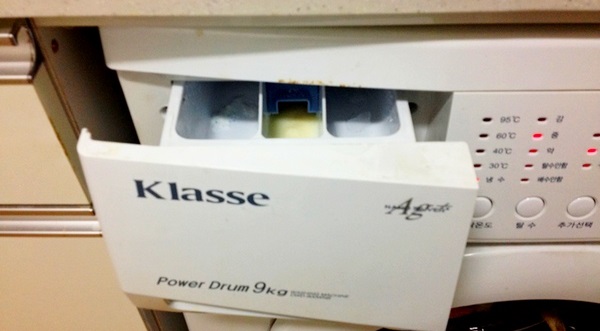
It’s another matter when the set did not start and the washer stopped working. In this case, the reason for the freezing lies in a banal blockage - one of the pipes connected to the powder receiver or the filling filter mesh is clogged. Fixing the problem is simple: just remove the top cover, loosen the clamps and remove any stuck debris or scale. If there are problems with the heater, the instructions on what to do will be different. Below is a step-by-step algorithm.
Focus on the heating element
The washing machine does not start washing if the heating element or the temperature sensor connected to it is broken. The explanation is simple: before starting the cycle, the system automatically checks all key components, detects heating problems and cancels the start.Sometimes the termination of the program is accompanied by an error code on the display, but more often the machine freezes “silently”.
To confirm your guess, you need to check the heating element for serviceability. The heating element on most washing machines is located at the bottom, under the washing tub. But first, we disconnect the machine from communications and move it away from the wall. Then you should unscrew the bolts holding the rear panel, move the “back” to the side and find a round “chip” with many connected wires next to the engine. This will be the heater. Having discovered the heating element, we proceed in the following order: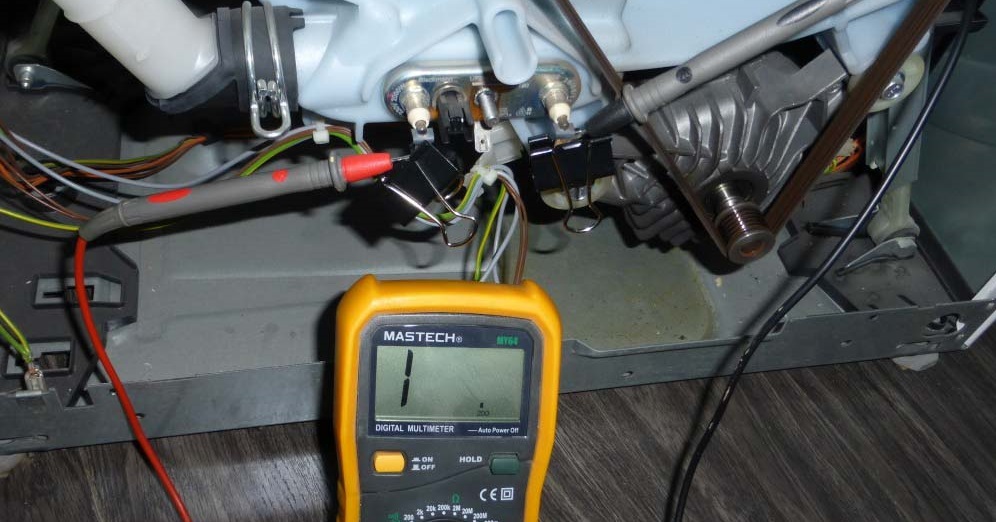
- we photograph the location of the connected wires, thereby simplifying the reverse connection;
- release the wiring from the terminals;
- take a multimeter, turn it on to “Ohmmeter” mode and set it to 200 Ohm;
- apply the tester probes to the contacts of the heating element;
- We evaluate the readings of the device (the norm is 26-28 Ohms).
A burnt heating element cannot be repaired - only replaced with a new one!
If instead of the required 26-28 Ohms the multimeter outputs “1”, it means that the heating element is faulty due to an internal break. The “O” that appears on the display will indicate a short circuit. In both the first and second cases, repair will not help - only replacement. The next step is to check the heating element for breakdown. We activate the buzzer mode, touch the probe to the heater and evaluate the result. Did the device beep? Then the element cannot be used, but must be urgently replaced with a new one. To replace a faulty heating element, it must be dismantled. Sometimes this is difficult to do - the rubber seal located under the heater often expands during operation, blocking the device. You can deal with the obstacle as follows:
- generously lubricate the gasket with detergent;
- wait 10-20 minutes;
- disable the temperature sensor;
- loosen the central nut, but do not remove it completely;
- press the bolt inward;
- Having rocked the heating element, remove it from the grooves.
Finding a new heating element will not be difficult. The main thing is to look for the serial number of the washing machine or heater when searching for an analogue. A win-win option is to bring the dismantled element to the store and ask for a replacement. You can install a new heater yourself. First, you should clean the seat, then fix the heating element in the grooves, return the thermistor and wiring. When connecting the latter, it is important to focus on the photographs taken before dismantling.
If the heating element is working properly
If testing of the heating element does not reveal any blockage, breakage or breakdown, then the washing does not work due to the temperature sensor. The temperature sensor is located on the heater body near the central nut. It should be removed and ringed. The instructions are as follows:
- disconnect the connected wiring from the sensor;
- unhook from the heating element;
- turn the multimeter into ohmmeter mode;
- attach the probes to the thermistor contacts;
- evaluate the resistance (when operating at a temperature of about 2500The device will show 2000 Ohms).
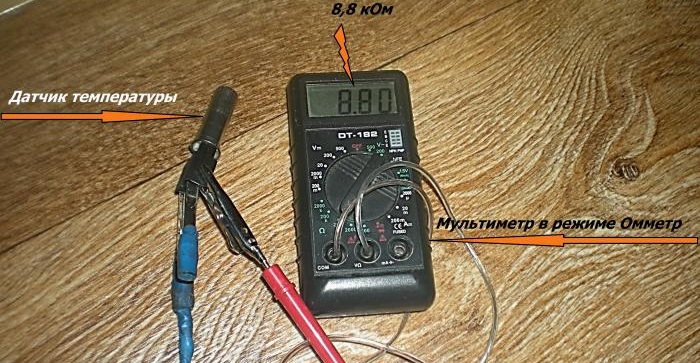
The test continues by immersing the sensor in boiling water and then measuring the resistance. When the temperature rises to 5000The reading should drop to 1300 ohms. If the values are different, then the thermistor is faulty. The situation cannot be corrected by repair, only replacing the temperature sensor.
Is the thermistor OK? Then we inspect the wiring connected to the heater for damage and loose contacts. If no problems are identified during the diagnostics, then you should contact the service. The control board may have fallen off. Here, independent intervention is fraught with aggravation of the breakdown, even leading to the “fatal outcome” of the equipment.
Interesting:


Reader comments
- Share your opinion - leave a comment
Categories
Washing machine repair


For buyers


For users


Dishwasher


Add a comment