How to remove the back wall of a Samsung washing machine?
 The need to remove the back wall of a Samsung washing machine may arise if you need to check the motor brushes, replace the drive belt, or, for example, inspect the pulley. Usually, it is not difficult to disassemble the body of the machine, but on Samsung models it is not possible to simply detach the panel. Let's figure out how to gain access to the parts located at the back, how to dismantle the back wall of the washing machine.
Is it possible to dismantle the back wall?
Most users do not encounter this problem - on many automatic machines, the back panel comes off very easily, as it is secured with standard bolts. Models of certain brands, for example, Indesit, have special technical hatches on the back; by removing them, you can gain access to the washer components.
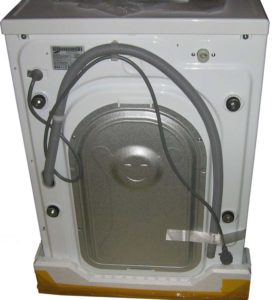
Owners of Samsung models, quite rightly, may have a question: how to remove the back panel? The equipment does not have a separate wall on the back side; that part of the body is a monolith. To get to the belt or pulley, you will have to halve the housing. If you carefully examine the SMA Samsung, you can see a barely noticeable joint stretching through the middle of the side panels, this is where the body halves are joined. In case of urgent need to separate them, it is possible to remove the top cover, release the latches and halve the machine.
Some models of Samsung washing machines do not at all imply the possibility of removing the back and side panels; the body is completely monolithic.
However, removing the back wall or dividing the case in half, in some cases, will simply be impractical.To replace the drive belt, it is not necessary to undertake a large-scale disassembly of the machine; it is enough to simply remove the top cover of the machine.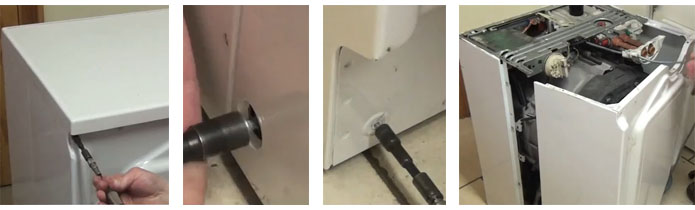
How to replace the belt?
Owners of belt-driven washing machines may encounter problems with the belt stretching or jumping off. In this case, in order to return the machine to functionality, you will have to replace the rubber band. Let's figure out how to do this with the least amount of effort if you can't just remove the back wall of the machine.
Before starting repairs, be sure to turn off the power to the washing machine. The algorithm for further actions will be as follows:
- remove top cover housing by unscrewing the two bolts securing it using a screwdriver or screwdriver;
- slightly tilt the washing machine in your direction, hold the machine with your foot or stomach. At the same time, remove the drive belt located near the rear wall from the pulley by hand. To make the task of removing the rubber band easier, you can open the CMA hatch and pull the drum towards you a little, thereby leaving more space at the back of the machine for manipulating the belt. The discarded rubber band must be pulled out from under the washer;
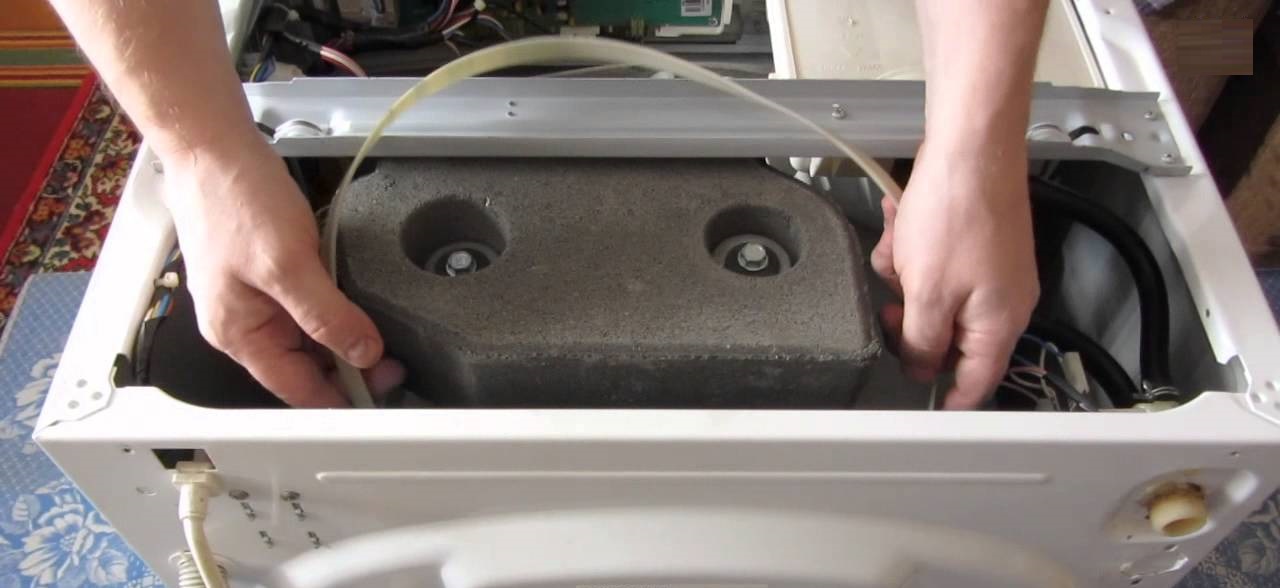
- take a new Samsung belt, tilt the machine towards you again and carefully push the belt into its original place. First of all, the rubber band is pulled onto the engine pulley. You may not be able to put on the belt the first time, so it is better to have an assistant who can “peep” under the bottom of the machine and control how successful your attempts to tighten the elastic band on the engine are;
- Place the drive belt on the drum pulley. First, position it tensioned on one side of the wheel, after which it is enough to turn the drum by hand (through the hatch door), the pulley will spin and the belt will be pulled tightly into place.
Be sure to ensure that the drive belt is located in the middle of the drum pulley, without sliding closer to any edge.
If the rubber band is positioned crookedly on the wheel, you need to manually adjust its position on the electric motor pulley. Next, you need to check the operation of the equipment - turn on the machine and run the spin cycle in test mode; if the drum starts rotating without any problems, it means the belt was replaced correctly. Then you can put the top cover in place, fix it with self-tapping screws and use the SMA.
Interesting:


Reader comments
- Share your opinion - leave a comment
Categories
Washing machine repair


For buyers


For users


Dishwasher


Add a comment