Washing machine whistling after changing brushes
 You should always be attentive to extraneous sounds produced by household appliances. If a whistle suddenly appears in the washing machine, then this is not critical, but you definitely shouldn’t ignore it. Whistling, crackling and other unpleasant sounds often occur after the brushes on the engine have been replaced. Users usually think that they can do nothing about it and just wait until the brushes get used to themselves, but such a wait can drag on for a year or more. So that you don't have to wait that long, we've written a detailed guide on how to deal with this common problem.
The cause of noise and getting rid of it
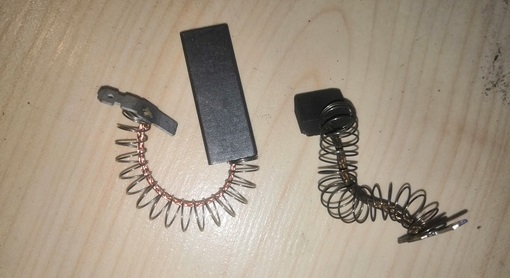
Unpleasant sounds often appear in the washing machine after replacing the brushes, if, in order to save money, you do not replace the metal brush guides. It is because of this that the engine of the “home assistant” can start sparking, as well as loudly clicking and whistling. Moreover, this can happen even taking into account high-quality grinding of brushes and grinding of the commutator. Because of this phenomenon, many service center specialists even refuse to partially replace the brushes, insisting on replacing the carbon elements along with the guides, since after repairs, customers often remain dissatisfied due to the loud, unpleasant noise during the operating cycle.
This is all due to the fact that during washing, old brushes loosen the guides greatly and a backlash of about 1 millimeter is formed. Therefore, during operation, the motor whistles and crackles when it rotates in one direction, and remains silent when it rotates in the other.In addition, with old elements, the angle of contact of the carbon brush to the commutator changes, which is why a sharp sound also occurs, plus, the wear of the brushes increases and the energy consumption of the engine increases. Because of this, the brush will soon have to be changed again.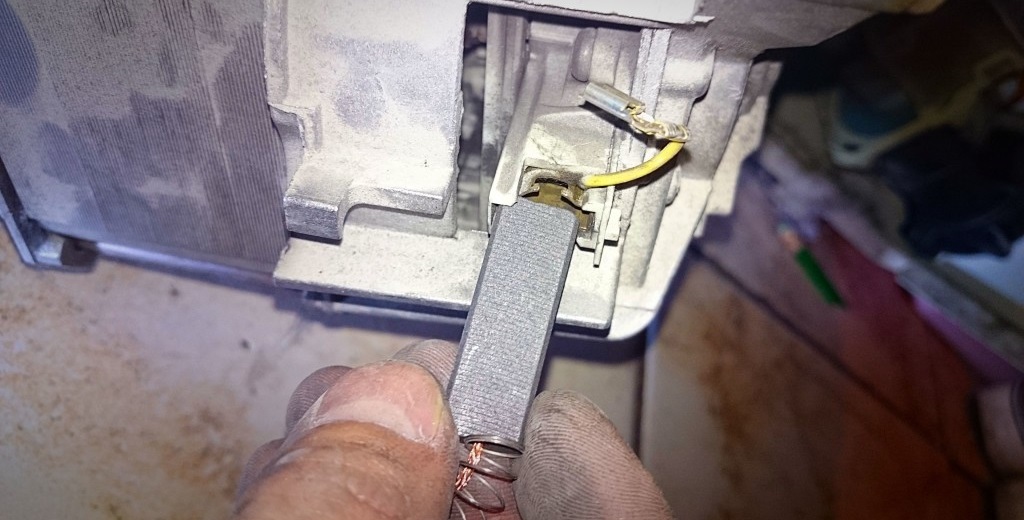
To prevent a whistle from appearing after replacing the brushes, service center specialists advise pre-crimping the guides with the brush inside using pliers. It is important to compress only the tip of the guide part - that is, about 10 millimeters, plus, under no circumstances squeeze it, so that the brush can continue to move along the guide. In words it sounds simple, but in reality it may not work the first time and the brush will be damaged. You can still try to do this yourself and acquire a useful skill in order to restore brushes for any devices with commutator motors in the future, or you can simply contact a service center and save your time.
Let's change the brushes ourselves
We figured out why the whistle appeared in the washing machine, all that remains is to describe the replacement process in case you change these parts yourself. If everything is done correctly, then there will be no extraneous noise after replacing the brushes, which is why it is so important to approach the repair with all responsibility. But first you need to prepare a set of tools, which includes the following:
- regular and Phillips screwdrivers;
- black marker or regular pencil;
- 8mm TORX wrench.
Having prepared a small set of tools, you can begin the repair itself. Carefully follow each step of the instructions so as not to damage anything.
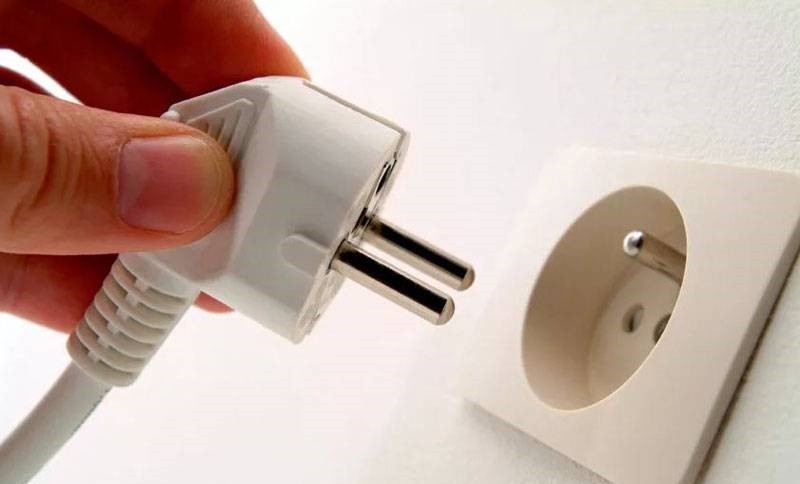
- Disconnect the “home assistant” from all communications, remembering to first turn off the shut-off valve.
- Remove the inlet hose from which water may leak, so prepare a container for liquid in advance.
- Remove the debris filter installed on the front wall of the case at the bottom right, hidden by the decorative panel.
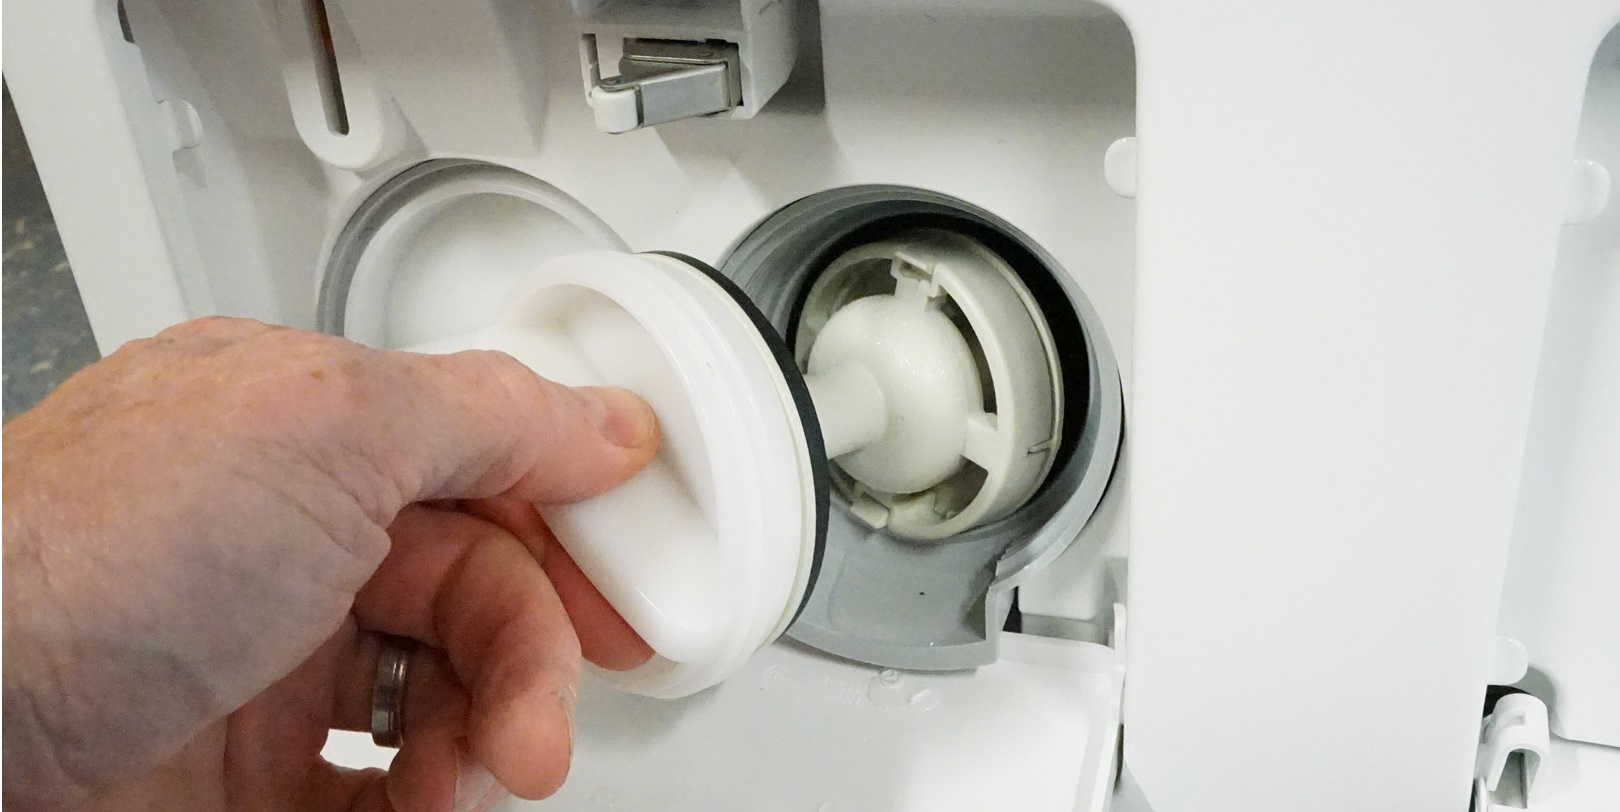
- While there is such an opportunity, carefully clean the hole left after removing the filter from dirt and debris.
- For your convenience, move the washing machine away from the wall to provide access to all sides of the machine.
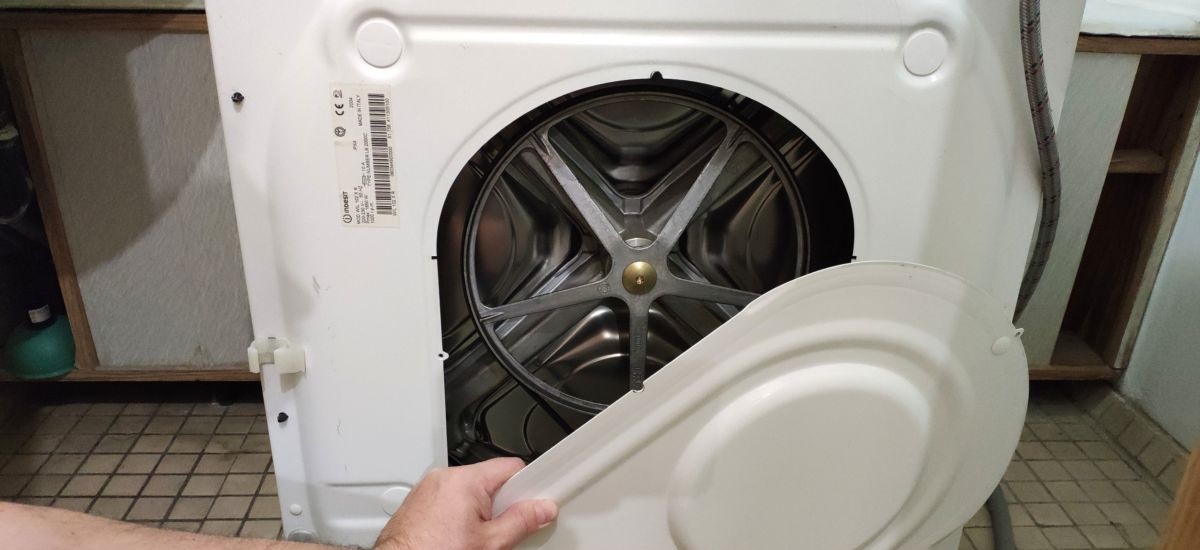
- To get to the motor, unscrew the screws that secure the top cover of the SM, as well as the bolts that hold the rear panel of the case.
- Under the tank of the device you will find a motor from which you need to remove the drive belt, for which you need to pull the rubber band towards you and then carefully turn the drum pulley.
- Disconnect the wires with the contacts that are connected to the machine motor.
Just in case, take a few photos of the wiring - this will help you connect the unit without errors during assembly.
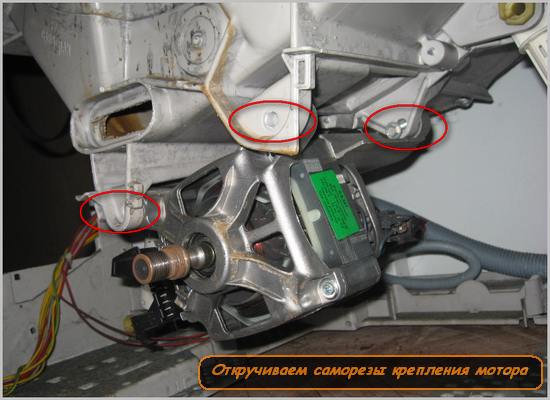
- Using a TORX wrench, remove the bolts that hold the motor in place.
- Grab the element and gently swing it until you pull it out of the housing. Be prepared for the fact that the part is heavy.
- Finally, you can examine the brushes mounted on the sides of the motor and replace them if necessary.
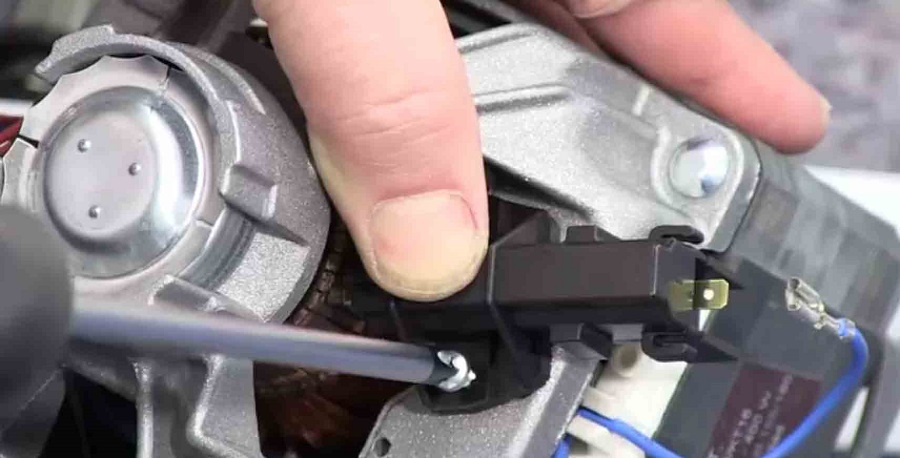
- If a replacement is needed, then to dismantle the brush you need to disconnect the wire, move the contact down and stretch the spring to remove the part.
- To install a new brush, you must first install the tip in the socket, then compress the spring and place the part there, close the brush with the contact and connect the cable.
Always replace brushes in pairs so that the elements completely match each other.
After installing the new brushes, all that remains is to install the electric motor in its place and completely assemble the device. As you can see, there is nothing complicated in this procedure if you strictly follow the instructions, so you can cope with it even without the proper experience.
Interesting:


Reader comments
- Share your opinion - leave a comment
Categories
Washing machine repair


For buyers


For users


Dishwasher


Add a comment