Washing machine motor brushes spark
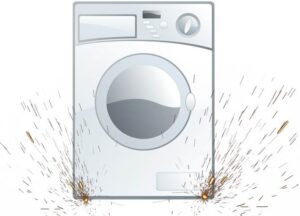 Many owners of washing machines, after replacing the brushes on the commutator motor, note that the machine begins to spark. Despite the frightening appearance of the phenomenon, if the brushes of the washing machine motor spark, then this is absolutely normal, because after replacement, the new parts cannot provide the required contact patch with the commutator for some time, so sparks will appear until they rub in. However, during this process you should not leave the sparkling “home assistant” waiting until the brushes are worn in, because this is a violation of fire safety rules. Let's take a closer look at how to safely put new brushes into use for your washing machine.
How to pre-grind brushes?
We have already figured out why the electric motor brushes spark strongly, all that remains is to understand how to properly eliminate it. Due to the fact that the commutator motor of a modern SM is very high-speed, you cannot simply replace the brushes and do nothing to ensure their stable operation. You need to eliminate the causes of sparks, so the contact patch between the brush and the commutator must be as large as possible, for which new elements must be carefully adjusted to the commutator's exhaust. To do this, you will need a lathr or an electronic speed controller with a tacho sensor. The easiest way to purchase a regulator is in a household appliance store or on a marketplace - Ozon or AliExpress will do.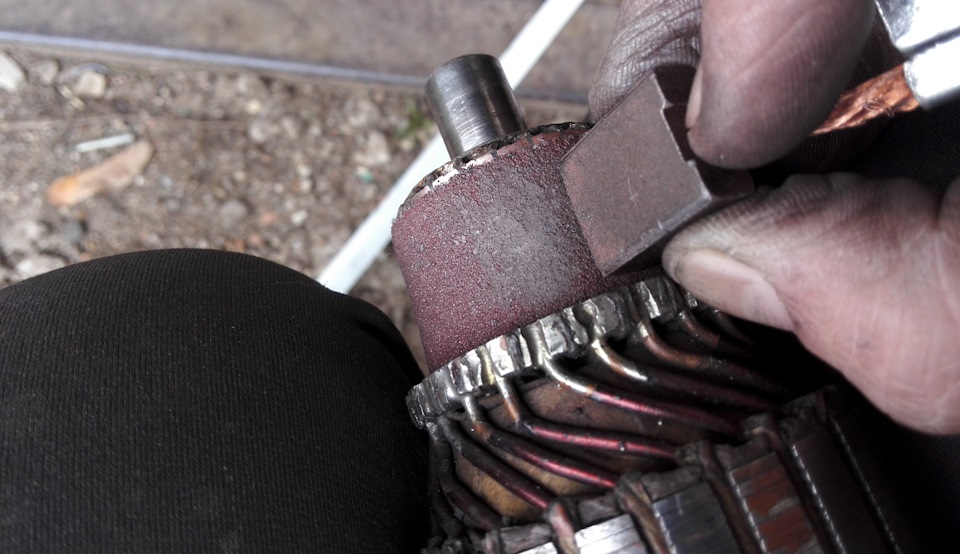
When the brushes are replaced, you need to slowly raise the speed to maximum, and if sparks start to appear, then gradually lower the speed until the sparks disappear completely.Then you should leave the unit like that for 20-30 minutes, and after a break, raise the speed again to the possible maximum. This must be repeated until there are no sparks at maximum speed. Also, before connecting, the collector must be wiped with a rag to remove the oxide film. It is not recommended to treat brushes with sandpaper, as it can cause damage to parts even before they are used.
Changing brushes correctly
Even the owner of the equipment without experience and professional knowledge can cope with replacing brushes, but just in case, to help avoid basic installation problems, we have written detailed instructions. Follow each step carefully to eliminate all causes of sparks.
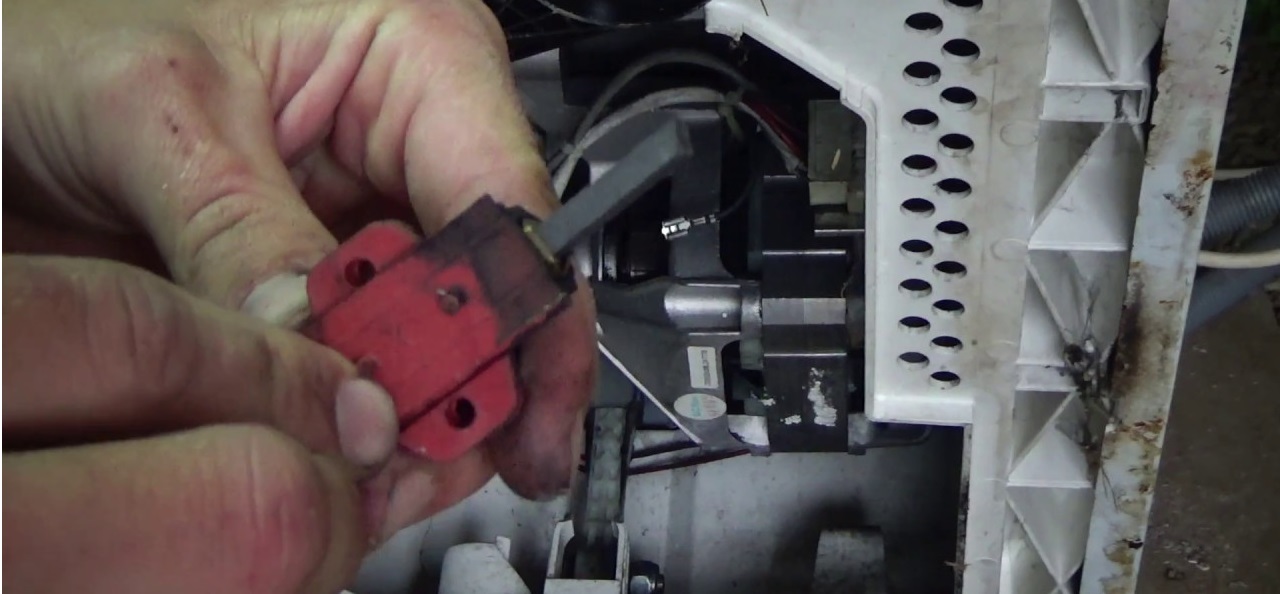
- Open the back wall of the washer, disconnect the wiring from the motor and unscrew all the screws holding it in place.
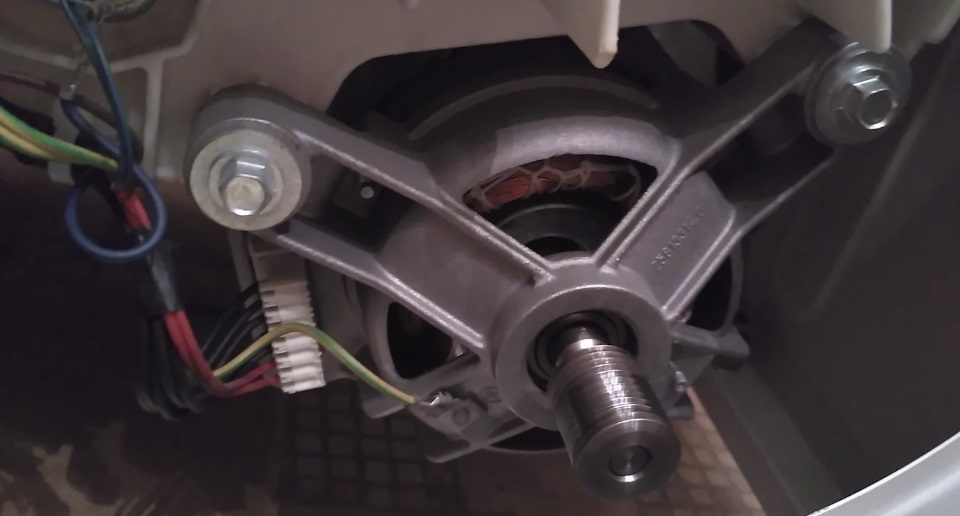
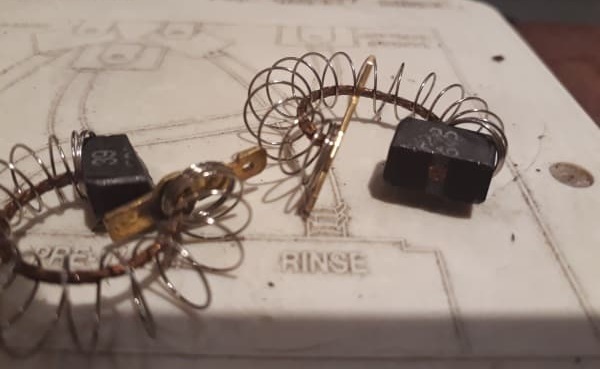
- Locate the brushes installed on both sides of the engine housing.
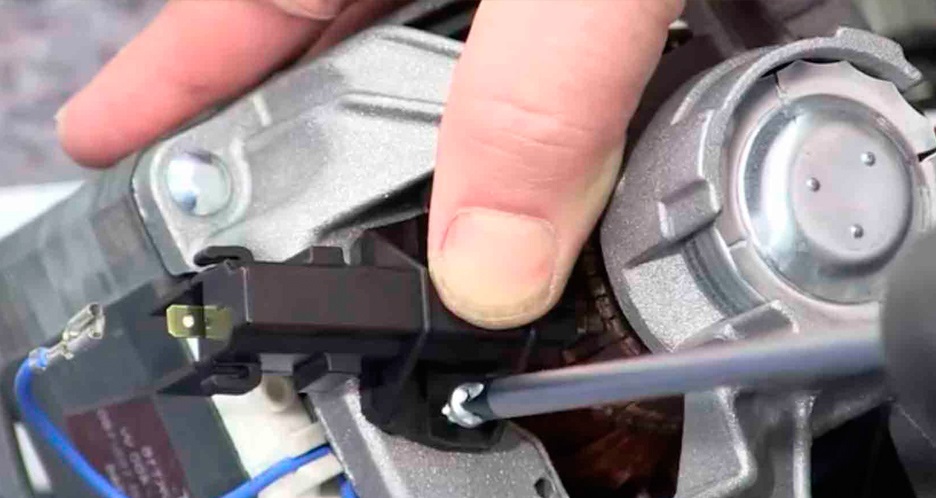
- Using a screwdriver, press down on the brush arm to remove it.
Don't forget to take a photo of which way the ember is beveled so that during assembly you have an example at hand on how to prevent sparks from incorrectly installing the element.
- Study the appearance of the brushes. If the protruding part of the corner is less than 1.5 centimeters, then the part must be replaced, otherwise the cause of sparking, shaking and noise will have to be looked for elsewhere.
- Clean the surface of the engine using 0-grit sandpaper, plus a rag to remove dust.
- Securely fasten the new brushes into place.
Even if you only have one brush broken, you always need to replace the unit in pairs so that the parts are in the same condition.
If it turns out that you were unable to purchase completely new brushes in the housing, then it is permissible to change only the carbon protrusion of the element. In this case, the instructions are as follows:
- we disassemble the plastic shell, for which it needs to be divided into two parts;
- Using a soldering iron, remove the worn plate and straighten the spring;
- measure the length of the new brush, which must perfectly match the case;
- we tin, clean the contacts, align the wire, and then, using a bronze guide as a guide, install the coal, solder the wires and close the case until it clicks.
After this procedure, all that remains is to install the engine in its place. Follow our instructions in reverse order and be sure to tighten all retaining screws securely.
Interesting:


")
Reader comments
- Share your opinion - leave a comment
Categories
Washing machine repair


For buyers


For users


Dishwasher


Add a comment