How to replace the crosspiece in a washing machine?
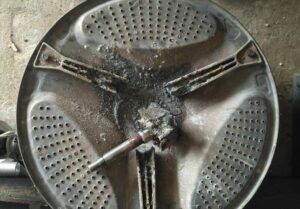 A cross is a spare part made of brittle metal used to attach the drum to the tank. During the washing and spinning process, the part is constantly subjected to overload, so after several years of operation of the machine it can easily lose shape or crack. With such damage, repair of the machine will be inevitable.
You can replace the crosspiece in a washing machine yourself. To do this, you will have to remove the tank from the machine. Let's find out how to disassemble the washing machine to get to the broken part.
Why did it break?
Replacing the drum cross of an automatic machine is extremely rare. The first to take the “blow” is the bearing assembly. When the metal rings wear out, the washing machine begins to make noise, hum and vibrate strongly during operation. If you replace the bearings in time, the crosspiece will remain intact and unharmed.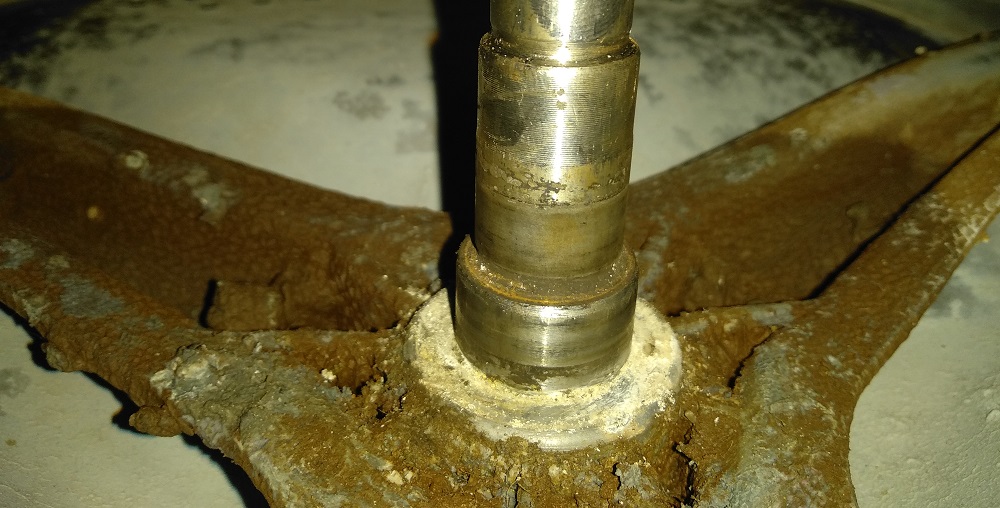
When the user diagnoses SMA in time and installs new bearings, the cross does not have time to deform. If you start the situation and do not react in any way to signs of wear of the bearing assembly, in the near future a comprehensive repair may be required with the replacement of all components.
Damage to the drum cross can be caused by excessively hard water.
Various impurities contained in water settle on the metal part. Its surface is covered with limescale. Scale makes silumin very fragile - the metal can crack or collapse even under slightly increased pressure. Sometimes a breakdown is caused by a manufacturing defect. In this situation, it is better not to get into the washing machine with your own hands.It is recommended to take the machine to a service center for diagnostics.
We get to the broken cross
The automatic machine needs to be prepared for disassembly. Turn off the power to the device, disconnect it from the water supply and sewerage. Next, move the device away from the wall, providing free access to it from four sides. Finally, unhook the drain and inlet hoses from the back wall.
Now you can get to work. The algorithm of actions will be as follows:
- remove the lower false panel (if it is provided for by the design of the washing machine);
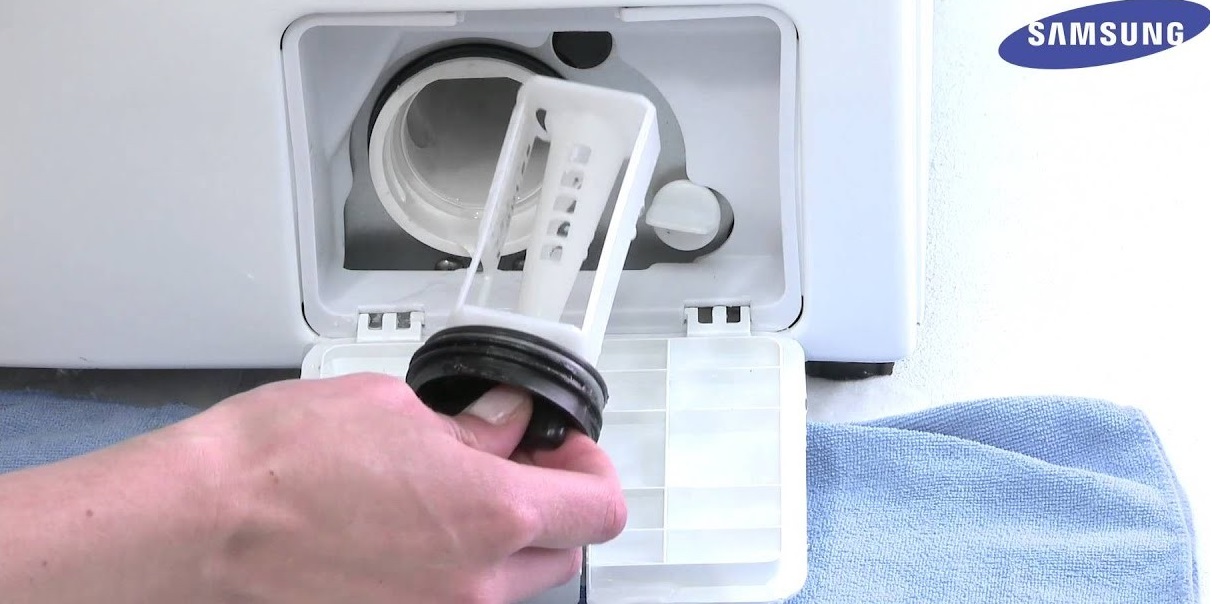
- remove the remaining water in the system by removing the drain filter plug (it is located in the lower front corner of the machine);
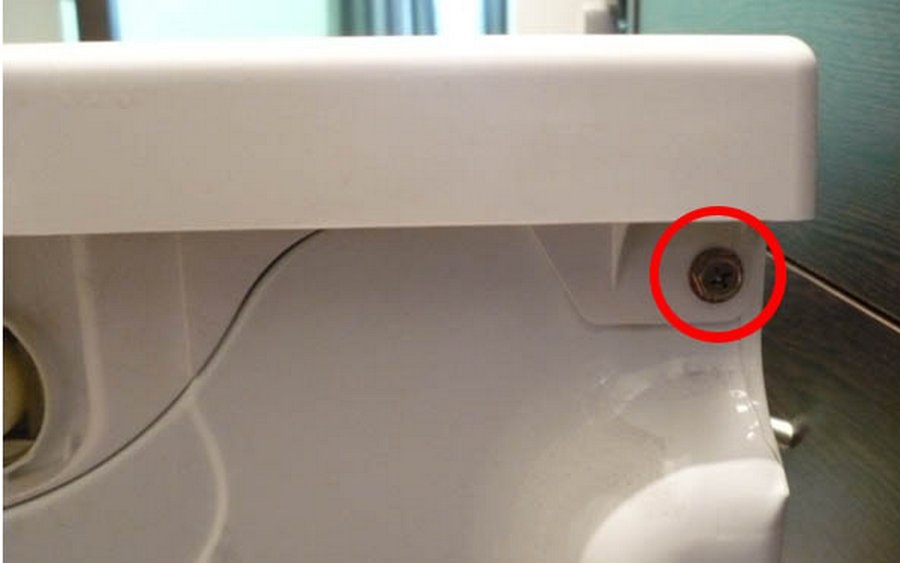
- remove the top cover of the case by unscrewing the pair of screws securing it;
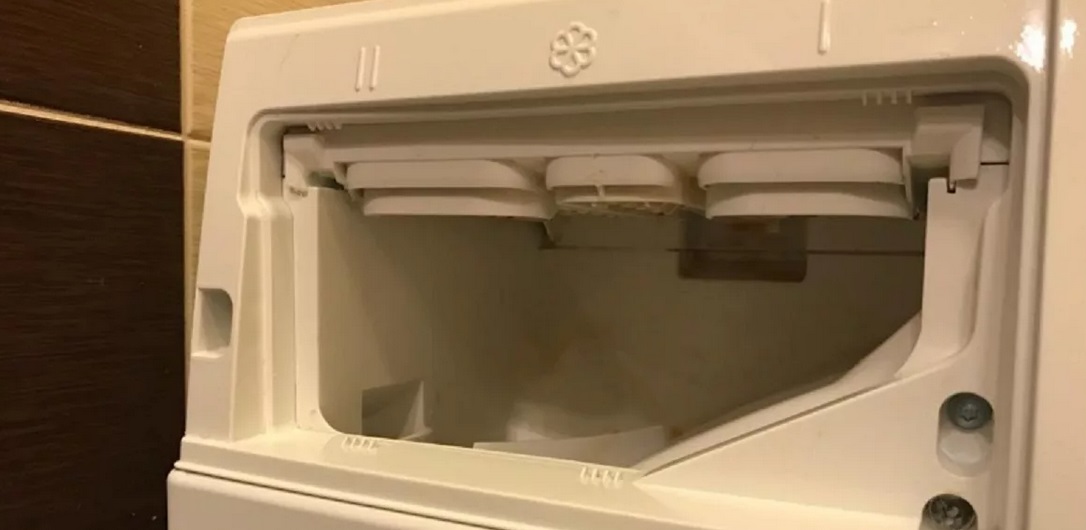
- remove the detergent cuvette (to do this, press the special “tongue” in the middle section of the powder receptacle);
- Unscrew the bolts located around the perimeter of the control panel;
- take a photo of the diagram for connecting the wires to the “tidy”;
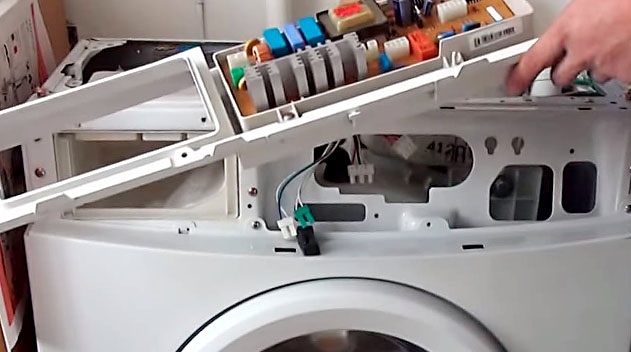
- deal with the latches holding the wiring and unhook the control panel;
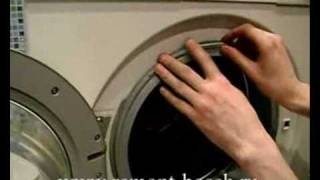
- find the clamp securing the hatch cuff and remove it. If the ring is plastic, then you should use a special lock. The metal rim is picked up with a screwdriver;
- remove the sealing collar;
- unscrew the bolts holding the UBL;
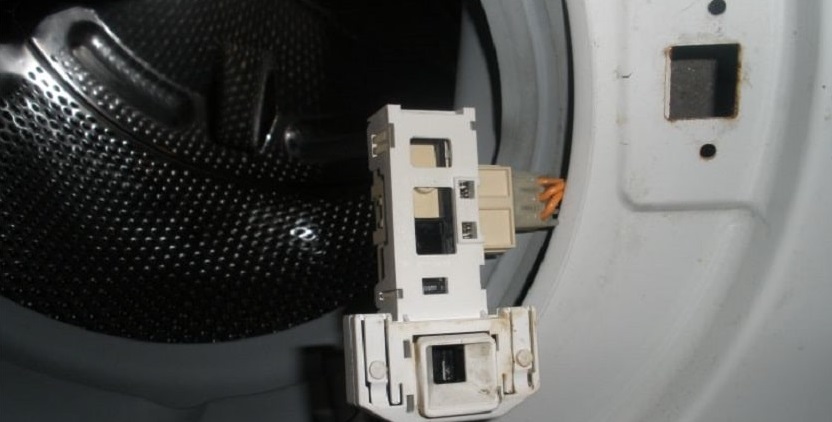
- remove the lock from its seat;
- Unscrew the screws around the perimeter of the front wall and move the front panel to the side.
It is important to remember which screws held what - this is necessary in order to perform reassembly without problems.
Next, you will need to work with the “insides” of the machine. You need to do the following:
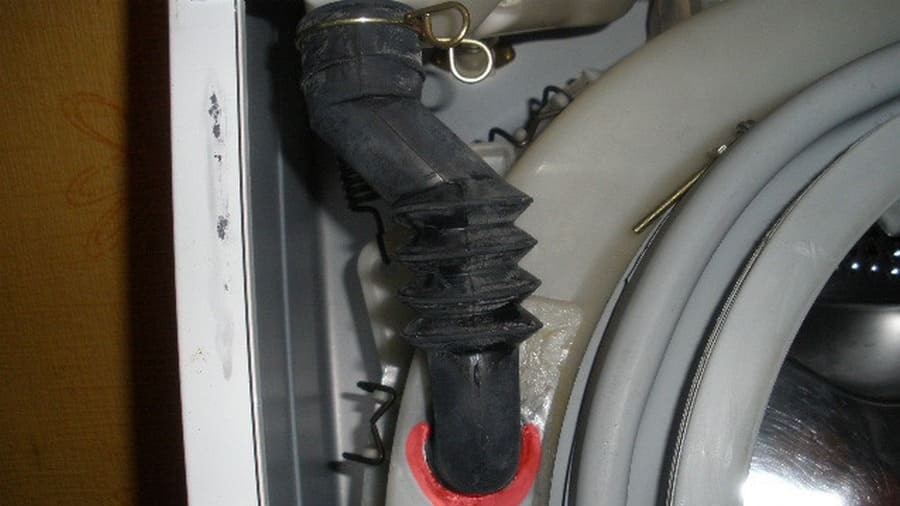
- unhook the dispenser pipe from the tank;
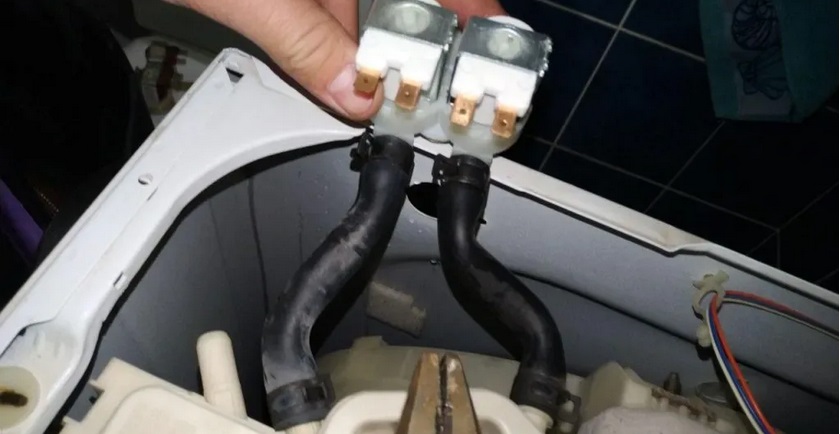
- remove the filler solenoid valve by unscrewing the screws holding it;
- remove concrete counterweights - they will interfere with the free removal of the tank;

- Unscrew the screws located on the back wall and unhook the panel;
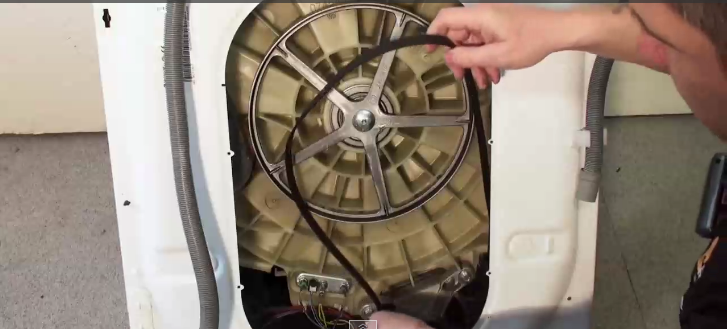
- remove the drive belt;
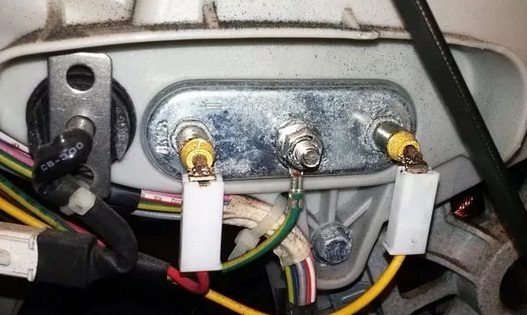
- remove the wiring from the contacts of the heating element;
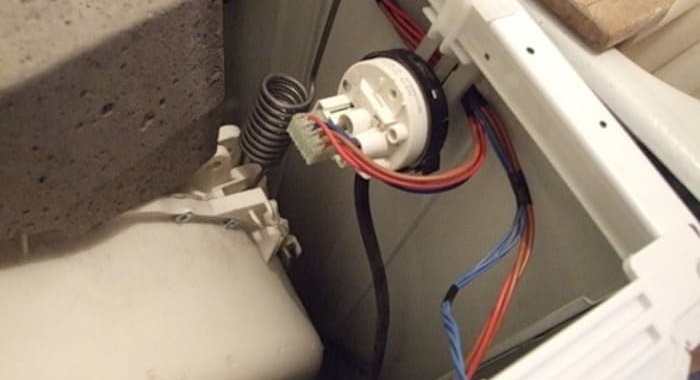
- unhook the water level sensor fitting from the tank;
- Disconnect the end of the drain pipe from the tank opening;
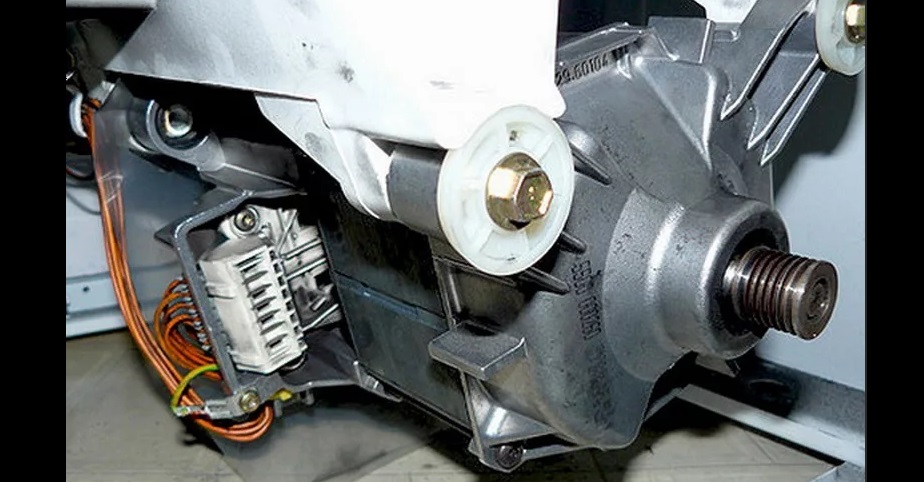
- reset the electric motor wiring, unscrew the fasteners and remove the motor from the washing machine;
- remove the shock absorbers.
After such manipulations, you can pull out the tank - the plastic container will hang only on special springs. It is easy to remove the tank through the front of the washing machine. Lift the tank and pull it towards you.
The next task is to disassemble the tank. It is necessary to remove the pulley, so you will have to unscrew the central bolt provided to secure the “wheel”. Then remove the screws holding the parts of the tank together and divide it into two halves. This will open access to the drum of the automatic machine.
Carefully inspect the crosspiece. When obvious deformation is noticeable, or cracks are visible on the part, replace the spare part. You need to purchase components specifically for your model of automatic machine. These must be complete analogues.
Removing the old cross and installing a new one
During repairs, it may be difficult to remove a worn part. The crosspiece is attached to the drum with three self-tapping screws, which can “stick” to the metal due to scale. Therefore, it is better to have WD-40 aerosol on hand. The product must be applied to stubborn bolts and wait 15-20 minutes. After this, you can try to unscrew the fasteners again.
Once the screws are removed, you need to knock out the damaged crosspiece.This will require a small hammer. Gently tap the silumin part, or try to pry it off with a thin screwdriver. This way you can remove the spare part from the grooves of the drum.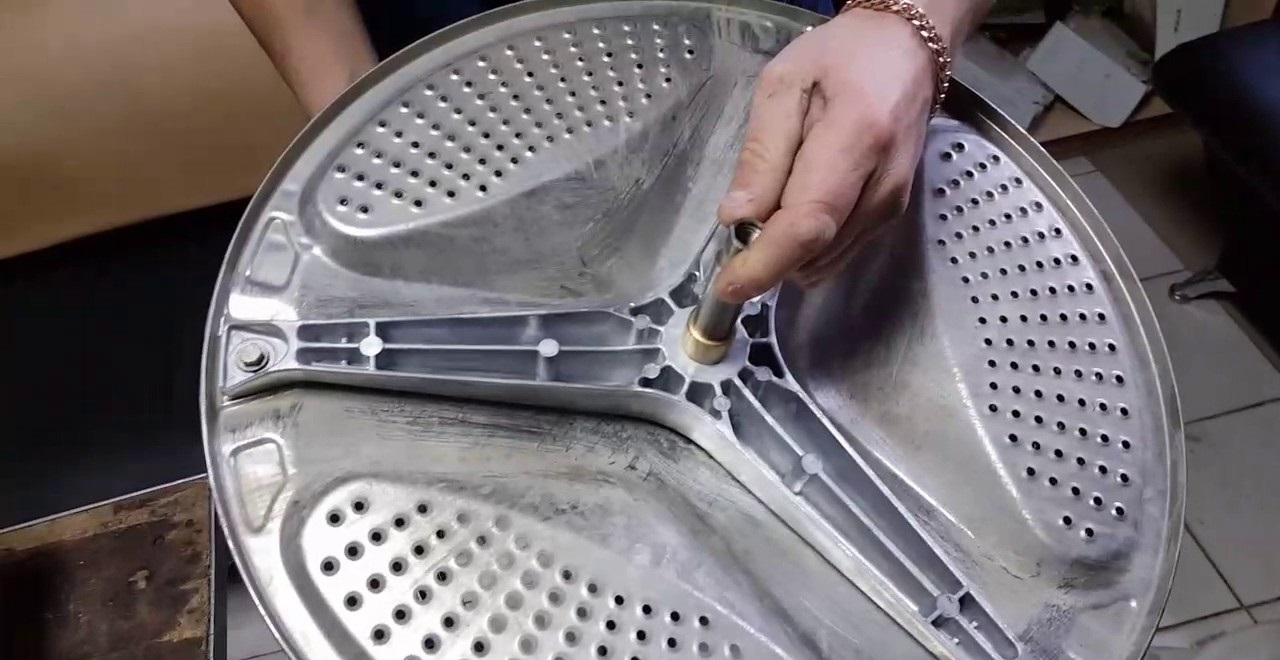
Afterwards, a new cross is fixed in place, the halves of the tank are fastened together, and all the previously dismantled parts are “returned” to the washing machine. Once you have finished assembling the body, run a test wash. The machine should stop grinding and making noise, and start working quietly. The process of replacing the cross is not easy, but you can still do the job yourself. The main thing is to strictly follow the instructions for action.
Interesting:


Reader comments
- Share your opinion - leave a comment
Categories
Washing machine repair


For buyers


For users


Dishwasher


Add a comment