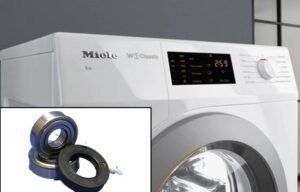
How to change a bearing in a Miele washing machine
Today, many users, in order not to overpay, try to repair household appliances on their own. Most problems can be dealt with at home, without the help of a professional. What should I do if I need to replace the bearing in my Miele washing machine? How difficult is this repair? Will it be possible to supply new components yourself? Let's look into the nuances.
Get out the toolbox
The work of replacing the bearings and seal of a washing machine is quite labor-intensive. This is explained by the location of the parts - they are located on the drum shaft. To gain access to the bearing assembly, you will have to almost completely disassemble the SMA.
It will not be possible to disassemble the automatic machine with bare hands; you need tools. During the work you will need:
Phillips and slotted screwdrivers (ideally a universal screwdriver with different attachments);
screwdriver;
pliers and round nose pliers;
small hammer;
set of wrenches;
a drift or chisel with a blunt tip.
It is also worth having a moisture-resistant sealant and universal cleaning fluid WD-40 on hand - you will need it if some parts or bolts “stick” to the seat. A few dry rags, a low basin and rubber gloves will come in handy.
Of course you need to purchase new bearings and oil seal. Typically, components are sold together with lubricant, as a ready-made repair kit. You can buy spare parts in specialized offline stores or order them online.
The appropriate size of bearings and oil seal is selected according to the model and serial number of the Miele washing machine.
To avoid mistakes, you can dismantle the old bearings and show them to the salesperson in the store. Based on the markings, it will be easy to select similar spare parts. It’s better not to save money, but to buy high-quality components.
It is necessary to prepare the washing machine itself for work. Before disassembling the case, you need to disconnect the automatic machine from the power supply, water supply and sewerage. The next step is to drain the remaining water from the system through a garbage filter. Afterwards you can proceed directly to the repair.
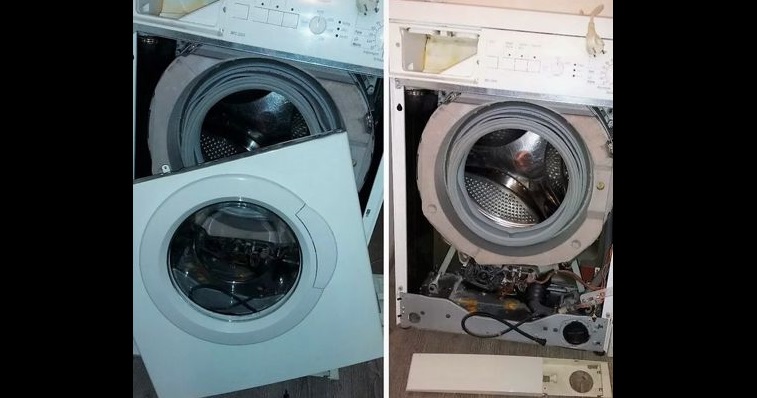
We remove everything that prevents you from removing the tank
It is worth understanding that the work ahead will not be easy. To change the bearing, you will have to remove the tank from the SMA housing. This means one thing - almost complete disassembly of the washing machine will be required.
If this is your first time disassembling the washing machine, it is better to take photographs of all stages of work. This will help you avoid mistakes when installing parts in their original places, connecting chips and wires. If you mix up the contacts, you can burn out all the electronics, so extra care is required.
So, first you need to remove all the elements that interfere with the removal of the tank. Algorithm of actions:
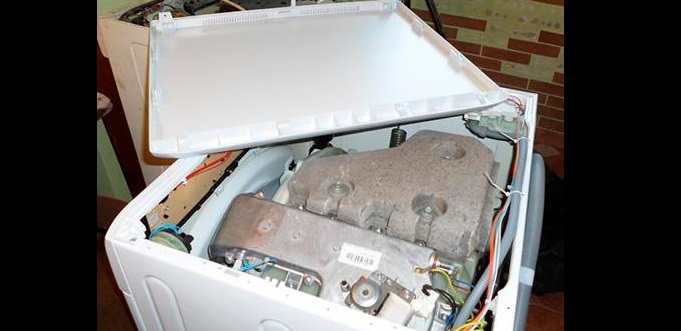
remove the top cover of the case by unscrewing the bolts holding it;
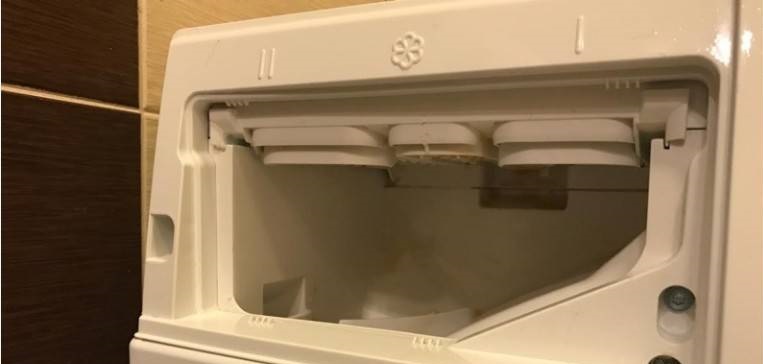
remove the powder receptacle from the washing machine;
remove the front panel of the machine;
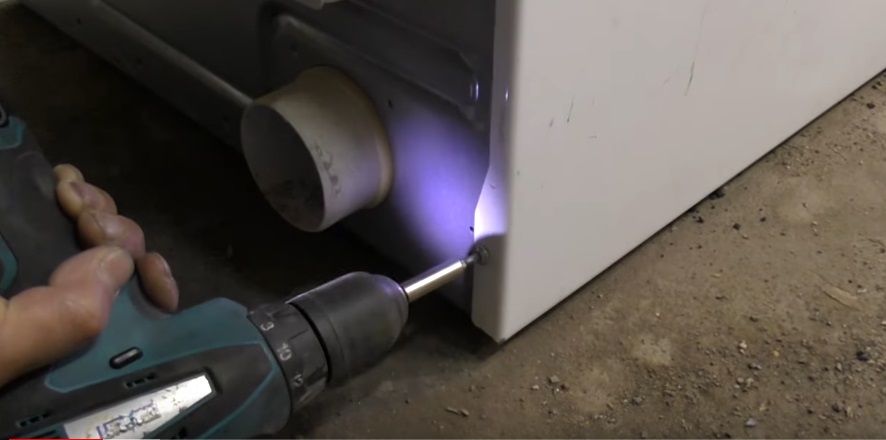
also remove the side walls - they are held in place with Torx 20 screws;
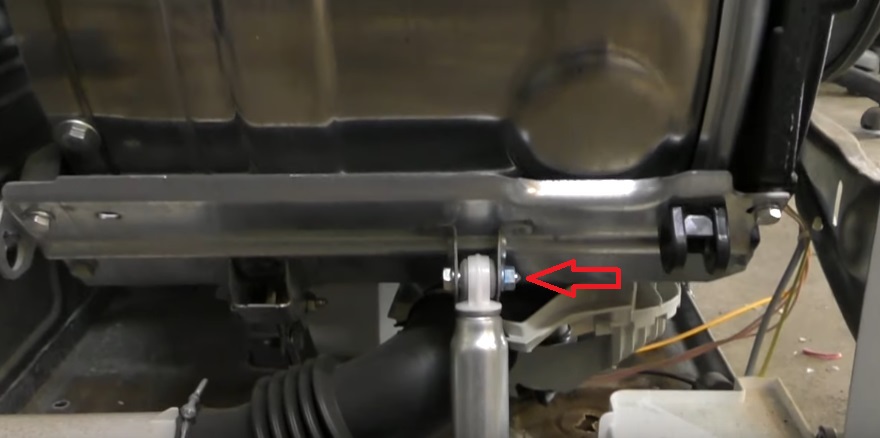
disconnect the side shock absorbers on both sides from the tank;
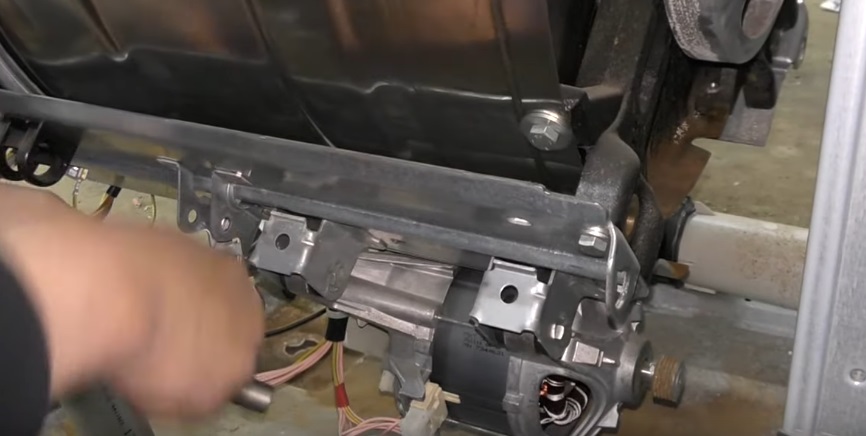
unscrew the bolts securing the engine, pull out the engine;
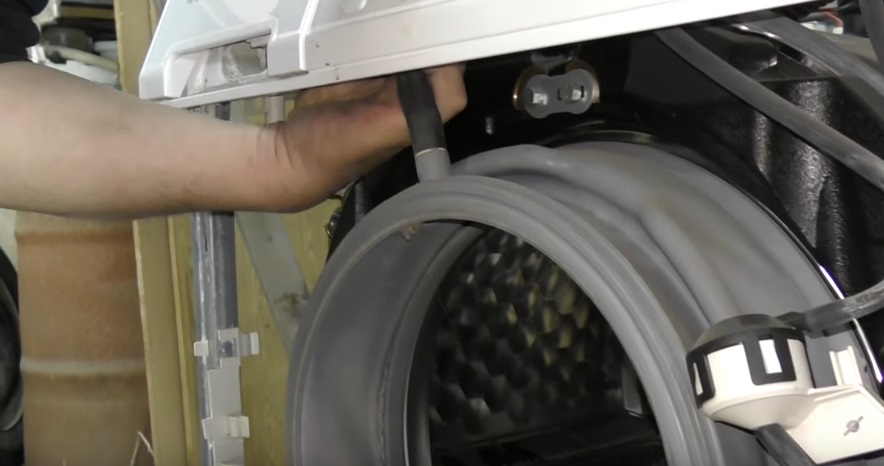
unhook the powder receiver pipe from the tank;
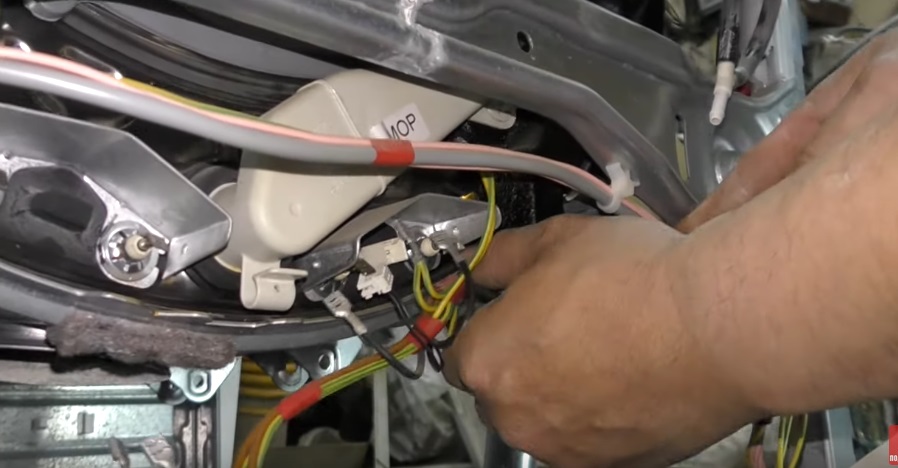
disconnect the contacts of the heating element, remove the heater;
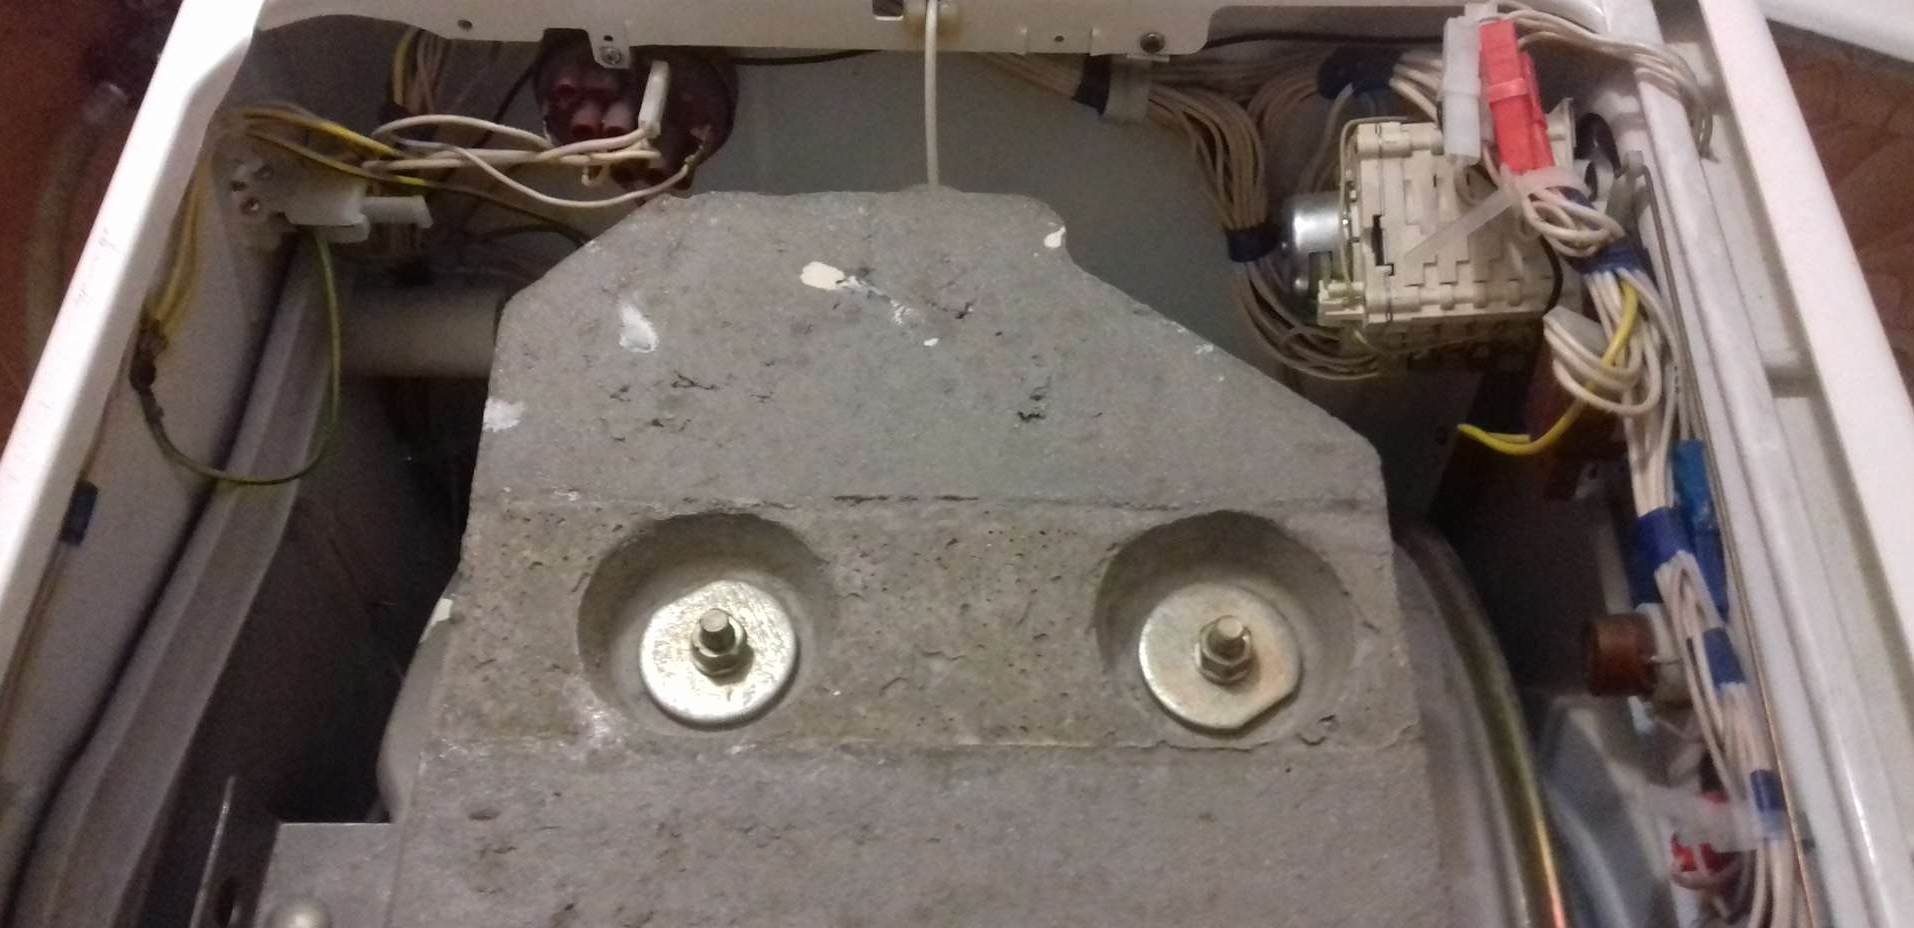
remove the counterweights from the machine;
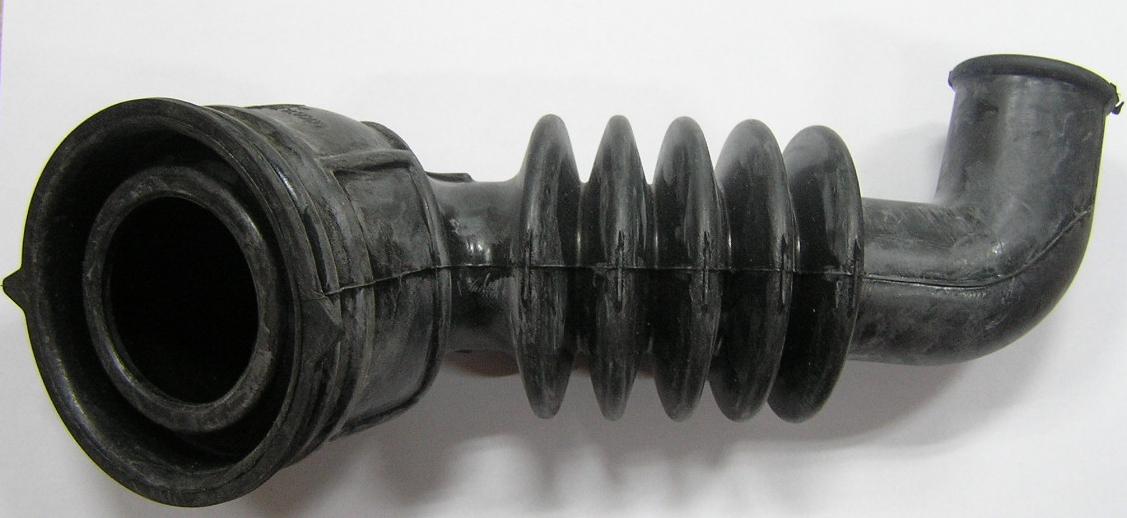
to make it easier to remove the tank, completely unhook the drain pipe and valve from it (they are secured with a pair of bolts);
disconnect the pressure switch tube;
unhook the recirculation pipe.
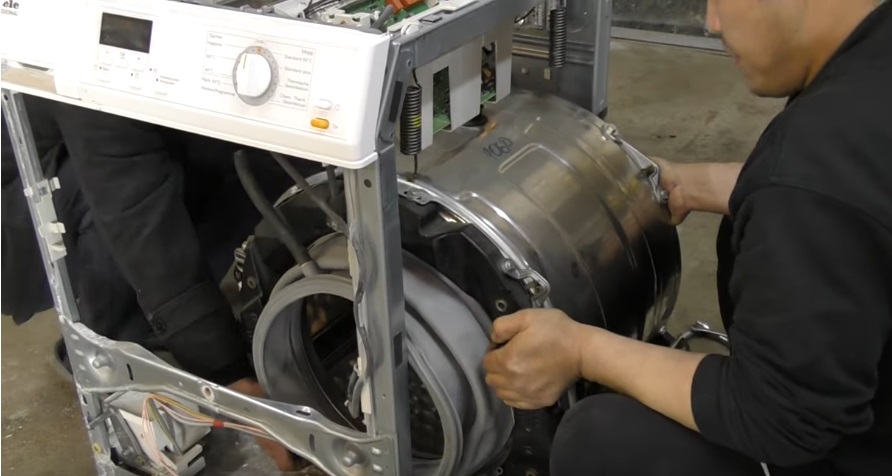
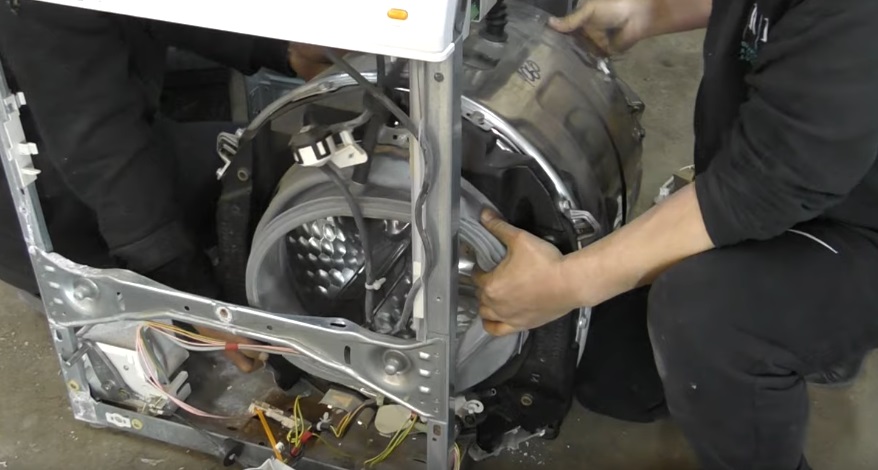
It is better to take two people to remove the tank from the Miele body, since it weighs about 40 kilograms. To remove the container from the SMA, unhook the upper shock-absorbing springs, there are 4 in total. Next, the reservoir is placed on a flat horizontal surface for further disassembly.
Miele washing machines have a metal tank.
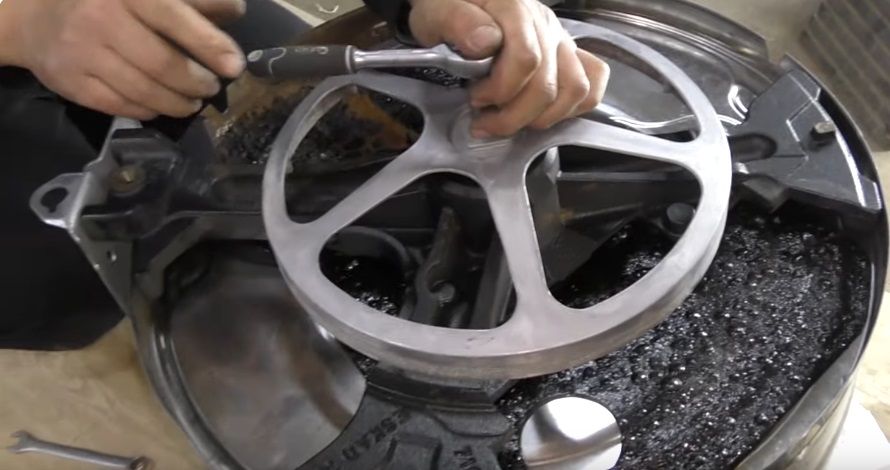
The tank is placed on the floor or table top with the cross facing up. Further actions will be performed with this part of the structure. All that remains is to remove the pulley and remove the cross, knocking out the drum rod.
We change bearings according to the instructions
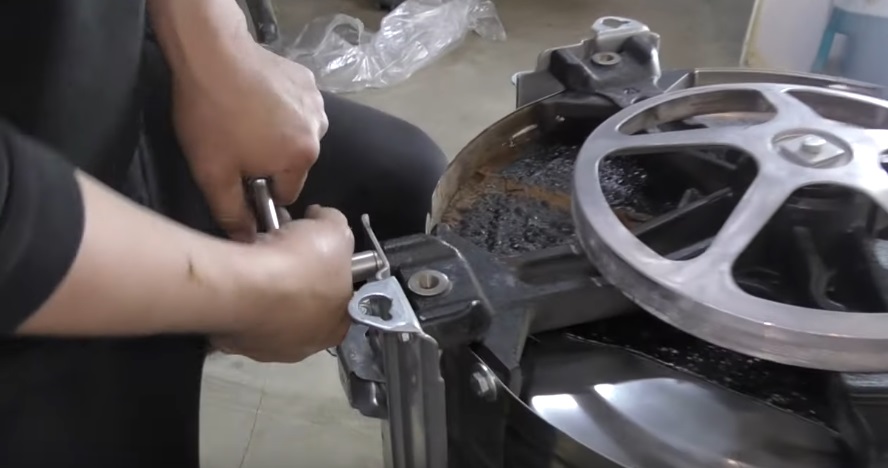
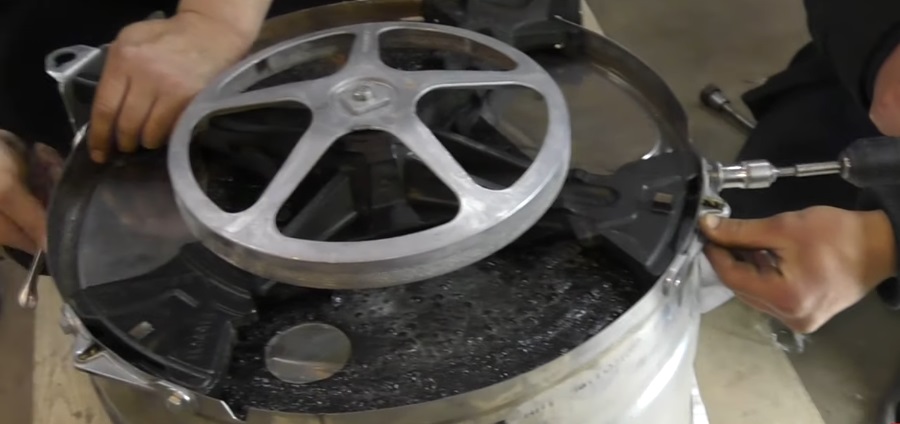
The tank has been removed from the machine, which means a third of the work has already been completed. However, there is no need to relax. The drum cross is held in place by 8 screws. Remove them so that they do not interfere with dismantling the part. The next step is to remove the pulley; it is secured with one bolt.
When the pulley is removed, access to the outer bearing will open.
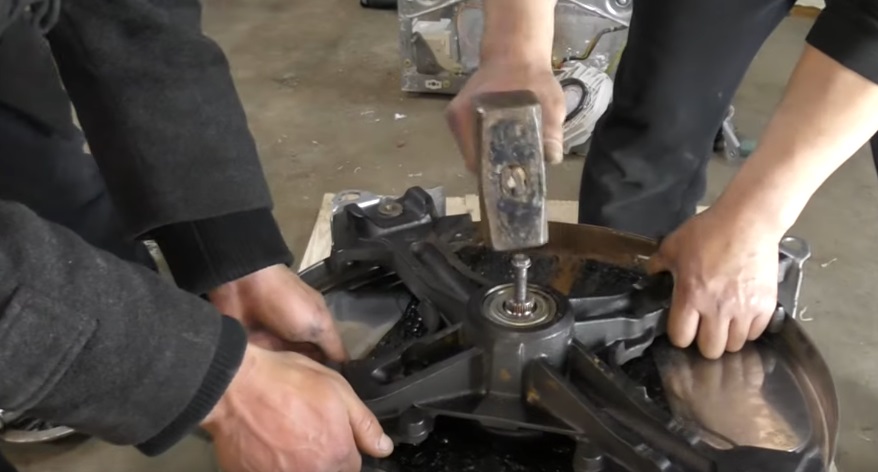
Next, you need to remove the cross from the drum shaft. To do this, a bolt is placed in the center of the structure. Then you need to hit the screw with a hammer several times and tighten the cross.
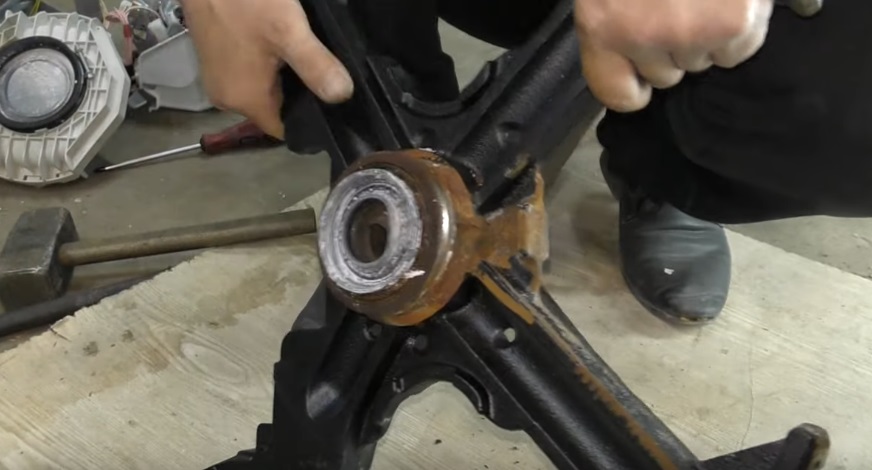
Both bearings will be in the removed cross. Now you need to knock the metal rings out of their seats. To do this, use a chisel with a blunt tip or a drift and a hammer.
First the outer ring is knocked out, then the inner ring. The drift can only rest against the outer race of the bearing. The direction of the metal rod should be constantly changed. Hammer blows must be careful and precise. The seal is pryed off with a flat screwdriver.
The seat on the cross and the rod must be cleaned of rust and dirt. Only after this can you begin to press in new bearings. The algorithm of actions will be as follows:
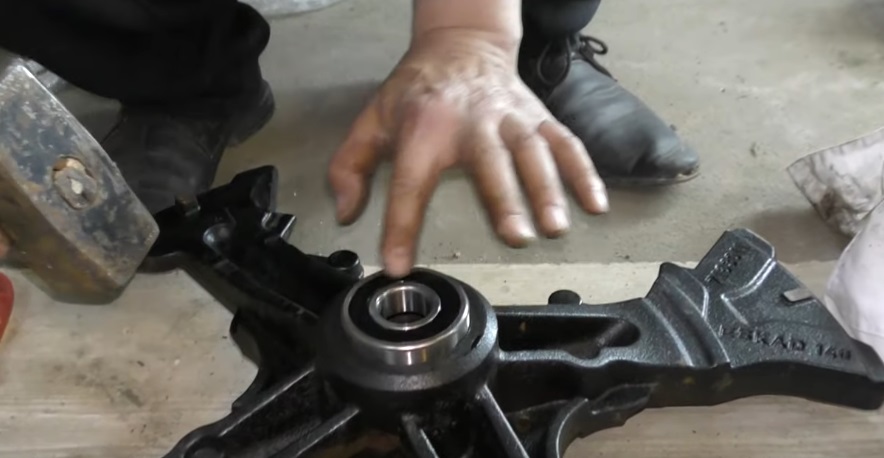
put the outer bearing in place, carefully press it in with a drift and a hammer (you can only rest against the outer race of the ring);
turn the cross over;
Replace the inner bearing and tap it with a hammer;
place the oil seal on top of the inner bearing;
press the seal in with a hammer;
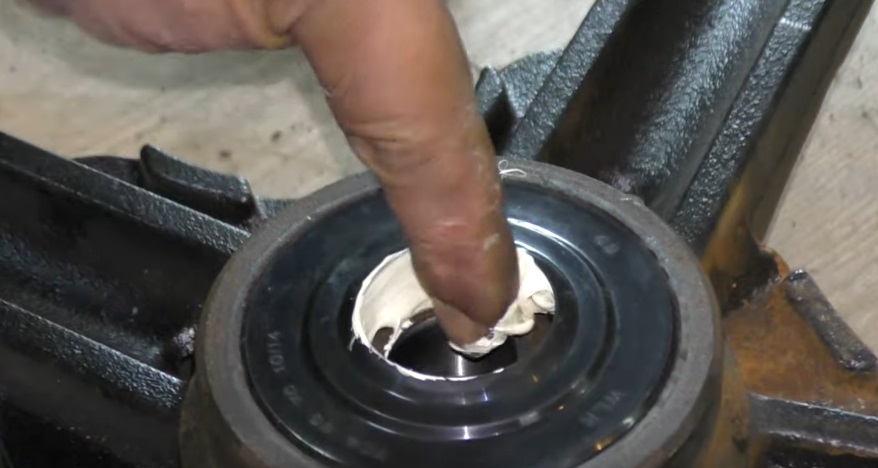
apply a sufficient amount of lubricant to the inner surface of the oil seal - there is no need to skimp here, the layer should be dense;
place the boot on top (it acts as a second seal). It is better to seal the part with silicone sealant.
To treat the oil seal of Miele washing machines, you can only use the original Hydro 2 lubricant.
This lubricant will protect the bearing assembly from water, detergents and high temperatures. The Hydro 2 product is very viscous and hardly washes out. This is the best solution for Miele washing machines.
Now you can begin reassembling the tank. Instructions for action:
clean the drum rod from rust and plaque;
put the cross in place;
secure the drum pulley;
secure the crosspiece with bolts on all four sides.
After this, all that remains is to properly assemble the Miele washing machine. The elements are put in place in reverse order. First, the tank is returned to the housing and suspended by springs. Further:
spin the CMA drum by hand, make sure that it rotates smoothly and silently;
assemble the case by installing the side panels, front wall and top cover;
insert the powder receptacle;
connect the machine to the water supply and sewerage system.
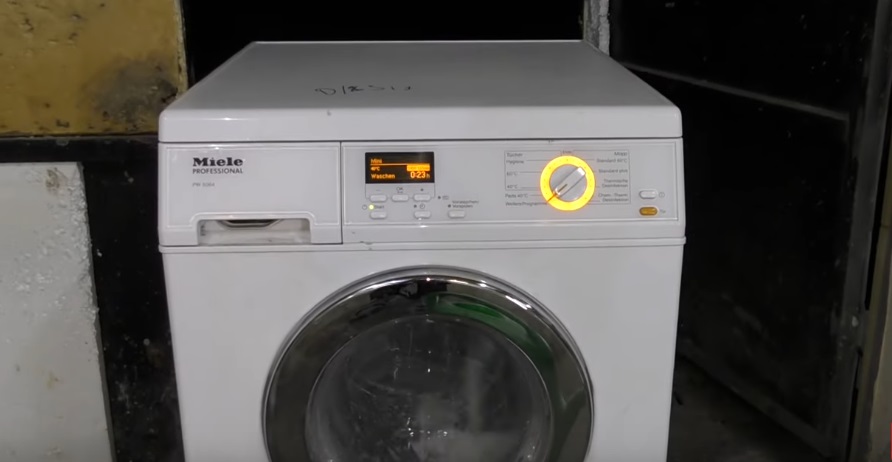
Next, a test cycle must be started without any laundry in the drum. The “Rinse + Spin” mode is ideal. Carefully monitor the operation of the machine. The washing machine should not knock or make noise. Make sure the machine is not leaking. If all is well, the “home assistant” repair can be considered completed.
Changing bearings on a Miele machine is much easier than on some other brands of washing machines. The rings are located in the crosspiece, so there is no need to disassemble the SMA tank. It is quite possible to cope with such work on your own, the main thing is to do everything according to the instructions.
 Today, many users, in order not to overpay, try to repair household appliances on their own. Most problems can be dealt with at home, without the help of a professional. What should I do if I need to replace the bearing in my Miele washing machine? How difficult is this repair? Will it be possible to supply new components yourself? Let's look into the nuances.
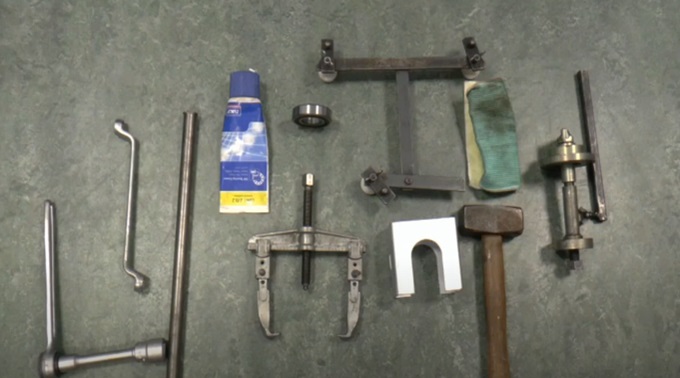


Add a comment