How to change the bearing in a Leran washing machine?
 It’s quite simple to understand that it’s time to change the bearing of your washing machine. Such a breakdown has characteristic symptoms. The “home assistant” will begin to knock during operation, and the noise will intensify during the spin phase. The following signs are drum play, rusty stains on the tank and strong vibration of the body.
How to replace a bearing in a Leran washing machine? How difficult is the work ahead? Will it be possible to cope with the repair without the help of a specialist? Let's look into the nuances.
Diagnosis first
The work ahead cannot be called simple. To change the bearing, you will have to almost completely disassemble the washing machine. Leran. It will be a shame if, after spending a lot of effort, you find that the bearing assembly is in perfect order. Therefore, it is necessary to start with diagnosis.
The following signs indicate the need to replace the bearing:
- the machine knocks when working;
- when you rotate the drum by hand, you hear a grinding and clanging sound;
- there is significant play in the drum (you can tell if this is true by shaking the container with your hand in different directions);
- the washing machine gives the corresponding error;
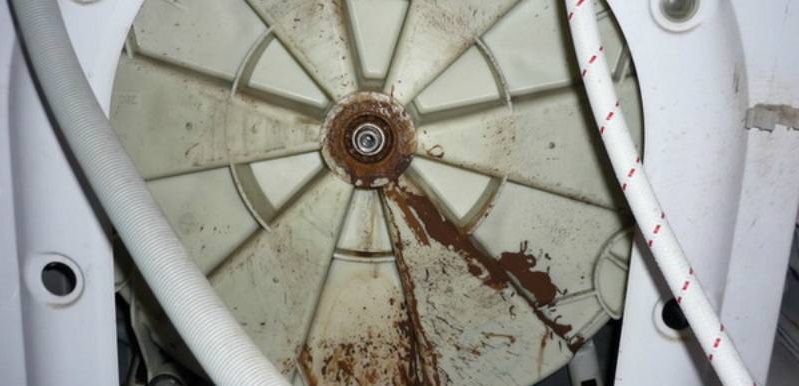
- there are rusty stains on the back wall of the tank (to check this guess, you need to remove the back panel of the SMA Leran case).
Sometimes the work is not limited to just replacing the bearing. In some cases, damage to the spider or shaft may occur. This will lead to higher repair costs and you will have to purchase additional components.
What do we do to remove the tank with the drum?
Although the work ahead is labor-intensive, any user can handle it. The main thing is to strictly follow the instructions for action.During repairs, you need to have on hand Phillips and slotted screwdrivers, a screwdriver, a small hammer, a drift, and a set of keys.
Before disassembling the SMA, disconnect the device from the power supply, water supply and sewerage.
Further actions:
- Unscrew the 2 screws holding the washer cover;
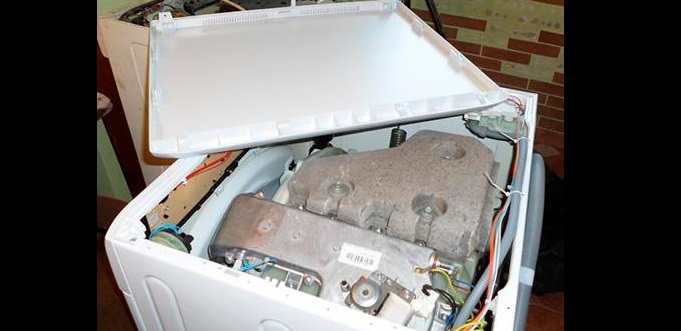
- remove the top panel of the machine body;
- remove the powder cuvette from the machine;
- remove the screws securing the control panel;
- carefully place the device on top of the machine or hang it on the side (you can completely disconnect the control panel, but before that you need to photograph the wiring diagram);
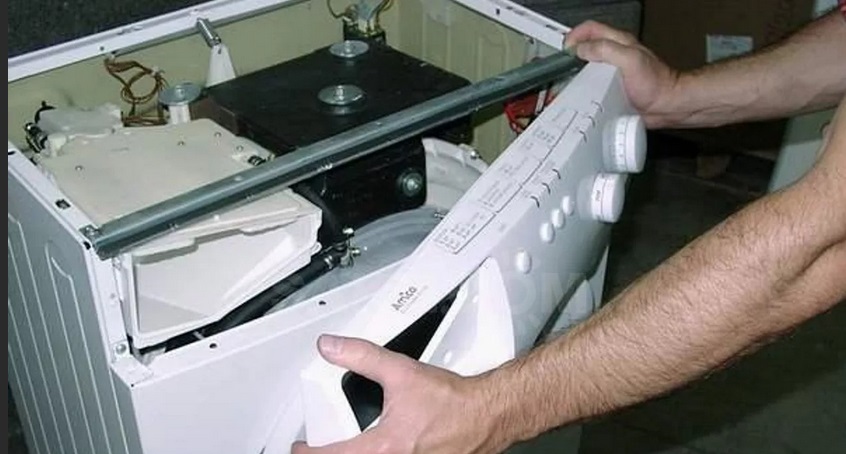
- unhook the lower false panel from the SMA body;
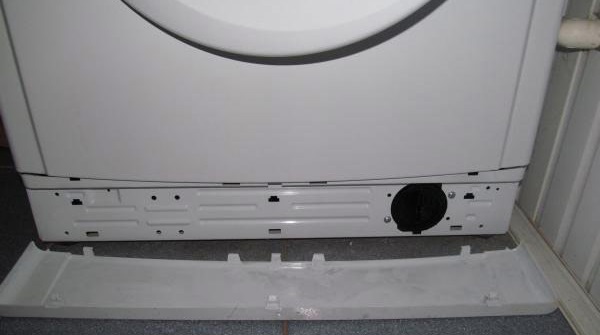
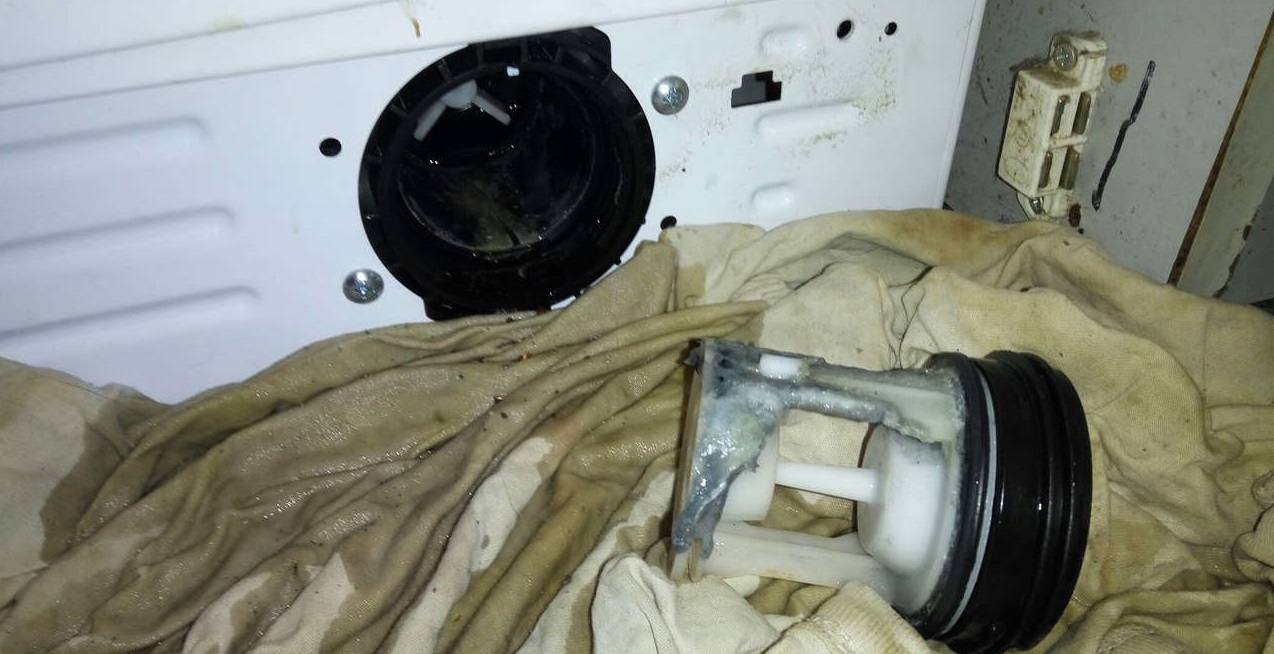
- unscrew the garbage filter, first placing a container under it (this way you can drain the remaining waste fluid from the system);
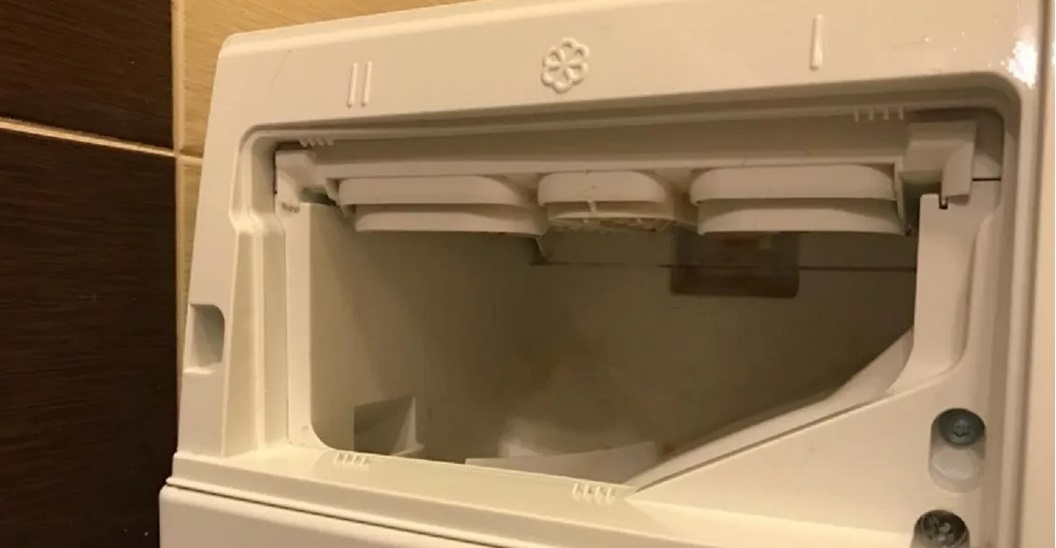
- Unscrew the screws and remove the back wall of the case;
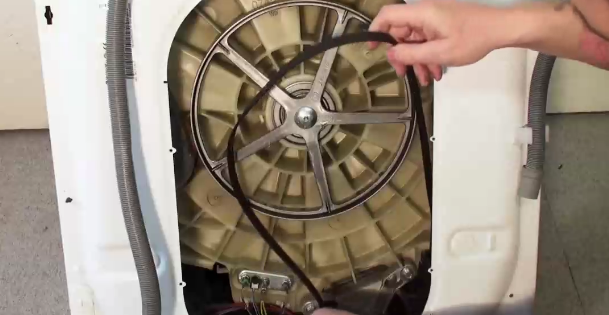
- remove the drive belt from the pulley;
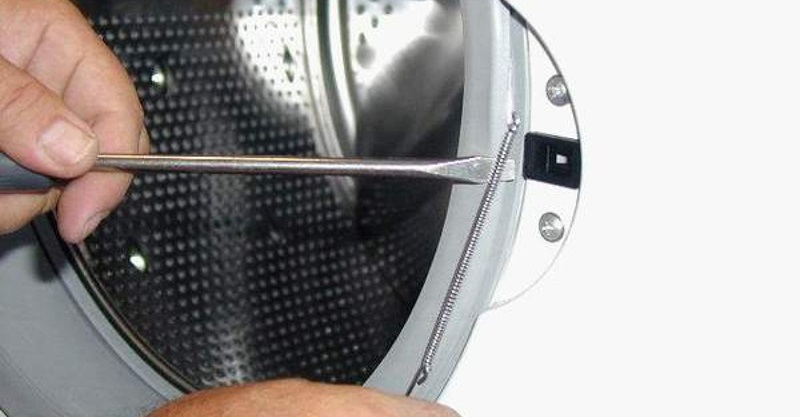
- Use a screwdriver to loosen the wire clamp of the drum cuff and pull out the ring;
- insert the rubber seal into the drum;
- After removing the screws, remove the front panel of the case.
The hatch locking device will prevent you from removing the front wall. Take a photo of the contact wiring diagram and then carefully reset them. After this, you can safely unhook the UBL.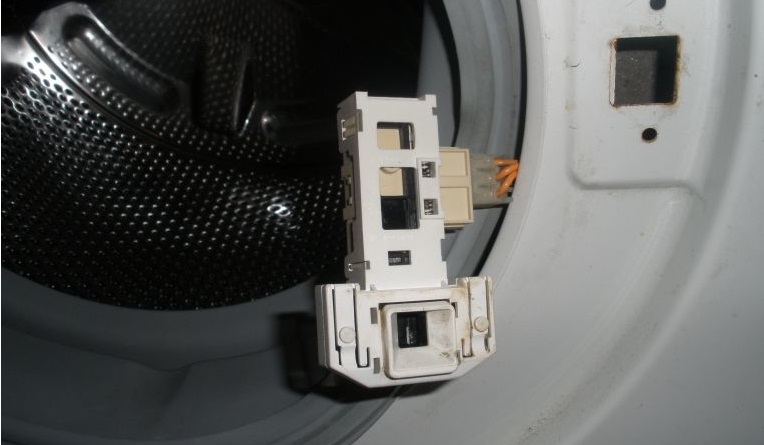
Next, you need to disconnect all internal elements that interfere with the removal of the tank:
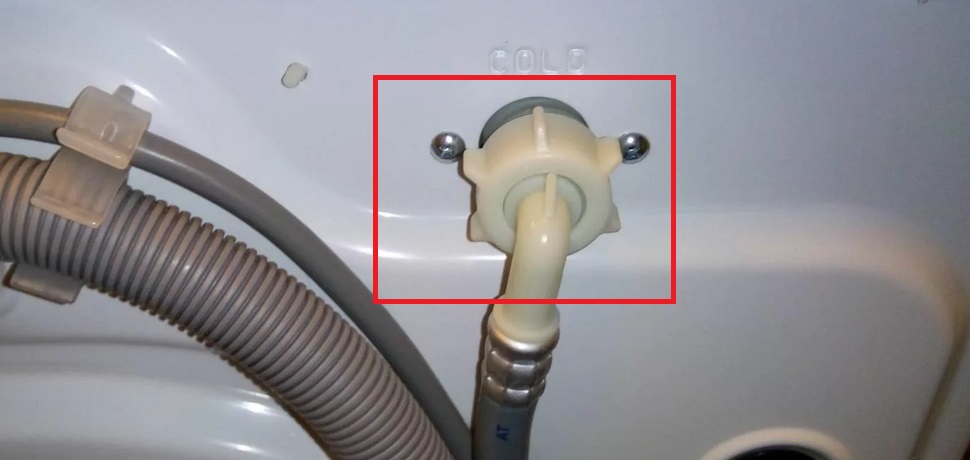
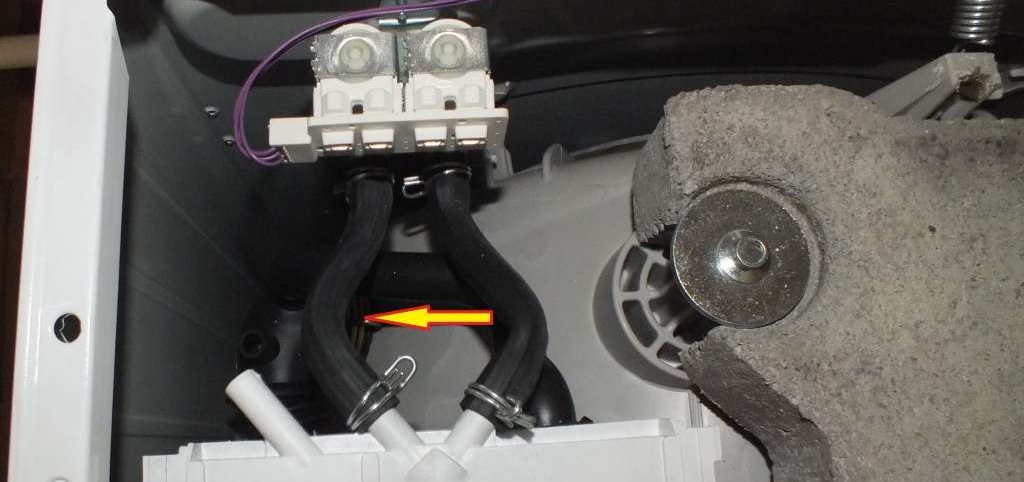
- unhook the filler pipe;
- unfasten the wire connected to the dispenser, as well as the pipes, remove the hopper from the body;
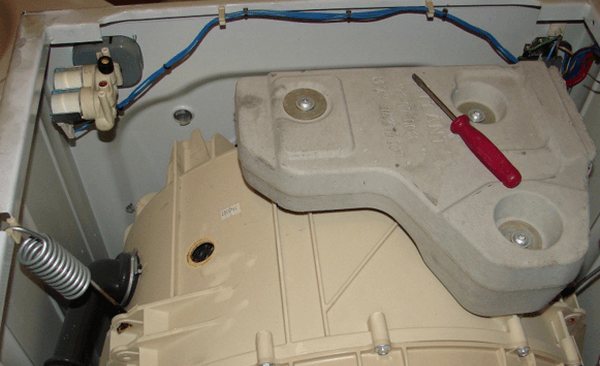
- remove the top metal strip (it will be accessible after disconnecting the dashboard);
- remove the upper counterweight;
- remove the pressure switch (it must be taken into account that on Leran machines the level sensor is additionally secured with a bolt);
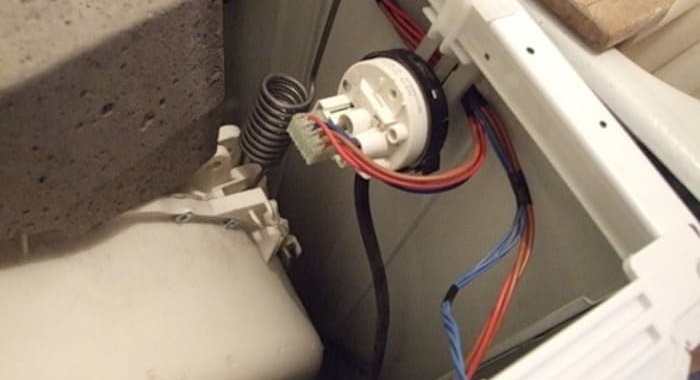
- disconnect the thermistor by resetting its terminals;
- disconnect the wires from the heating element;

- remove the tubular heater from the machine;
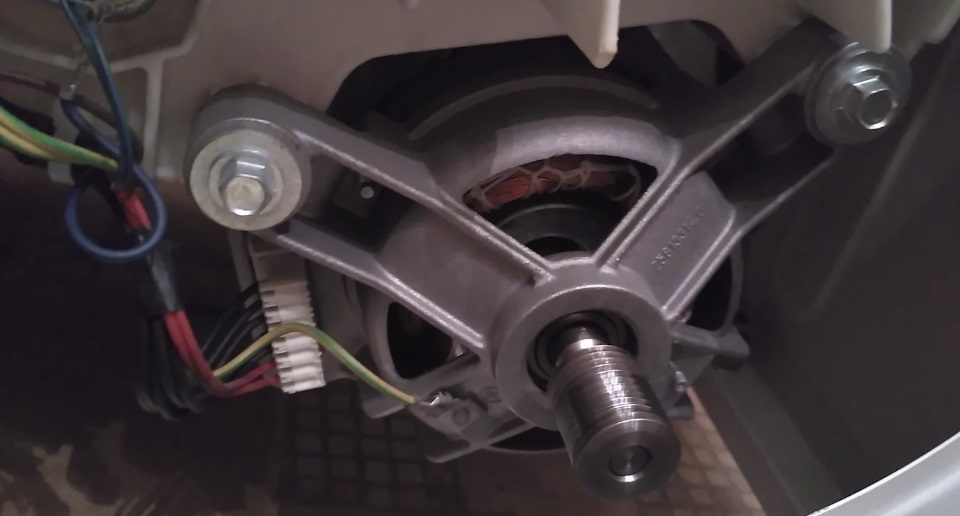
- disconnect the motor by unscrewing the screws securing it;
- unhook the drain pipe from the tank (on Leran, in addition to the clamp, it is additionally secured with a separate bolt).
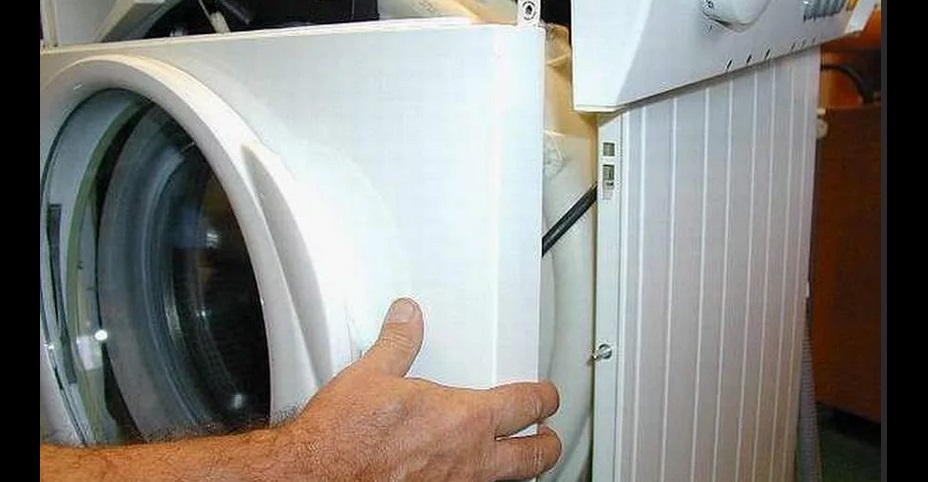
Now nothing will interfere with removing the tub-drum assembly from the Leran washing machine. Having dealt with the shock absorbers, remove the container from the MCA. The parts are heavy, so you may want to call a helper.
Removing and disassembling the tank
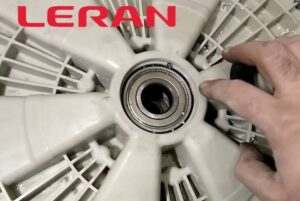
Further actions are performed after removing the tank. The plastic container must be placed on a flat surface, with the pulley facing up. Then you need to unscrew the nut holding the drum wheel. The rod is pressed inward, after which the drum itself can be removed.
The tank of Leran washing machines is collapsible.
The collapsible tank greatly simplifies the work of replacing bearings. In this case, there is no need to cut anything. Simply unscrew the screws around the perimeter of the plastic container and halve it into two parts.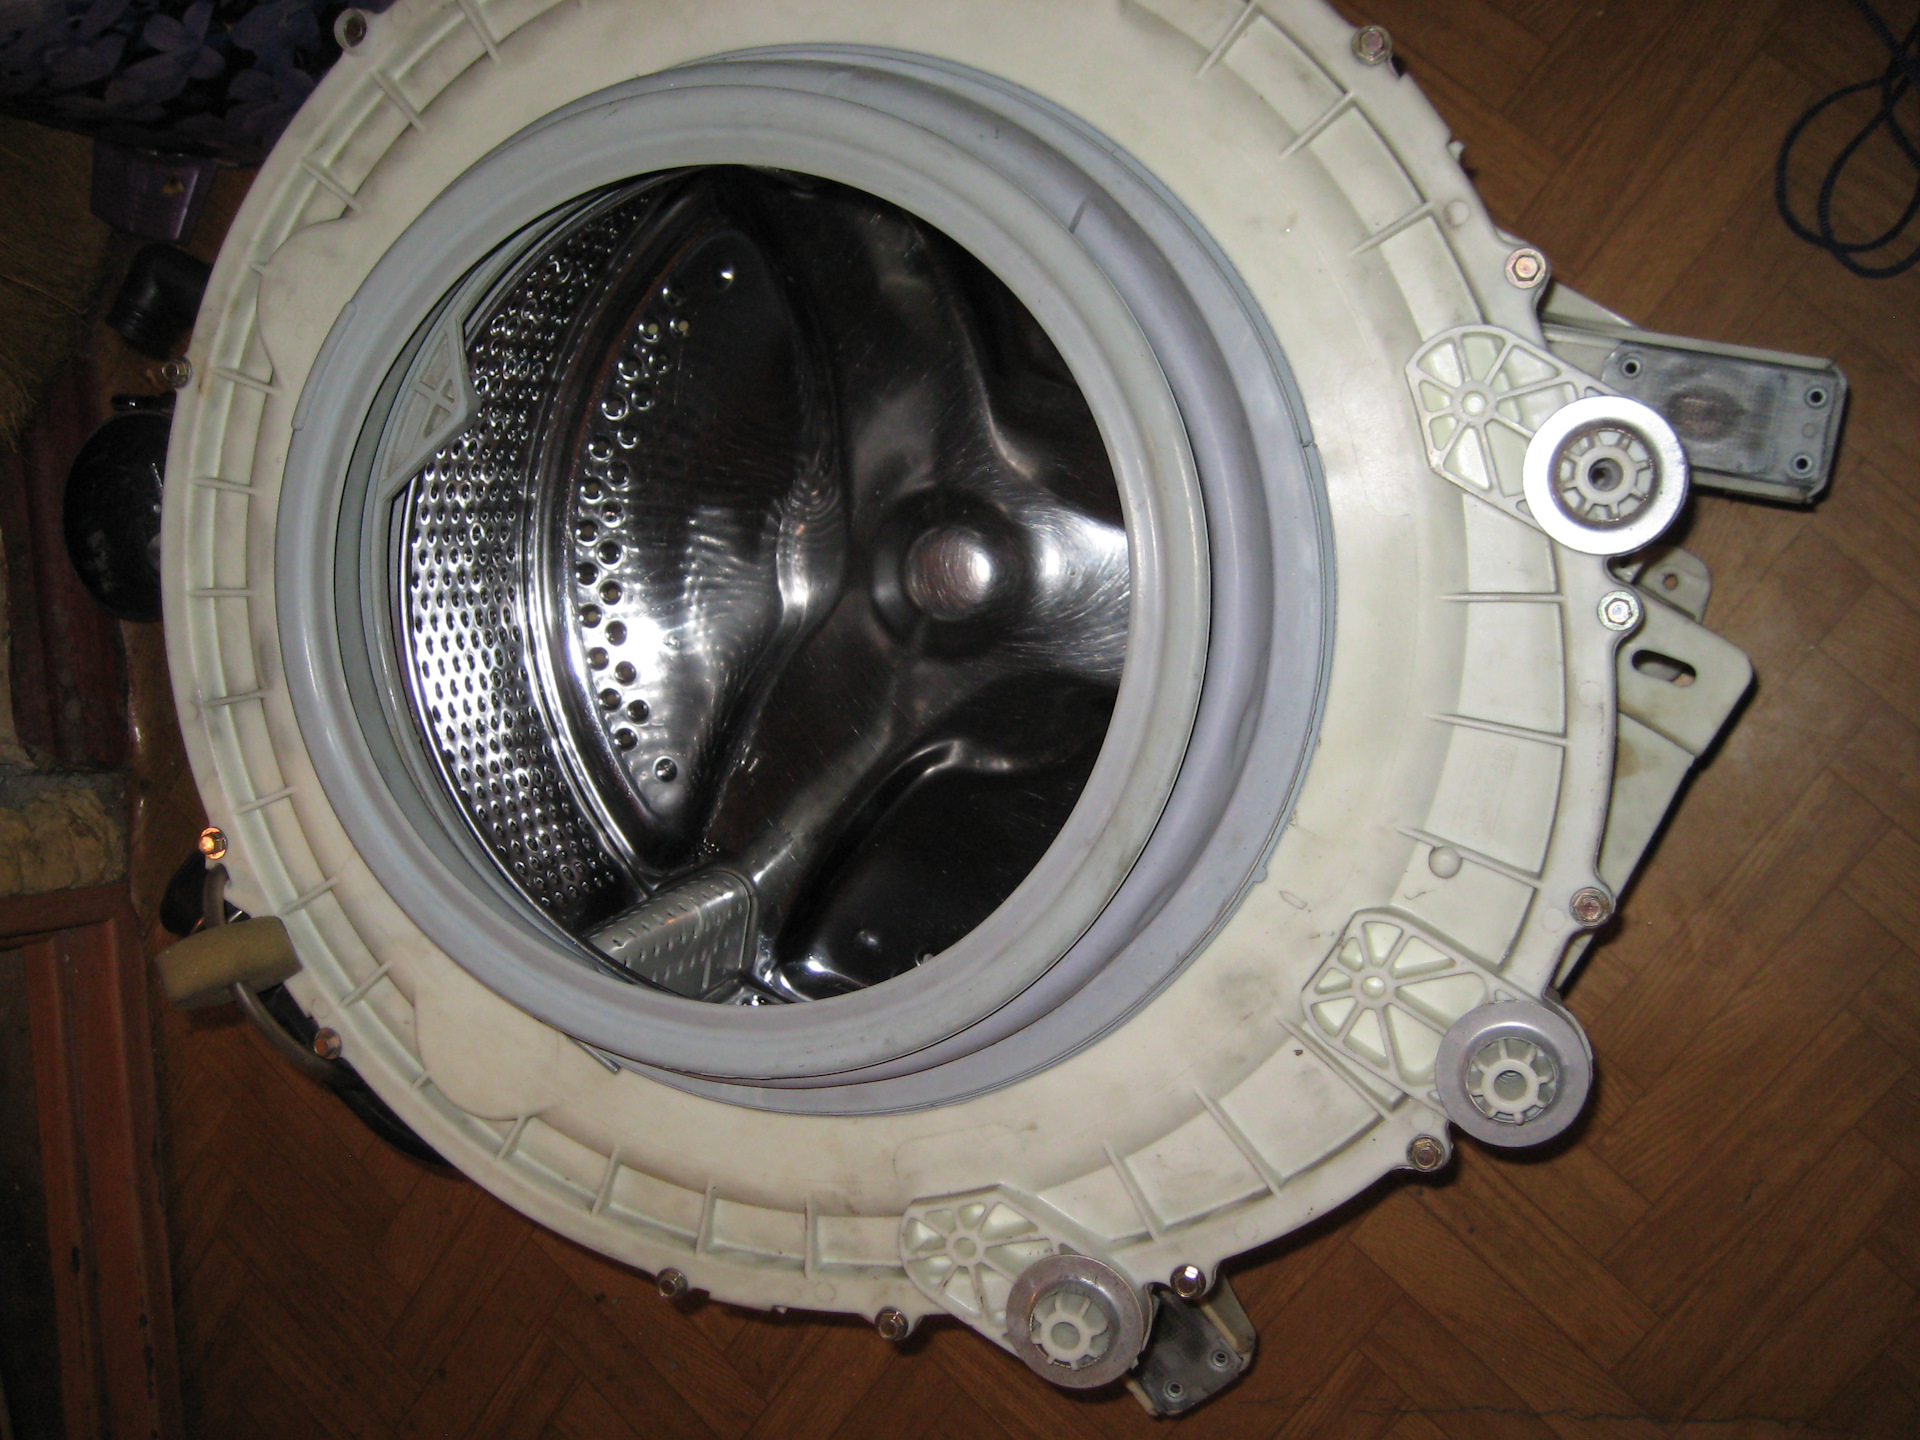
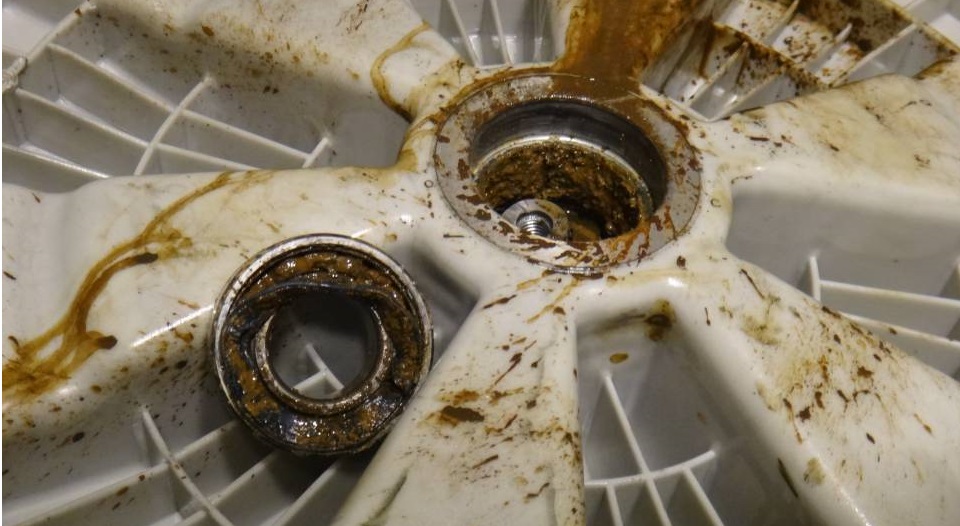
Now you can inspect the cross and the shaft itself. Make sure the parts are not deformed. There should be no wear on the elements. If everything is in order, you can continue the repair as planned.
If the crosspiece and shaft are in poor condition, it is better to immediately replace the parts. Purchase components for a specific Leran model, focusing on the serial number and markings of old spare parts.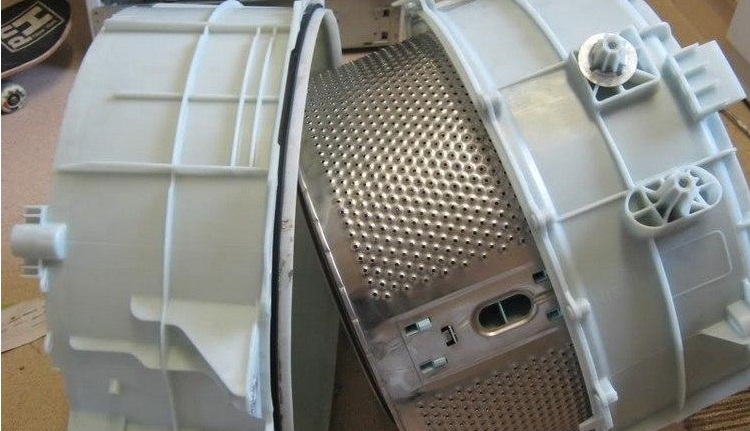
Then you can start removing the rings. To remove the bearings you will need a small hammer and drift. Algorithm of actions:
- remove the oil seal (sealing gasket);
- Place the end of the drift in the center of the rear bearing;
- gently tap the ring by hitting the drift with a hammer (the metal rod must be constantly rearranged, you cannot hit in the same place);
- knock out the second bearing in the same way.
Afterwards, the seat is cleaned of dirt and rust. It is also necessary to wipe the drum shaft and polish it if necessary. Having finished with the “cleaning”, you can begin pressing in new bearings.
Installation of new parts
Components are selected for a specific Leran machine. It is better to buy original spare parts rather than Chinese analogues. If bearings are ordered online, check which SMA model they are intended for. The same applies to the oil seal.
You can also go to a specialty store with the rings already removed. So it will be impossible to make a mistake when selecting bearings and oil seals. The seller will issue similar spare parts.
First, a bearing of smaller diameter is installed, which is located on the outside. The ring is pressed in with a drift and a hammer. The rod may only rest against the outer race of the bearing. The direction of the punch should also be constantly changed.
Do not knock on the inner race of the bearing - this will easily destroy the ring.
Having pressed one element, you can install the internal bearing. It is also driven in with a hammer along the outer ring, through the spacer. Proceed carefully, without using much force.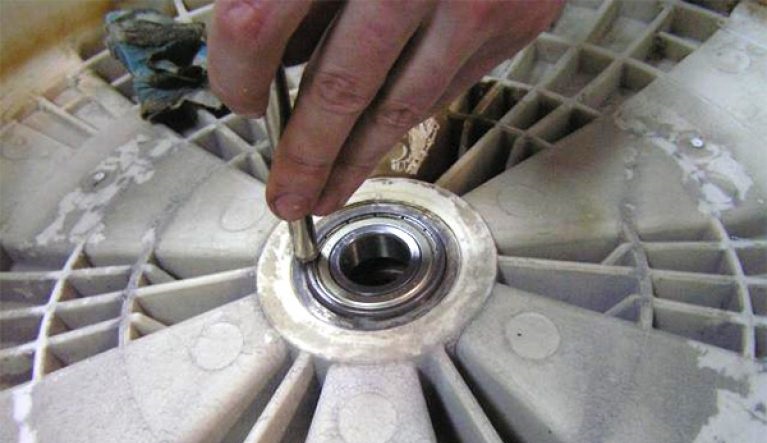
Next, the oil seal is put in place. It is better to put the sealing gum on superglue. The gasket is generously treated with special bearing grease on top. The substance will prevent water from entering the unit, thereby extending the service life of the structure.
Then the drum bushing itself is treated with lubricant.After this, you can begin assembling the structure. Be careful - such a connection cannot be assembled with play. It will fly apart after a couple of cycles. The bearing should sit like a stake.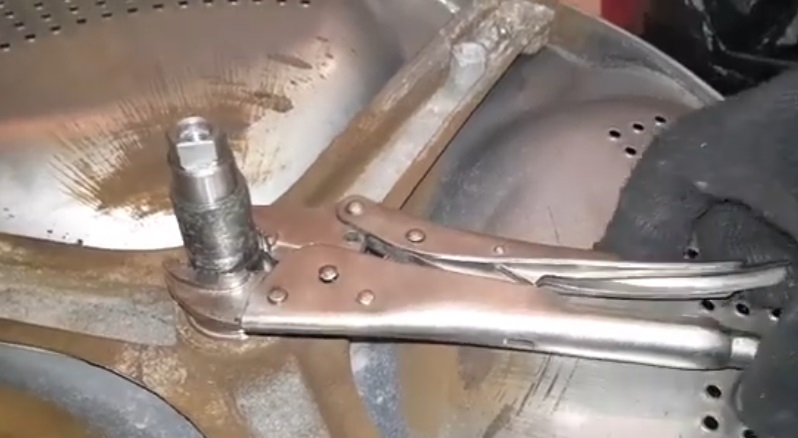
If the bearing fits onto the shaft without effort and has some play, it is necessary to perform core punching. This will ensure the strength of the connection. Next, the tank halves are assembled - the fixing bolts are put in place.
Further assembly of the SMA is performed in the reverse order. First, the tank with the drum is put in place, the engine, heater, pressure switch and other internal elements are connected to it. On the pulley belt tightens drive. At the end, the body of the Leran machine is assembled.
After completing the assembly, rotate the CMA drum by hand - it should rotate silently. Next, run a test cycle without laundry and observe how the machine operates. If the washing goes smoothly, the repair can be considered completed.
Interesting:


Reader comments
- Share your opinion - leave a comment
Categories
Washing machine repair


For buyers


For users


Dishwasher


Add a comment