How to change the bearing in a Daewoo washing machine?
 A knocking and rattling machine will tell the user that it is time to replace the bearings. Thus, with severe wear of the bearing unit, there is increased vibration of the washing machine body and uncharacteristic noise during its operation, especially during the spin stage. Operating a Daewoo washing machine with broken bearings is dangerous. It is necessary to repair the “home assistant” in a timely manner to avoid damage to other internal parts. We'll tell you how to do this.
Symptoms of this problem
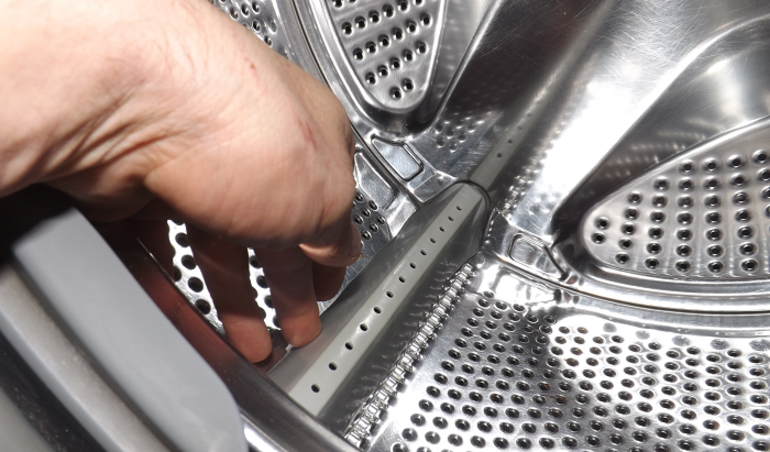
To begin with, I would like to note that changing the bearing with your own hands on Daewoo cars is quite simple. Washing machine tank Daewoo dismountable, so there will be no difficulties in gaining access to the bearing assembly. The main “symptoms” indicating the need to replace these elements:
- a strong hum noted when spinning the drum by hand;
- a distinct knocking and grinding sound when the washing machine is operating;
- drum play;
- increased vibration of the body - the machine literally “jumps” around the room.
Rarely, in addition to bearing wear, the situation is worsened by damage to the cross. In this case, you will have to spend more on repairs. The part is not sold separately, so you will need to buy a new drum.
Primary disassembly
To knock out the old bearings, you need to gain access to the inside of the tank. And to do this, you need to almost completely disassemble the Daewoo washing machine.
During the repair process, you will need a screwdriver, a pair of screwdrivers (Phillips and minus), a drift, a small hammer and WD-40 aerosol lubricant.
First of all, do the following:
- Turn off the power to the machine, turn off the water supply tap, disconnect the inlet and drain hoses;
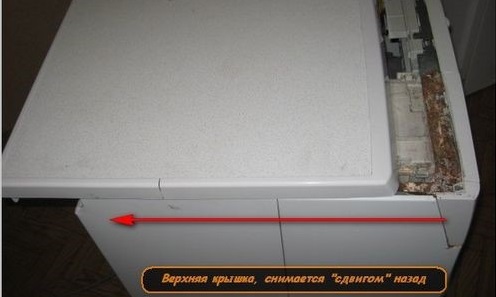
- remove the “top” of the housing. To do this, unscrew a pair of screws holding the panel;
- remove the detergent drawer from the washing machine;
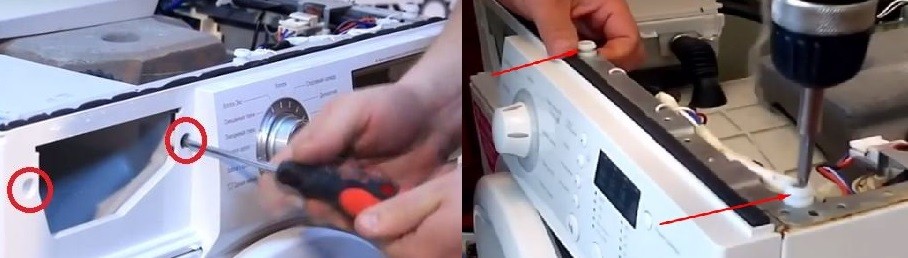
- unscrew the bolts securing the control panel. It is not necessary to disconnect the wires from the “tidy”; just hang it on the side wall of the case, on a pre-prepared hook;
- remove the lower false panel by bending the latches;
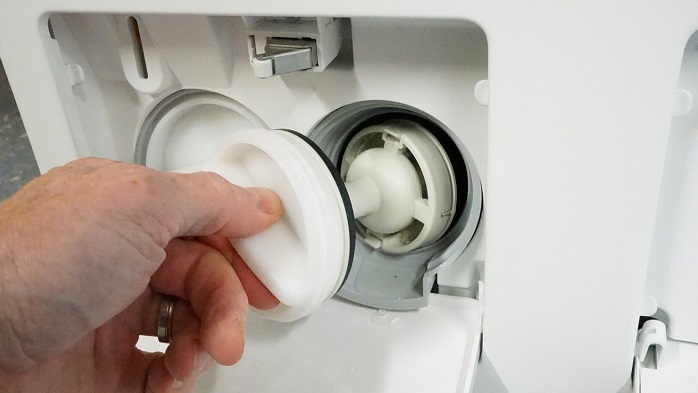
- unscrew the plug of the garbage filter, collect the water, the remains of which will flow out of the hole;
- unscrew the three screws previously hidden behind the decorative panel;
- tuck the outer edge of the cuff into the drum; to do this, loosen the clamp securing the elastic band and pull the rim out;
- Unscrew the remaining bolts holding the front wall. They are located in the area of the powder receptacle, the “tidy”, and, as already mentioned, the lower false panel;
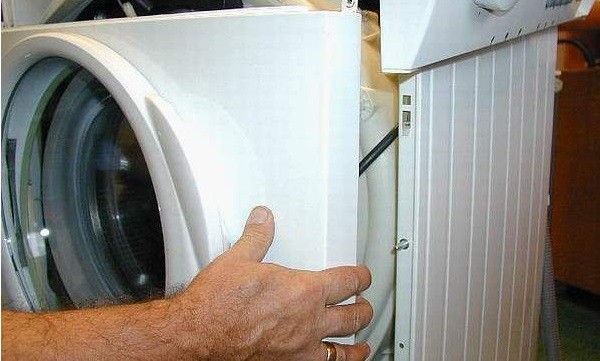
- Unhook the front panel of the case. During the removal process, you will need to carefully remove the hatch locking device chip and remove the locking mechanism without damaging its contacts;
- disconnect the filler pipe;
- unhook the wire connected to the dispenser, pull out the “hopper” under the powder receptacle from the housing;
- remove the upper metal strip that opened after removing the dashboard;
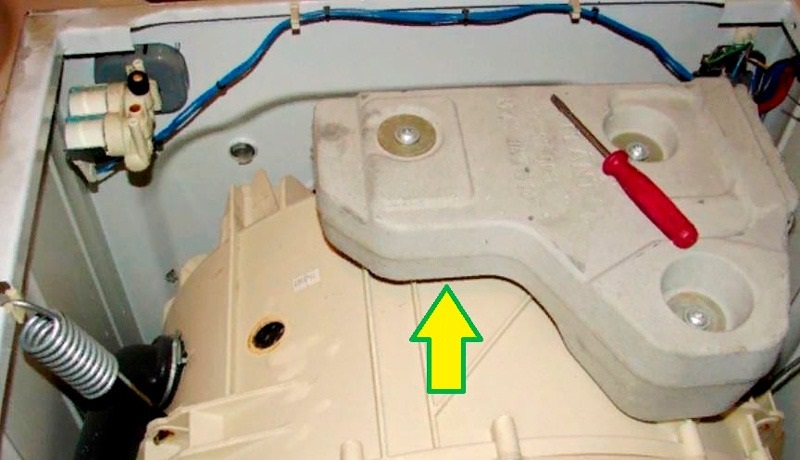
- unscrew the counterweight bolts and remove the weighting material from the body;
- reset the temperature sensor wiring;
- unhook the wires and grounding from the heating element;
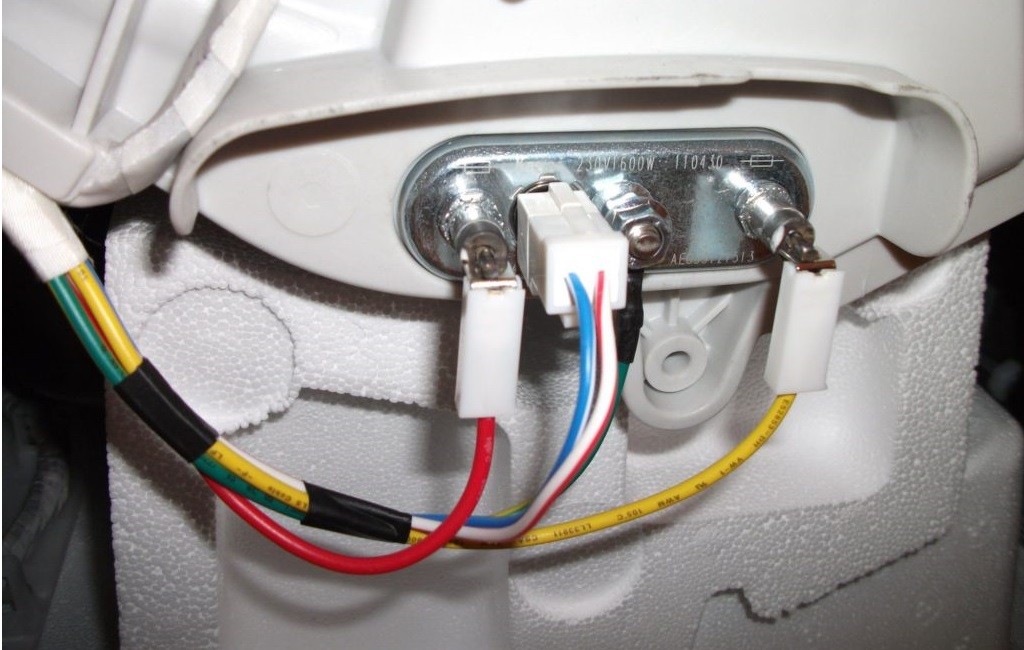
- remove the tubular heater from the housing;
- remove the clamps securing the plastic tank cover;
- remove the cover.
This way the Daewoo washing machine will be completely disassembled from the front. All that remains is to remove the back panel and work with the components hidden behind it.We will tell you the further procedure for replacing the bearing.
Getting to the worn bearings
Next you will need to work on the back of the automatic machine. Removing the back panel is very simple - just unscrew the screws holding it. The subsequent algorithm of actions will be as follows:
- reset the drive belt, put the rubber band aside;
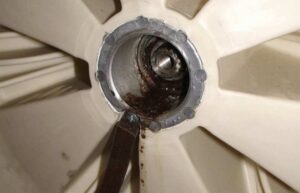
- Unscrew the nut designed to secure the drum pulley.
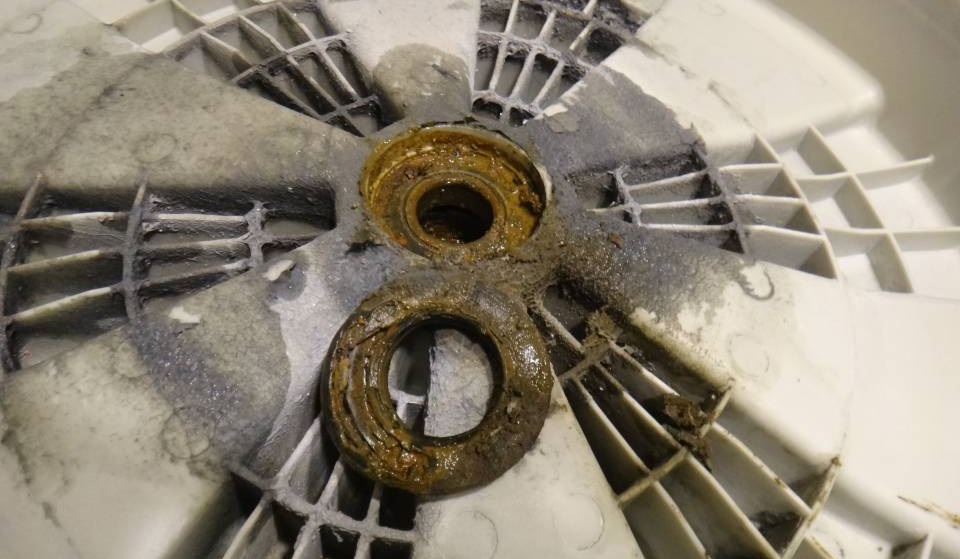
Now you can remove the drum from the tub of the Daewoo washing machine. After removing the assembly, inspect its crosspiece. If you find traces of wear, you need to clean the shaft. When everything is in order, you can begin to remove the bearings and oil seal. For further work you will need a hammer and a drift. You should proceed as follows:
- pull out the rubber seal (oil seal);
- place the sharp end of the drift in the center of the inner bearing, hit the tool with a hammer;
- tap the bearing, constantly changing the position of the drift;
- knock out the second, outer bearing in the same way.
After both metal rings are knocked out, you need to arm yourself with a rag. Be sure to clean the seat from metal shavings, old grease, dirt and rust. Having finished the “cleaning”, you can begin pressing in the purchased bearings.
Installing new parts
It is very important to purchase components that are suitable for a specific Daewoo washing machine. To do this, you need to look at the model name and serial number of the machine. This information is in the instructions for the device, as well as on the “nameplate” of the washing machine. The ideal option is to go to the store with old bearings. Then the manager will be able to accurately select new components that are completely similar to those removed.
The pressing of rings should be approached responsibly. One careless blow can ruin the new bearing, so proceed carefully. The smaller bearing is placed on the outside of the drum. The element is driven into the “socket” with a drift and a hammer. It is permissible to rest the metal rod only on the outer ring of the ring.
Do not knock on the outer race of the bearing, as this can destroy the part.
Having pressed in the smaller bearing, you should proceed to installing the second ring. It is necessary to insert it into place and tap it with a punch. Having finished the work, you need to “plant” the oil seal on top.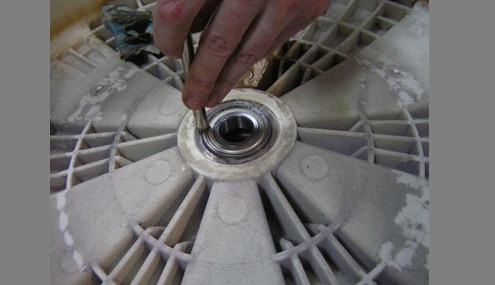
By the way, it is very important not to forget to lubricate the oil seal and bearings. This will protect the unit from water ingress, and, therefore, extend the life of the parts. You need to buy a special moisture-resistant and insensitive lubricant designed specifically for washing machines. After fixing the oil seal, you should also lubricate the drum bushing. At this point, the bearing replacement can be considered completed. All that remains is to reassemble the washer body in reverse order. So, first, the drum is fixed inside, the pulley and the tank cover are secured. Then you can tighten the drive belt and install the rear wall of the housing. Then the “front” of the machine is assembled.
After completing assembly, be sure to run a test wash with an empty drum. If the machine stops playing, knocking and rattling, it means the repair was done correctly. In fact, replacing the bearings yourself is quite simple. The main thing is to strictly follow the instructions for action and observe safety regulations.
Interesting:


Reader comments
- Share your opinion - leave a comment
Categories
Washing machine repair


For buyers


For users


Dishwasher


Add a comment