How to change the bearing in a Kaiser washing machine?
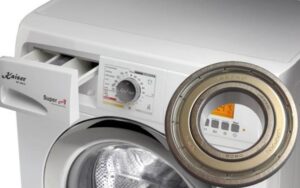 If the Kaiser washing machine knocks, rattles and vibrates a lot during operation, most likely the problem is in the bearing assembly. In such a situation, it is necessary to diagnose the machine as soon as possible and, if necessary, replace the bearings. Continued operation of the washing machine with broken bearings is fraught with other breakdowns, so do not put off repairs until later. We'll tell you how to remove worn elements and press new rings into place.
Is the bearing really damaged?
Damage to the bearing unit in a Kaiser washing machine can be guessed by obvious signs. Firstly, there is noise and grinding noise when the equipment operates, especially during the spinning stage. Secondly, there is a strong hum heard when the drum is rotated by hand. A machine with broken bearings will lose stability, vibrate and “jump” around the room during washing.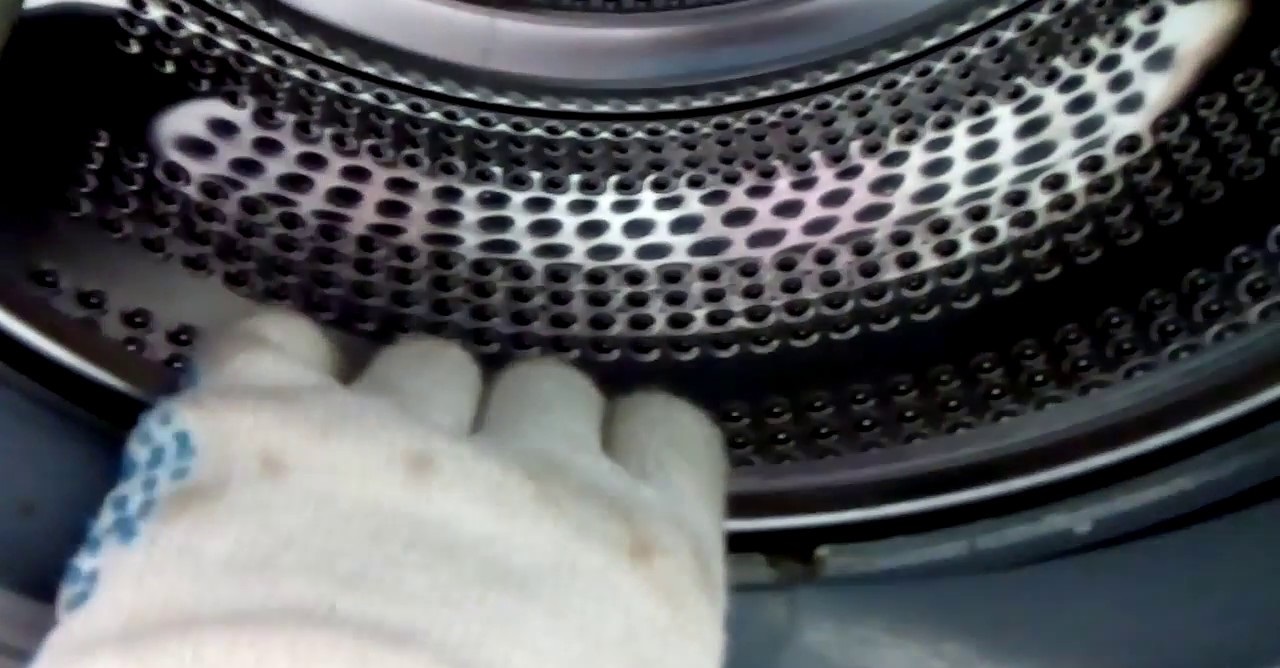
In addition, the user may notice significant play in the drum, as well as rusty stains on the rear wall of the tank. The combination of one or more signs will indicate the need to repair the “home assistant”. Sometimes, in addition to wear of the bearings and oil seal, Kaiser washing machines experience a breakdown of the cross. This leads to higher repair costs, since you have to buy a new entire unit.
Disassembling the device, removing the tank
Changing a bearing with your own hands is not as difficult as it might seem at first glance. For repairs, you don’t need any special tools; just prepare a couple of screwdrivers, a socket wrench with heads of different sizes, a drift (or a regular long metal rod) and a small hammer.In addition, you should have WD-40 aerosol lubricant and a couple of dry wipes on hand.
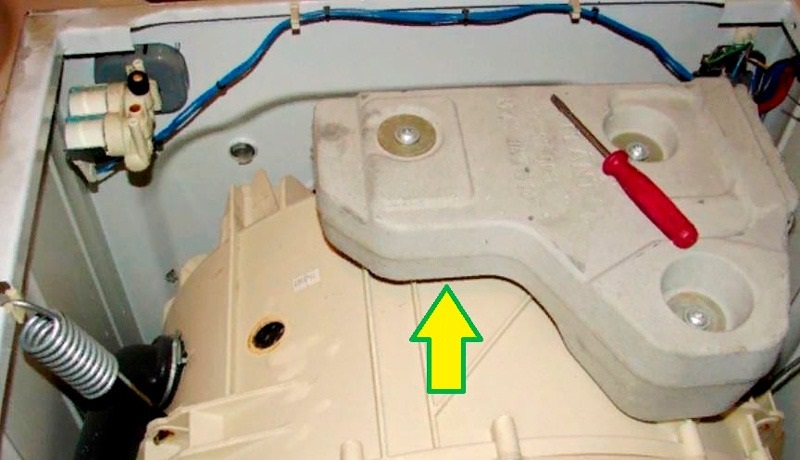
The tank of Kaiser washing machines is dismountable, which greatly simplifies the process of replacing bearings and seals.
The entire course of work can be divided into three stages. First, the body of the “home assistant” is disassembled, and all elements that may interfere with its removal are disconnected from the tank. Next, the “centrifuge” is divided in half, and the old rings are knocked out of the “nest”. Finally, new bearings are pressed into place, and the washing machine is assembled in the reverse order.
It is very important to prepare your workplace. So that nothing interferes, you need to free 3-4 square meters. m. Ideally, take the car to an empty garage and disassemble it there. The procedure for replacing the bearing will be as follows:
- turn off the power to the automatic machine;
- turn off the water supply tap, disconnect the washing machine from the house communications;
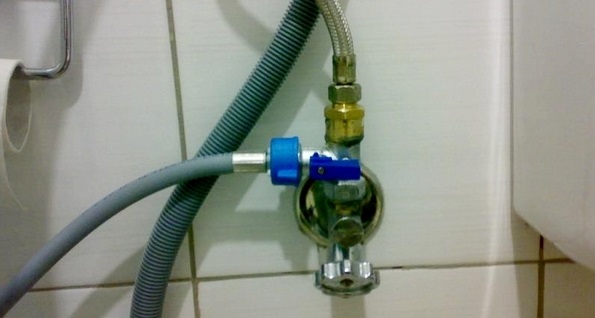
- unhook the drain and inlet hose from the body;
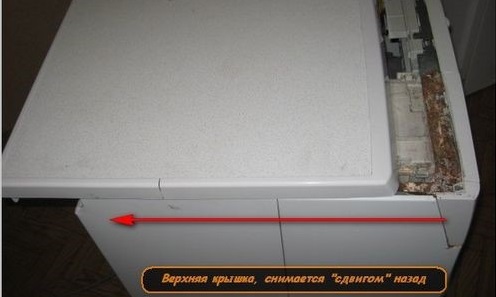
- Unscrew a pair of screws holding the top cover;
- slightly move the panel back and remove the “top”;
- remove the metal spring with which the tank is attached to the rear wall of the housing;
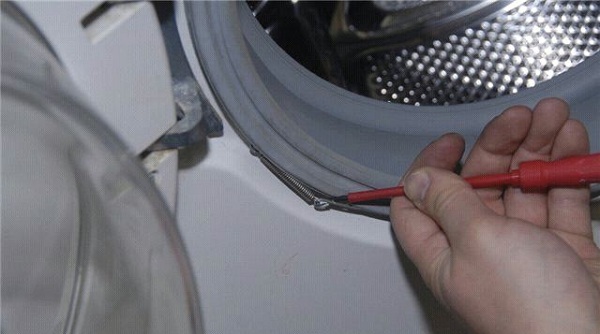
- remove the outer clamp holding the hatch cuff by using a screwdriver to pick up the “ring” spring;
- tuck the rubber seal inside the drum;
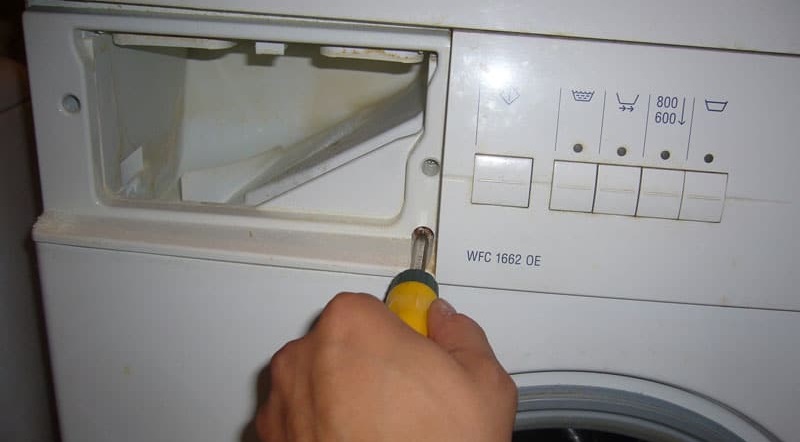
- remove the powder receptacle from the machine;
- Unscrew the screws securing the control panel. They are located along the perimeter of the “tidy”: on top and on the side (at the location where the container for detergents is installed);
- remove the top metal bar;
- remove the locking cable. It is attached to the “tidy”;
- Carefully, without damaging the wiring, hang the control panel on the side of the case so that it does not interfere with operation;
- disconnect the wiring and hose from the pressure switch;

- remove the water level sensor from the housing;
- remove the lower decorative panel of the machine by unscrewing a couple of bolts. An emergency drain hose is attached to it - it also needs to be unhooked;
- Unscrew the 4 screws holding the front panel;
- remove the front wall, while carefully disconnecting the contacts of the hatch locking device;
- disconnect the wiring from the intake valve;
- remove the dispenser connected to the solenoid valve from the machine, having first removed the clamp from the tank pipe;
- Remove the screws holding the top and side counterweights. The lower weighting material can be left untouched; it will not interfere with the process;
- disconnect the Aqua Spray system hose from the tank by undoing the clamp;
- Unhook the drain pipe from the tank by releasing the clamp that secures it;
- disconnect the contacts of the pump, heating element, and temperature sensor from the tank;
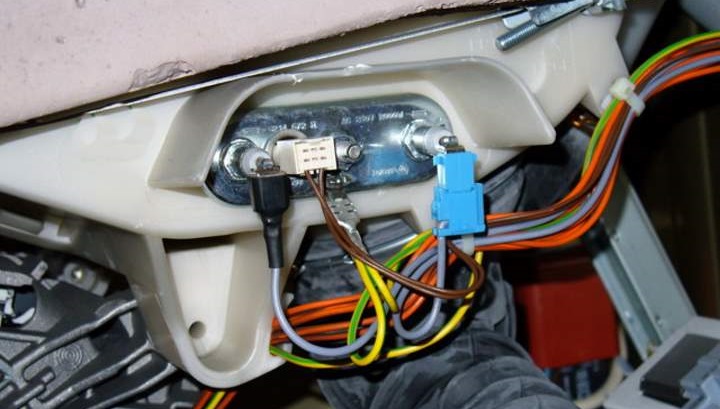
- reset the motor wiring, unscrew the screws and remove the motor from the housing;
- remove the drive belt from the shaft (this can be done through the top without disconnecting the back wall).
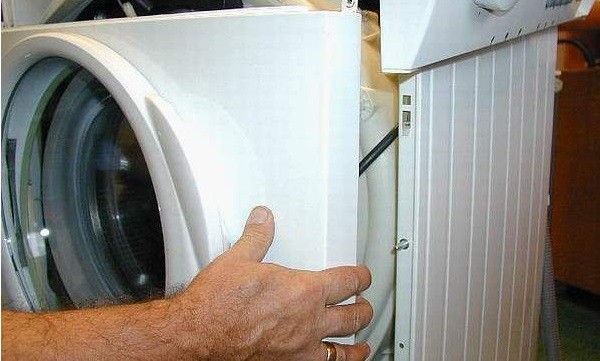
Now nothing prevents the tank from being removed. You can remove the unit yourself; it is not very heavy. Craftsmen note that Kaiser washing machines are assembled “smartly”, so repairing them is quite simple, compared to appliances from other brands.
Removing Old Bearings
You can proceed to the second stage of work, namely, disassembling the tank. First of all, you will have to remove the pulley. It is important to unscrew it very carefully, otherwise the “wheel” can be easily damaged. To remove the bolt, you must lock the pulley in place. To do this, it is enough to insert wooden sticks, for example, hammer handles, between its “beams”. Then, using a socket wrench, you can remove the screw. The further algorithm of actions will be as follows:
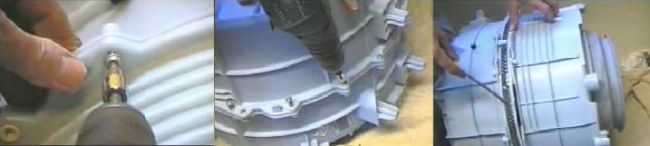
- unscrew the bolts connecting the parts of the tank;
- using a screwdriver, “halve” the tank, removing the top cover from the bottom;
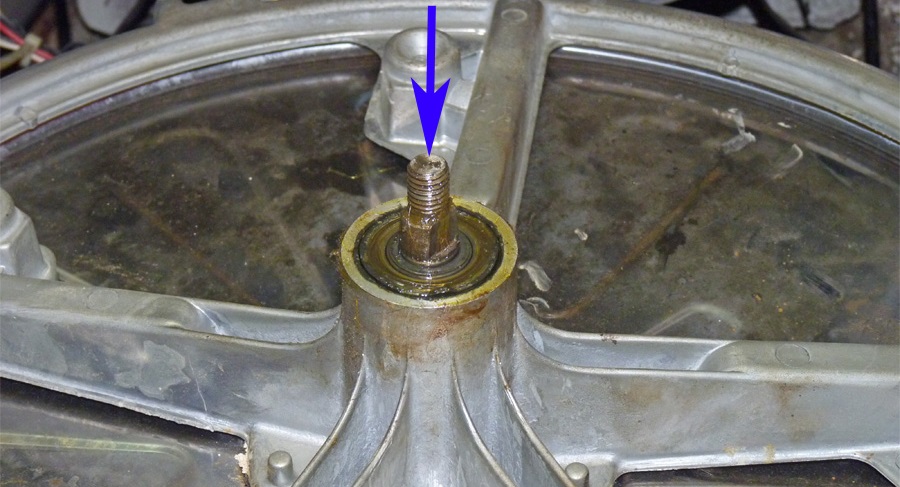
- if the shaft is very stuck, treat it with WD-40 aerosol lubricant and wait 20 minutes;
- screw an old unnecessary nut onto the shaft and knock it out with a hammer (the nut is necessary to ensure the safety of the shaft itself);
- when the bushing “falls” inward, pull the drum out of the tank half;
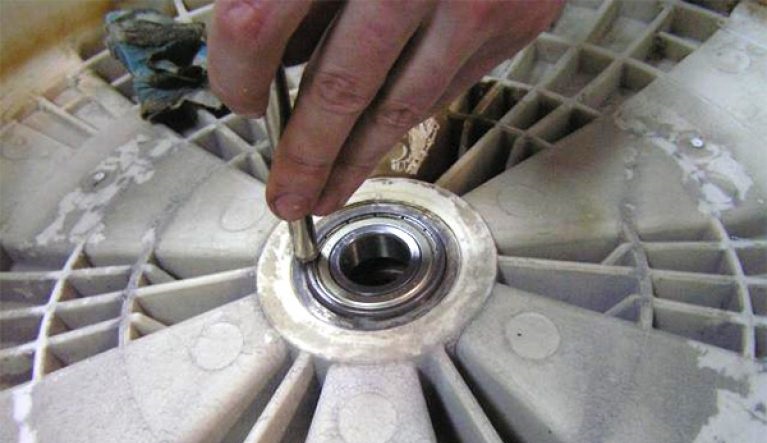
- pry out the oil seal with a screwdriver, remove the old seal;
- knock out the inner bearing using a hammer and drift. The metal rod is installed on the ring holder and tapped;
- remove the outer bearing in the same way.
It is much easier to remove old rings using a special bearing puller.
This will complete the dismantling of the bearings. Be sure to clean the tank, shaft and seat from dirt, rust and metal shavings. Having completed the “cleaning”, you can begin installing new elements.
Pressing in new parts
It is important to select the correct replacement bearings and seal. The size of the components will depend on the model of the Kaiser washing machine. The ideal option is to dismantle the old parts and look at their markings. Be sure to purchase lubricant for bearings and oil seals of washing machines. It is necessary to protect the components so that no water gets into the unit during the washing process. The algorithm of actions is as follows:
- insert the inner bearing into the “socket”;
- press in the “ring” using a drift and hammer. It is allowed to knock only on the inner rim of the part, otherwise the element may be damaged;
- Place the oil seal on top of the bearing;
Craftsmen advise additionally securing the oil seal with super glue, treating the outer “edge” of the seal with the compound after installation.
- Press in the outer bearing in the same way;
- treat the assembly with special lubricant;
- lubricate the shaft, but only at the point of contact with the oil seal;
- insert the drum into the tank;
- connect the halves of the plastic tank with bolts. To be sure, you can coat parts of the container at the “seam” with silicone moisture-resistant sealant;
- turn the tank over and replace the pulley.
Thus, the assembly of the tank-drum assembly will be completed. All that remains is to connect the electric motor to the “centrifuge”, install the structure back into the body (be sure to get into the shock absorbers) and connect all the previously removed parts and sensors. After replacing the bearings, be sure to run a test wash with an empty drum. If everything is in order, the repair can be considered successfully completed.
Interesting:


Reader comments
- Share your opinion - leave a comment
Categories
Washing machine repair


For buyers


For users


Dishwasher


Add a comment