How to change the bearing in an ASKO washing machine
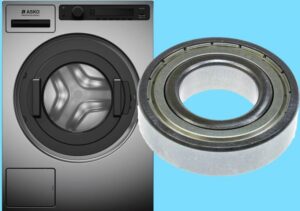 Washing equipment from the Swedish brand ASKO is considered the most reliable. The body of the machines is made of high-strength material, and the tank is made of high-quality metal. However, even such strong washing machines can fail, especially after several years of use.
A typical problem is a bearing assembly failure. Various factors can lead to such a malfunction: natural wear, constant overload of the MCA, frequent imbalance of the drum, etc. We will tell you how to replace the bearing in an ASKO washing machine. Let's look into the nuances of the upcoming renovation.
We disassemble the Asko machine
Before you begin repairs, you need to realistically assess your strengths. To change the bearings, you will have to almost completely disassemble the SMA. Unlike machines of other brands, in the case of Asko you do not need to remove the metal tank from the body; just pull out the drum. But first things first.
Dismantling worn bearings is not an easy task. To knock out the rings, special tools are needed. Firstly, you can’t do without a puller. Secondly, you will need to have an adjustable and spanner wrench on hand. You will also need screwdrivers, a wrench, a drift, a hammer, a metal pin about 25-30 cm long and about 2 cm wide, a screwdriver, a knife, and sealant. All accessories are shown in the figure below.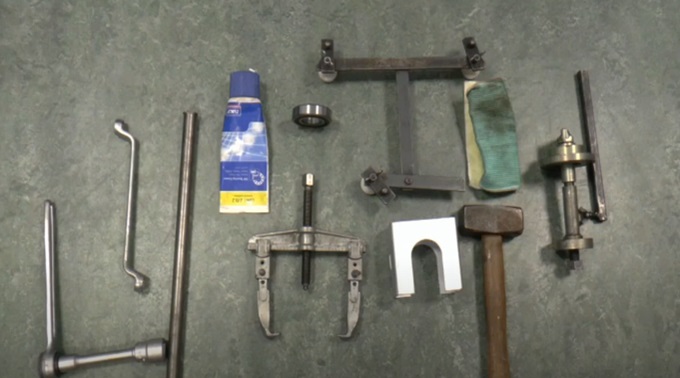
The next stage is preparing the machine. It is necessary to push the washing machine into the center of the room to gain free access to all sides of its body. Be sure to turn off the power to the unit before moving it. You will also need to close the shut-off valve on the pipe and disconnect the SMA from the water supply and sewerage.
The further algorithm of actions will be as follows:
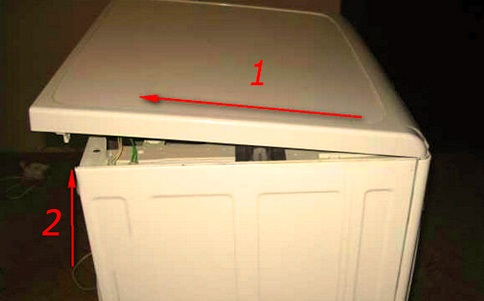
- remove the top cover of the SMA housing;
- remove the back wall of the machine;
- remove the powder receptacle from the washing machine;
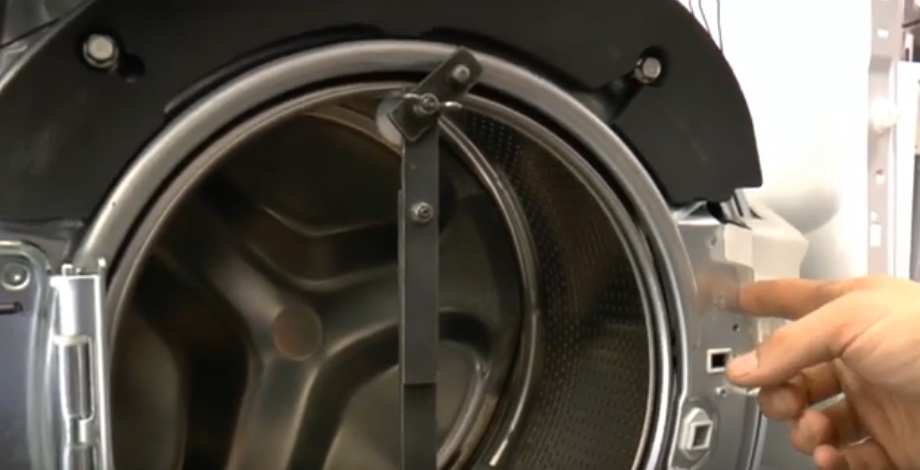
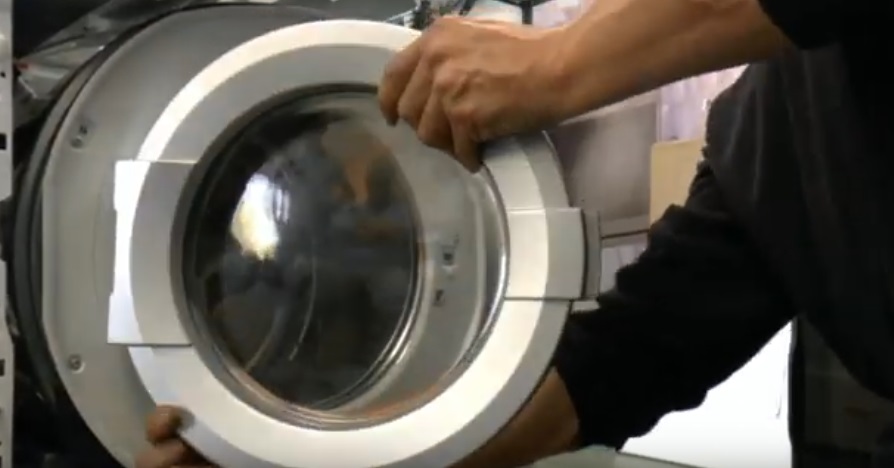
- remove the machine door, first disabling the hatch locking device;
- remove the front wall of the SMA housing;
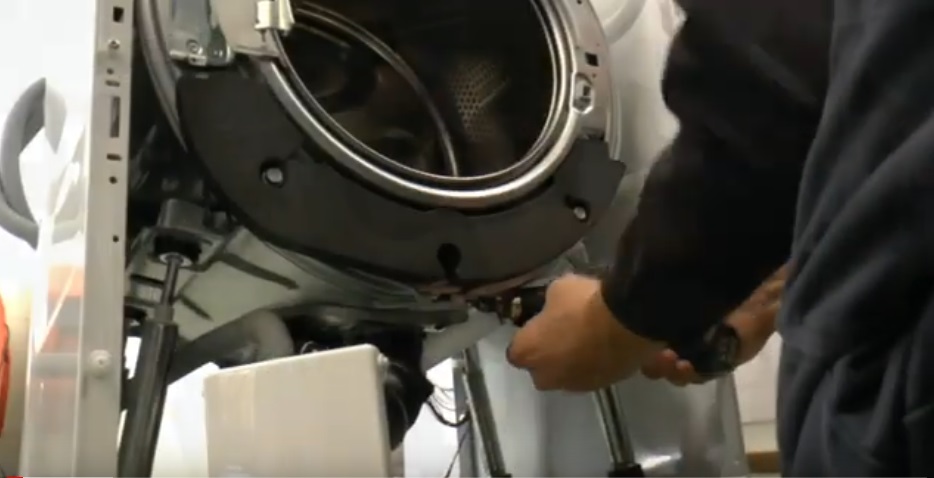
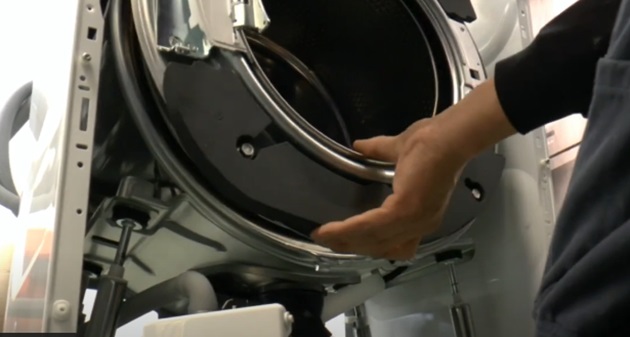
- loosen the clamp regulating the tank, remove the metal ring;
- remove the metal rim with a counterweight located in front of the drum;
- using a spanner and a hammer, remove the bolt securing the pulley;
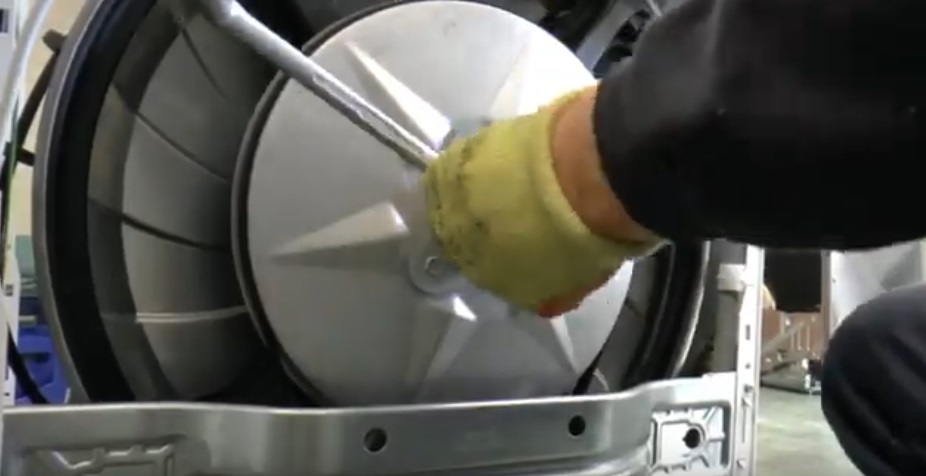
- remove the drive belt;
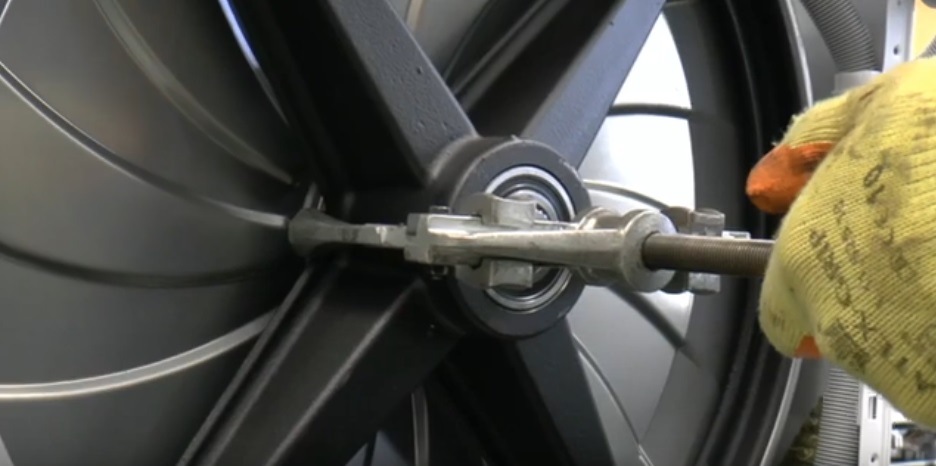
- using a puller, carefully remove the bolt and bearing from the rear of the tank;
To avoid stripping the thread, it is better to put a little lubricant on the nut and the puller itself.
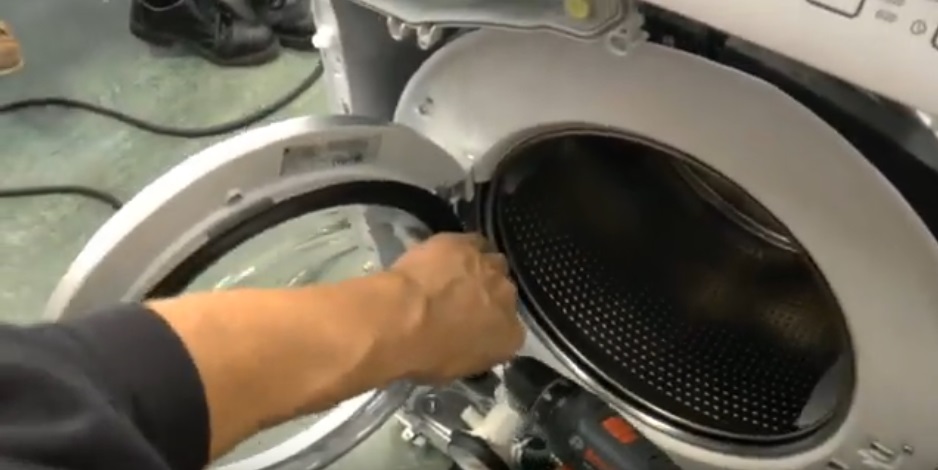
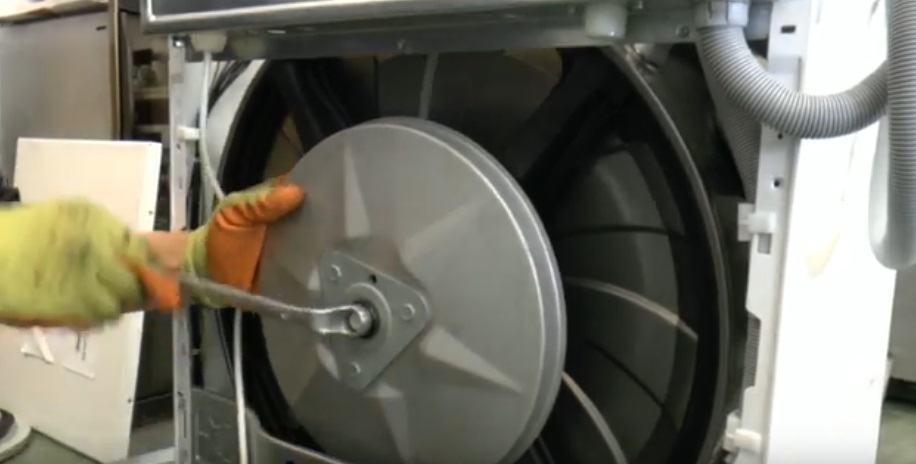
- Once the rear bolt is removed, pull the drum out of the CMA body.
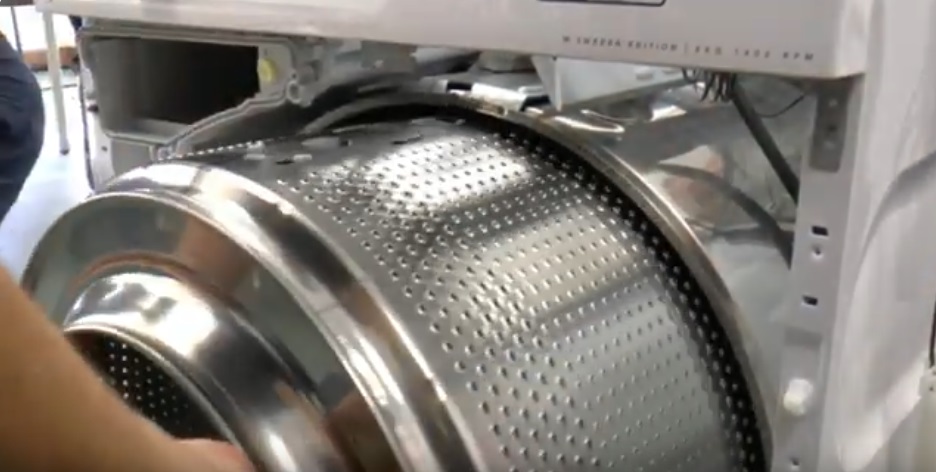
On Asko machines, bearings are changed in a special way. Here you don’t have to “standardly” pull the tank out of the body and divide it into halves. Therefore, there is no need to disconnect the motor, pipes, and wires from the container. This makes things a little easier.
Removing the old and installing a new bearing
Once the drum is removed, the inner bearing will be exposed. It is easier to remove than the rear ring. To begin, use an adjustable wrench to pry up and pull out the metal cover covering the assembly.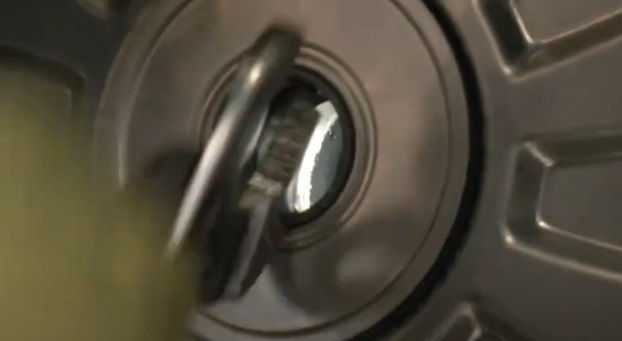
After this, access to the oil seal will open. Remove the rubber seal. Under the gasket is the internal bearing.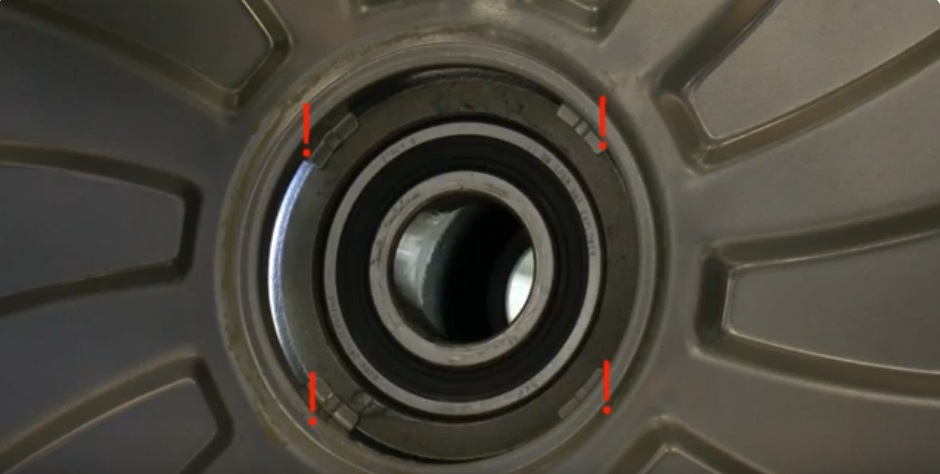
The inner bearing is knocked out with a drift and a hammer from the rear side of the tank. If you cannot remove the ring in this way, use a special tool - a puller.
New bearings and oil seals are purchased for a specific Asko washing machine model.
Before installing new components, it is important to clean the seat from plaque and dirt. You can spray the area with WD-40 spray lubricant. Afterwards the area is wiped with a clean damp cloth.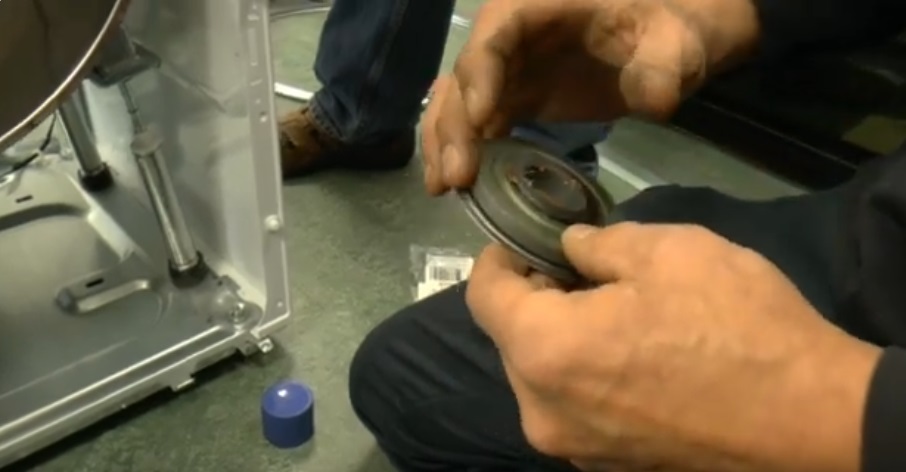
The repair kit for Asko SMA includes bearings, oil seal and lubricant. Liberally lubricate the sealing rubber before installation - this will prevent water from entering the assembly. New metal rings are put in place and lightly tapped with a hammer.
Reassembly nuances
After installing new bearings, you can reassemble the washer. Asco machines have one nuance - after such repairs, a check for the presence of play must be carried out.. You need to make sure that the washing machine tank does not sag.
Next, the same sequence of actions is performed, but in reverse order. The bearing assembly is closed with a metal cover. The drum is put in place. The shaft is first cleaned and a thin layer of bearing grease is applied to it.
Next, the drum pulley is put in place. It is secured with the previously removed bolt and nut. The fastening must be tightened well, but the main thing here is not to overdo it.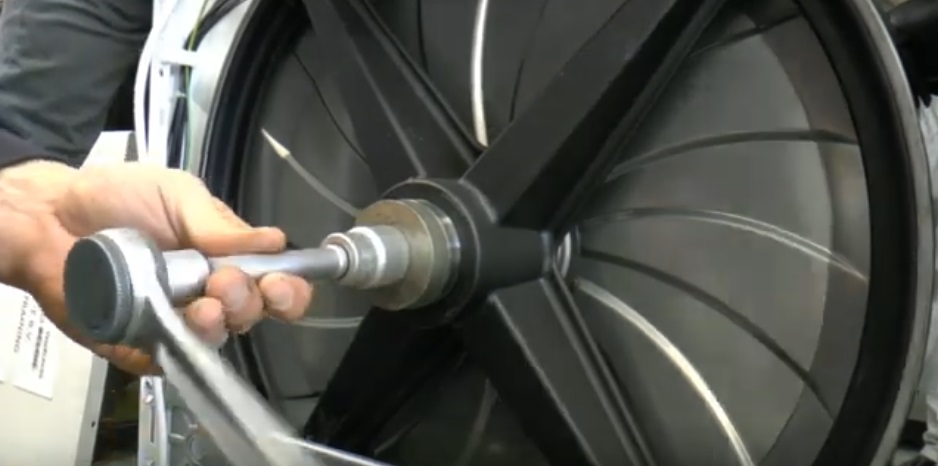
The further algorithm of actions will be as follows:
- pull the drive belt onto the drum and motor pulley;
- if necessary, replace the drum seal;
- replace the front part, in which the drum seal is “hidden”;
- align the position of the loading hatch using a special device;
- return the front rim with counterweight to its place;
- secure the structure with a metal clamp. To tighten the clamp, you need to gently press it with a hammer;
- install the hatch door, secure and connect the locking device;
- return the front panel of the case to its place;
- reinsert the powder receptacle.
Before fully assembling the washing machine body, it is recommended to run a test cycle and check the structure for leaks. Connect the inlet hose; the drain hose can be directed into a basin or bathtub. Select the shortest program, for example Rinse + Spin. Watch the machine carefully so that you can react in time to a leak that opens.
If the cycle proceeds normally, the work of replacing the bearings can be considered completed. Completely assemble the washing machine body, securing the back and top panels. Afterwards, Asko moves to its usual place, connected to water supply and sewerage.
Interesting:


Reader comments
- Share your opinion - leave a comment
Categories
Washing machine repair


For buyers


For users


Dishwasher


Add a comment