How to seal the cuff of a washing machine door
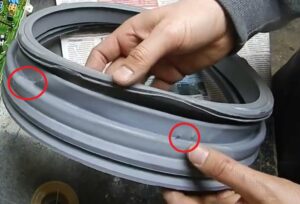 If you accidentally damaged the rubber seal of the washing machine with a sharp object, or your pet simply chewed it through, then under no circumstances should you use the device for washing until you restore this element. Otherwise, you risk flooding the floors and your neighbors, because the “home assistant” will begin to leak during operation.
It is best not to restore the part, but to completely replace it, but this will take a lot of time and money. Therefore, if you want to save your family budget, you should make simple repairs. A beginner will be able to cope with this procedure, because in order to seal the cuff of the washing machine hatch, you can use improvised means that you may have in your home right now.
How and with what to effectively repair the damage?
It should be understood that this recovery method is temporary, because it does not guarantee that the problem will not form in the near future. That is why resorting to this cheap repair is only worthwhile in exceptional cases. Also, for restoration work, you should not try to use inappropriate means, such as ordinary glue, regardless of its quality. In this case, the washing machine will most likely only wash properly once, and then start leaking again. This is due to the fact that extremely hot water and aggressive household chemicals actively destroy glue and other adhesives.
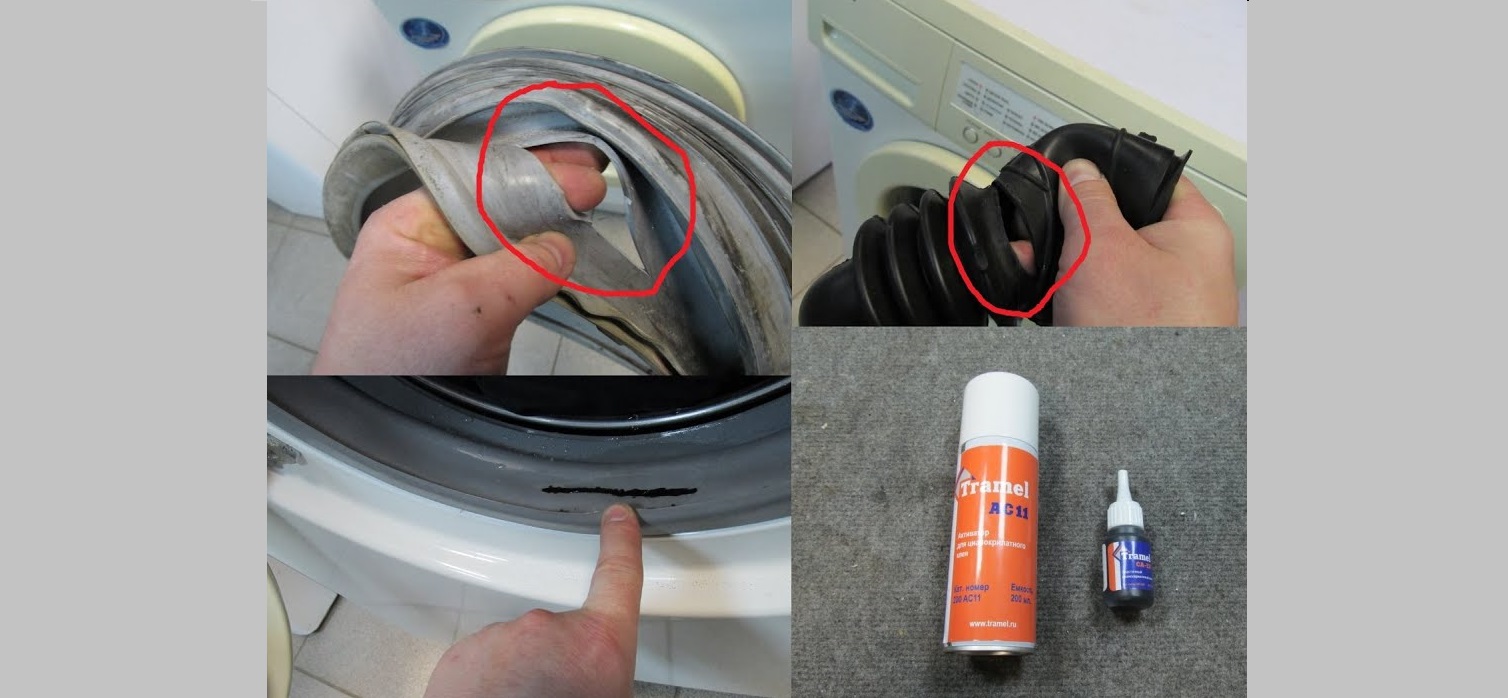
Due to the fact that only high-quality silicone sealant can last in household appliances, it should be used for repairs. We also need a thin curved needle and nylon thread.What to do with the cuff?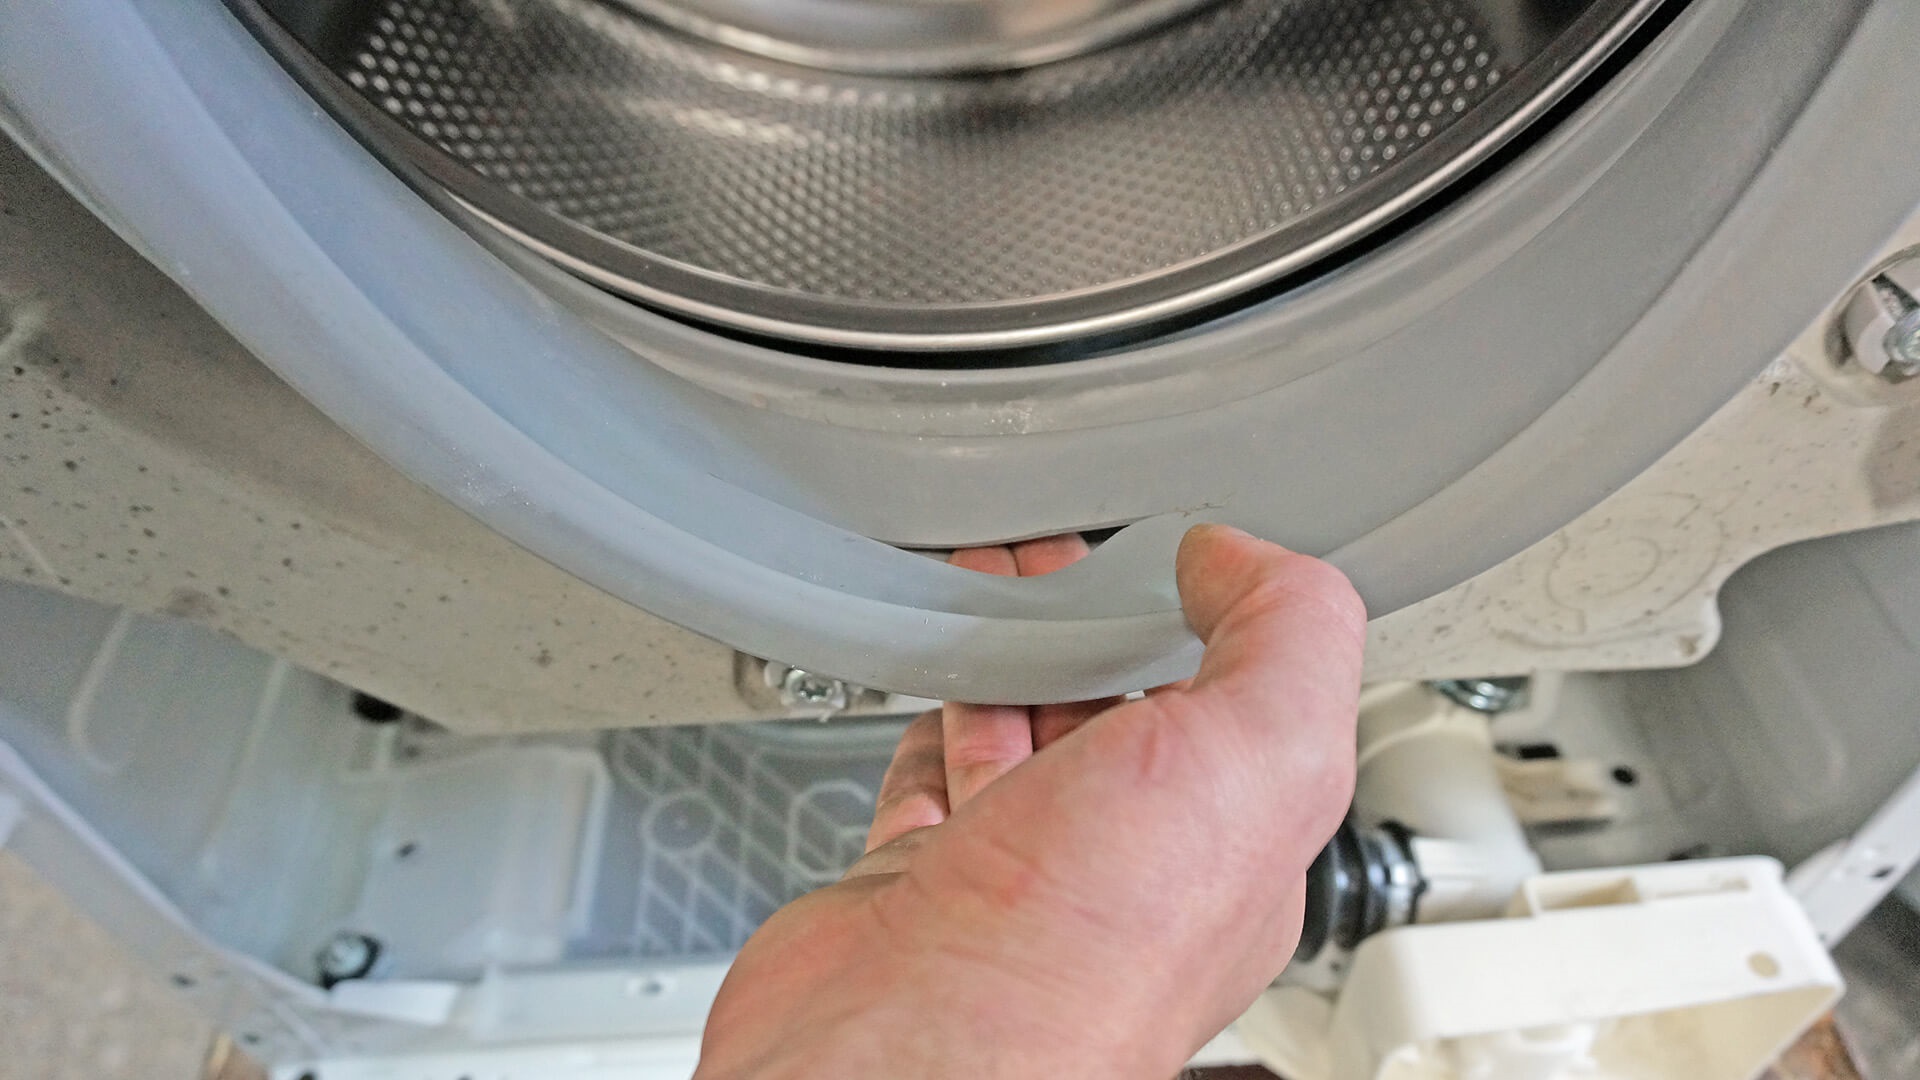
- First, carefully sew up the tear, for which nylon threads are perfect. You need to sew with a football seam.
- Next, coat the joint with Tramel glue.
- Leave the washing machine like this for a day so that the element has time to dry completely.
- Run a test work cycle to evaluate the manipulations performed.
If the wash goes without incident, then the repair was completed successfully. However, this is not a reason to relax, because usually the rubber seal fails about six months after such restoration. Therefore, write down or try to remember the time of scheduled repairs so as not to miss the moment and not suffer from a flood. Treat the cuff with glue twice a year so that the connection does not begin to deteriorate during active use of the SM.
In a situation where you have used Tramel adhesive for repairs, under no circumstances use washing modes in which the appliance heats the water higher than 60 degrees Celsius.
Another significant disadvantage of such repairs is that it is sometimes very difficult to gain access to the damage site. The user may be lucky if the seal breaks at the bottom, but the damaged area may also be in the central groove, which is difficult to reach. If this happens, you will have to remove the cuff from its seat, repair it, and then re-place it in the machine. And if you have to spend time on dismantling and subsequent installation of the element, then it would be much better to immediately buy a new spare part and install it for reliability.
Repair by turning the cuff over
There is another original way to deal with this problem, which is sometimes used by experienced repair service technicians. It is relevant in a situation where the rubber seal is slightly damaged, plus the damaged area is located below. In this case, it is permissible to simply turn the seal over with the damaged side facing up and continue using the washing machine as if nothing had happened. The secret is simple - during washing, the water level almost never reaches the top of the hatch, so a hole in the rubber band cannot interfere with the operation of household appliances.
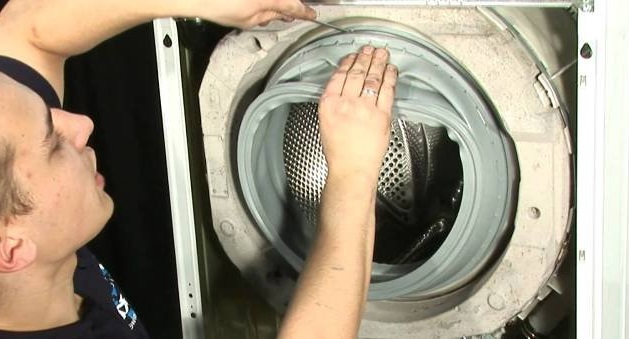
How to properly flip the cuff? It is a mistake to believe that this can be done with brute force, because the rubber seal is securely attached to the “home assistant” with external and internal clamps. That's why they need to be weakened first, which will take some time. How to do this correctly at home?
- Bend the edge of the elastic band at the very wall of the hatch.
- Find a small plastic or metal clamp there, the material of which depends on the model of your automatic transmission.
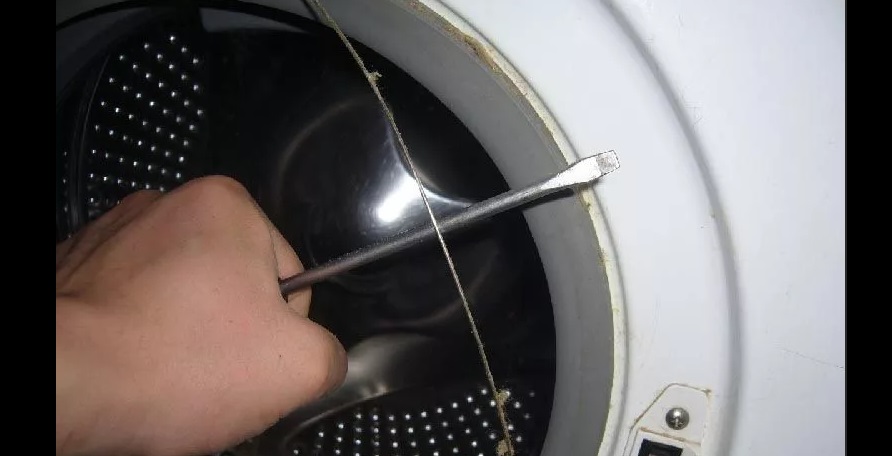
- Pry up the holder with a screwdriver, and then move along it to find the mount.
- Loosen the fasteners and move the clamp to the side.
- Return the cuff to its normal position to find the inner clamp.
It is much easier to remove the internal clamp after dismantling the front panel of the washing machine body, so it is better to remove it first.
- Pry up the clamp with a screwdriver, and then loosen it, but do not remove it, because it will not interfere with turning the rubber band over.
- Rotate the seal so that the hole is at the top.
- Install all the clamps in their places, unscrew the cuff, and also return the front wall of the machine if you removed it earlier.
At this stage, you just have to make sure that the seal fits well into its seat and is securely secured with clamps.Try closing the door of the household appliance - if it closes tightly until it clicks, then everything is in order. Feel free to run any work cycle to make sure that the washer does not leak.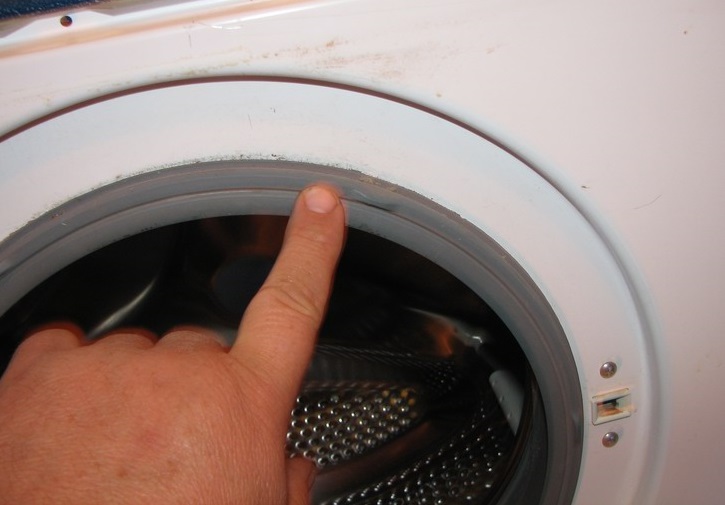
During repairs, do not use sharp objects and be extremely careful not to accidentally damage the cuff further. Also, don't use brute force to flip the element unless you want to completely ruin it. Use safe tools and strictly follow our instructions to restore the functionality of your favorite “home assistant.”
Interesting:


Reader comments
- Share your opinion - leave a comment
Categories
Washing machine repair


For buyers


For users


Dishwasher


Add a comment