Replacing the cuff on a Bosch Maxx 5 washing machine
It is clear that replacing the rubber seal in a washing machine is a procedure that some users may never encounter, while others will change the part once a year. This is due to the fact that usually it is necessary to change the cuff on a Bosch Maxx 5 washing machine either due to the natural wear of the element as a result of active use, or due to the banal carelessness of the user who left a sharp object in the drum.
Regardless of the cause of the damage, it is necessary to change the element without delay, because with a damaged cuff the system will not be airtight, which means that the owner of the “home assistant” risks ruining the floor covering, as well as flooding the neighbors below. We'll tell you how to do it correctly at home.
Let's prepare a new part
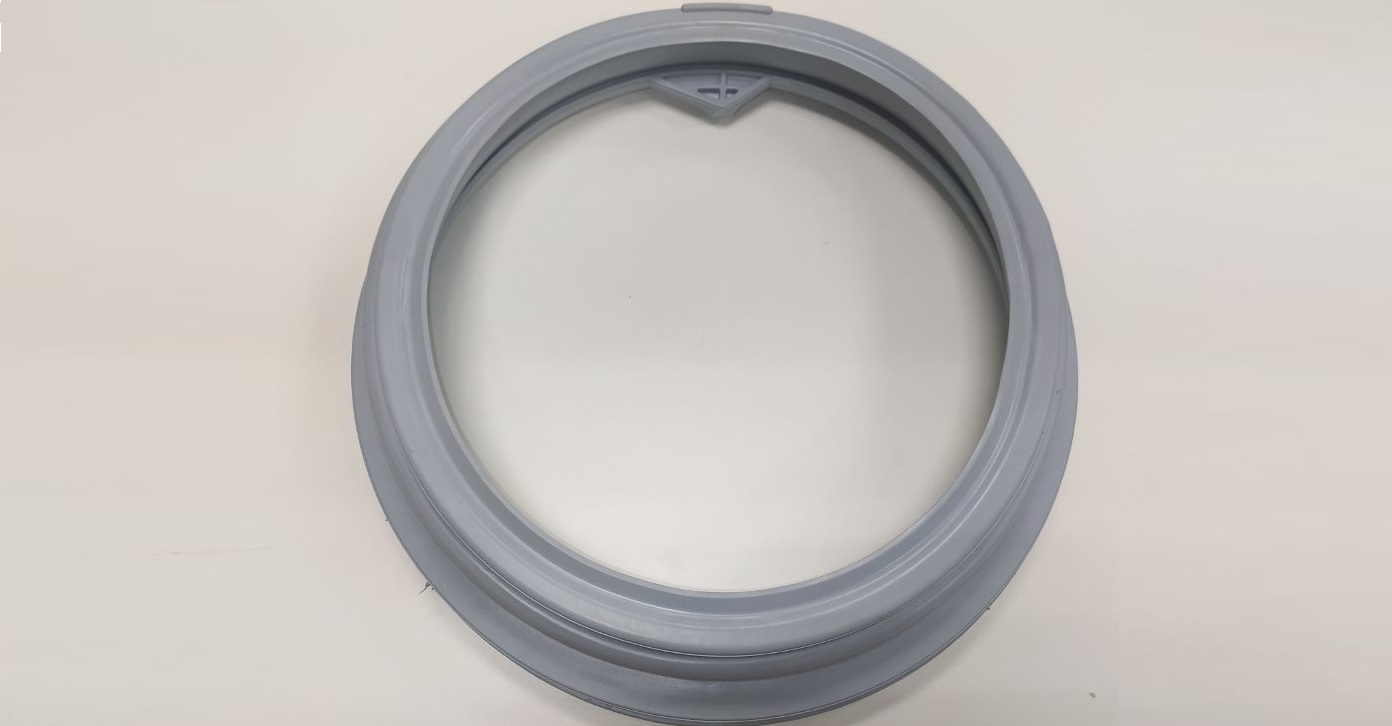
The cuff replacement procedure does not take much time and does not require any special equipment or special skills, so any user can cope with this task. Especially if he follows our detailed instructions. First of all, you need to find and buy a new rubber seal that will ideally fit your household appliances. The easiest way is to remove the damaged cuff and take it to the store as an example.
Be sure to write down the serial number of the rubber seal for your washing machine to make it easier to find a replacement part.
If you don’t have a cuff on your hands, then to make the search process easier, you can tell the sales consultant the name of your Bosch washing machine.The exact model name can be found in the user manual, as well as on the sticker located on top of the SM hatch. It is better to take a photo of the nameplate so that all the necessary information is always at hand.
After purchasing a spare part, you need to prepare a basic set of tools that can be found in any home. It includes only an ordinary minus screwdriver, pliers, and soap and a sponge. Having prepared all this, proceed to dismantling.
Correct removal of the damaged part
The damaged element is very easy to remove if you know the details of the process well. The cuff is fixed in the body using two plastic rings, so to dismantle it you need to remove the outer and inner clamps secured with latches. How to do it?
Disconnect the device from the power supply.
Open the door.
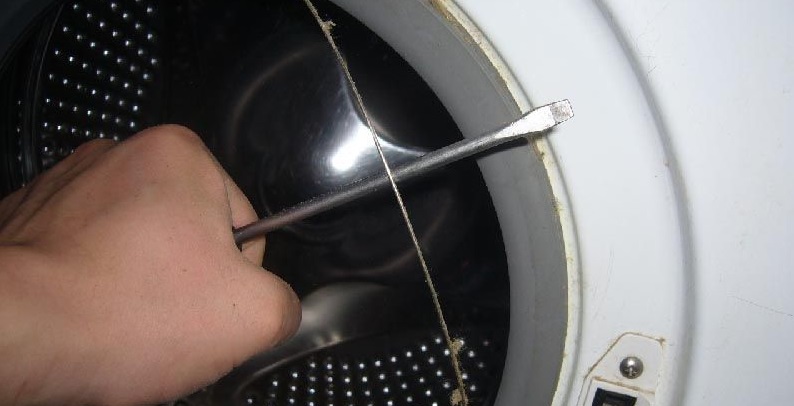
Look for the outer clamp, which in some washing machines is made of plastic.
Using a screwdriver, loosen its latch by engaging the spring and then pulling the ring to the side.
Remove the outer clamp from the washer.
Disconnect the lower decorative panel CM.
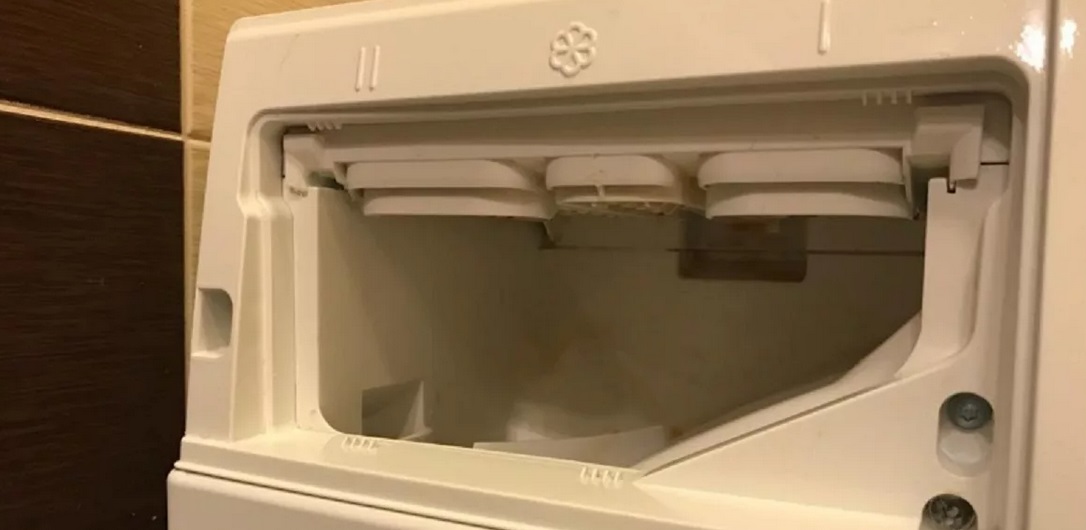
Pull out the powder receptacle.
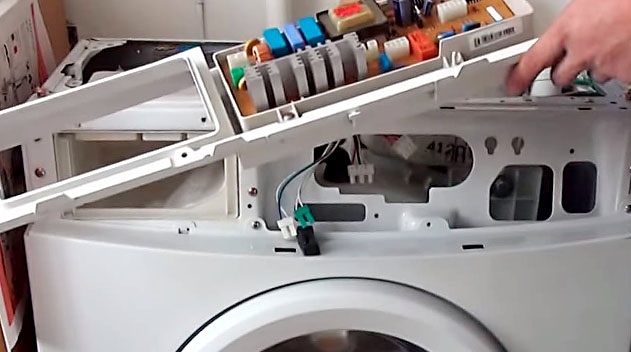
Remove the screws that secure the control panel.
Remove the panel carefully so as not to accidentally disconnect or break the wiring.
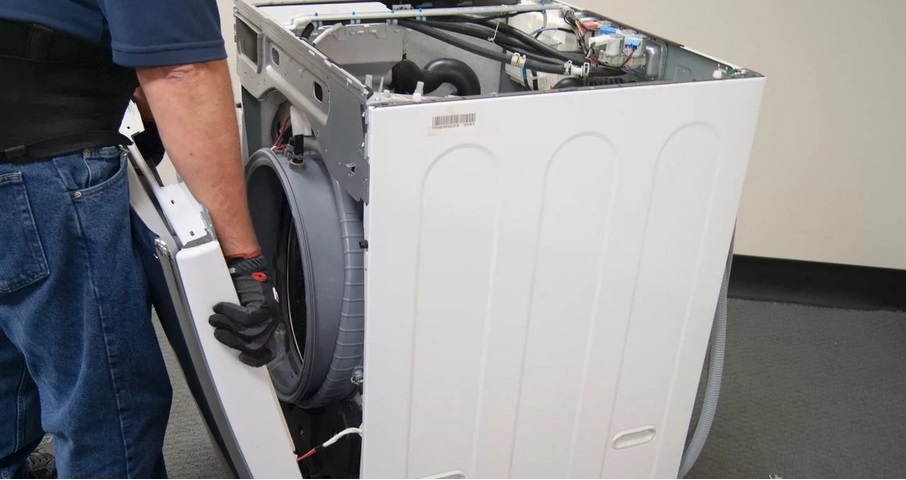
Remove the bolts that secure the front panel of the machine body.
Carefully remove the panel so as not to tear out the wires from the hatch locking device.
Using the same screwdriver, you need to loosen the latch of the internal clamp and remove the ring.
Finally, remove the rubber seal from the housing.
When the item is in your hands, examine it carefully. This will help you understand the cause of the damage in order to prevent such a situation from occurring in the future.After the analysis, you need to start replacing the cuff.
We stretch a new rubber band
Unlike the previous stage of dismantling, this may cause some difficulties for beginners. This is due to the fact that installing a new cuff is much more difficult than dismantling a damaged one. Firstly, you need to be careful not to accidentally damage the part, and secondly, you need to use much more force in order to place the rubber seal in the seat. What should I do for this?
First, wash the groove thoroughly with a sponge and soap. This will eliminate all dirt and foreign objects that may have gotten there. In this case, there is no need to remove the soap solution later, because the foam will simplify the installation of the rubber element.
Look for the mounting mark on the new spare part.
Connect this icon on an elastic band with the pictogram on the body of the washing machine.
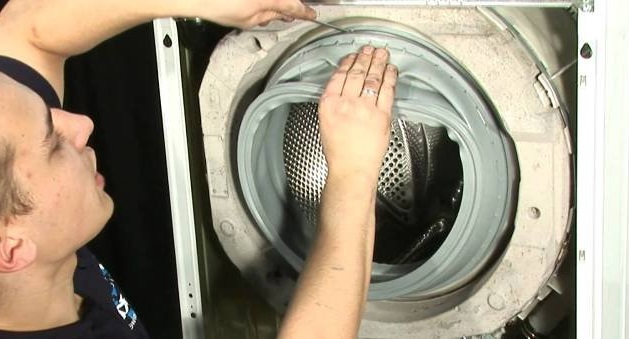
Place the cuff in the recess prepared for it.
Pull the rubber seal around the circumference of the seat.
Reinstall the inner clamp to secure the part.
Return the front wall of the SM, the instrument panel, the cuvette for household chemicals, and the lower decorative panel.
Place the outer edge of the elastic on the lip of the drum.
Finally, position the outer retaining clamp so that the ring spring is facing down.
After this, the “home assistant” will be restored and ready for fruitful work. Run a test run and monitor it closely to ensure the system is sealed. Any short program, such as Rinse, works well for this. If the operating cycle goes through without any problems, then the repair is completed successfully.
What causes the sunroof rubber to deteriorate?
Of course, replacing a cuff takes no more than an hour, even taking into account the time spent going for a spare part. However, it is better to avoid frequent disassembly of the equipment, especially since the rubber seal can last as long as the washing machine itself - about 10-15 years. Therefore, it is better to take care of this element, like any other component of household appliances. To do this, it is worth knowing the main causes of cuff damage.
Excessive friction. If you regularly exceed the maximum permissible load of the drum, the laundry compacted in the container will begin to rub against the pad more strongly. Buttons with rivets on clothes, which will scratch the elastic, will also have a detrimental effect.
Cheap household chemicals. If you use low-quality detergents with an aggressive composition, then not only the cuff will wear out much faster, but also other rubber parts of the SM.
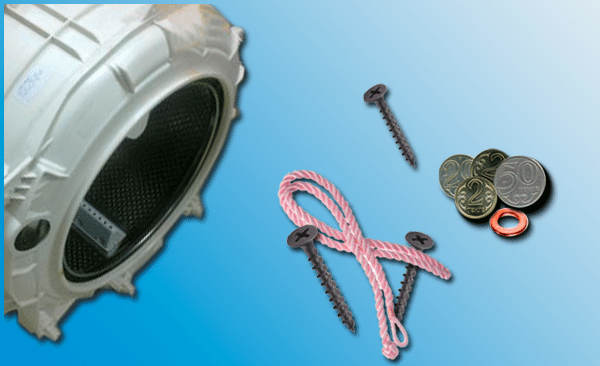
Sharp foreign objects. Housewives often forget items in their pockets that could damage the “home assistant.” These can be coins, keys, hairpins, paper clips and much more.
It is better to wash your underwear in special laundry bags so that the underwires of your bras cannot damage the rubber seal.
Errors during cuff replacement. Also, the element is often damaged during replacement; for example, the user may accidentally scratch the part with a screwdriver. This is why you should be very careful when installing the spare part into its seat.
Pets. Due to the fact that the machine must be left open for several hours after any work cycle, it can become a target for a cat or dog, which can easily scratch or chew the rubber part.
Errors while loading clothes.If you load and unload laundry from the drum too roughly, you can accidentally break the integrity of the rather fragile elastic band.
Mold. Finally, failure of the cuff is possible due to the formation of mold and mildew on it. They may appear due to violation of ventilation recommendations and cleaning the machine after every wash.
As you can see, the rubber part can deteriorate due to many reasons, so you should handle the “home assistant” very carefully so that it does not fail prematurely. Following standard precautions will extend the life of the cuff and the washing machine itself, not even by months, but by years. Therefore, if you notice the first signs of damage to the rubber seal, then you should begin repairs as quickly as possible in order to prevent more serious consequences and waste of money.
 It is clear that replacing the rubber seal in a washing machine is a procedure that some users may never encounter, while others will change the part once a year. This is due to the fact that usually it is necessary to change the cuff on a Bosch Maxx 5 washing machine either due to the natural wear of the element as a result of active use, or due to the banal carelessness of the user who left a sharp object in the drum.
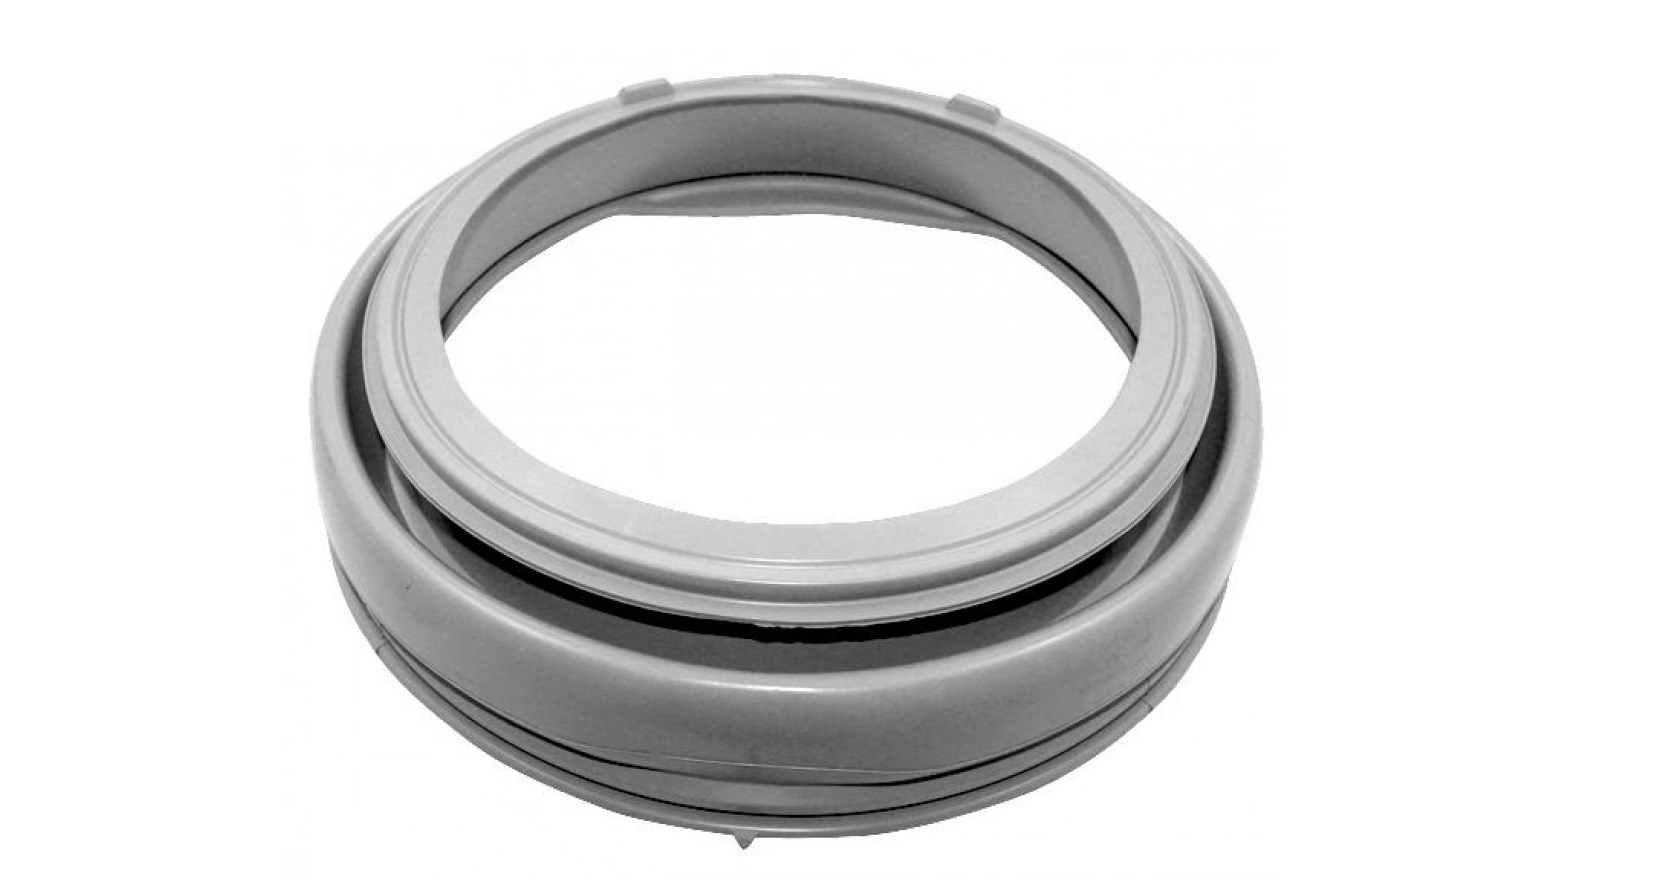


Add a comment