How to choose a cuff for a washing machine?
 The tightness of the drum is ensured by a sealing rubber band, which “seizes” when the door is closed and prevents water from leaking out of the tank during washing. But if you use it carelessly, if solid objects get into the machine and mold appears, the rubber can be damaged. As a result, a crack or hole appears, and with it a leak. Operating a leaking machine is dangerous. You need to immediately select a cuff for the washing machine hatch and replace the elastic band.
How to buy the right part?
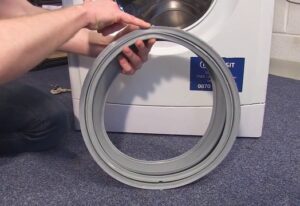
To replace the cuff on a washing machine, you must first select and buy a new rubber band. It is quite easy to make a mistake in selecting an analogue, especially if you have no experience in repairing household appliances. The ideal option is to remove the old seal, bring it to the store and ask the consultant to find a replacement based on the sample.
The replacement cuff is selected taking into account the serial number of the washing machine model!
If you have any problems dismantling the cuff, you can order it remotely through the online store. The main thing is to accurately indicate the serial number of the washing machine and choose only verified sites. True, in this case there is a high risk of making a mistake and getting a part that is the wrong size.
The third option is to buy a cuff in a store, focusing on the labeling of the washing machine. You can find all the information about the machine on the “nameplate” pasted on the back of the hatch. The year of manufacture, series and model number must be provided here. All you have to do is take a photo of the label and show it to the manager. In addition to the cuff itself, several tools will be required to restore the seal of the machine.We are talking about a slotted screwdriver and pliers. To tighten the elastic, you will also need soap and a dish sponge. Is everything collected? Then we begin the repair.
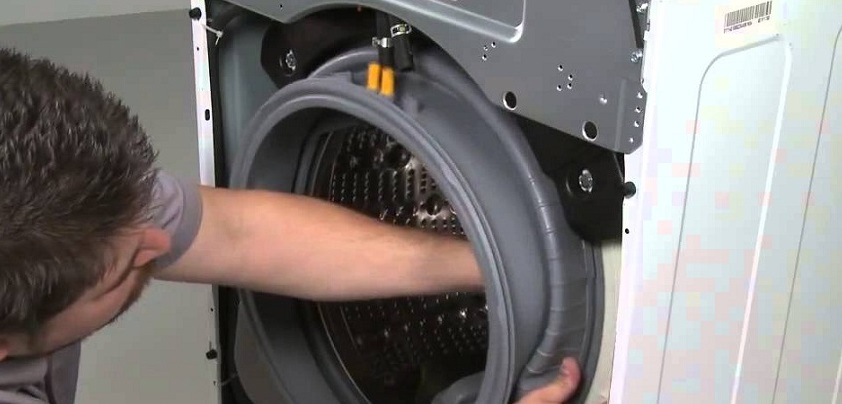
Removing a damaged rubber band
To install a new cuff, you will first have to remove the old one. Removing the seal is a fairly simple procedure that can be easily done on your own. You just need to loosen two “rings”: the outer and inner clamps. The procedure is as follows:
- make sure that the washing machine is disconnected from communications;
- open the hatch door;
- feel for the outer clamp (depending on the model, it will be plastic or metal);
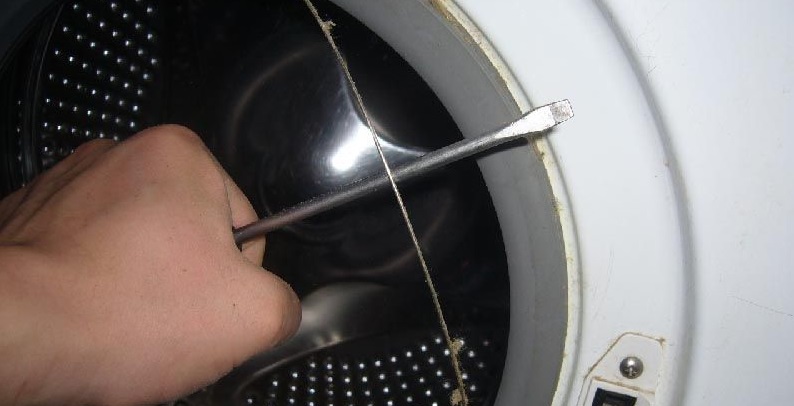
- hook the “spring” of the clamp with a screwdriver, pull the clamp towards you, loosening the structure;
- get the ring;
- pry off the false panel of the technical hatch with a screwdriver;
- remove the powder receptacle by pulling it towards you;
- unscrew the bolts holding the front panel of the machine;
- disable UBL;
- remove the end to the side;
- remove the inner clamp in the same way as the outer one;
- pull the released cuff off the grooves.
You cannot operate a washing machine with a damaged cuff - the drum will leak, creating a threat to residents and property.
It is recommended to carefully inspect the removed seal to determine the cause of premature wear. In this case, you can “work on the mistakes” and extend the service life of the new cuff. The next step is to replace the rubber band.
We install a new part
Returning the cuff to the washing machine is many times more difficult than removing it. It takes a lot of strength and patience to pull a tight elastic band onto the drum. But even a “newbie” can cope with the task; the main thing is to act strictly according to the instructions. The scheme is as follows:
- we clean the seat - the grooves on the drum, removing debris and generously soaping the entire surface;
- do not wash off the foam, but leave it for easy stretching;
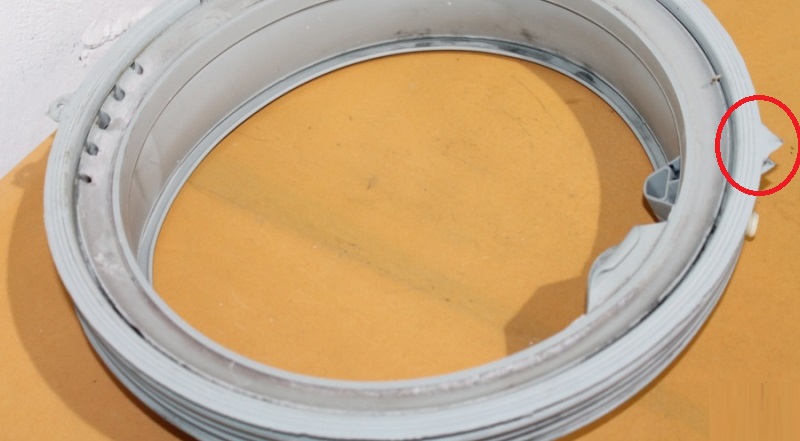
- find the mounting marks on the elastic band;
- We are looking for similar “cuts” on the machine body;
- put the gasket in the groove;
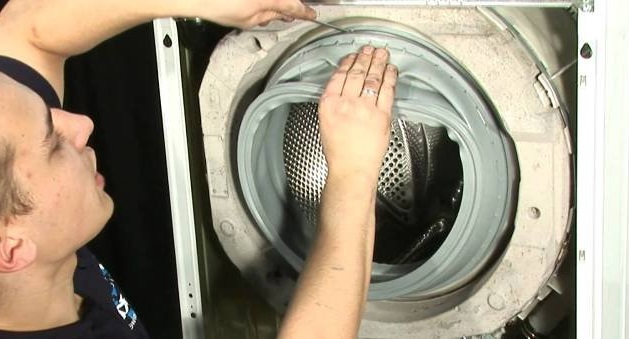
- pull the cuff onto the drum;
- fix the inner clamp;
- we return the front panel of the machine to its place by tightening the previously removed bolts;
- insert the powder receptacle into the washing machine, snap the technical false panel into place;
- put the cuff on the protrusion of the drum;
- tighten the outer clamp, placing it with the spring down.
The new cuff is fixed on the drum strictly according to the mounting marks provided on the elastic band and the machine body!
If everything is done correctly, the new cuff will fit tightly onto the drum. The next step is to check the quality of the repairs. We connect the washing machine to the communications, start the “Rinse” mode and monitor the hatch door. During the test cycle, you cannot leave the machine - if there is a leak, you will need to stop the program and collect the water.
What happened to the cuff?
Before installing a new cuff, you should deal with the old one. It is recommended to inspect the damaged rubber band and understand the reason for its premature wear. Practice shows that a rubber seal can last 10-15 years trouble-free. You just need to handle the equipment carefully and remember about “prevention”. The hatch cuff on a washing machine breaks prematurely for obvious reasons. Thus, inaccurate closing of the door, poor-quality detergents, foreign objects entering the tank and imbalance have a negative impact on the rubber band. Let's look at each point separately.
- Sloppy repairs. When replacing the cuff or other adjacent elements, you can accidentally damage the elastic by cutting it with a knife or piercing it with a screwdriver.It is important to be as careful as possible here - the part is very vulnerable.
- Unsuitable cleaning agents. Powders, cleaners and gels with aggressive components can “corrode” the rubber components of the washing machine, including the hatch seal. Especially if the user turns to “folk” recipes, does not follow the dosage and proportions, does not read the instructions on the packaging and does not take into account the manufacturer’s recommendations.
- Imbalance. Consistently exceeding the recommended maximum load weight will cause the drum to become unbalanced. The cylinder will begin to “knock” on the body, which will cause the cuff to wear out and deteriorate.
- Increased friction. When there is too much laundry in the drum, the clothes begin to rub against the cuff too much. If things have “prickly” decor, buttons, or thorns, then the elastic band may break.
- Foreign objects. It’s worse if objects that are really dangerous for the cuff get into the drum - keys, hairpins, bra underwires. When the cylinder rotates, they cling to the rubber band and damage the material.
- Careless operation. It is important to carefully load and unload the drum.
- Mold. Due to high humidity and untimely cleaning, the fungus quickly grows and “eats” the rubber.
- Pets. Pets left unattended may sharpen their claws on the cuff or chew through it.
The cuff is easier to maintain than to replace. But if the drum is already leaking, then there is no choice - remove the old rubber band and install a new one as soon as possible.
Interesting:


Reader comments
- Share your opinion - leave a comment
Categories
Washing machine repair


For buyers


For users


Dishwasher


Add a comment