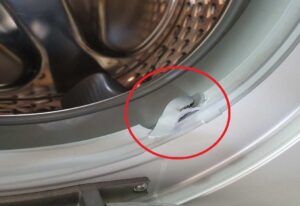
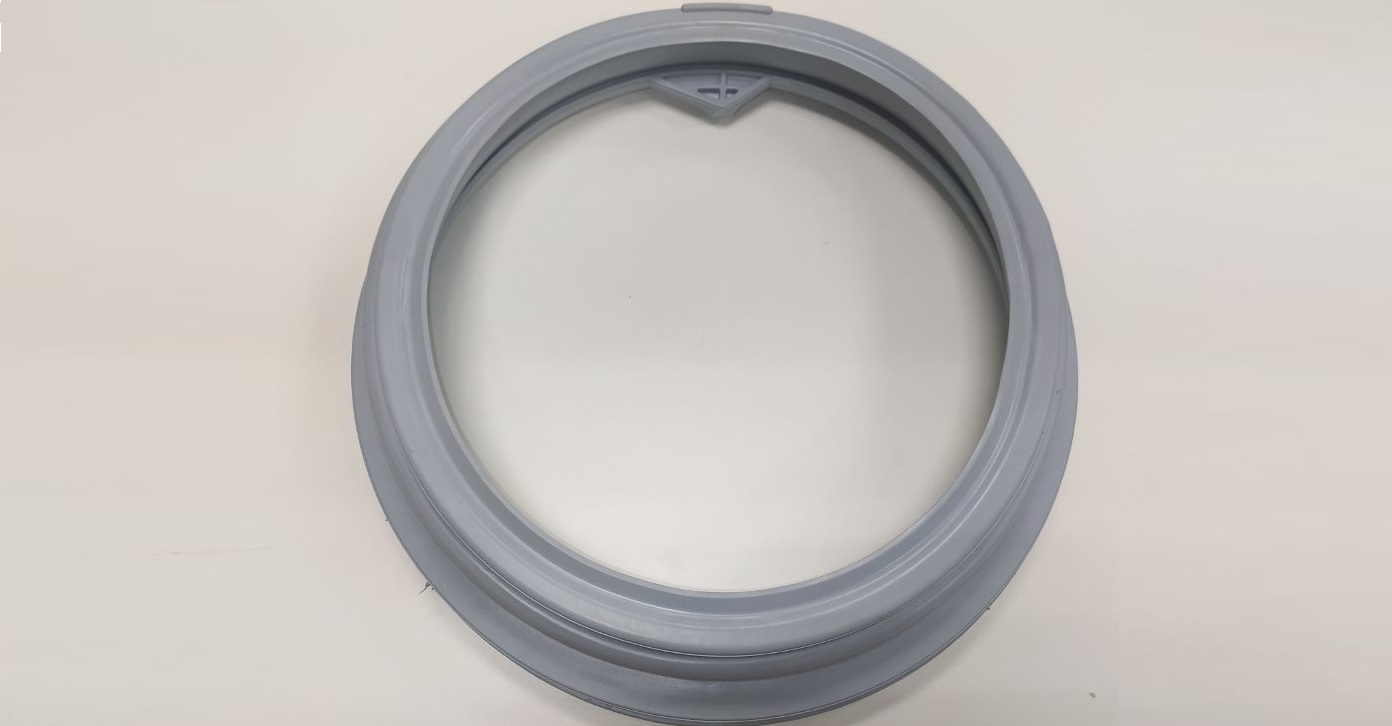
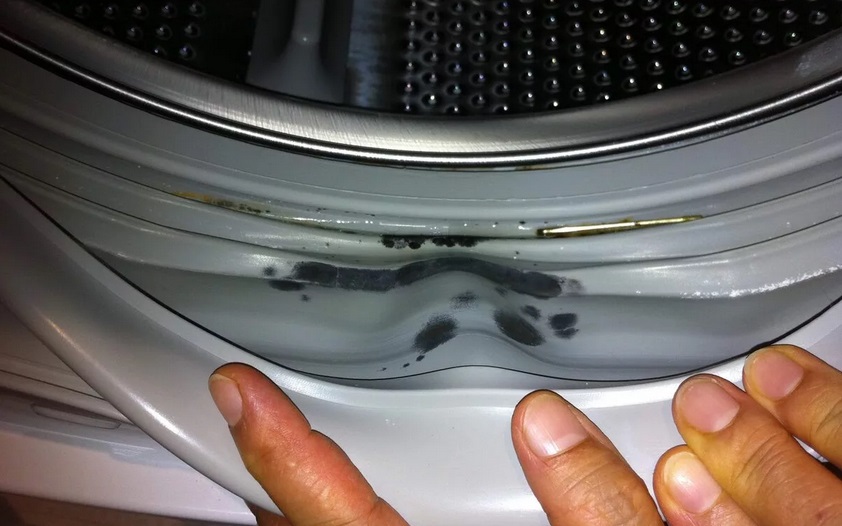
The cuff in the washing machine between the drum and the door is torn
If the rubber band in the washing machine between the drum and the door breaks, you need to fix the problem as quickly as possible. Otherwise, each wash will be accompanied by a leak - water will pour out from under the hatch door. You can deal with this problem yourself without contacting a service center.
What should you do if you find a hole in your cuff? Of course, the ideal option is to immediately replace the rubber band. If this is not possible, at least turn the seal over so that the “hole” is on top. Let's look into the nuances.
Just flip the rubber band over
When there is temporarily no money for a full repair with replacement of components (buying a new cuff will cost $10-30, depending on the SMA model), you can simply turn the elastic band over. If you position the seal so that the defect is on top, then water will stop pouring out from under the hatch door. Let's figure out how to do this.
To turn the rubber seal over, you must:
turn off the power to the washing machine;
open the drum door;
feel for the outer clamp holding the rubber band;
Having dealt with the spring, pull the clamp out of the body;
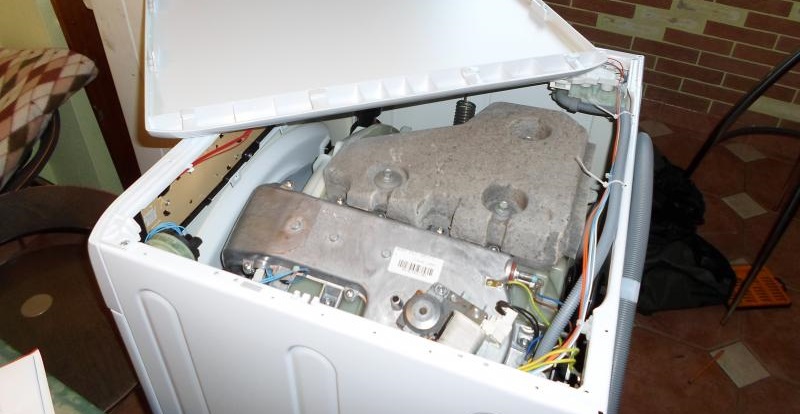
remove the top cover of the washing machine (by unscrewing the two screws located at the back);
find the internal clamp that secures the rubber gasket (you can feel it by sticking your hand between the front wall of the machine and the tank);
Having dealt with the latch, pull out the second clamp;
remove the drum cuff;
put the seal back, turning it upside down.
After such a revolution, the drain holes will be on top, and water will be retained in the rubber band.Therefore, it is necessary to make similar holes at the bottom of the seal so that the liquid flows into the tank, and from there into the sewer.
Turn the rubber seal over and secure it with clamps.
First, the inner metal ring is put in place, then the outer one. After completing the repair, run a test wash and observe the operation of the washing machine. Water should stop leaking from under the door - since the seal defect will now be located above the liquid level in the tank.
The option of turning the seal over is not possible on all washing machines. For example, this “trick” will not work with most Bosch models. And of course, this method can only be used as a temporary measure.
Replacing a damaged part
Of course, the ideal option is to immediately replace the damaged cuff. There will be no problems with purchasing components - rubber seals for all modern washing machines are on sale. If you have a rare model, you can pick up a spare part on the Aliexpress website.
When replacing the rubber seal, you must have on hand:
slotted screwdriver;
pliers;
damp cloth;
soap.
Some craftsmen change the rubber seal of the drum by removing the front and top panels of the automatic machine. However, you can repair the washing machine in a simpler way - without disassembling the body at all.
We will tell you what the algorithm of actions will be in this case. First of all, you need to turn off the power to the automatic machine. Further:
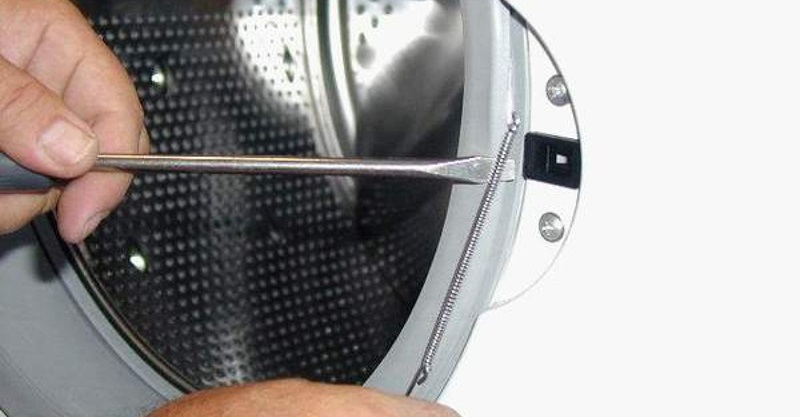
Use a screwdriver to pry out the spring of the outer clamp and remove the metal rim;
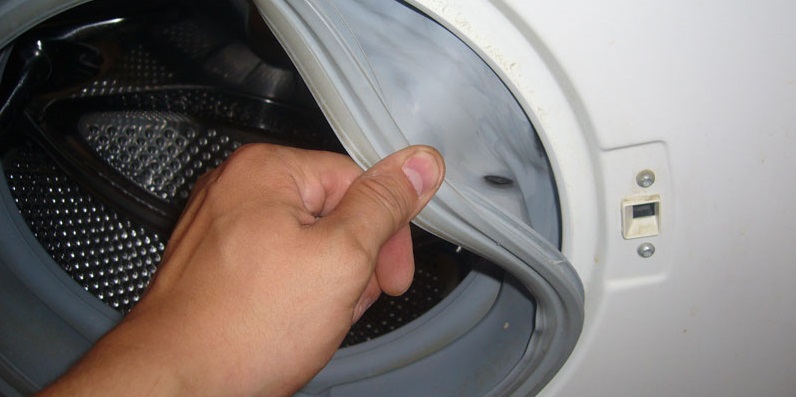
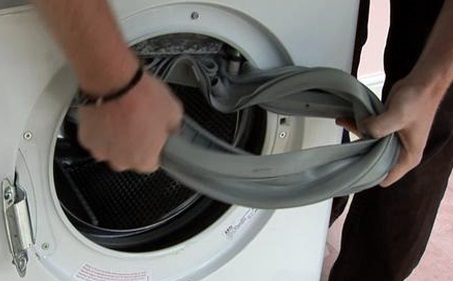
unhook the sealing rubber from the front wall of the housing and tuck it inside the drum;
carefully pull out the damaged seal along with the internal clamp (the metal ring easily changes shape, so it will not be difficult to get it through the hatch);
clean the recess where the cuff lay with a damp cloth (you need to remove all the dirt accumulated in the grooves).
Some SMA models (for example, Bosch brand) have a drain pipe connected to the cuff to drain water. It needs to be disconnected from the elastic band. Otherwise, the tube will interfere with the removal of the seal.
Treat the protruding part of the new cuff with liquid soap - this will make it easier to install the seal.
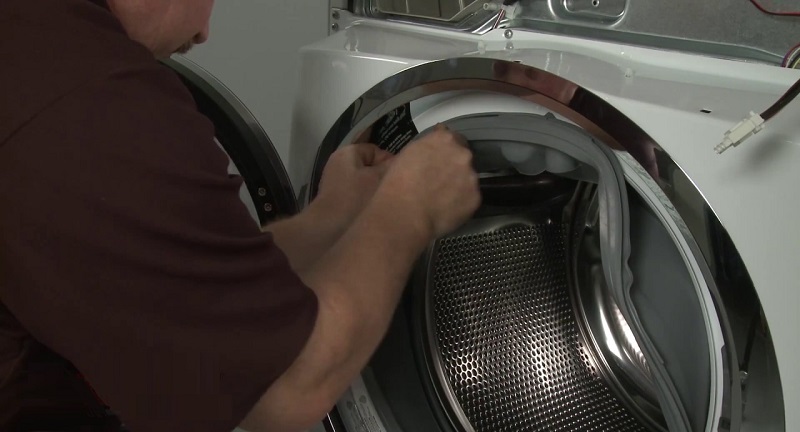
Next, you can put the seal in place. The rubber band is inserted so that the drain holes provided on it are at the bottom. Also, the location for connecting the pipe must coincide with its location.
Having installed the cuff inside, return the “distant” clamp to its place. Then you can stretch the elastic band over the front of the body. At the end, an external fixing ring is placed.
It will be very difficult to replace the inner clamp alone without disassembling the housing. Therefore, you will have to invite a member of the household to help. One should hold the seal, and the second should snap the rim.
If you have difficulty pulling the elastic onto the body, wipe it with a soapy sponge. This will make the seal installation process easier. After finishing the repair, run a test wash and observe how the machine operates.
To prevent the new cuff from quickly failing, you should follow the basic rules for using the SMA. Defects in the seal usually appear for the following reasons:
improper loading/unloading of laundry;
foreign objects forgotten in clothing pockets;
damage to the elastic band by metal fittings of things;
pinching of laundry between the seal and the hatch door;
use of aggressive detergents;
mold that forms on the elastic due to excessive humidity;
pets that can chew through the seal.
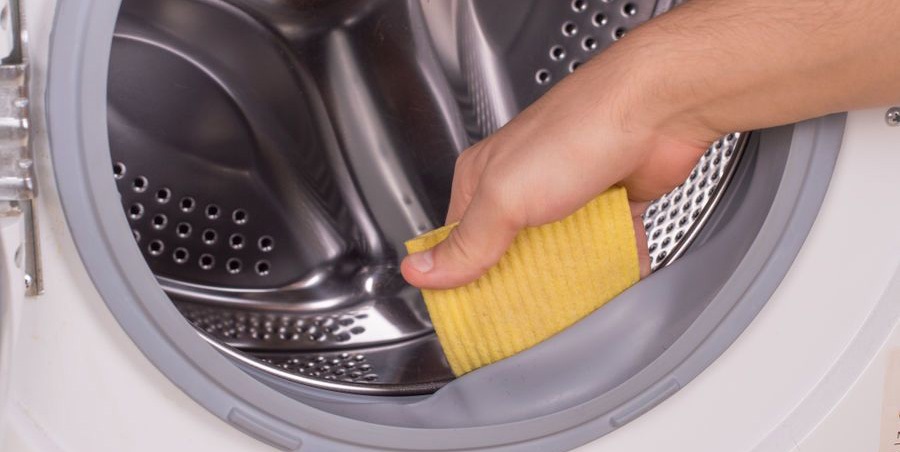
Therefore, in order for the new cuff to serve as long as possible, unload things from the machine carefully, make sure that no foreign objects remain in your clothing pockets, and choose only high-quality detergents. It is also important to wipe the seal dry after each use of the washing machine and leave the hatch door slightly open for ventilation.
 If the rubber band in the washing machine between the drum and the door breaks, you need to fix the problem as quickly as possible. Otherwise, each wash will be accompanied by a leak - water will pour out from under the hatch door. You can deal with this problem yourself without contacting a service center.
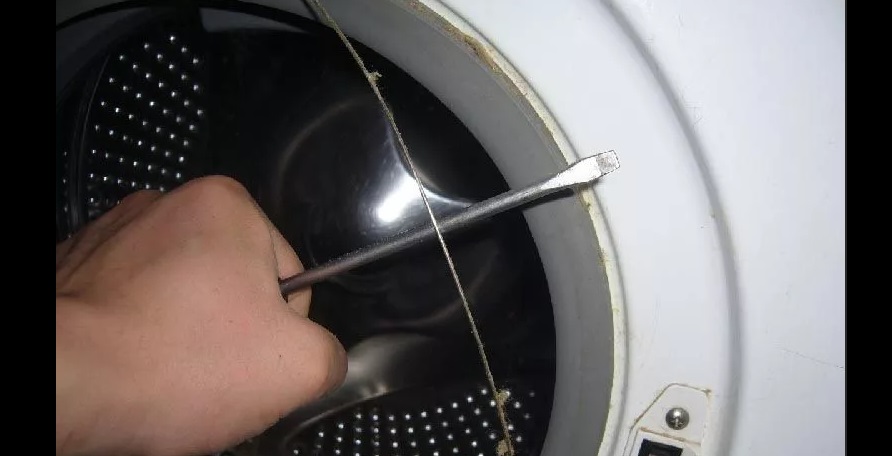


Add a comment