How to change the cuff in a Candy washing machine?
 Replacing the hatch cuff of a Candy washing machine may be necessary for various reasons. Sometimes this is natural wear and tear, in some cases the elastic is damaged due to the fault of the user. For example, when unloading laundry carelessly or due to sharp objects caught in the washing machine drum.
A leaky cuff should be changed as quickly as possible. The system ceases to be airtight, and this is fraught with serious leaks. Let's figure out how to dismantle the old one and install a new seal with our own hands.
Finding a replacement for the damaged cuff
Changing the cuff yourself is not difficult - even a beginner can cope with this task. It is important to purchase the correct rubber band for your washing machine. It is recommended to dismantle the old seal and take it with you to the store. Then the consultant will help you select a spare part that is completely similar to the one removed.
When buying a new cuff, be sure to tell the seller the license plate number (part number) of the seal.
When it is not possible to get the old cuff, tell the seller the model and serial number of SMA Kandy. This data is in the instructions for the machine, as well as on the nameplate (information sticker located above the hatch). It is advisable to photograph the entire factory mark and show it to the consultant.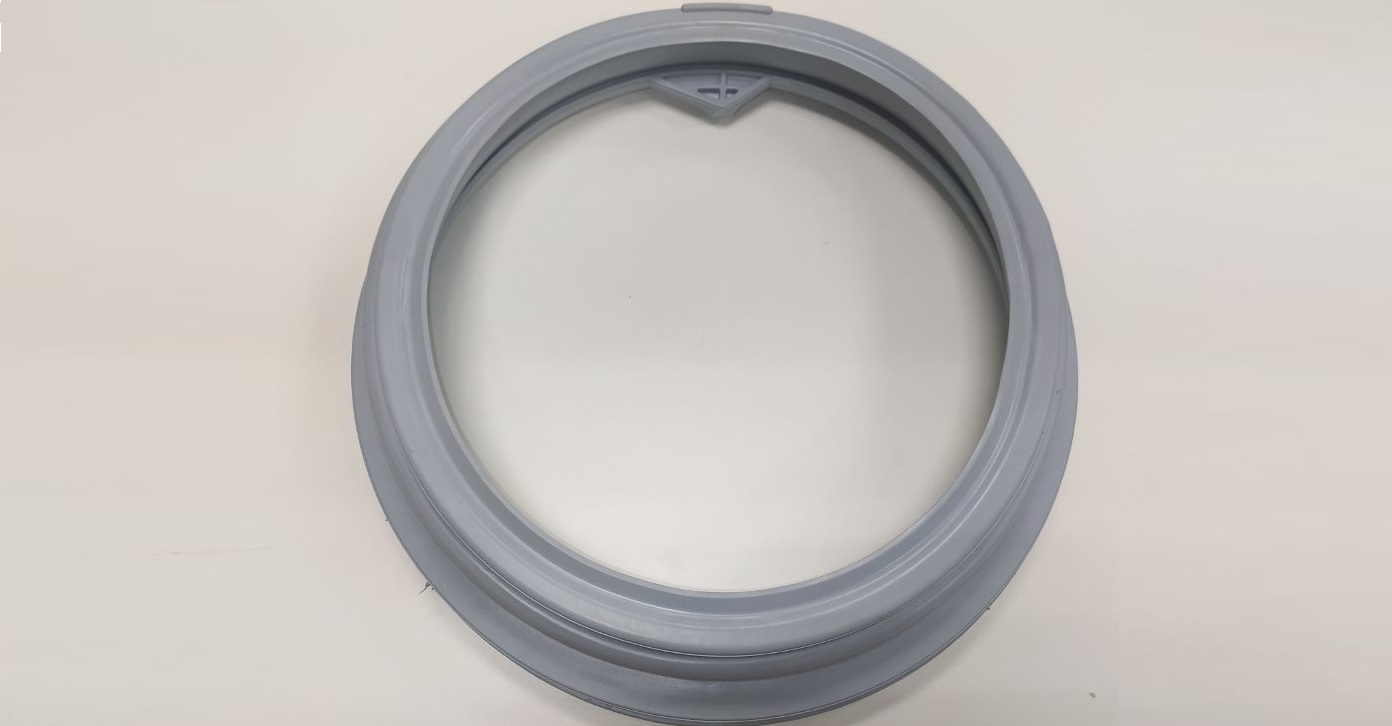
When replacing the sealing collar, you will need a minimal set of tools. This is a minus screwdriver and pliers. You also need to prepare soap and a sponge. Next, you can begin repairing the automatic Candy machine.
Removing the torn cuff
Let's figure out how to properly dismantle a damaged rubber band. It is fixed in the body with two plastic rings.To remove the outer and inner clamp, you will have to deal with the latches. You should proceed like this: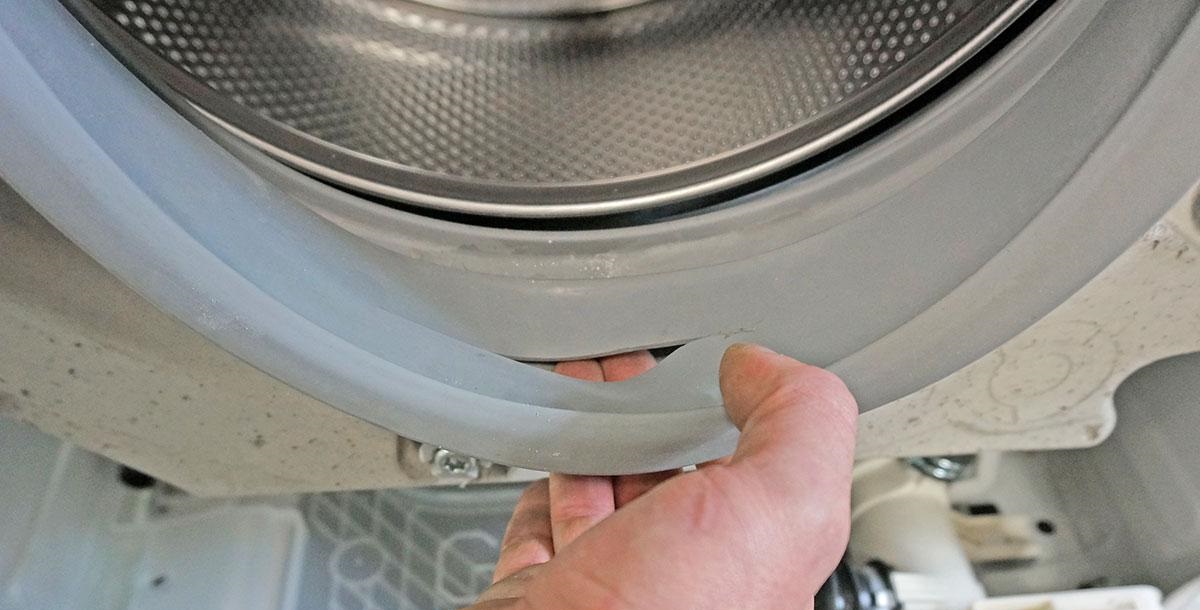
- turn off the power to the washing machine;
- open the hatch door to the maximum;
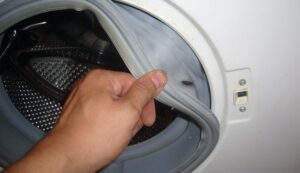
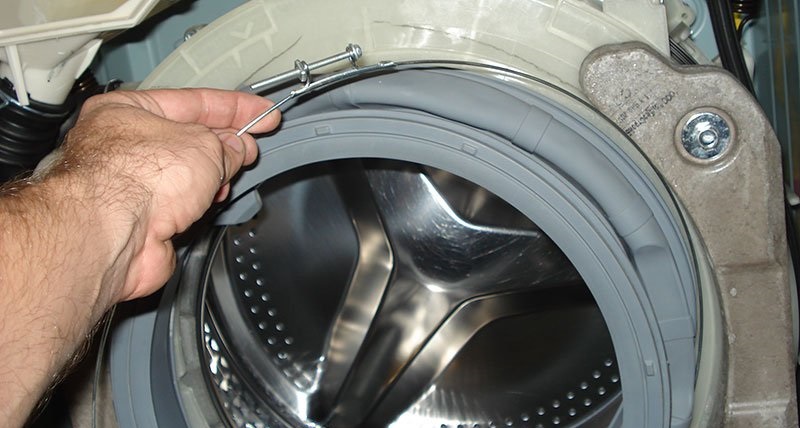
- feel for the outer clamp that secures the cuff (for Kandy machines it is plastic);
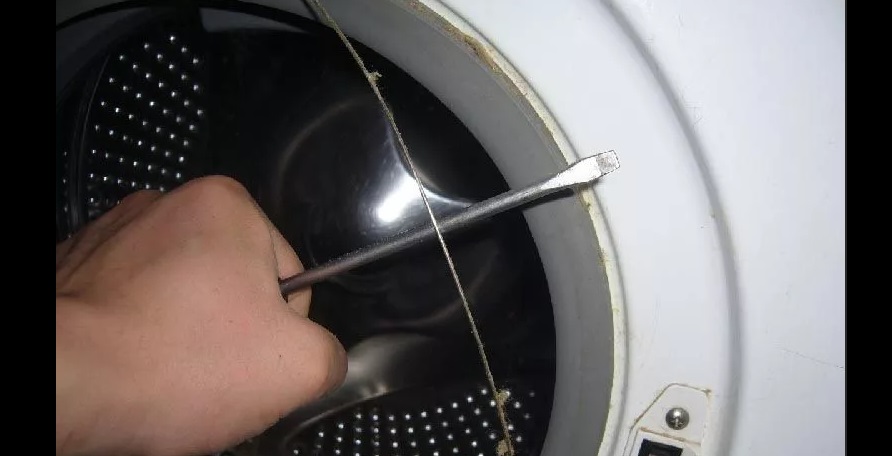
- use a screwdriver to loosen the clamp latch (you need to hook the “spring” and pull the ring to the side);
- pull out the outer clamp from the housing;
- remove the lower false panel of the machine;
- remove the detergent tray from the housing;
- Unscrew the screws securing the control panel;
- Carefully, so as not to break the wires, place the device on the machine;
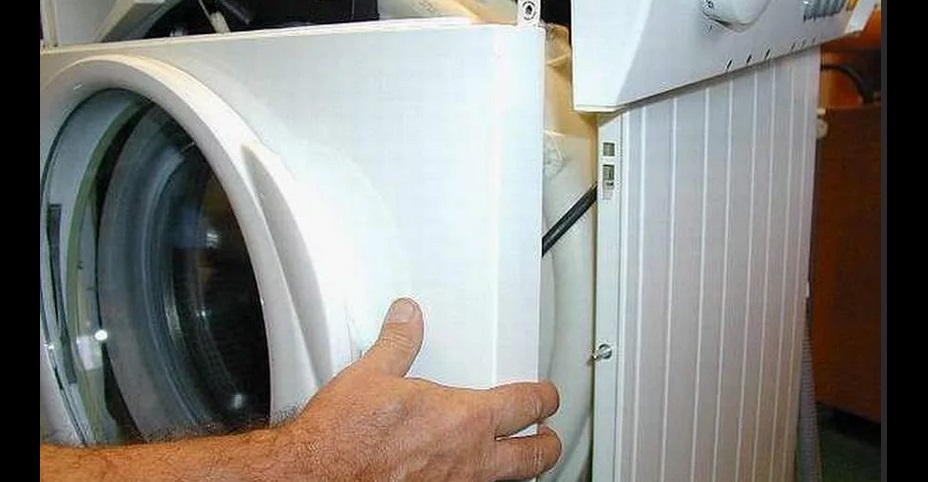
- remove the bolts holding the front wall of the case;
- set the front panel aside (carefully so as not to damage the UBL wiring);
- use a screwdriver to loosen the latch of the internal clamp, pull out the plastic ring from the SMA;
- remove the rubber cuff from the machine.
After dismantling the cuff, inspect it carefully. This way you can understand why the rubber band has deteriorated and prevent such situations from happening again. Next, you can begin installing the new gasket.
Installing a new part
Some difficulties may arise at this stage. Installing a new rubber seal is more difficult than removing the old one. To “pull” the cuff onto the lip of the tank around the hatch, you will have to make an effort. The algorithm of actions is as follows:
- Clean the seat from debris and dirt. This is done with a soapy sponge. After cleaning, you should not wipe the recess dry - the foam will make it easier to install the new cuff;
- inspect the new gasket - find the mounting mark on it;
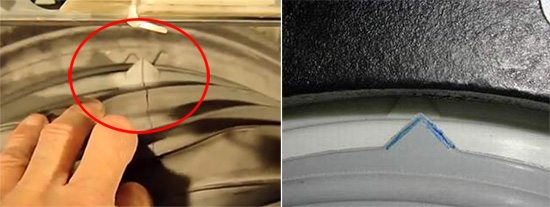
- connect the badge on the cuff with the mark on the body of SMA Kandi;
- place the seal in the recess;
- pull the rubber cuff around the circumference of the loading hole;

- secure the internal retaining clamp in place;
- put back the front wall of the case, the tidy, the powder receptacle and the lower false panel;
- pull the outer edge of the gasket onto the drum lip;
- Reinstall the outer clamp (the spring of the ring should “look” down).
At this point, the repair of the “home assistant” can be considered complete. After replacing the cuff, be sure to run a test wash to check the system for leaks. Usually the shortest cycle is selected, for example “Rinse”. If the machine does not leak, it means the installation was completed correctly.
Why can the cuff become unusable?
Although changing the drum seal is easy and inexpensive, it is still better to avoid damaging it. The gasket can last 10 or 15 years if you use the automatic machine carefully. We'll tell you what can lead to premature failure of the seal.
- Increased friction. Systematically exceeding the permissible weight of a load of laundry is fraught with damage to the cuff. Items compacted in the drum will rub against the pad with force. But buttons and rivets on clothes can damage them.
- Poor quality laundry detergents. Aggressive household chemicals poured into the machine can lead to deformation of the cuff. When purchasing detergent compositions, choose products that do not contain components that can harm the rubber parts of the washing machine.
- Sharp objects caught in the drum. Before loading items into the machine, it is important to check their pockets. Keys and hairpins forgotten in jeans can deform the cuff. Underwear should be washed in special bags, because the bra wire can easily pierce the pad.
- Careless replacement.Sometimes the cuff is damaged during installation, for example, due to careless handling of a screwdriver. Therefore, you need to tighten the rubber seal very carefully.
- Pets. After washing, it is recommended to leave the machine open for ventilation. And if a cat or dog shows interest in the washer, they will easily scratch or chew through the rubber surface.
- Incorrect loading/unloading of laundry. The condition of the cuff worsens when things are put in and taken out of the drum inaccurately.
- Mold. If basic operating rules are not followed (wipe the machine dry and ventilate it after washing), mold and mildew may appear on the internal elements. After some time, plaque and deposits will “eat” the rubber cuff from the inside.
If you follow basic recommendations for operating a washing machine, wear on the hatch cuff can be delayed for many years.
If you notice that water has begun to leak from under the door of your automatic machine, do not hesitate to repair it. It is prohibited to operate a leaking washing machine. You can change the drum cuff yourself, without turning to specialists for help.
Interesting:


Reader comments
- Share your opinion - leave a comment
Categories
Washing machine repair


For buyers


For users


Dishwasher


Add a comment