How to put a cuff on the drum of an Indesit washing machine?
How to put an elastic band on the drum of an Indesit washing machine with your own hands? In fact, the cuff is stretched over the edges of the tank, and not over the drum itself. A master who has already become proficient will cope with such a task in a few minutes. If you are removing and installing the elastic for the first time, you will have to “tinker” with it. Let's look at how the process of removing the old sealing collar and installing a new one occurs, and we'll give a couple of tips that will make the repair much easier.
Description of repair
In fact, it is quite possible to replace a cuff for a beginner at home. The work does not require special knowledge or skills. All you need in terms of tools are negative and positive screwdrivers, pliers, you will also need a new rubber band, and two clamps to secure it. Rings can be metal or plastic, depending on your SMA.
The repair kit must be purchased for a specific model of the Indesit washing machine.
Also during the work process you will need sandpaper, a pair of sponges, liquid soap, and a rag. This is necessary to prepare the fit under the cuff and facilitate its installation. The first step is to remove the deformed rubber band. For this:
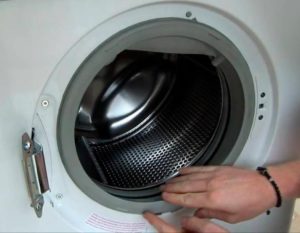
open the hatch door;
bend the edge of the cuff from the bottom until you find the outer collar;
use a slotted screwdriver to pry up its spring;
moving the screwdriver around the perimeter, remove the clamp from its place;
tuck the outer part of the gasket inside the drum;
remove the top cover of the case by unscrewing the bolts securing it;
using a positive screwdriver, loosen the bolt securing the clamp that secures the cuff from the inside;
remove the inner clamp;
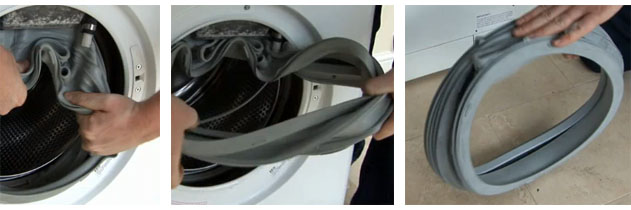
Remove the rubber seal from the washer.
Before placing the cuff on the tank, you need to prepare the seat. Using sandpaper, remove any scale or deposits that have formed. Afterwards, wash the area with soapy water and a sponge. When the fit is ready, you can tighten the cuff.
Carefully inspect the new gasket. There is a drain hole at the bottom of the elastic. There is an arrow on top of the seal, which during installation should align with the mark on the hatch. Further actions will be as follows:
Lubricate the seat with liquid soap, paying special attention to the edges of the hole;
Also treat the grooves of the rubber cuff with soap and water. You should not lubricate the entire gasket with soap, otherwise during operation it will simply slip out of your hands;
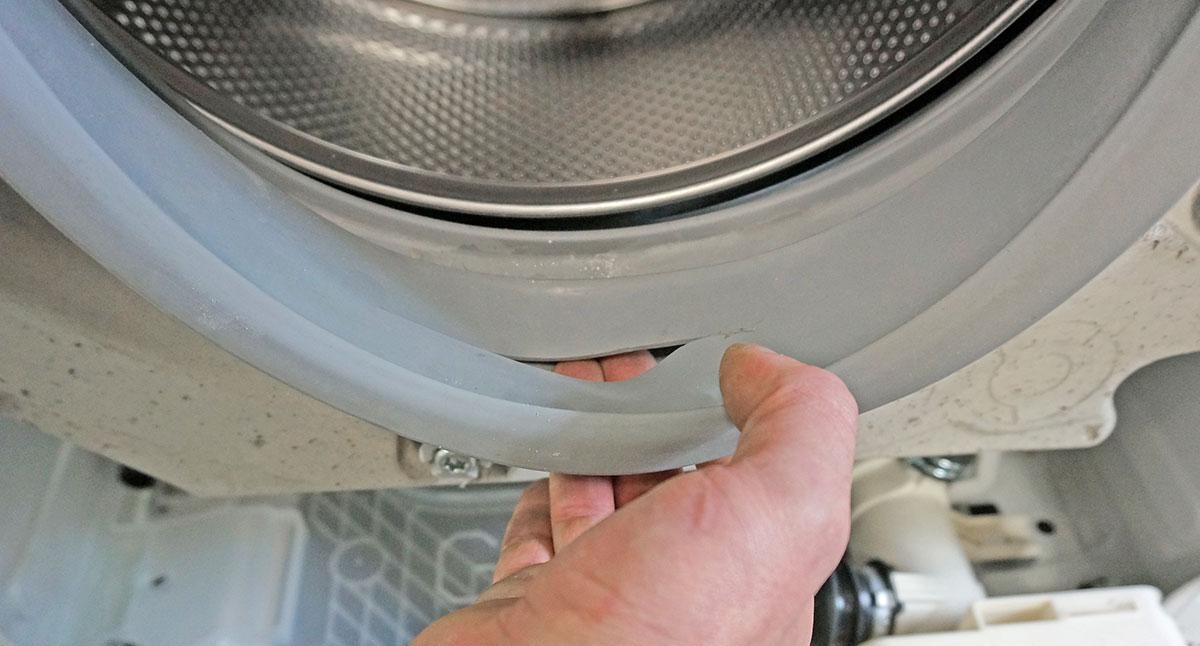
observing the top and bottom, tuck the seal inside the washing machine body;
pull the upper part of the elastic band onto the inner ledge of the tank;
tuck the cuff in a circular motion. This is the most difficult stage of the work, since the “unruly” elastic usually does not want to stretch over the inner protrusion. You should be patient. If necessary, additionally lubricate the edges of the seal with liquid soap;
install the inner clamp, secure it by tightening the fastening bolt;
Next, you should pull the outer part of the cuff onto the body. The seat can also be additionally treated with liquid soap, this will make the work easier;
install the external fixing ring. Holding the spring of the clamp with your finger, thread it into the machine in a circle;
Reinstall the top housing cover.
When you have managed to place the cuff on the tank, press the drum door. There should be nothing preventing the hatch from closing. If the door does not close completely, it means that an error was made when installing the gasket. Check the installation and correct elements if necessary.
How do you know when the cuff needs to be changed?
If you discover a leak under the hatch or body of the Indesit washing machine, you should first inspect the sealing collar. If there are defects on its outer part, water will begin to seep out from under the door. If the inside of the gasket is damaged, water will collect under the SMA body.
It is better not to repair the cuff by putting a patch on it, because after a few washes the leak will resume.
There can be several reasons for damage to the seal:
wear. The rubber band rubs against the drum during the washing process and is also constantly exposed to thermal effects. After some time, the cuff may crack. It is through these cracks that water will begin to flow out;
improper care. If you do not wipe the gasket after each wash, over time it will develop mold, which will eat into the upper layers of the elastic. Such a cuff will no longer be able to ensure the tightness of the system;
influences from outside. Foreign objects caught in the drum (coins, paper clips, nails forgotten in pockets) damage the rubber gasket during the washing process. Also, the condition of the cuff may worsen due to popping noises when the hatch is closed carelessly.
If you properly care for the elastic and avoid mechanical stress on it, the cuff will last for years. But there is nothing complicated about replacing the seal; you can actually do it yourself, at home.
 How to put an elastic band on the drum of an Indesit washing machine with your own hands? In fact, the cuff is stretched over the edges of the tank, and not over the drum itself. A master who has already become proficient will cope with such a task in a few minutes. If you are removing and installing the elastic for the first time, you will have to “tinker” with it. Let's look at how the process of removing the old sealing collar and installing a new one occurs, and we'll give a couple of tips that will make the repair much easier.
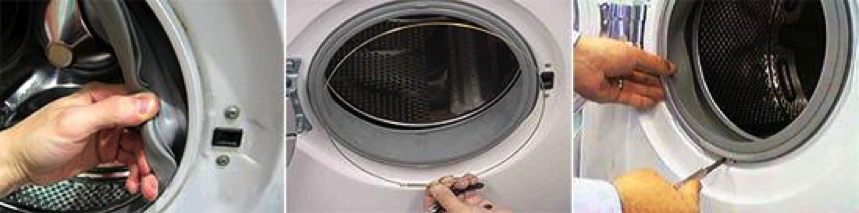


This is not real! It's easier to rebuild the engine without tools! How to put a smelly gum in.