The need to disassemble the washing machine tank may arise due to various breakdowns. For example, in case of wear of the bearing unit. Is it possible to do the work yourself without resorting to the help of a specialist?
Washing machines can be equipped with collapsible or non-dismountable tanks. In the first case, the two parts of the container are fastened together with screws, and to halve them, it is enough to remove the fasteners. The second situation is much more complicated, so next we will tell you exactly how to divide a monolithic tank.
The first difficulty is removing the tank
To disassemble the washing machine tank, you first need to pull it out of the housing. This is also quite complex and time-consuming work. The algorithm for removing the capacity will be similar for all SMA models; the differences will be in frontal and vertical type machines.
For front-facing cameras, during the process of removing the tank, you will need to remove the front panel; for vertical cameras, you will need to remove the side wall of the case.
In the process of disassembling the washing machine and the tank itself, you will need some tools. You need to have on hand:
a pair of screwdrivers (phillips and slotted);
screwdriver;
socket heads of different diameters;
hacksaw for metal;
pliers;
a drift and a small hammer;
marker or simple pencil;
ratchet wrench;
drill size 3-5 mm.
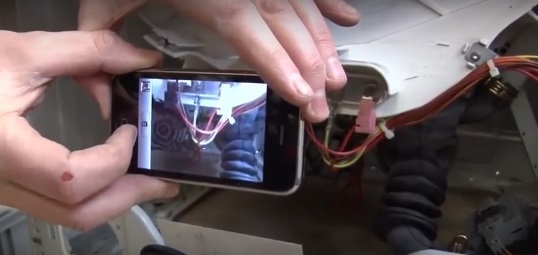
It is also worth having a mobile phone with a camera on hand. During the work, it is recommended to photograph the contact connection diagrams and how the parts were originally located. This will help you avoid mistakes during the reassembly process.
Before you begin disassembling the automatic machine, be sure to turn off the power to the equipment.Unplug the power cord from the outlet and move the washer away from the wall and furniture to have free access to all sides of the case. Further:
close the shut-off valve supplying water to the machine;
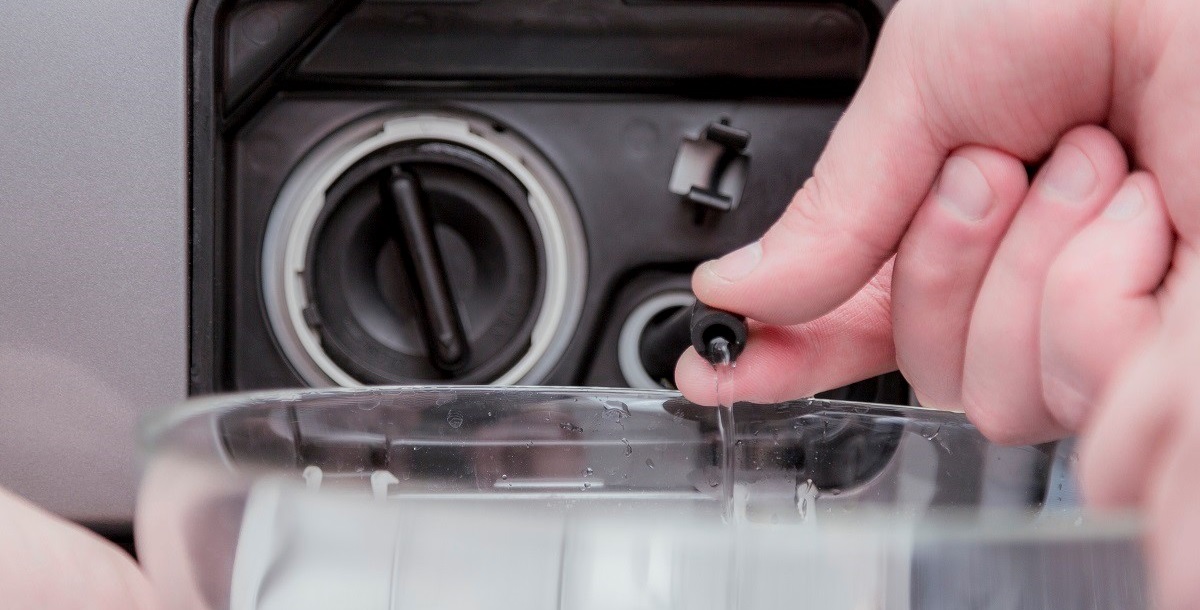
drain the remaining liquid from the system through a garbage filter;
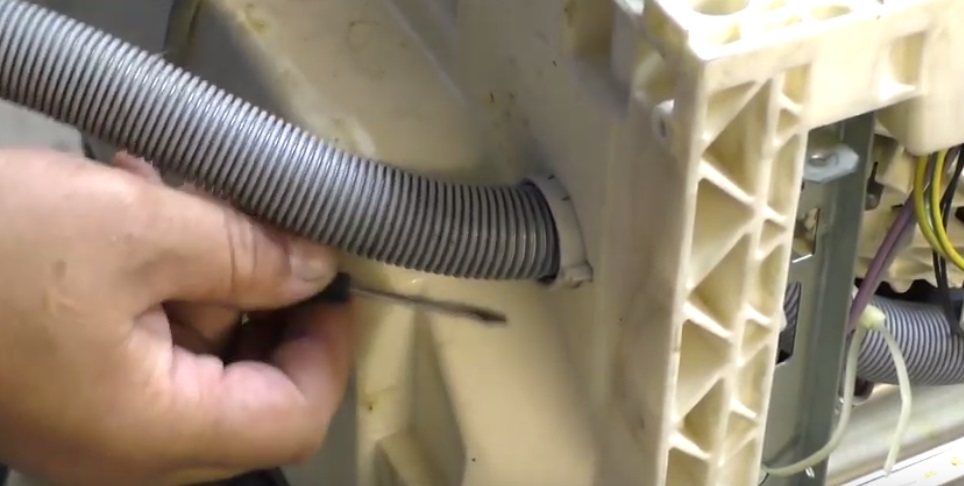
unhook the drain and inlet hoses from the body;
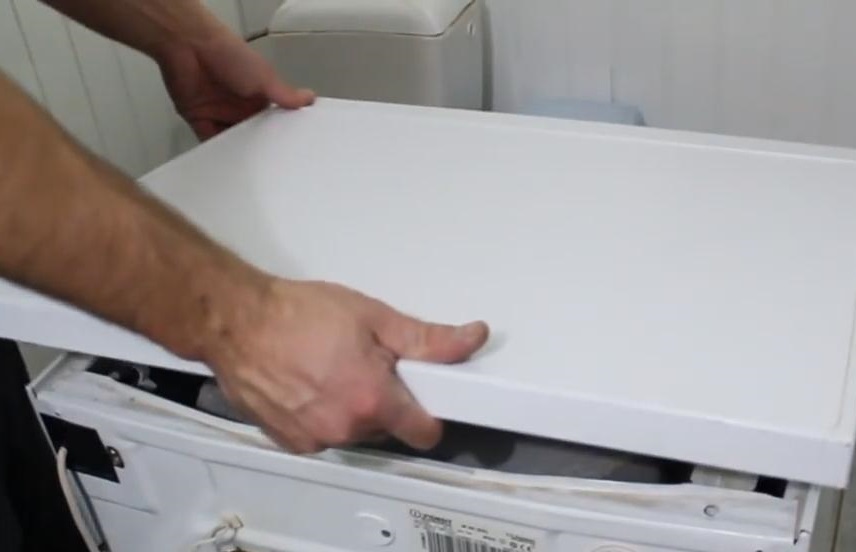
Unscrew the screws holding the top panel of the case;
remove the “top” of the washer and set it aside;
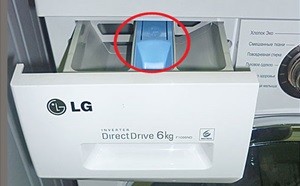
remove the powder receptacle from the machine;
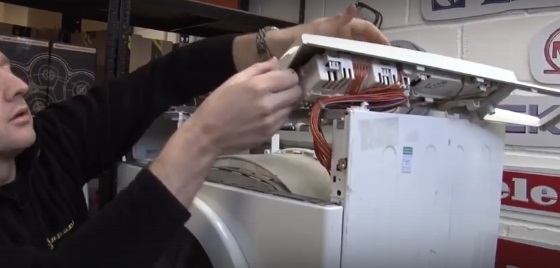
remove the bolts securing the SMA control panel. The “tidy” does not need to be completely disconnected; it is enough to place it on top of the machine;
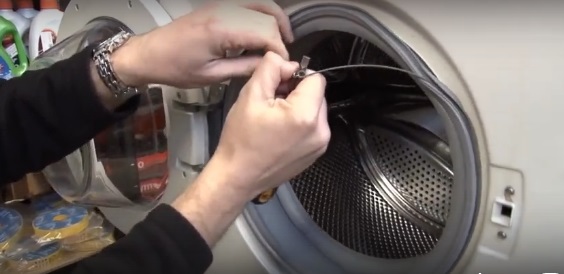
open the hatch door, feel for the outer clamp holding the drum cuff;
loosen the latch of the clamp and remove it from the washing machine;
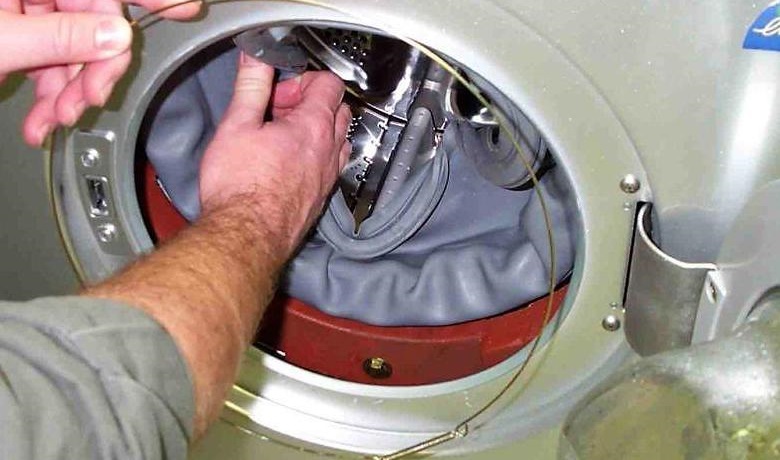
tuck the sealing collar inside the drum;
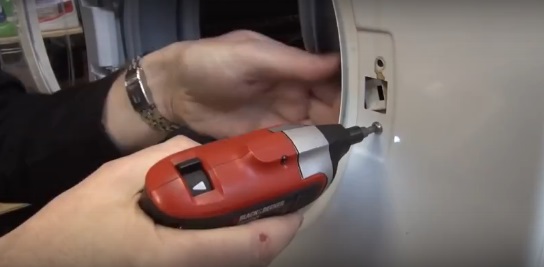
unscrew the screws holding the hatch locking device;
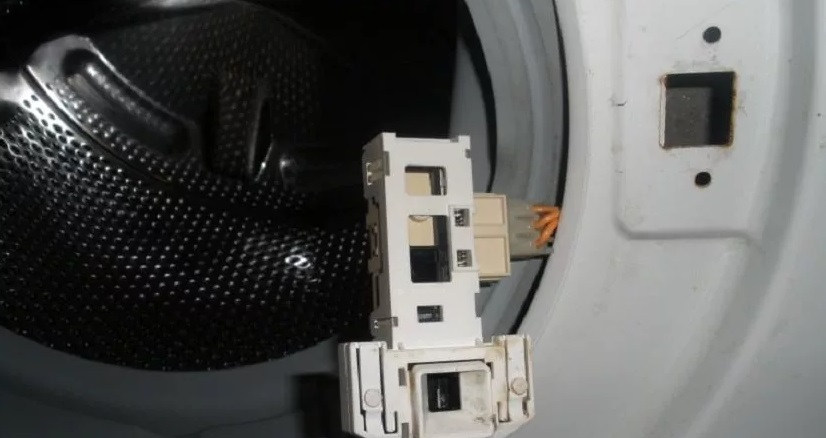
reset the UBL contacts and dismantle the blocker;
remove the lower trim panel;
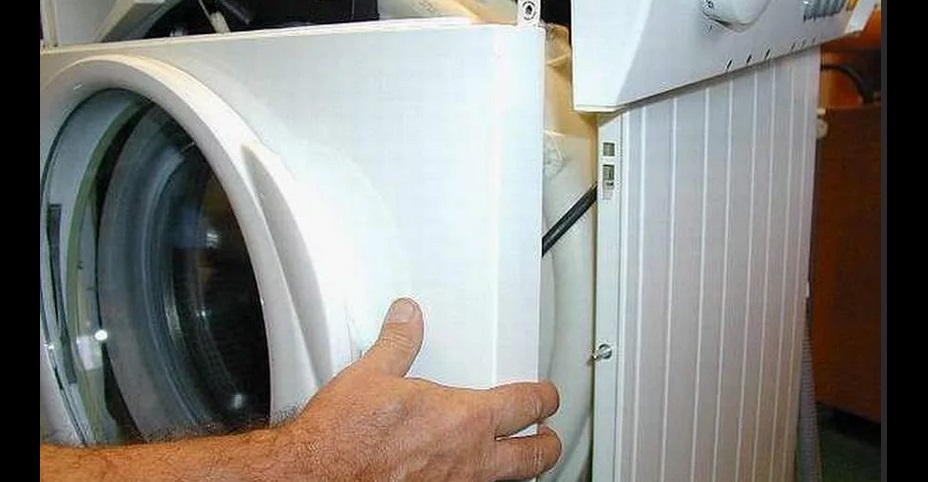
remove the remaining bolts securing the front wall of the housing;
move the front panel of the MCA to the side;
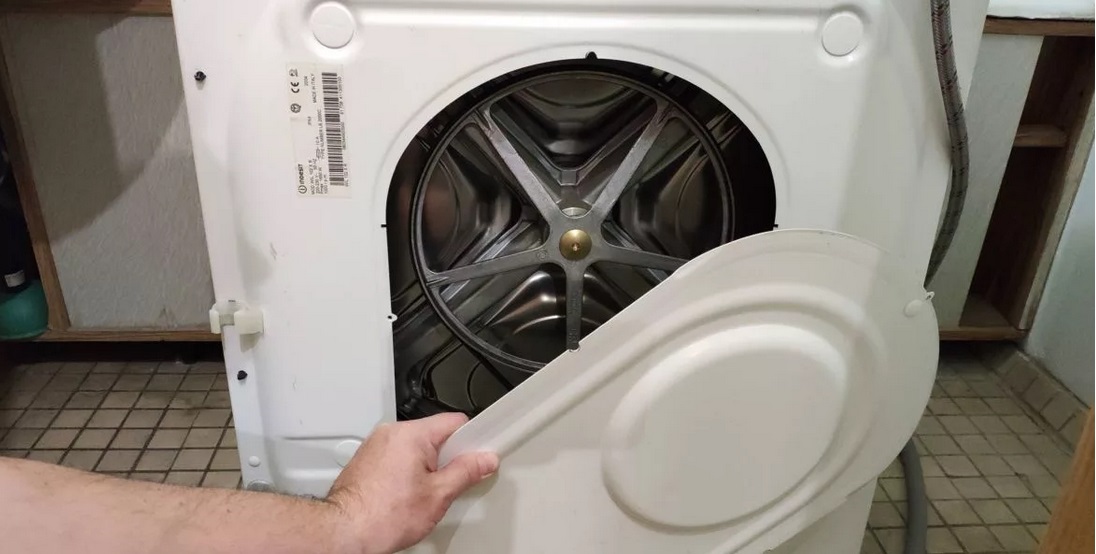
dismantle the back wall of the machine by unscrewing the bolts around the perimeter of the panel;
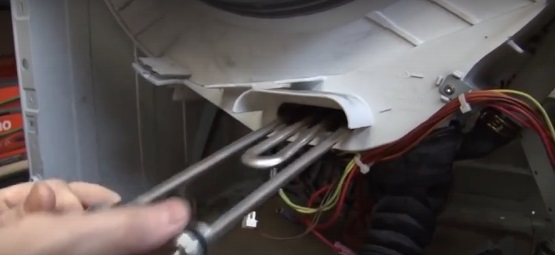
remove the heating element by loosening its nut and disconnecting the wiring from the heater;
remove the counterweights adjacent to the tank;
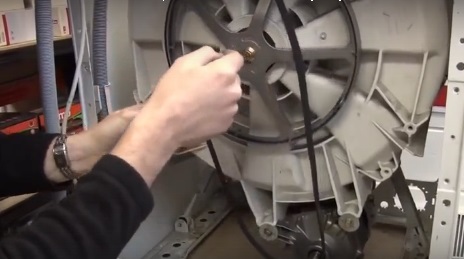
remove the drive belt from the drum pulley and motor;
disconnect the power supply wiring from the engine.
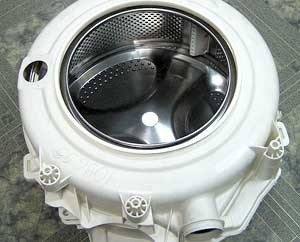
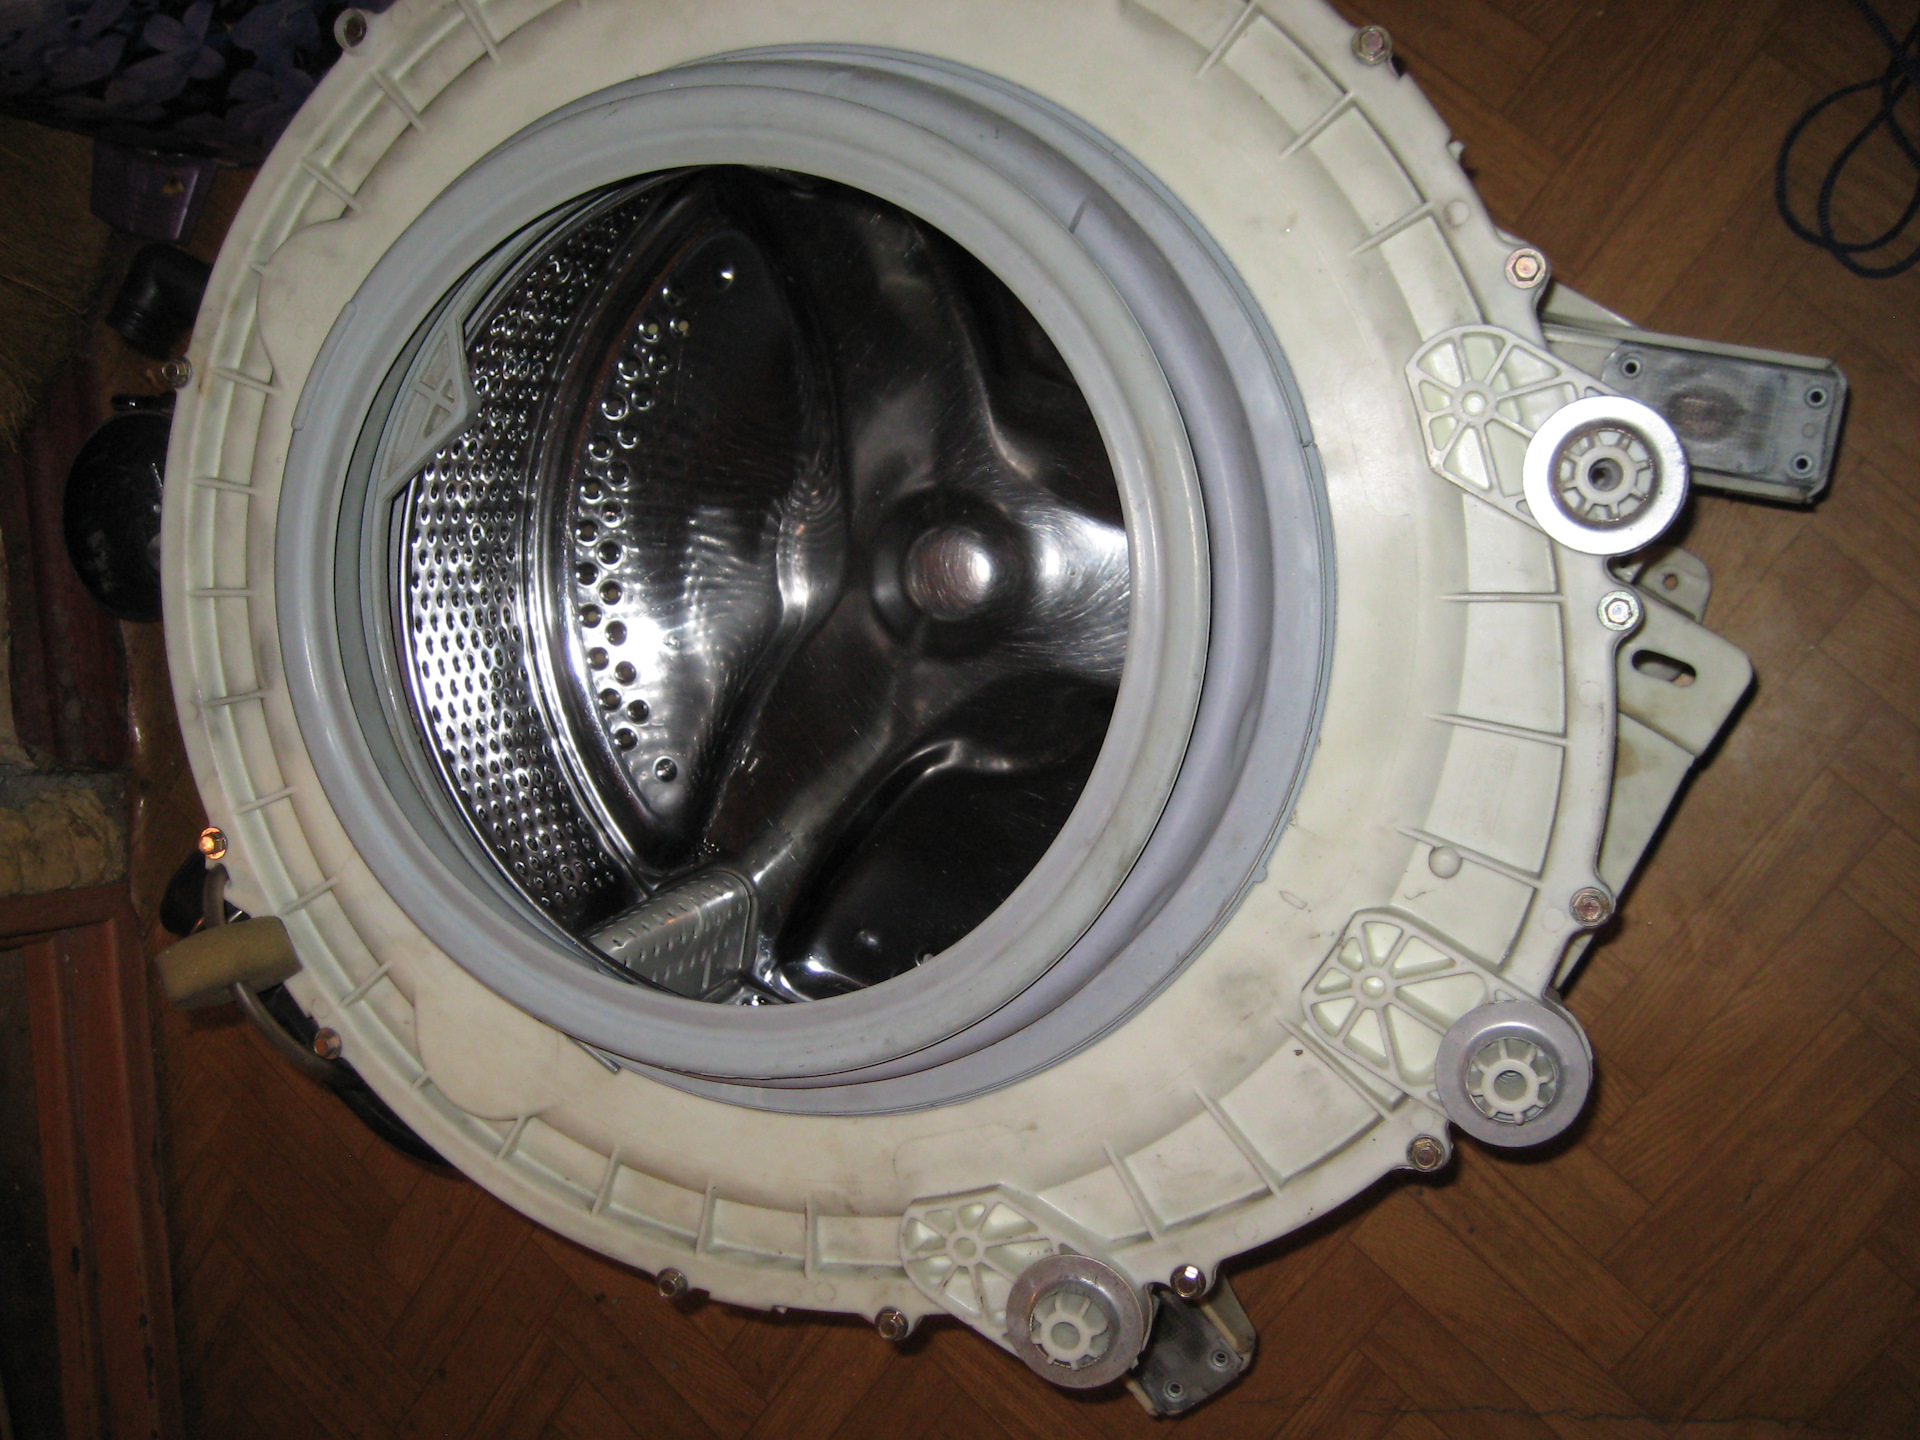
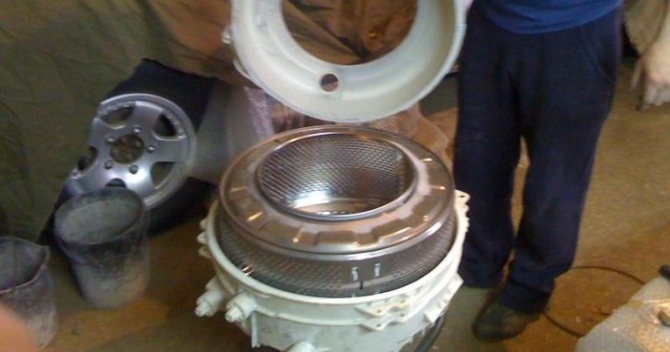
After this, practically nothing will interfere with the removal of the tank. All that remains is to loosen the shock absorbers, so unscrew the spring mounts. Next, you can remove the container from the body of the automatic machine. Having pulled out the non-removable structure, place it on a hard and flat surface for further work.
In the case of collapsible tanks, there will be no problems.To halve the container, it is enough to deal with the fasteners around the circumference. Another thing is non-demountable, monolithic structures.
Removing the drum from the non-separable tank
It is not at all profitable for manufacturers to equip washing machines with collapsible tanks. So, for example, if the bearings are damaged, it will be quite easy for the user to replace them. And when the assembly is non-separable, it is easier for many to buy a whole tank rather than sawing up the factory container. Companies are counting on receiving benefits from the sale of components.
However, the craftsmen figured out how to gain access to the inside of the non-separable tank. As practice shows, after such intervention, washing machines continue to function without problems for a long time, of course, if everything is done correctly and the halves of the container are securely fastened. The algorithm of actions will be as follows:
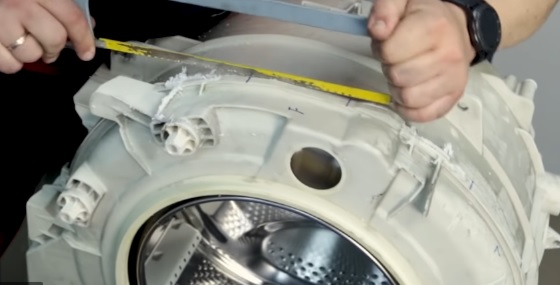
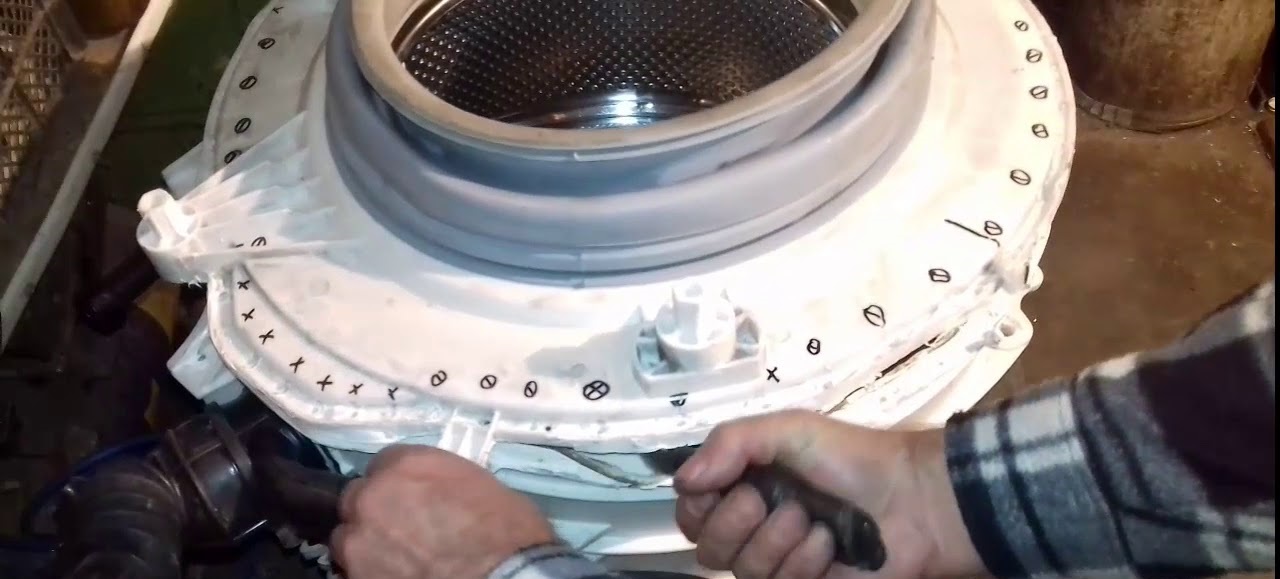
draw a cut line on the tank;
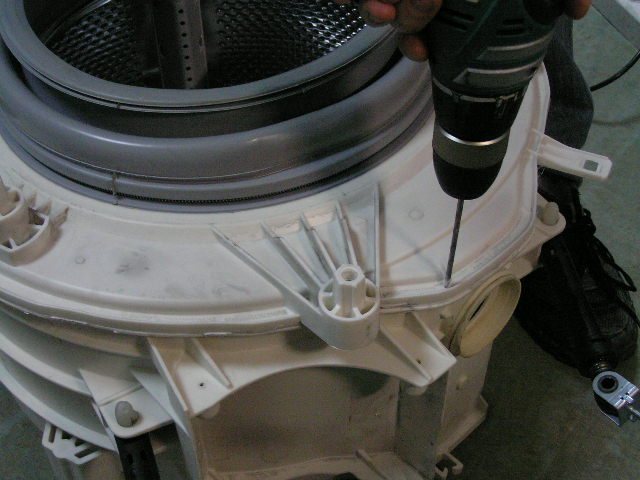
drill holes around the circumference at a distance of 5-7 cm from each other;
Carefully cut the tank with a hacksaw along the marked line.
This will give you access to the inside of the tank. Then you can begin repairs - change bearings, oil seals, etc. It is worth understanding that this is quite labor-intensive and elaborate work, so assess your own strengths in advance.
Detailed description of work stages
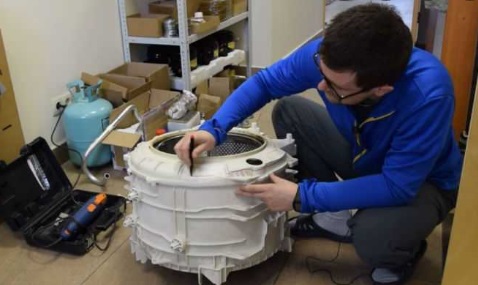
Once the container is located on a flat surface, you can begin disassembling. Wipe the plastic with a clean cloth. A very important step is marking a line for cutting around the perimeter of the welding seam of the tank. It is recommended to drill holes at a distance of 5-7 cm from each other. For these purposes, a drill with a diameter of 3-5 mm is used.
The cutting line should be easily traced through the holes made.
Once the holes are made, arm yourself with a hacksaw.There is no need to rush - cut the tank carefully, avoiding sudden hand movements. So the non-demountable structure will fall apart into halves. The rear “forecastle” will contain a drum, along with bearings and an oil seal.
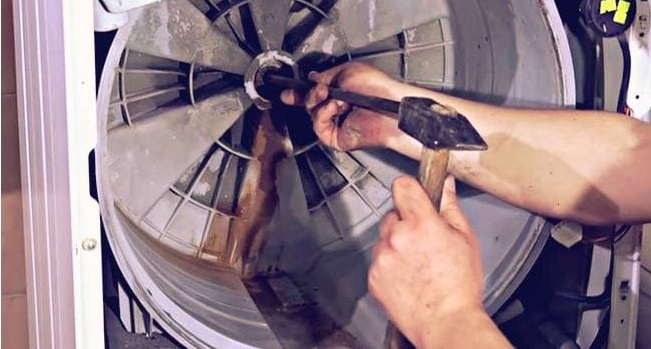
If you need to remove the drum, you will need to remove the pulley. The “wheel” is additionally glued by the manufacturer, and removing the bolt holding it will not be easy. Therefore, put a bat on the screw and hit it several times with a hammer.
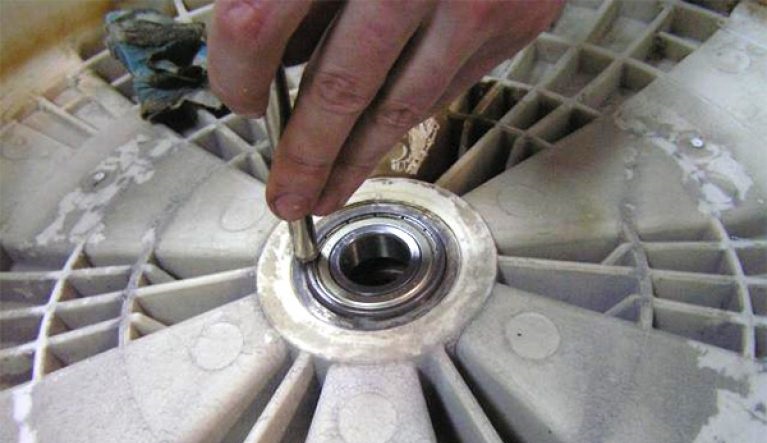
When you need to replace the bearings, you will have to remove the damaged rings from the drum. This will require a punch. After knocking out the parts, clean the seat from debris and dirt.
Next, proceed to installing new bearings and oil seal. It is important to generously treat the components with special lubricant. Silicone will protect the assembly from moisture, thereby extending the service life of the components.
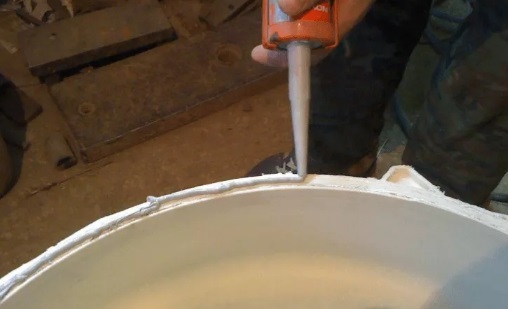
After fixing the damage, you can begin assembling the tank. To do this, it is necessary to thoroughly clean the “cut” areas. Next, you will need to lubricate the edges around the entire perimeter with moisture-resistant silicone sealant and place the halves on top of each other.
Screws are inserted into the holes drilled at the beginning of work to tighten the two parts of the tank. If you fasten the container correctly, it will not leak. Having finished with the design, you can begin reassembling the washing machine.
As you can see, it is possible to gain access to the inside of a non-separable tank. Yes, this is a rather labor-intensive process, but it will save a considerable amount that would have to be spent on purchasing a new unit. The work can be done independently, at home, without the help of a specialist.
 The need to disassemble the washing machine tank may arise due to various breakdowns. For example, in case of wear of the bearing unit. Is it possible to do the work yourself without resorting to the help of a specialist?
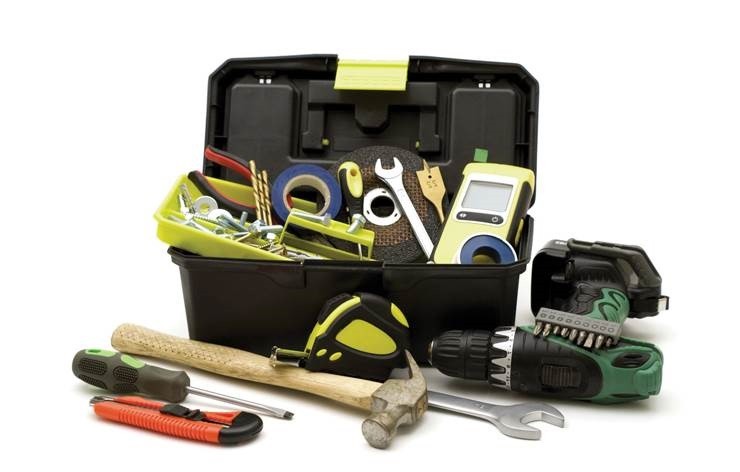


Add a comment