Disassembling the dryer
 The need to disassemble a dryer usually arises when the equipment breaks down. In some cases, it will be enough to remove only the top or front panel of the dryer, in others it will be enough to completely dismantle the body. Sometimes disassembly is required in order to use an old “home assistant” for parts or to construct some kind of homemade product from it. We'll tell you how to do the work yourself, at home.
Instructions for dismantling the dryer
To disassemble the dryer, you will need a minimum set of tools. During the work, you need to have a pair of screwdrivers on hand: Phillips and slotted, a set of socket heads, and a ratchet wrench. During the dismantling process, it is recommended to take photographs of your actions in order to properly assemble the dryer in the future.
Before disassembling the dryer, be sure to turn off the power to the machine and disconnect it from the sewer.
Next, you need to remove the lint filter from the dryer. For most models, the element is located in the area of the door loading hatch. Also, the condenser is immediately removed from the machine, in which excess moisture accumulates.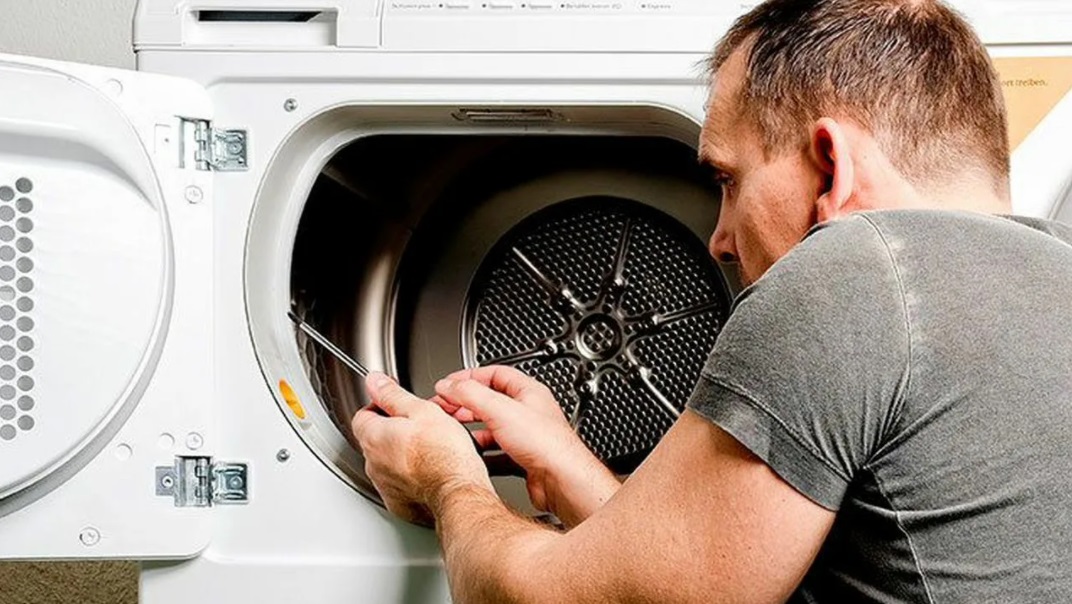
Next, you can disassemble the dryer. Using a screwdriver or screwdriver, remove the bolts holding the top panel of the case in place. Please note that some fasteners may be hidden under special plugs. Then:
- remove the dryer lid;
- Unscrew the bolts holding the side walls;
- remove the screws securing the lower front panel of the dryer, remove this part of the body;
- remove the bolts around the perimeter of the front wall and under the loading hatch to remove this panel;
- Unscrew the screws holding the hatch locking device, disconnect the lock contacts;
- remove the front wall of the case;
The front panel of most dryers is removed along with the loading door.
- unscrew the remaining screws holding the “sides” of the machine (they were hidden under the dismantled lower part and front wall);
- Remove the sides of the dryer.
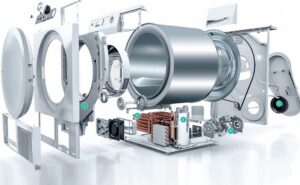
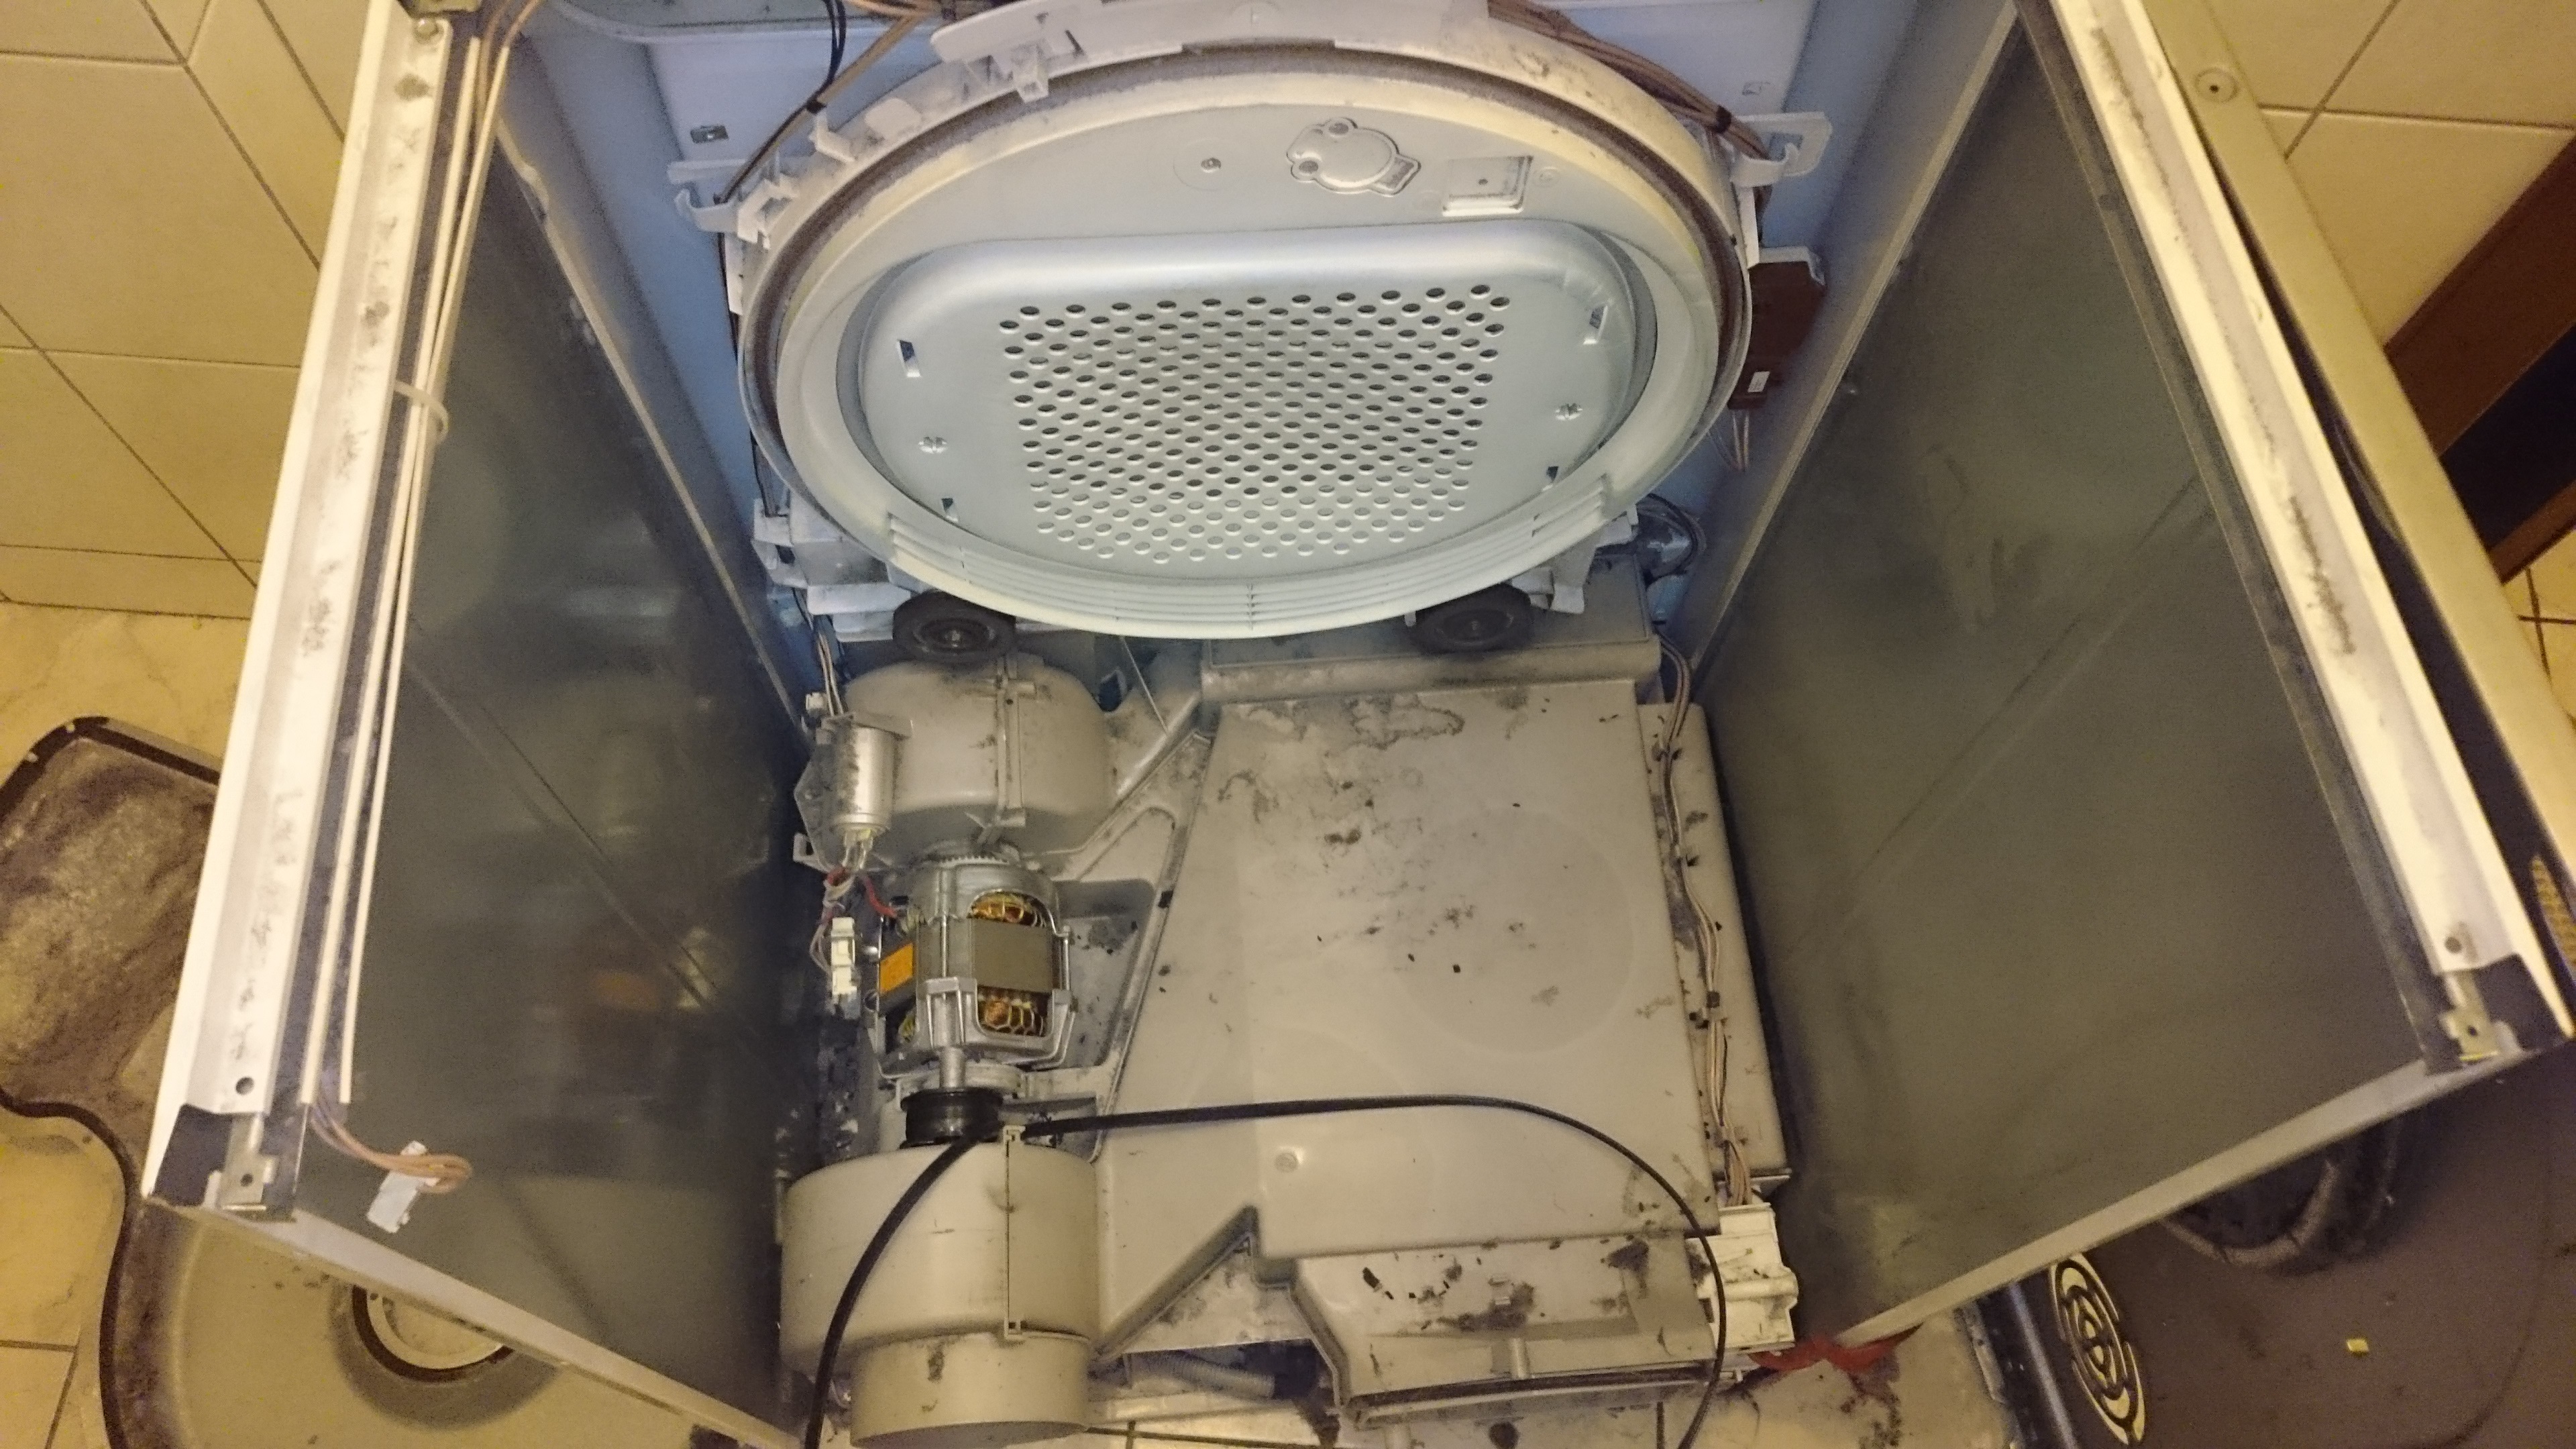
After this, you will have access to most of the parts of the dryer: the tank, rollers, drive belt, motor, heating element, temperature sensor, etc. Now it will be possible to diagnose the problem element and, if necessary, replace it.
When disassembling the dryer, you may find that its internal elements are clogged with dust. This is a standard situation, which is why it is recommended to periodically carry out preventive maintenance of the “home assistant”. It is necessary to clean each unit, otherwise debris will interfere with the normal functioning of the dryer.
Depending on the model of the dryer, there may be specific dismantling features, but in most cases, removing the top, front and side panels will not be difficult. The main thing is to perform actions consistently. Reassembling the dryer is done in reverse order.
What kind of breakdowns require disassembling the dryer?
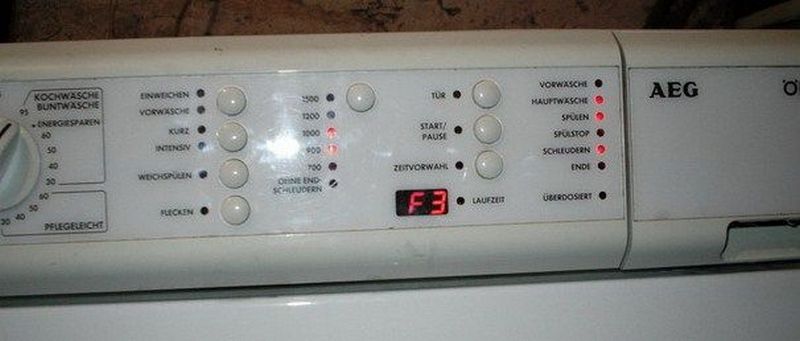
Many modern dryers are equipped with a self-diagnosis system for faults. Smart machines, noticing a malfunction, immediately notify the user about the problem. You can see what kind of failure the error code displayed on the display indicates in the instructions for the equipment.
By deciphering the code, you can understand whether you will need to disassemble the dryer or not. We’ll tell you what most often happens to the “home assistant” and what breakdowns the user may encounter. We'll explain how to fix the problem yourself.
Using an example, we will tell you what kind of breakdowns are indicated by the errors generated by Indesit and Hotpoint-Ariston dryers.
- F01. The code indicates a short circuit in the motor thyristor. In this case, disassembling the dryer will be necessary. Only by removing the side wall of the housing will it be possible to diagnose the thyristor circuit. If a break is detected, the part will need to be repaired or replaced.
- F02. Error informing that the engine does not rotate. Another likely cause is a fan blockage. Here you will also need to disassemble the dryer. You will have to check both of these elements. It is possible that a large amount of dust interferes with the operation of the parts. It is necessary to remove foreign objects that interfere with the operation of the units. It is also advisable to inspect the wiring supplying the motor.
- F03. A fault code indicating an open or short circuit in the thermistor circuit. Another possible problem is a failure of the main control module or the NTC sensor that controls the temperature. Diagnostics and, if necessary, replacement of these elements will be required.
- F04. The error indicates that the air pump is not working. You will need to partially disassemble the dryer and check the assembly. Cleaning or reconnecting the element may help. In extreme cases, replacement of the part will be necessary.
- F05. The code is displayed on the display if the “brain” of the machine does not receive a signal from the air pump. In this situation, you will need to inspect the wiring, tighten the contacts and clean the oxidized elements.
- F08. An error indicating a faulty heater relay. To check the part, it will be enough to remove the top cover of the dryer. If defects are found, the element will need to be replaced.
- F09. A code indicating a software failure.In this case, there is no point in disassembling the dryer. This problem can be solved exclusively through the service center.
- F10. If this error is displayed on the display, it means that the air is flowing poorly from the heating element. In this case, you will need to disassemble the dryer and clean the heating element.
- F11. The error indicates a lack of contact with the injection device. You will need to disassemble the machine, check the entire circuit and the connection points of the parts. If necessary, elements are replaced.
- F12. The code indicates there is no communication between the display and the control board. In this case, you will need to remove the top cover of the case, inspect the wiring, and tighten the contacts. If the problem is in the processor itself, it will need to be replaced.
- F13. The error indicates an open circuit in the temperature controller. Restoring the connection or replacing the element may help.
- F15. In such a situation, we are talking about a breakdown of the heating element relay. It is likely that there is a break or short circuit in the element circuit. You can diagnose the relay with your own hands, check the integrity of the wiring, and inspect the connecting parts. If malfunctions are detected, faulty parts are replaced.
- F17. The code indicates a faulty power element. Repairing or replacing the part will help resolve the problem.
A complete list of possible fault codes is provided in the instructions for the dryer. Most problems can be resolved with your own hands by replacing the damaged element. Certain types of repairs are performed only by service center specialists.
In fact, disassembling the dryer body is quite simple. During the work you will need a minimum set of tools.However, if the machine is still under warranty, it is better not to carry out repairs yourself, but to immediately invite specialists from the service center.
Interesting:


Reader comments
- Share your opinion - leave a comment
Categories
Washing machine repair


For buyers


For users


Dishwasher


Add a comment