Washing machine cuff creaks
 There are only three situations in which the washing machine cuff creaks, catching on the edge of the drum. The first is a manufacturing defect, especially if the machine is a budget model, the second is incorrect fitting and installation of the seal during its scheduled replacement. The third, a problem with the cross or bearing assembly, appears only after several years of operation of the washing machine. It is usually not difficult to determine the cause of the squeak: if the noise appeared immediately after purchase or repair, then the problem is in the rubber band itself, if later, a breakdown occurred. But you don’t need to endure the rustling noise; it’s better to try to “cure” the machine.
How to reliably remove a squeak?
Masters have several methods in their arsenal to eliminate squeaking when the drum rotates. Not all of them can be called simple and safe. So, some advise loosening the clamps, removing the cuff and re-adjusting its position. However, it will be problematic for a housewife to do this at home. Firstly, the method is not suitable for all models of washing machines, and secondly, the process of dismantling and tightening the cuffs is a rather troublesome procedure. It is difficult to determine the correct position for the seal without experience.
The second option is even riskier. According to it, it is recommended to first remove the cuff and then trim the edges clinging to the drum with a stationery knife. But if an experienced craftsman can determine the place of friction and easily return the rubber to the hatch, then an ordinary user is more likely to ruin it by cutting it in the wrong place. But this does not mean that without service you cannot get rid of the sound of friction on rubber. There is a safe and relatively easy repair option. The instructions are as follows: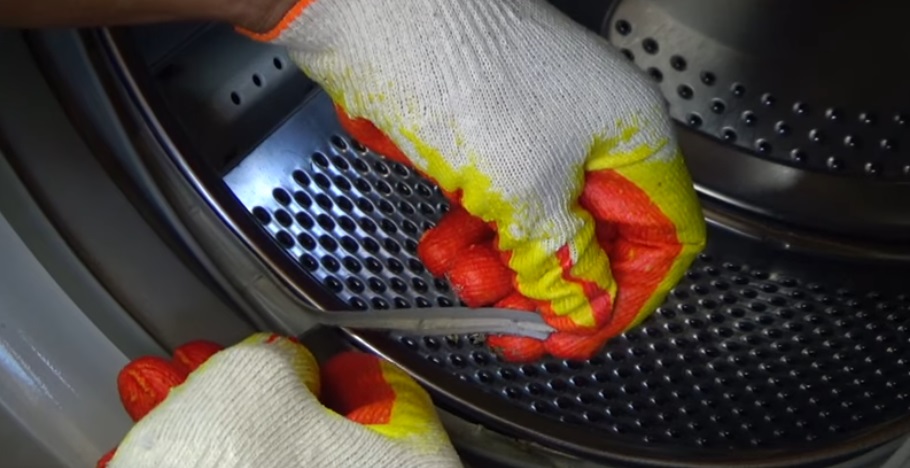
- go to a hardware store;
- buy sandpaper with a grit of at least 60 units (such sandpaper costs a penny);
- return to the machine and open the hatch;
- Fold the sandpaper in half with the grainy side facing out;
- insert the paper between the drum and the cuff:
- holding the sandpaper, rotate the drum until the protruding edge of the rubber is erased.
To remove the “catch”, you will have to spin the drum about 100-120 times. This will take time, but the risks of damage to the cuff and the machine itself are minimal. Afterwards, all that remains is to run the test cycle and listen: if the squeak disappears, then the problem is solved; if not, we repeat the procedure.
Creaking is a symptom of a more serious breakdown
The drum does not always rub against the rubber seal due to the incorrect position of the cuff. If the machine was purchased a long time ago and the rubber band has not been replaced, it means that the problem is a breakdown - due to long-term use, the crosspiece has begun to deteriorate. This problem is very serious and inevitably leads to play in the tank: the cylinder changes its trajectory and clings to the body of the machine. As a rule, in addition to the creaking, other suspicious noises are heard: knocking and clanging.
There is only one way to check the condition of the cross - by dismantling and halving the tank. Sometimes you can suspect problems without disassembling the washing machine. If the breakdown is serious, then the bearing assembly will certainly suffer along with the shaft. Problems with the latter are manifested by rusty smudges on the back wall of the washing tank.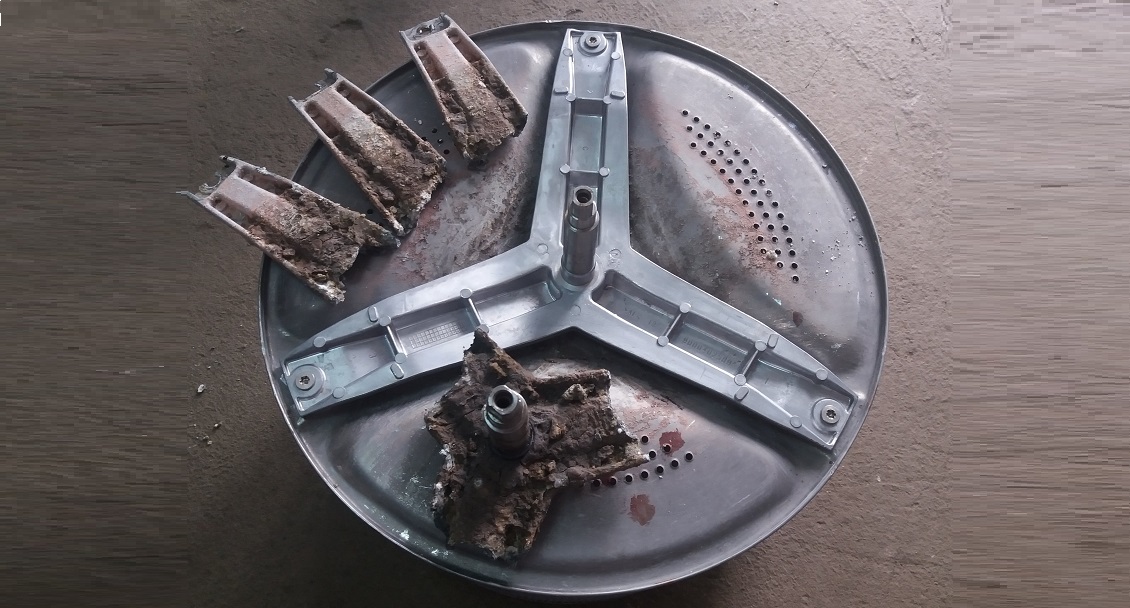
If the crosspiece and bearing assembly break, half-measures will not help. It is necessary to immediately stop using the machine and carry out appropriate repairs. The instructions on what to do next are as follows:
- disconnect the washing machine from communications;
- disassemble the body and remove the tank;
- unscrew or cut the tank into two halves, depending on the model of the machine;
- remove the drum;
- inspect the cross.
Sticky parts and fasteners are removed after treatment with WD-40 lubricant.
If the crosspiece is damaged, then we replace it. We unscrew the three retaining screws, and then, tapping the part with a hammer and prying it with a screwdriver, remove it from the grooves. We buy new “blades” according to the serial number of the machine and fix them on the shaft. The procedure is quite complicated, it is better to contact the service.
Interesting:


1 reader comment
Add a comment
Categories
Washing machine repair


For buyers


For users


Dishwasher


Thank you, honestly! Your advice helped.