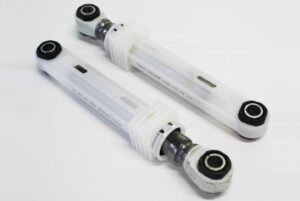
If the washing machine bounces around the room, there is a problem with the shock absorption system. We are talking about dampers - racks that suppress the vibration emanating from the spinning drum. When they break, the balance is disrupted and the body sways violently. You can repair the vibration damper yourself. Moreover, repairs are often done without purchasing new racks - it is possible to restore the shock absorbers of the washing machine, extending their service life for another couple of years.
Description of shock absorber repair
There is no need to immediately purchase replacement shock absorbers - sometimes you can repair the old ones. In any case, first you will have to dismantle them, unhook them from the tank and body and take them out of the machine. Then we inspect the racks, check the stroke of the rod and assess the condition of the gasket. Often the problem is the latter: it wears out and begins to slow down the piston. Such a breakdown can be eliminated quickly and easily, since to restore the mechanism you only need to replace the rubber band.
Change the gasket on the damper yourself according to the following instructions:
remove the old gasket;
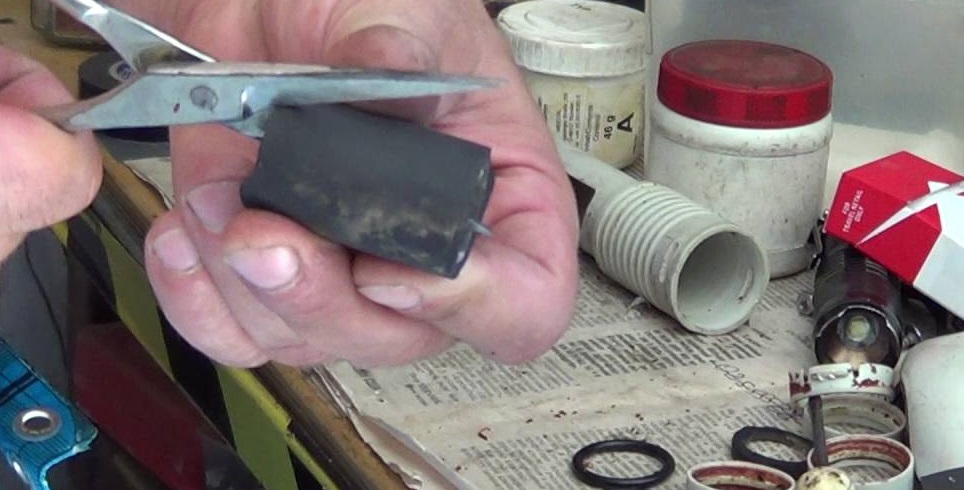
take a belt 3 mm thick;
attach the belt to the rod and measure a length commensurate with the hole;
cut off a piece of rubber;
insert a new gasket in place of the old one (it is important that the edges of the parts meet tightly);
treat the gasket with a special lubricant to reduce the friction force;
return the rod to its place;
check the piston stroke.
When installing the damper, use a special lubricant for shock absorbers or regular grease for bearings.
If the rod moves slowly even without the gasket, then the problem is in the design itself.In this case, replacing the rubber will not solve the problem - you will have to change the entire stand. We do the same when the damper is not dismountable and cannot be repaired. We also remember that it is better to replace shock absorbers in pairs so as not to disturb the balancing of the tank.
It is important to choose the right new dampers. The type and size of the vibration damper installed in the washing machine depends on its model and manufacturer. You cannot buy at random - you must tell the consultant in the store the serial number of the machine. You can also bring an old shock absorber with you and ask them to find an analogue.
Replacement without removing the tank
Not everyone can restore a shock absorber. More often than not, the mechanism becomes so worn out that replacement is indispensable—all structural elements wear out. In this case, you will have to install new racks.
Experienced technicians recommend replacing shock absorbers in pairs. The logic is clear: both parts experience the same load during operation of the machine, therefore, their degree of wear is approximately equal. If one damper is left untouched, then during washing and spinning the vibration emanating from the drum will be damped unevenly. As a result, the mechanism will quickly become unusable, and the previously surviving parts will begin to wear out.
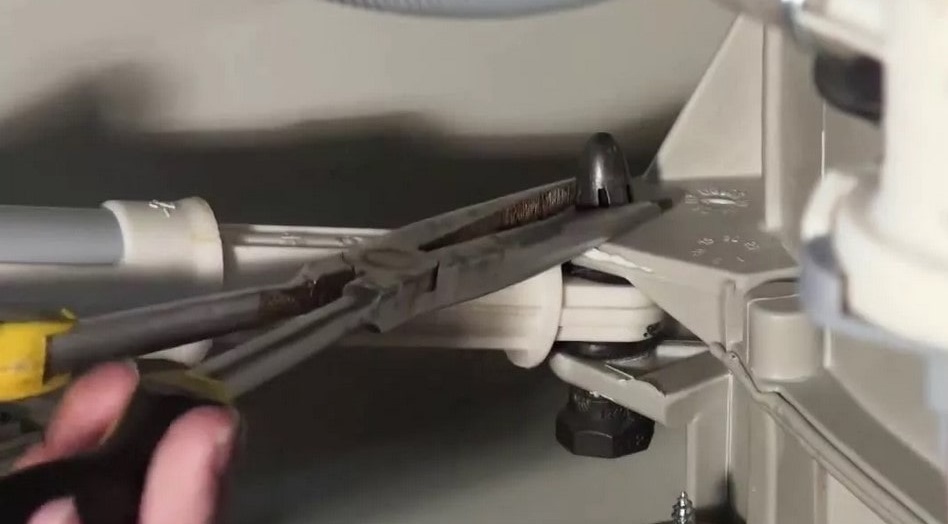
To replace the dampers, they must be removed from the machine. Dismantling will be quick if the vibration dampers have simple fasteners and are easily detached from the housing. We proceed like this:
remove the front or rear housing cover (depending on the machine model);
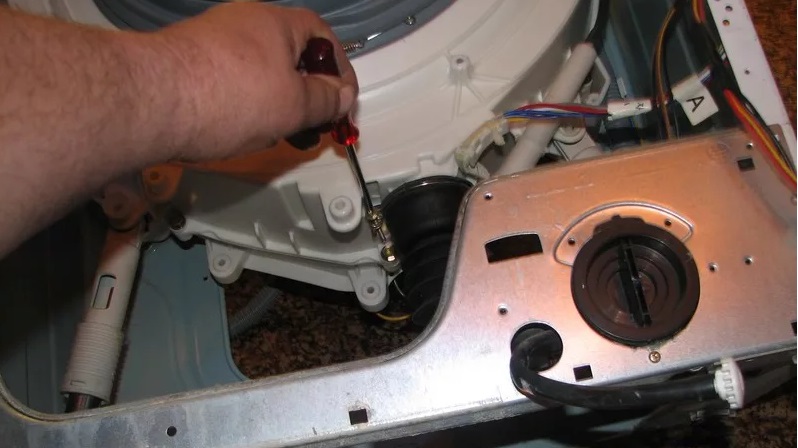
we find shock absorbers under the tank;
snap off the latches or unscrew the bolts;
we take out the racks;
install a new kit;
We assemble the machine and run a test wash.
Before disassembling, it is better to clarify which side to approach the dampers from.To do this, you should study the technical data sheet of the washing machine.
We change the shock absorbers, having first removed the tank
Restoring the shock-absorbing system is more difficult if the dampers can only be removed together with the tank. In this case, you will have to almost completely disassemble the washing machine, freeing the plastic tank from third-party elements and wiring. Instructions for disassembling the washing machine look like this:
remove the top cover of the housing;
pull out the detergent tray;
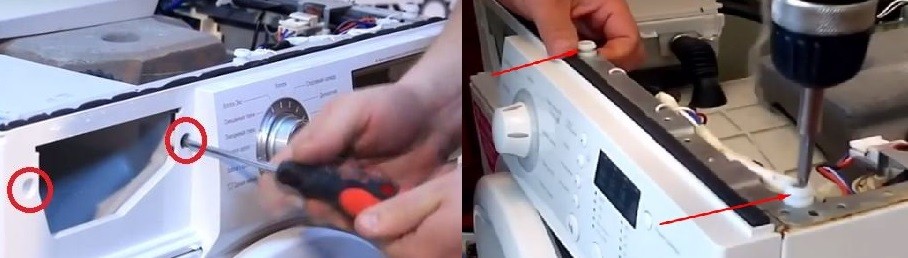
disconnect the instrument panel by unscrewing the bolts holding it;
unhook the upper springs securing the washing tub;
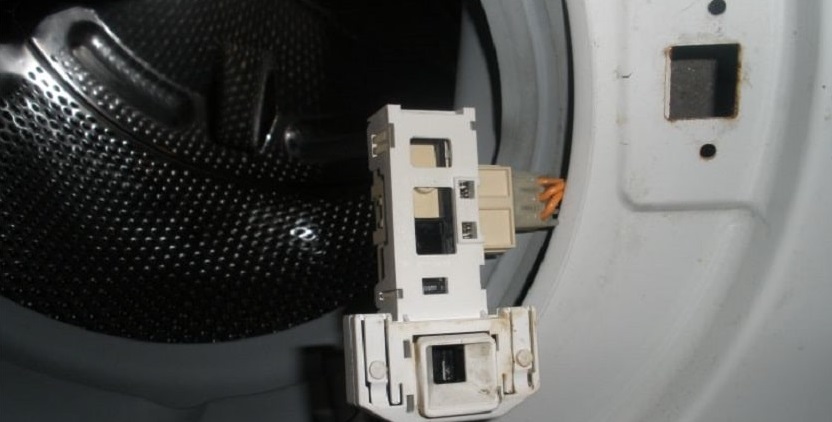
disable UBL;
move the front panel aside;
disconnect the drain pipe and other connected hoses and wires from the tank;
remove the tank from the housing along with the vibration dampers.
Stuck parts are treated with WD-40.
Afterwards we inspect the racks and, if possible, repair them. If the repair does not help, we replace it with new ones. Then the machine is assembled in the reverse order. To ensure disassembly goes without errors, it is recommended to record your actions with a video camera. It is better to immediately clean the remaining components of the washing machine from dirt and scale during the repair process, and also assess the degree of wear and tear.
 If the washing machine bounces around the room, there is a problem with the shock absorption system. We are talking about dampers - racks that suppress the vibration emanating from the spinning drum. When they break, the balance is disrupted and the body sways violently. You can repair the vibration damper yourself. Moreover, repairs are often done without purchasing new racks - it is possible to restore the shock absorbers of the washing machine, extending their service life for another couple of years.
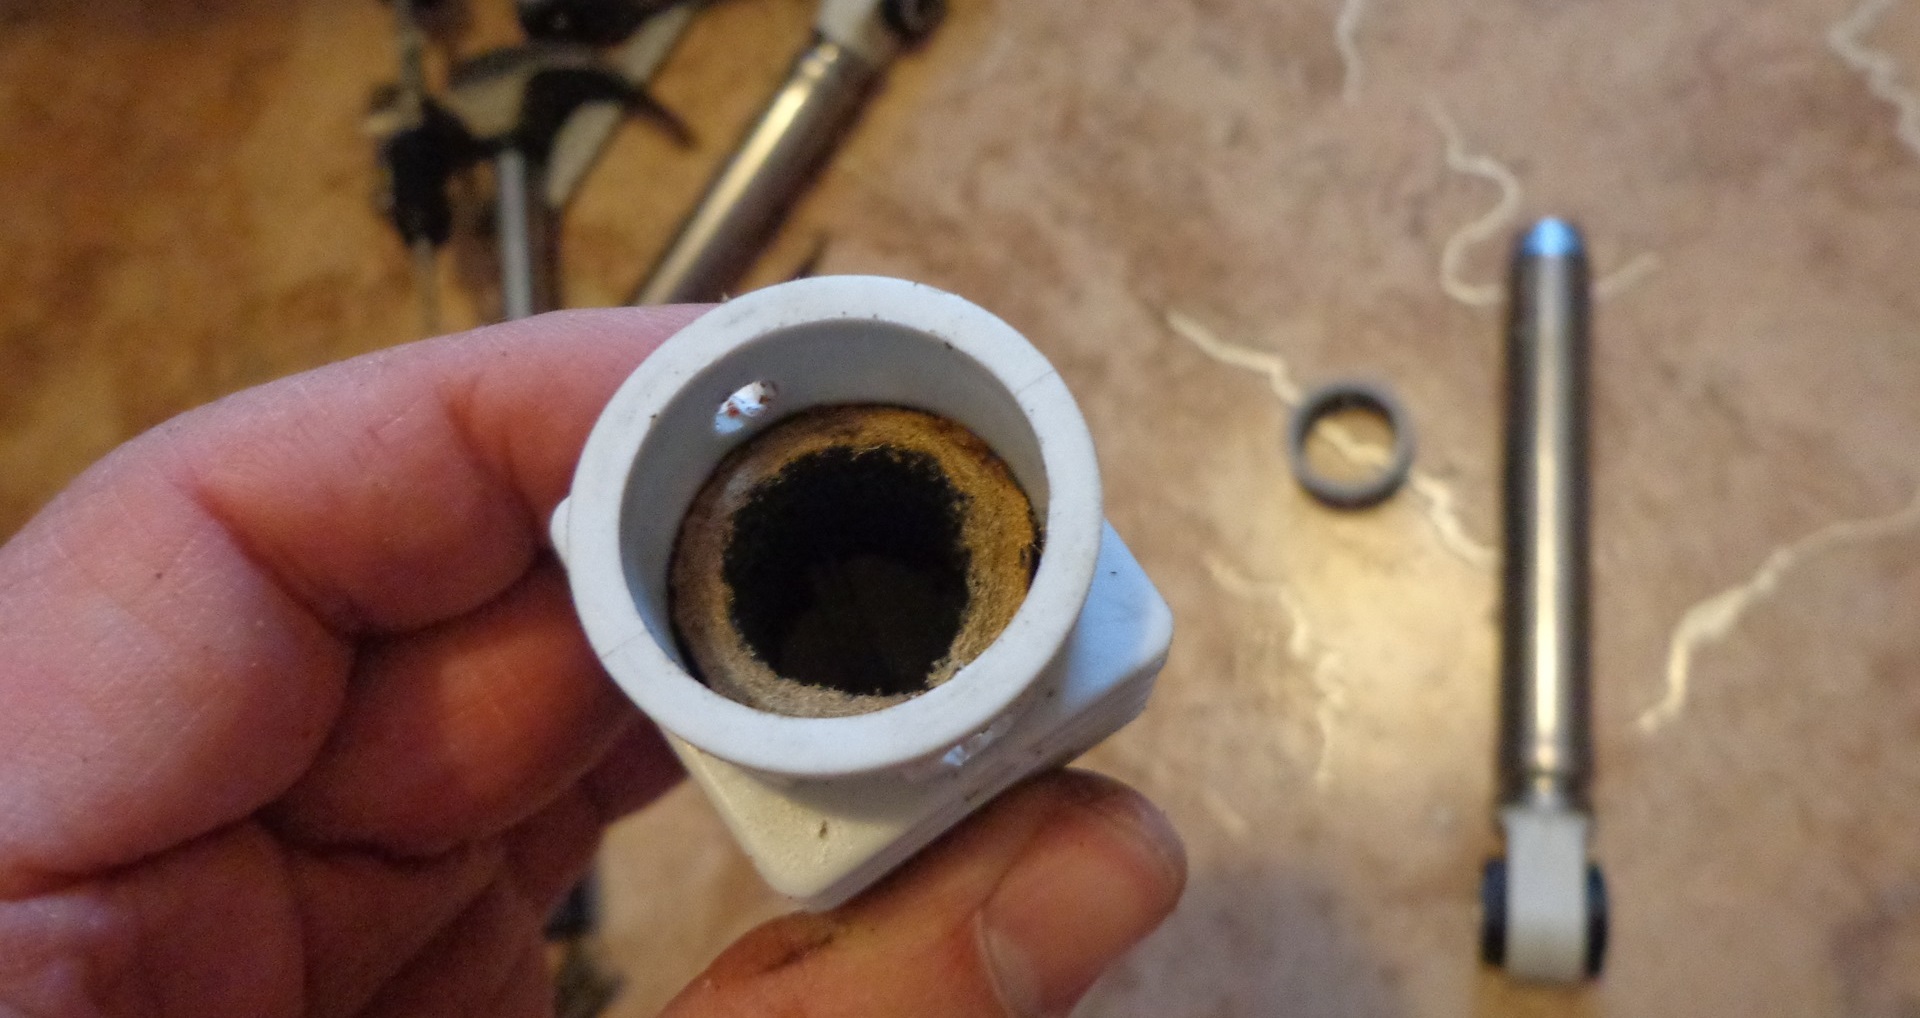


Add a comment