How to remove the drum from an LG washing machine
 The drum is almost the most important element in the entire washing machine. If it is even slightly damaged, then using a washing machine with such a part can lead to complete failure of the household appliance. To prevent this from happening, you need to immediately remove the drum from the LG washing machine after the first signs of a malfunction are discovered and replace the part. Such dismantling and repair is only possible after a detailed study of the internal structure of the automatic washing machine, so during the work, follow our instructions so as not to accidentally damage your “home assistant”.
Let's prepare for the work ahead
Immediately before dismantling it is necessary to carry out a number of preparatory work. First, bring the tools you need to replace the drum yourself. The list includes the following:
- medium hammer, preferably made of copper or bronze;
- universal lubricant WD-40 or similar;
- pliers;
- Phillips and slotted screwdrivers;
- adjustable wrench;
- horn heads;
- metal pin approximately 4 centimeters.
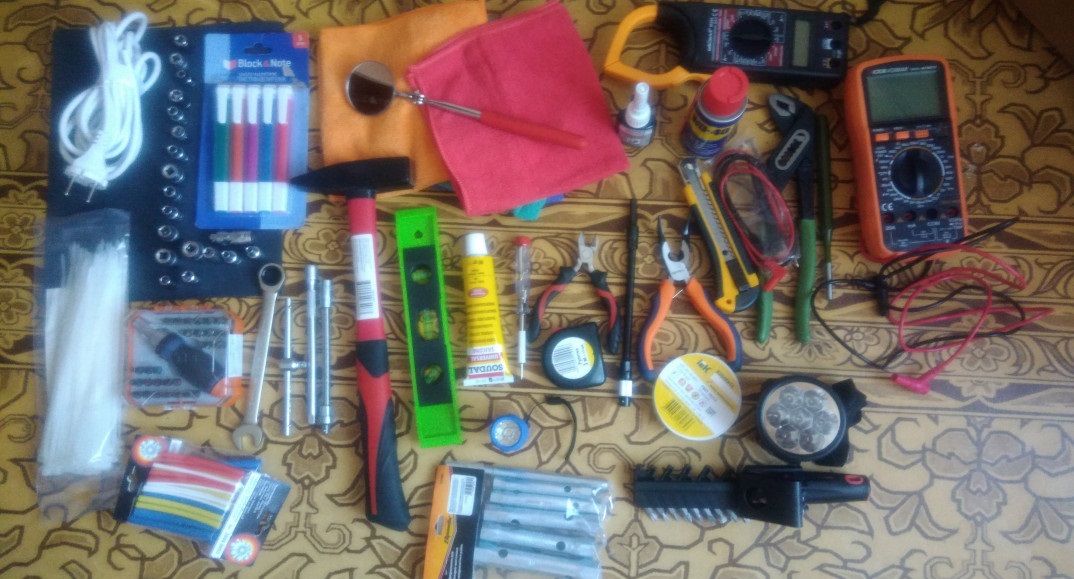
This is the minimum set that is required to replace the drum. It is important to understand that while disassembling the machine, you may find other defects that will require other tools to correct.
It is also worth first deciding where exactly in the house the repairs will be made. It is much better to carry out all manipulations with the washing machine in a garage or other non-residential premises, but not everyone has this opportunity. If you only have access to renovations in a residential area, then choose the most spacious room so that nothing interferes with your comfortable work. Do not forget to cover the floors with a layer of film or rags so as not to damage the floor coverings with a heavy washing machine.
We remove the main unit of the machine from the body
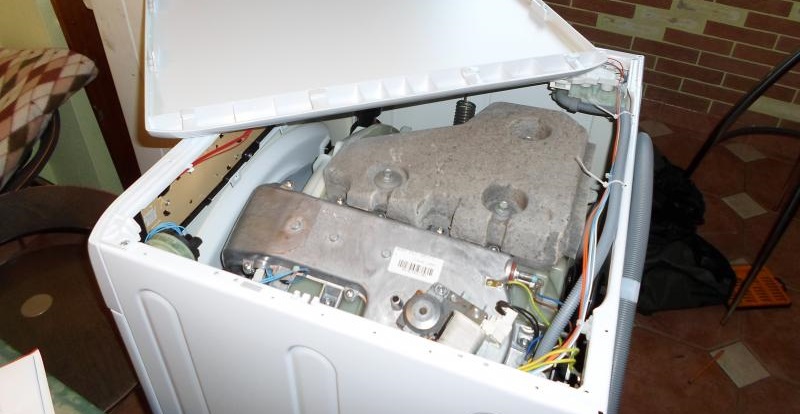
Removing the Tank-Drum assembly is considered one of the most difficult processes, so it should be approached with all responsibility. First you need to disassemble the body of the machine to gain access to its parts. In LG washing machines, the drum is located inside the tub, so to remove the metal container, you first need to remove the plastic container. Carefully complete all the steps, strictly following our instructions for disassembling a direct drive washing machine.
- First, turn off the power to the device and disconnect it from the water supply.
- Then you need to remove the top cover of the case, for which you need to unscrew several bolts securing it and move the cover towards the rear wall of the SM.
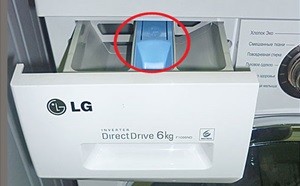
- Now you can remove the powder tray by pressing the “tab” inside the cuvette.
- Unscrew the bolts securing the control panel of the washing machine. They are located around the perimeter of the block.
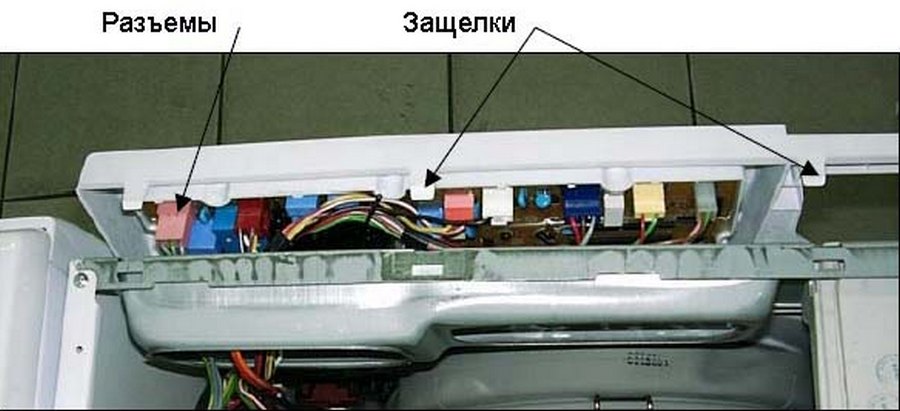
- Carefully disconnect all wires from the control panel. They can be left connected, but in this case further work will have to be done with increased care.
It will be much easier and more reliable to take a photo of the wiring, so that, based on the photo, you can easily connect it back, and then disconnect all the wires so that they do not interfere with your work.
- Take a thin screwdriver and carefully pry back the plastic clips holding the bottom panel in place. Remove the panel.
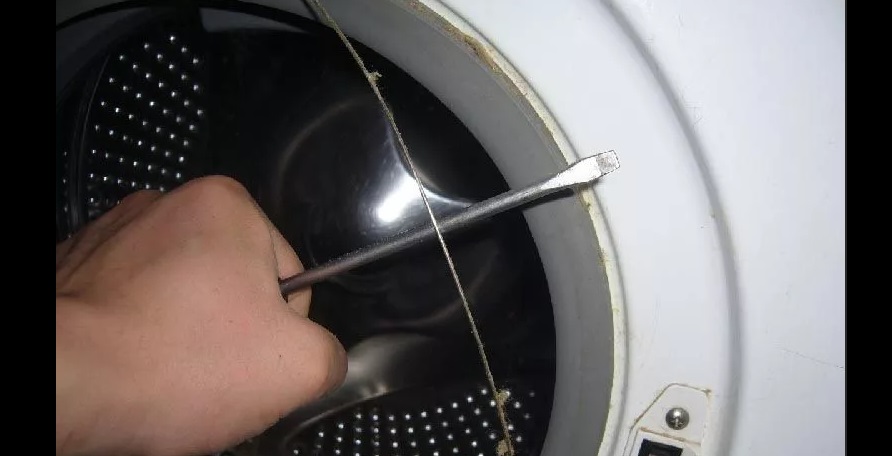
- At this stage, you need to use the same screwdriver to pick up the metal clamp that holds the rubber cuff of the hatch. When the fastening is loosened, pull out the ring.
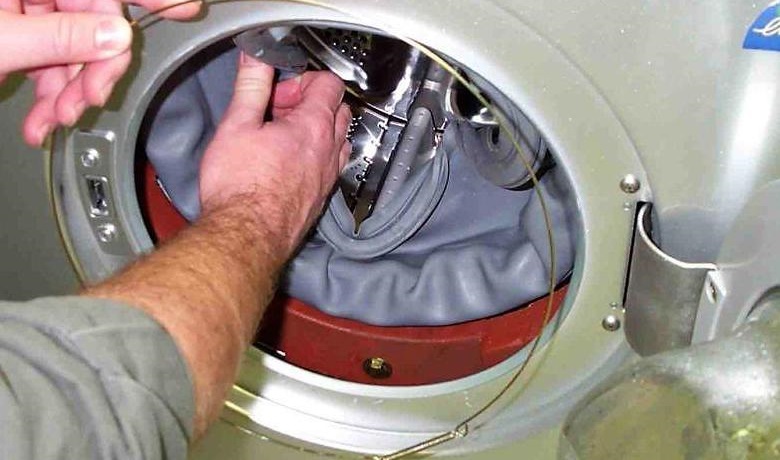
- Now you can remove the outer part of the cuff from the groove with your own hands and tuck the seal inside the drum.
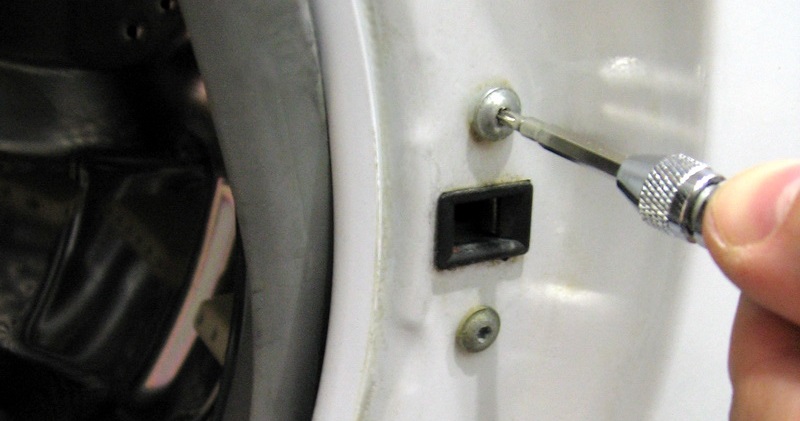
- Carefully disconnect all wires from the sunroof locking device. You also need to unscrew the bolts and then remove the blocker sensor.
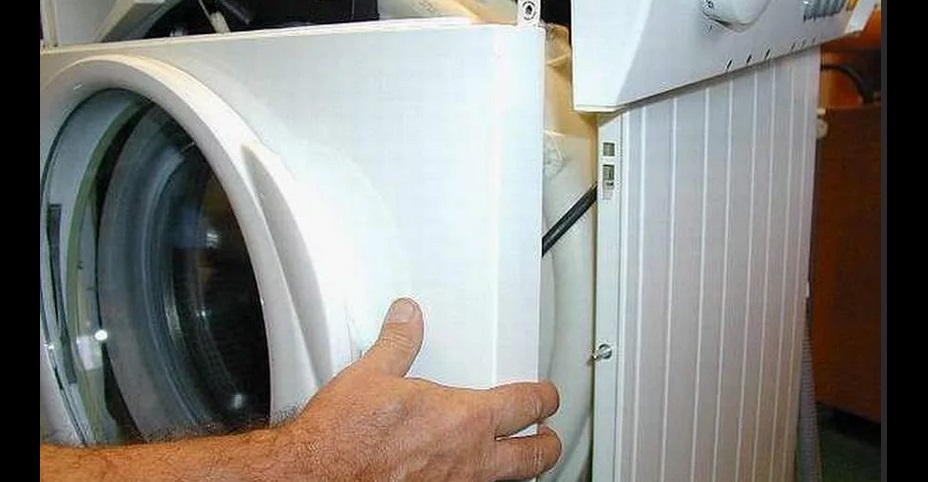
- We unscrew the bolts that hold the front panel of the washing machine, and then remove the housing wall itself.
- We unhook all the clamps of the water intake valve, drain pipe and pressure switch from the tank of the machine.
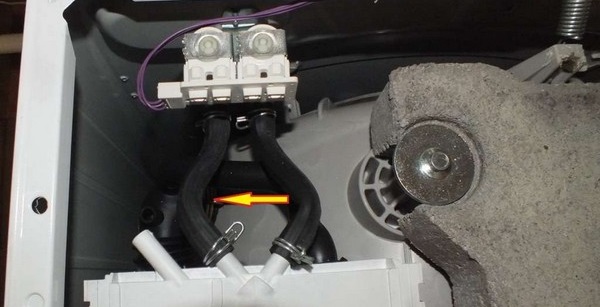
- Let's do the wiring: disconnect the wires from the engine, thermostat, drain pump and heating element, which is better to remove as well. Don't forget to remove the counterweights with shock absorber fasteners.
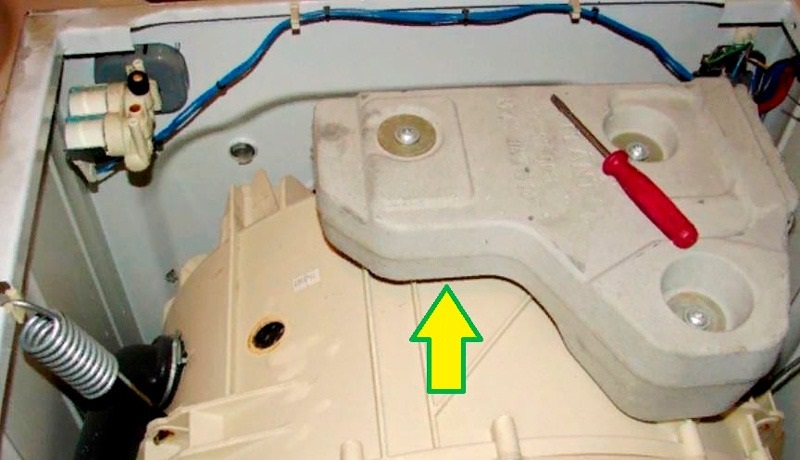
- Check that all tubes connected to the tank are disconnected. Afterwards you can unscrew the screws and pull out the inverter motor.
In total, as many as 13 actions must be carried out just to remove the washing machine tank according to the rules. This task can be difficult for one person to handle, so it is better to pull out the tank together with an assistant. In this case, one person will unhook the springs while another lifts the tank and carefully removes it from the washer body.
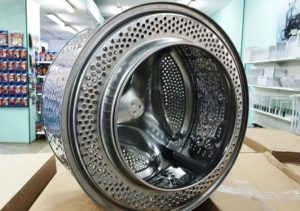
Removing the drum from the tank
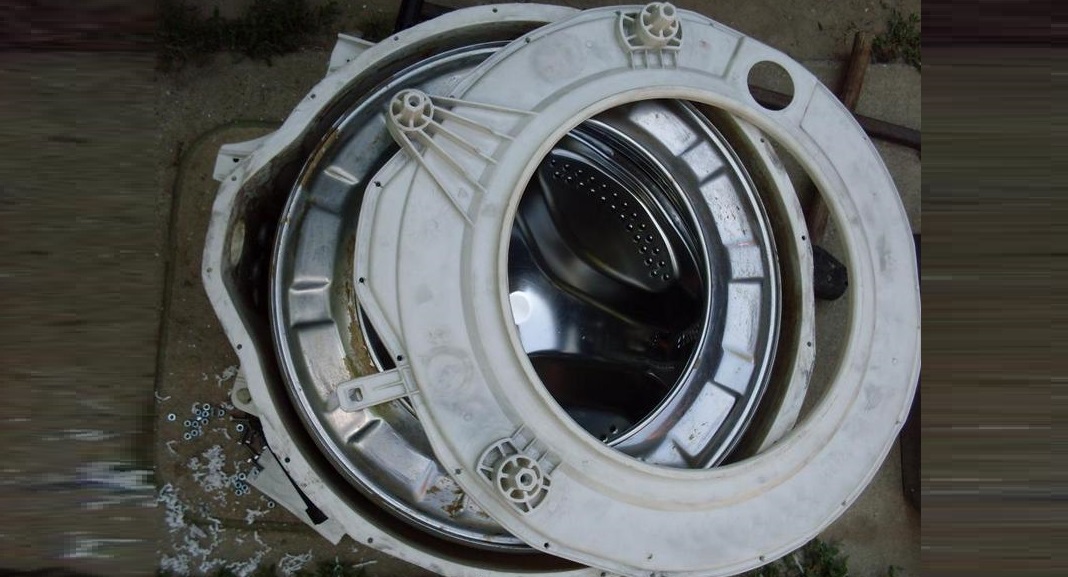
To remove the drum you will have to disassemble the tank. This is much easier to do if your LG “home assistant” boasts a collapsible tank. In this case, you need to perform a number of difficult manipulations.
- Remove the bolts that hold the two halves of the plastic tank together.
- Unscrew the central screw installed exactly in the middle of the mounting location of the inverter motor.
If you pre-treat the screw generously with WD-40 or similar lubricant, it will be much easier to unscrew the part.
- After the second point, the central screw must be well lubricated and screwed back in.This manipulation is necessary in order to later knock out the drum without any problems and without damaging the shaft.
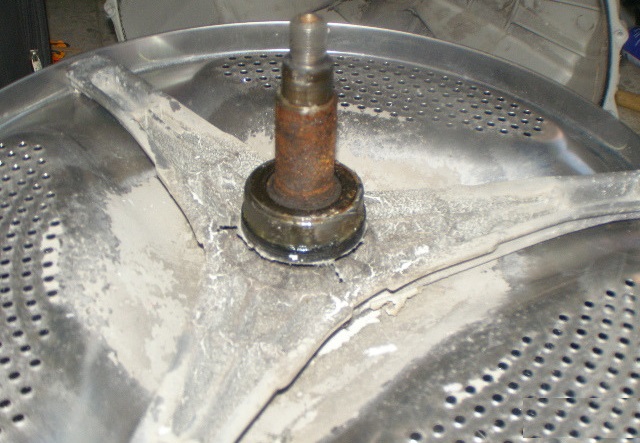
- Now we need a pre-prepared metal pin, with which we need to rest the rod with one end against the screwed in screw. Using a hammer, slowly tap out the shaft without hitting the stud too hard. Do not overdo it with blows, otherwise you may break the parts. It is better to knock out the shaft longer, but safer.
- When you remove the shaft and bushing, inspect the inside of the washing machine, paying attention to all minor defects and damage.
- At this stage, all that remains is to remove the screws that secure the cross with the shaft to the drum using an adjustable wrench. After this, the drum will be in your hands unsecured.
Purchase a similar drum in a special store, and then assemble it according to the same instructions, but strictly in the reverse order. At the last stage, it will be good if you treat the seam of the two halves of the tank with silicone sealant that is resistant to moisture so that the structure is as protected as possible.
Thus, dismantling and replacing the drum in an LG automatic washing machine does not require any special knowledge or skills. It is enough to set aside a couple of hours of time, read the instructions and carefully follow all the steps.
Interesting:


Reader comments
- Share your opinion - leave a comment
Categories
Washing machine repair


For buyers


For users


Dishwasher


Add a comment