How to replace shock absorbers on an Ardo washing machine
If during washing and spinning you begin to hear a terrible knocking, clanging and unnatural rumble, then most likely the shock-absorbing system of the washing machine is to blame. Replacing the shock absorbers of an Ardo washing machine is a simple procedure that any repairman can handle. However, you can save your family budget and fix the problem yourself. This is not difficult to do if you strictly follow our instructions. We'll tell you how to properly prepare for repairing your “home assistant” and then change faulty shock absorbers.
What will be needed for such a repair?
If you decide to replace faulty dampers yourself, then the most important thing is not to rush and follow the instructions step by step. First of all, you need to prepare a set of tools for further work. What does it include?
Screwdriver.
13mm drill bit.
Such a drill is necessary for working with factory fasteners, in which you need to drill a hole for easy dismantling of faulty dampers.
Set of heads.
Screwdriver.
Awl.
Pliers.
Of course, it is not enough to remove the old unit; you also need to install a new one in its place. Therefore, you should also have new spare parts on hand. It is better to buy original parts through an official seller, which can be done on the Internet. Such shock absorbers will definitely fit your washing machine, and will also last for many years. You also need to purchase 13 mm bolts, 2 nuts and 2 washers.
We get free access to shock absorbers
To remove the old racks, you will need to partially disassemble the Ardo washer.That is why repairs begin with a number of preparatory activities, which are prohibited from being skipped.
Disconnect the device from all communications.
Fix all the hoses along with the power cord on its back panel.
Move the machine away from the wall to make it easier to work with.
Do not under any circumstances carry out repair work on equipment connected to the electrical network or water supply - this is unsafe.
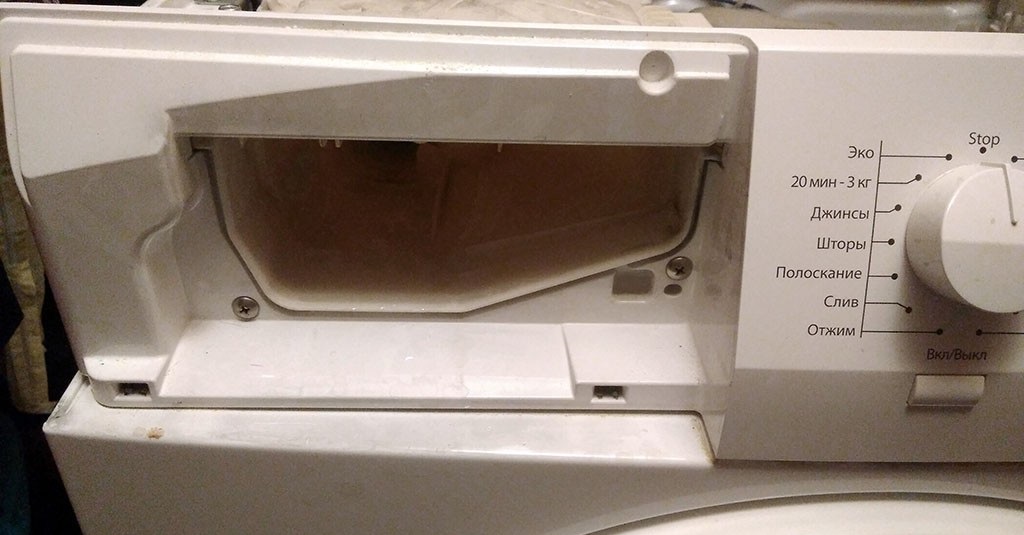
Remove the latches holding the CM cover, and then move the top panel itself to the side.
Remove the powder receptacle.
Behind the cuvette for household chemicals are hidden other clamps that hold the control panel, and which also need to be removed.
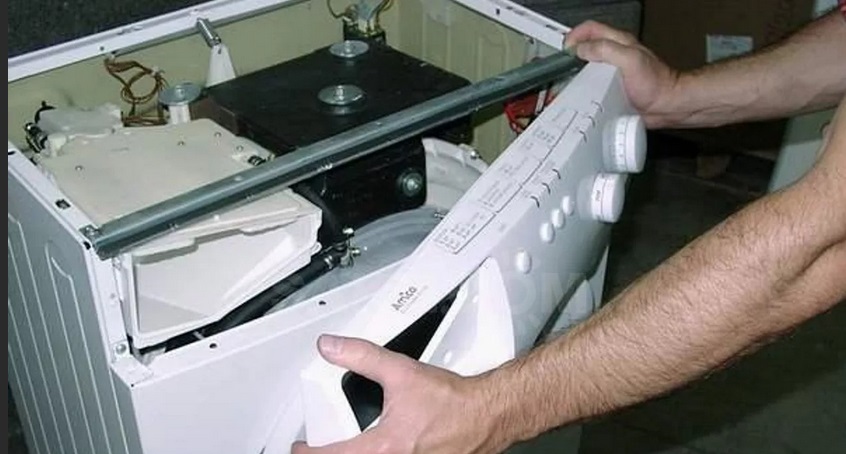
Remove the instrument panel from the body, remembering to first disconnect all the wires from it.
Be sure to take a photo of the correct wiring connection, which will be useful during reassembly of the washer.
Carefully place the device on the back wall, after covering the floors with towels.
Remove the bottom holding bolts.
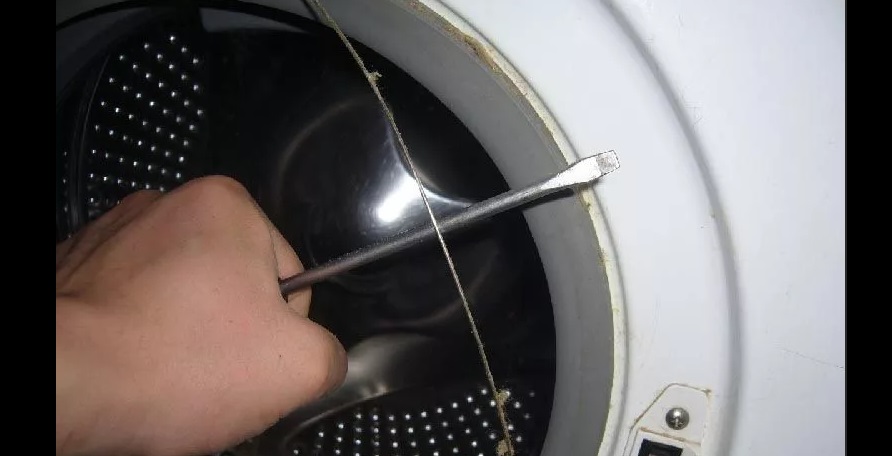
Open the hatch door and remove the outer clamp from the rubber seal.
Carefully thread the rubber band into the drum.
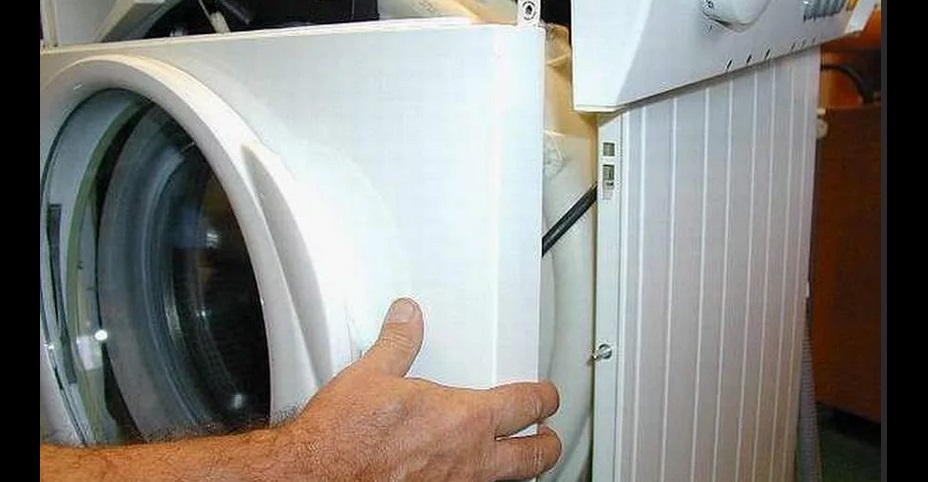
Unhook the front panel from the body along with the hatch locking device wiring.
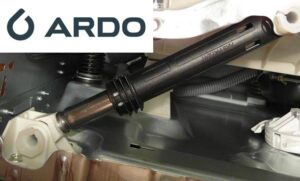
When the front panel is removed, you will be able to see the shock absorbers, which look like two posts holding up the washing tub. It is best not to stop at dismantling the front panel, but to continue the disassembly to first remove the washing machine tank, and only then proceed to the dampers. However, to speed up the process, it is permissible not to touch the tank, but to immediately take on the shock absorbers, because this way the process will be a little more complicated, but it will take much less time.
We remove the damaged damper and install a new one
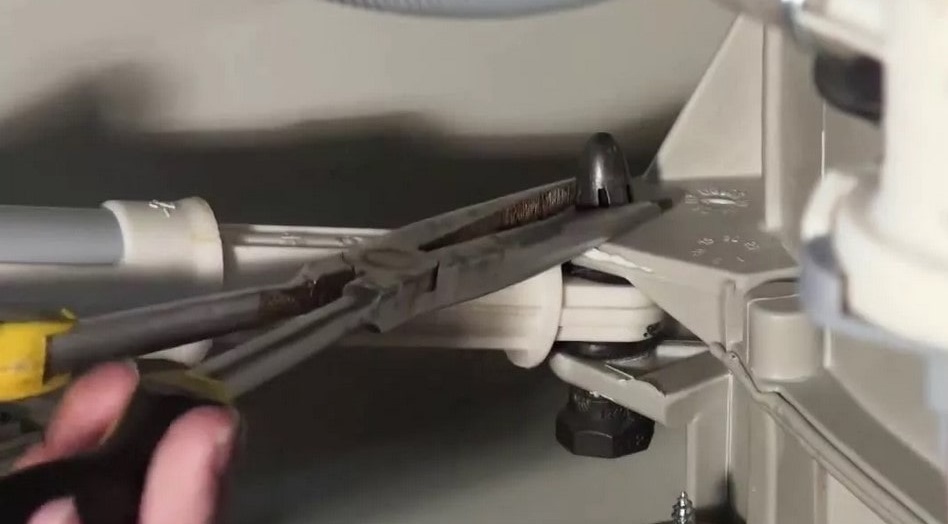
To replace the shock-absorbing unit with your own hands, you first need to remove it by disconnecting it from the body and tank. This is very easy to do at the bottom of the CM, because there you only need to loosen the fasteners. At the top there are special plastic fasteners that cannot be easily unscrewed. What should I do to extract them?
Take a screwdriver with a 13mm drill bit.
Carefully drill through the fasteners, thus releasing the elements.
There is nothing wrong with this action, because failed dampers cannot be restored. They need to be removed and thrown away, and new spare parts installed in their place, not forgetting to first clean the seat and then treat it with sealant. After this, you should install new shock absorbers, first screwing them with clamps from below, and then hooking them through the prepared holes to the washing tank.
After completing the repair, you need to reassemble the machine according to our instructions in the reverse order and return it to its place. Then all that remains is to check the functionality of the “home assistant” using a test work cycle. If the vibration and extraneous noise have disappeared, then the machine can be used for washing again.
 If during washing and spinning you begin to hear a terrible knocking, clanging and unnatural rumble, then most likely the shock-absorbing system of the washing machine is to blame. Replacing the shock absorbers of an Ardo washing machine is a simple procedure that any repairman can handle. However, you can save your family budget and fix the problem yourself. This is not difficult to do if you strictly follow our instructions. We'll tell you how to properly prepare for repairing your “home assistant” and then change faulty shock absorbers.
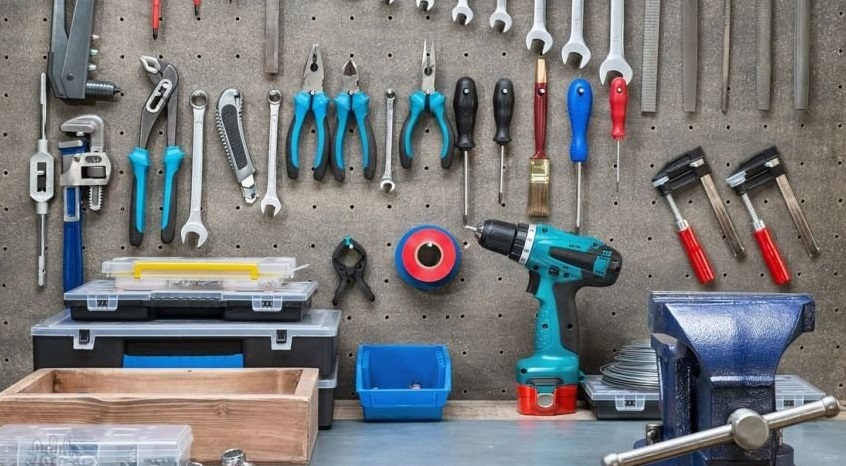


Add a comment