How to change the bearing in a Gorenje washing machine?
The Gorenje machine itself will notify the user that the bearings need to be replaced. Modern machines will display the corresponding fault code on the display. In addition, a washing machine with a worn-out bearing assembly will begin to knock and rattle during operation. There is no point in postponing the repair of your “home assistant”. If you continue to use your Gorenje washing machine with a broken bearing assembly, you may damage other internal parts. We will analyze the procedure for replacing a bearing and tell you how to repair the equipment yourself.
Are the bearings really bad?
First of all, you need to figure out exactly what signs indicate problems with the bearings. If the “rings” are worn out and broken, the Gorenje washing machine begins:
knocking and grinding, especially during spin cycles;
"backlash" When unwinding the drum by hand, significant play is noticeable;
buzz at any stage of the cycle.
In most cases, these “symptoms” indicate problems with the bearing assembly. Rarely, the situation can be complicated by the breakage of the cross. In the latter case, you will have to replace the entire drum; this part is not sold separately.
You'll have to empty the tank first
You can fix the “home assistant” yourself. The only thing is that you need to move the washing machine to a free room where nothing will interfere with disassembly. To change the bearing yourself, you will have to prepare a set of tools: a screwdriver, a pair of screwdrivers (phillips and slotted), a drift, a small hammer. In addition, a few clean rags and WD-40 spray lubricant will come in handy.
Conventionally, the process of replacing bearings is divided into three stages.At the first stage, the body of the washing machine is disassembled - due to this, all parts that may interfere with the removal of the drum are removed. On the second, the bearings are knocked out and new components are installed. And the final step is assembling the machine.
Before you start working, you must turn off the power to the Gorenje washing machine and turn off the water supply tap.
The algorithm of actions will be as follows:
disconnect the machine from the house utilities;
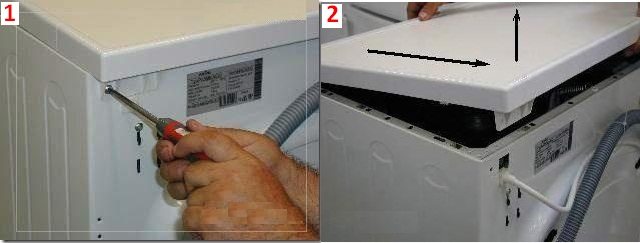
remove the top panel of the case. To do this, unscrew the two bolts securing it and remove the cover;
remove the powder receptacle from the machine;
unscrew the bolts securing the control panel;
Carefully move the “tidy” to the side, hanging it on the side of the body on a pre-prepared hook. It is important not to damage the board wiring;
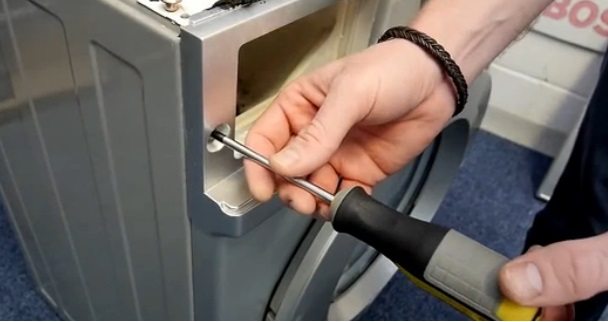
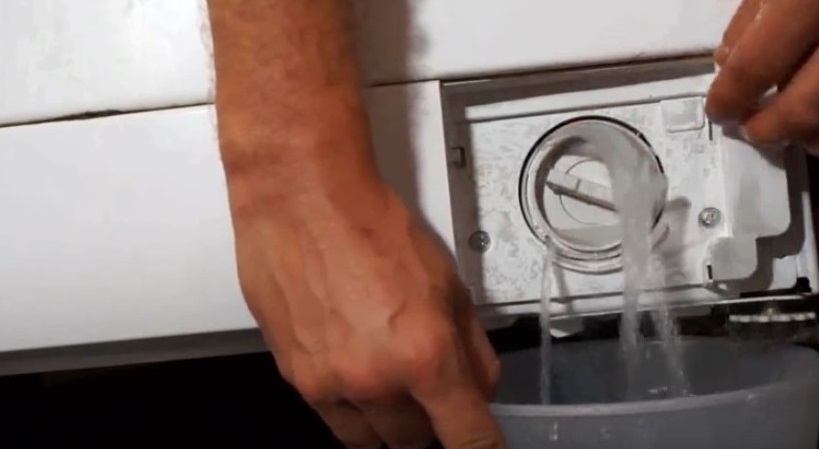
remove the lower front false panel, behind which the garbage filter is hidden;
drain the remaining water from the system by unscrewing the “trash can” plug;
remove three bolts previously hidden behind the decorative panel;
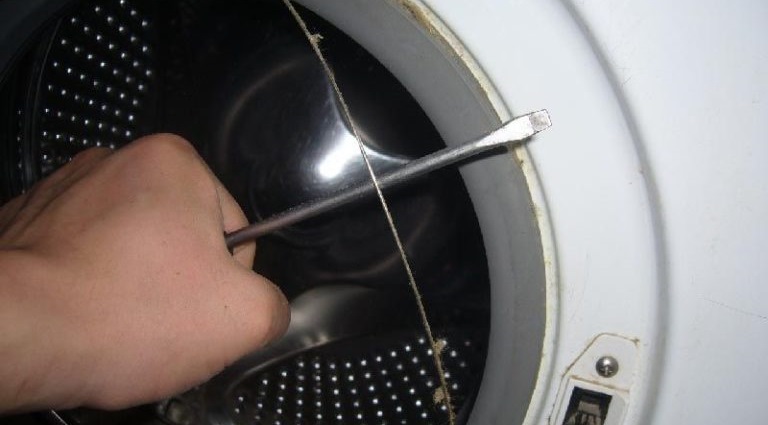
open the hatch door and find the clamp securing the cuff;
loosen the latch of the plastic clamp and pull the “rim” out of the body;
insert the sealing collar into the drum;
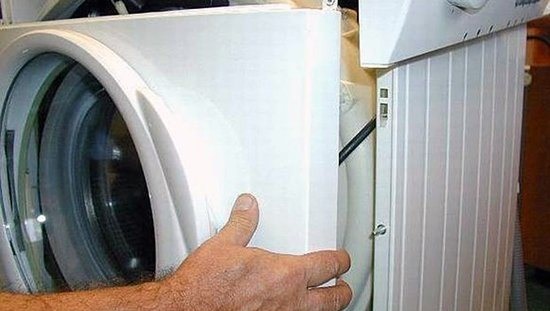
Unhook the front panel of the case. When removing the wall, you will need to carefully remove the UBL chip or completely disconnect the lock;
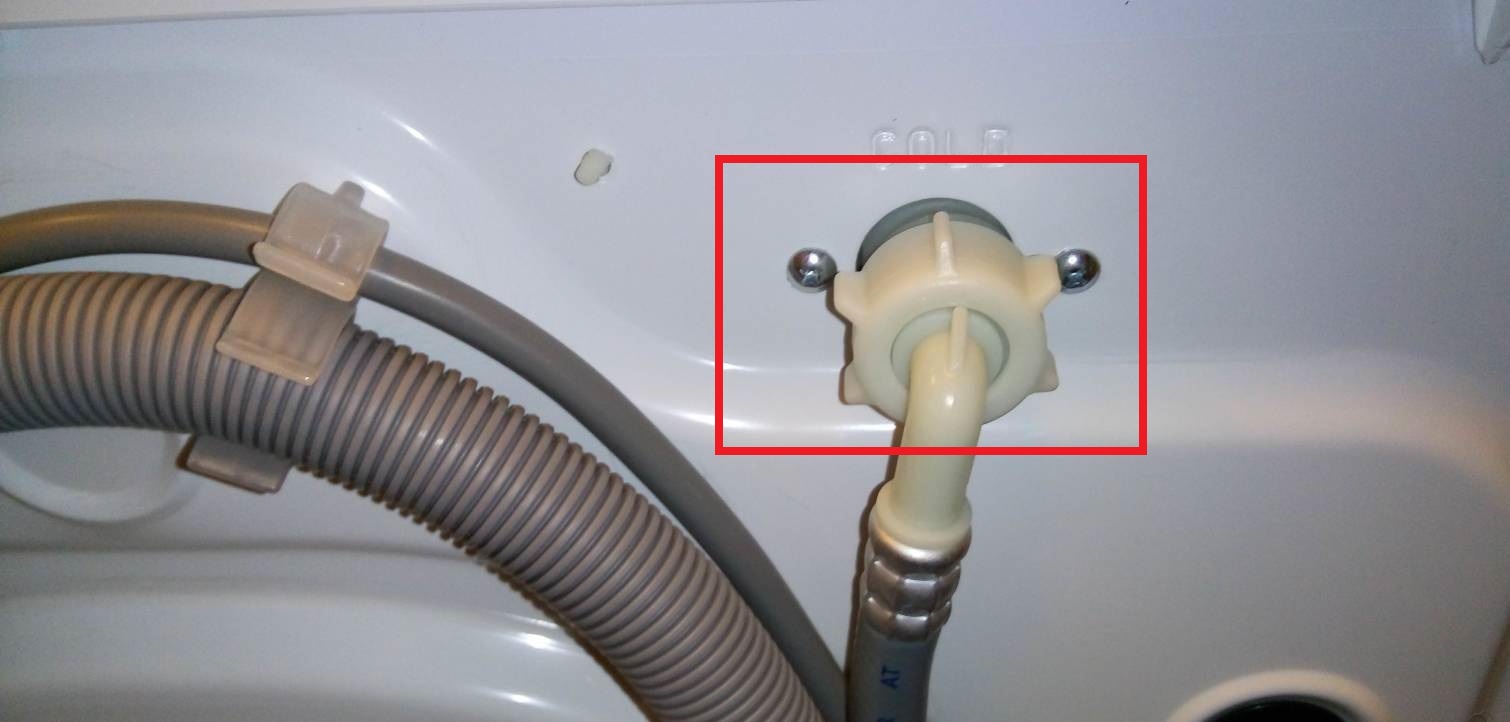
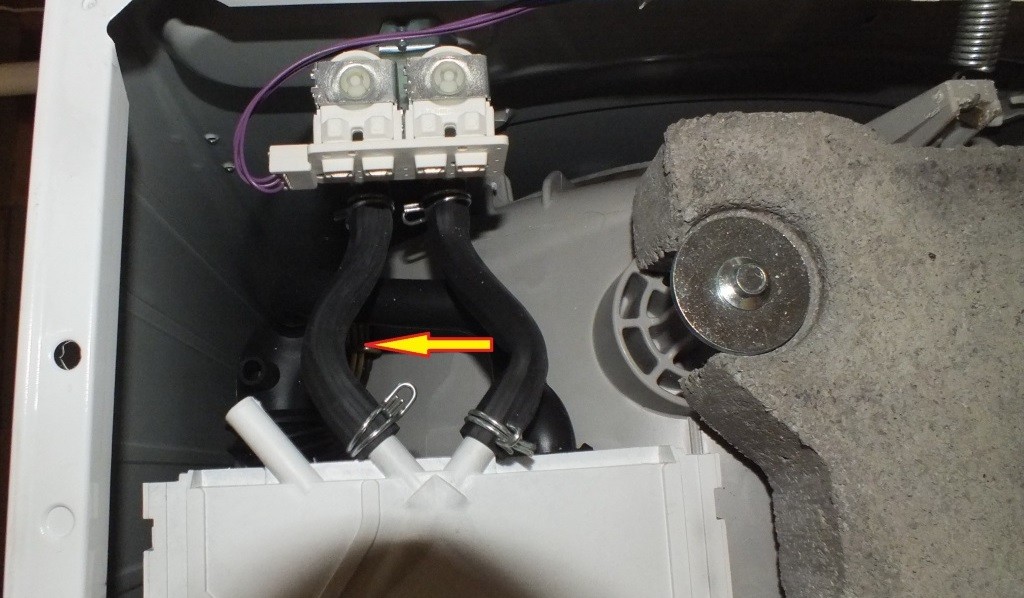
remove the filler pipe;
remove the wire from the dispenser and remove the “hopper” from the machine;
remove the metal false panel located on top, under the “tidy”;
pull out the counterweight by removing its clamps;
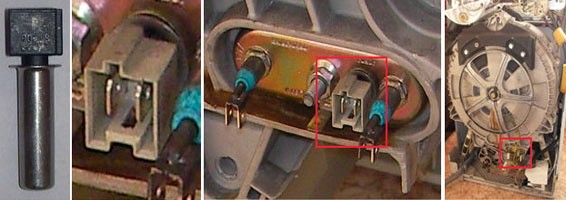
reset the temperature sensor wiring, remove the thermistor;
remove the heating element by loosening its central nut;
unhook the clamps holding the tank “lid”;
move the plastic part aside.
Even with a little understanding of the structure of the washing machine, you can easily remove the main internal elements. Then all that remains is to remove the drum from the tank and work with the metal container. We'll tell you how to access the bearings.
We take out the tank and disassemble it
At this stage of work, access to the tank is only open from the front of the Gorenje washing machine. Now we have to work on the back panel of the case. You should proceed like this:
Unscrew the bolts securing the back cover;
remove the drive belt from the pulley;
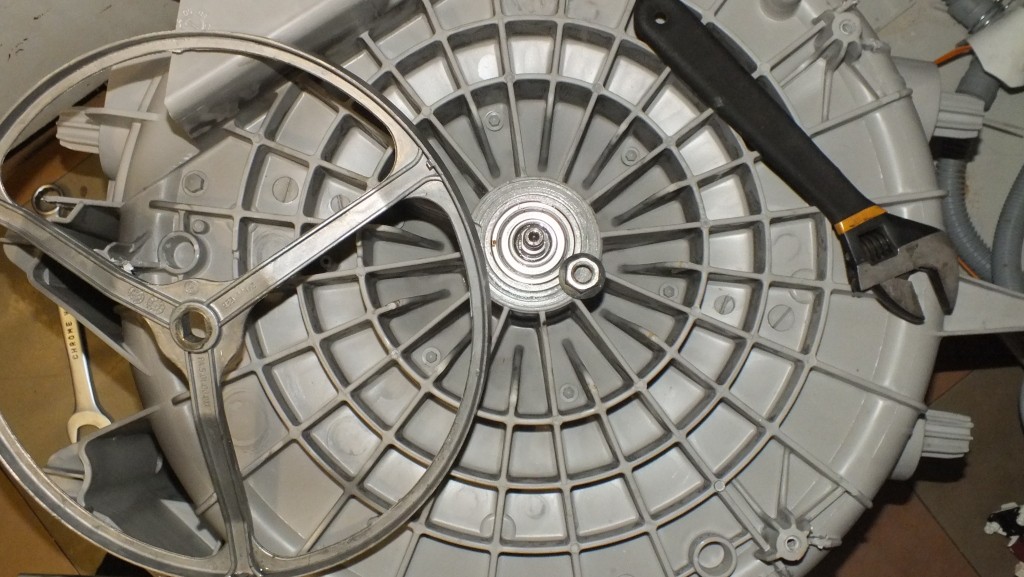
Unscrew the nut that holds the drum “wheel”;
remove the drum from the washer.
First you need to inspect the crosspiece, assess what condition it is in. If there are no signs of wear, chips or other defects on the shaft, everything is fine, you can start replacing the bearings.
If the bearing is stuck on the drum shaft, spray the parts with WD-40, wait 20 minutes and try to remove the element again.
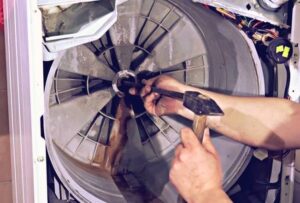
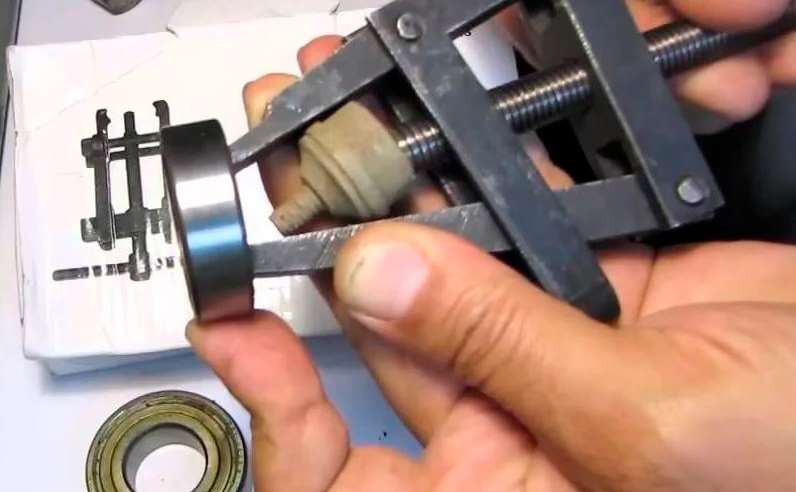
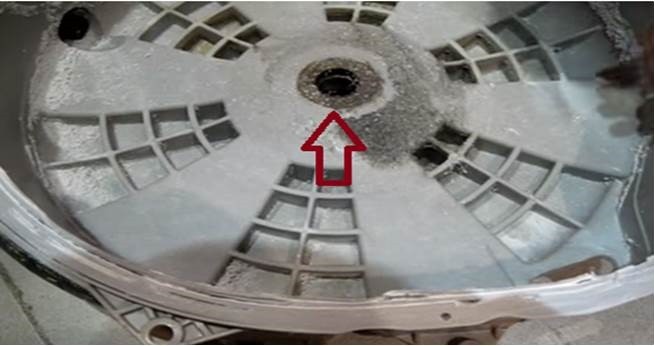
At this stage, a small hammer and a drift will be useful for the work. The latter can be replaced with a blunt chisel or puller used for car repairs. Using these tools you need to knock out the worn “rings”. The algorithm of actions will be as follows:
pry up the oil seal with a screwdriver and remove the seal;
place the drift in the middle of the outer bearing and tap the “ring”, moving the tool in a circle;
knock out the second bearing in the same way.
Dismantling of the bearing assembly is complete. Before installing new bearings, be sure to clean the seat from metal shavings and dirt and treat the area with a special lubricant. The shaft should also be washed. Having finished “cleaning”, you can “hammer” new rings.
We put in a replacement
It is important to purchase the correct replacement parts.To do this, you should look at the model and serial number of the Gorenje machine. You can take the old bearings and gasket and show them to the store manager. Then the probability of buying the “wrong thing” will be reduced to zero. The replacement is done like this:
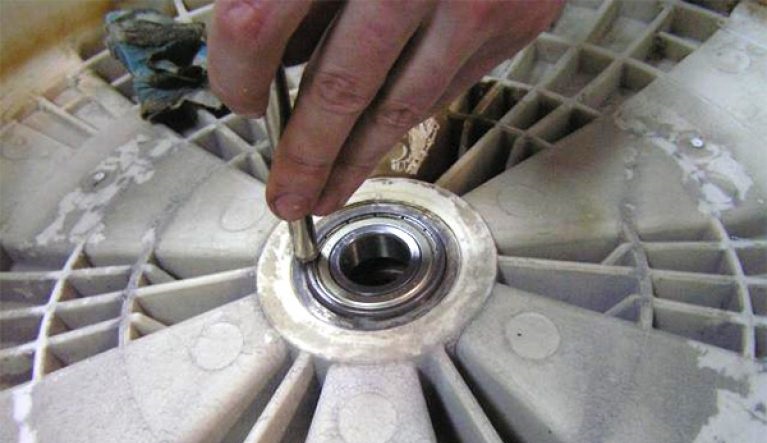
place the smaller ring in the seat on the outside of the drum;
drive the bearing inside using a drift;
When pressing a bearing, you must not knock on its outer race, as this can damage the part.
install a second, larger bearing, “hammer” it in a similar way;
treat the rings with special bearing grease;
lubricate the oil seal and “seat” it into place.
In addition, the bushing and drum shaft must be treated with lubricant. Due to such a protective coating, the unit will not be afraid of temperature changes and exposure to moisture.
Next, the Gorenje washing machine is assembled in reverse order. The drum is put in place, the pulley is returned, the drive belt is tightened, and the back panel is attached. Then you need to work with the front part of the machine: fix the heating element, temperature sensor, control panel and other elements. After completing the repair, be sure to run a test wash and monitor the operation of the equipment.
 The Gorenje machine itself will notify the user that the bearings need to be replaced. Modern machines will display the corresponding fault code on the display. In addition, a washing machine with a worn-out bearing assembly will begin to knock and rattle during operation. There is no point in postponing the repair of your “home assistant”. If you continue to use your Gorenje washing machine with a broken bearing assembly, you may damage other internal parts. We will analyze the procedure for replacing a bearing and tell you how to repair the equipment yourself.
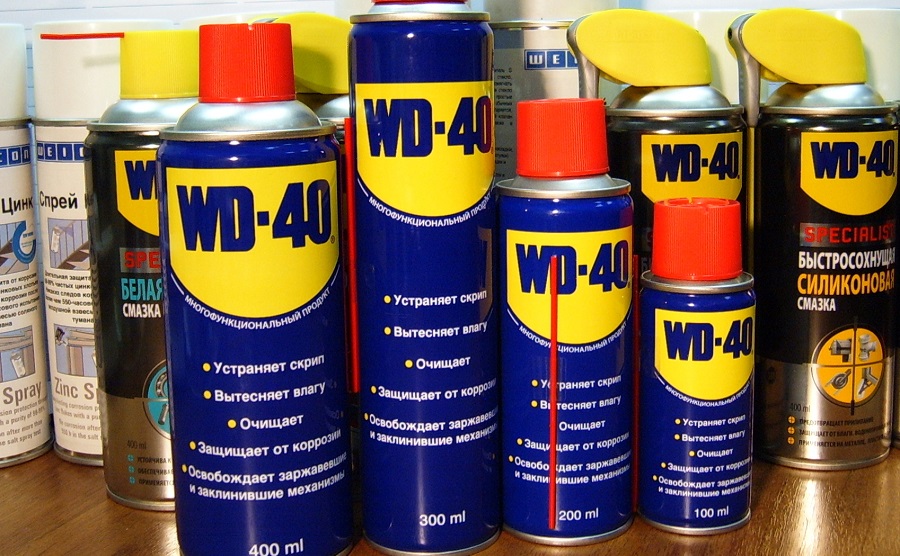


Add a comment