Disassembling the Gorenje washing machine
 Unfortunately, any equipment, including Gorenje washing machines, sometimes malfunctions, and some users immediately fall into despair and prefer to buy new units instead of repairing old ones. However, sometimes it is really possible to fix the problem, even with your own hands. To do this, you need to understand how to disassemble a Gorenje washing machine. The article will tell you what tools you will need for this procedure, as well as all the possible nuances of the process that are useful to know.
What are we going to look at?
As a rule, any home has the necessary set of tools, which will be enough to disassemble the Gorenje washing machine yourself. At the initial stage, you can generally get by with one screwdriver, but in the future for complete dismantling you will also need:
- pliers;
- a mallet or, if not available, a small hammer;
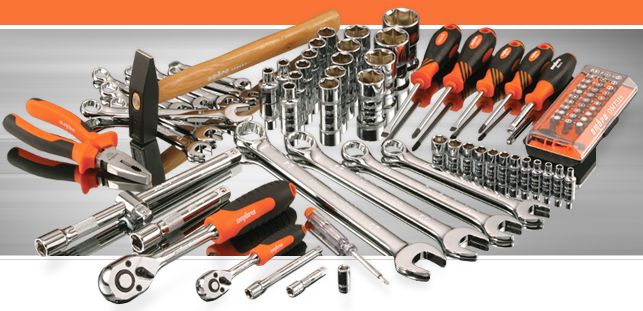
- a set of keys (open-end and socket);
- round nose pliers;
- drill;
- awl;
- auto remover;
- other tools depending on the situation.
Important! Just in case, you should stock up on penetrating anti-corrosion lubricant WD-40!
If corrosive growths have accumulated on the fasteners, dismantling them will be extremely problematic, and lubricant will help soften the scale and easily disassemble stubborn elements.
You should also prepare a large container, preferably a basin, to drain dirty water from the hose, and a mobile phone with a camera or camera. Correctly disassembling the SM is still half the battle, because after the work you will have to mount everything again. A step-by-step photo report will help reconstruct the course of events.
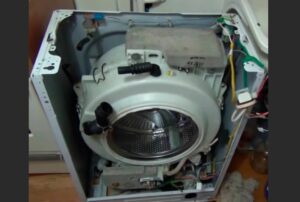
Removing parts around the tank
First of all, you need to disconnect the SM from all communications. Remove the plug from the outlet and turn off the water supply.Disconnect the inlet and drain hoses, having previously placed the latter in a prepared basin, so as not to flood the space around the CM with water.
Now you need to remove the top cover of the CM. It is secured with several screws that can be unscrewed with a Phillips screwdriver. The bolts are located at the top of the rear panel of the CM. Once you have them off, slide the cover back by pushing it a little and then lift it up, the cover will come off easily.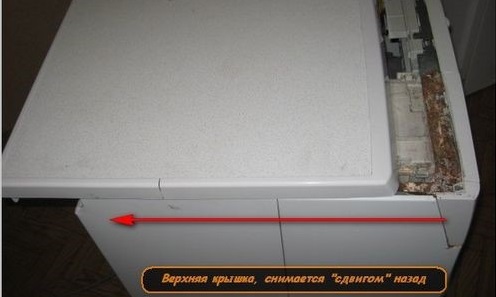
Next, remove the powder drawer by pressing the plastic key in the center of the tray and sliding it towards you. After this, you can dismantle the control panel. Be careful as it is quite fragile. The panel is attached to the body with two bolts located in its right and left parts (one is directly under the powder receptacle). You definitely won’t need the control panel before reassembling it, so put it somewhere away (put it on a windowsill, on a bed, hang it on a hook) so as not to accidentally damage it during further installation.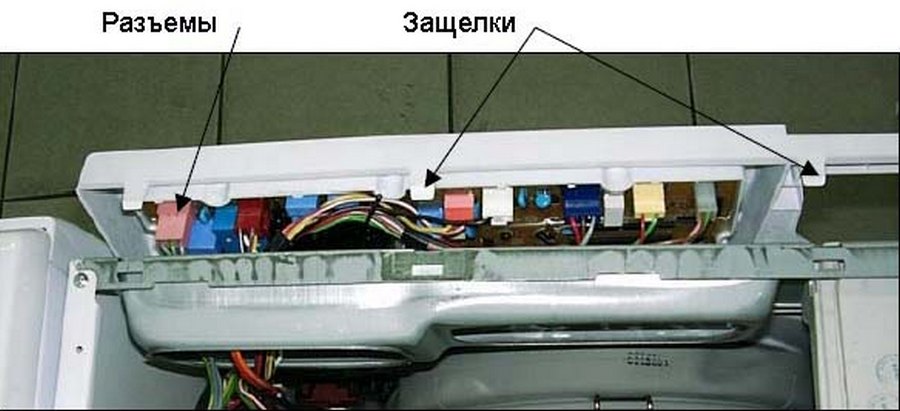
Next, remove the service panel by simultaneously pressing the two latches located on the sides, and then the latch in the middle.
The next element in line is the front wall of the washing machine. To remove it, you need to loosen the hatch cuff. Take one of the screwdrivers and, bending the edge of the cuff, pick up the clamp holding it. Moving around the perimeter, feel for the spring, loosen it, and the clamp will come off on its own. It is not possible to completely remove the cuff, because it is held from the inside by another clamp, but it can be bent and placed inside the drum. If you try to rip the cuff off, it may tear or the internal fastener may come off, so be extremely careful and attentive. To further remove the front wall, follow these steps.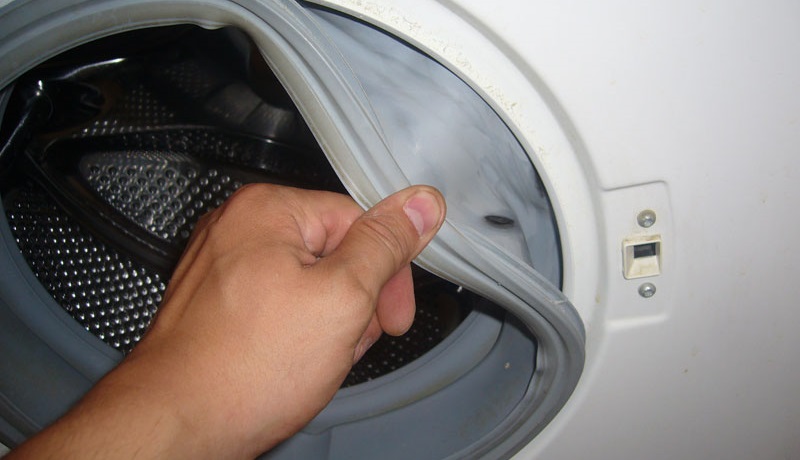
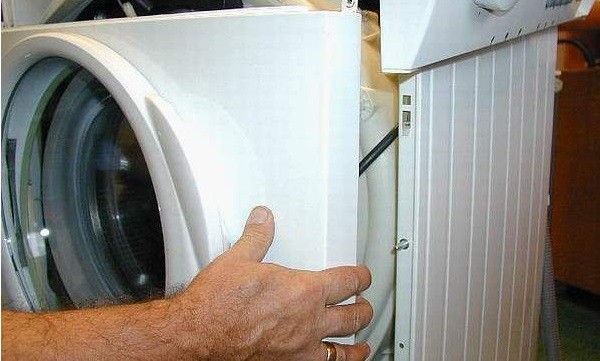
- Remove the front panel.
- Remove the protective cover by unsnapping the latches.
- Lift the panel and remove the hooks that hold it in place.
All that remains is to remove the back wall of the SM. To do this, use a screwdriver to unscrew the bolts located around the perimeter of the panel. There are quite a lot of them. Essentially, this panel protects the “core” of the washing machine – the drive mechanism, which is why the mount is so solid.
Removing and disassembling the tank
The washing machine tank together with the drum is not an easy unit, so if you have the opportunity to call someone for help when removing it, it is better to use it. The tank is supported by springs from which it must be removed and then removed. Use a screwdriver to remove the front counterweight and put it somewhere. Now there is nothing stopping you from placing the tank face down to gain access to the drive mechanism.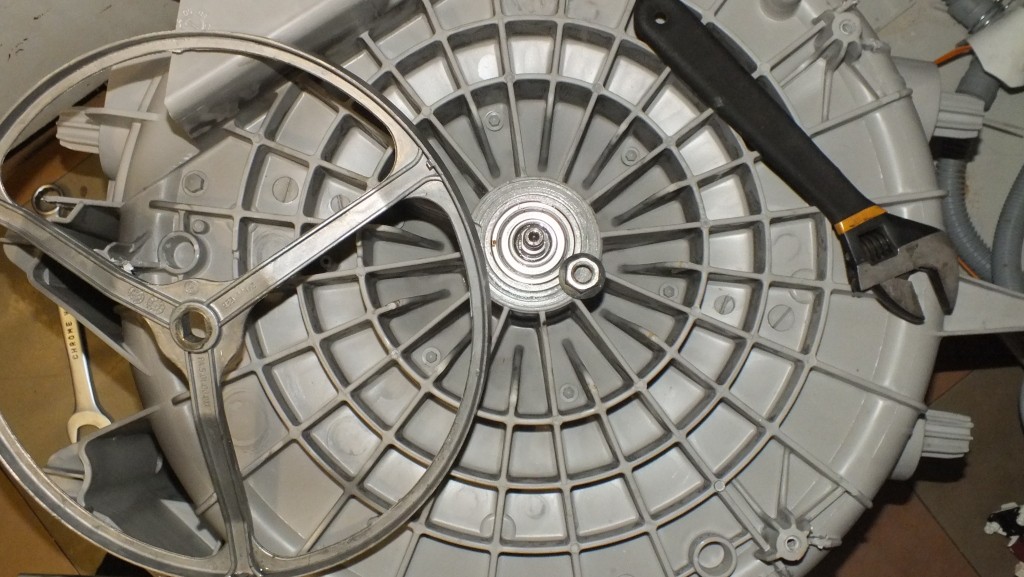
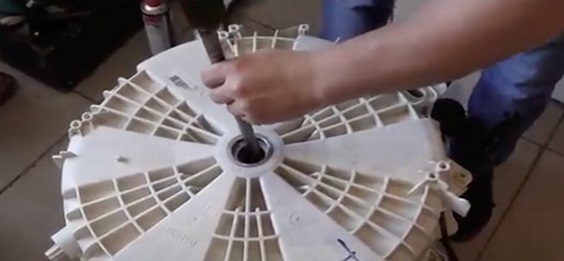
Now you need to remove the pulley, but if the pulley and drum shaft spin, it will be difficult to work with them, so wedge them with a block. Then use a hex wrench to remove the center bolt holding the pulley in place.
Note! The bolt is extremely difficult to remove, since during production it is filled with a special compound that increases the strength of the fastening.
This is due to the fact that the shaft system of the drum bears the greatest load during spinning. If you do not secure the pulley with additional compound, the entire module will simply fall apart from numerous vibrations.
Some craftsmen advise heating the bolt with a gas torch before dismantling, but such actions require extreme caution, as they can harm other elements. Instead, use a prepared anti-corrosion lubricant.Moisten the fastener with it, wait a little and try to dismantle it. The bolt is unscrewed strictly clockwise!
Once the bolt is removed, grab the pulley with both hands and begin to pull it towards you, simultaneously rocking it from side to side. After removing the pulley, disassemble the tank into two halves. Not all tanks are a combination of two halves, but most Gorenje washers do. They are connected to each other with long screws. How to dismantle the tank?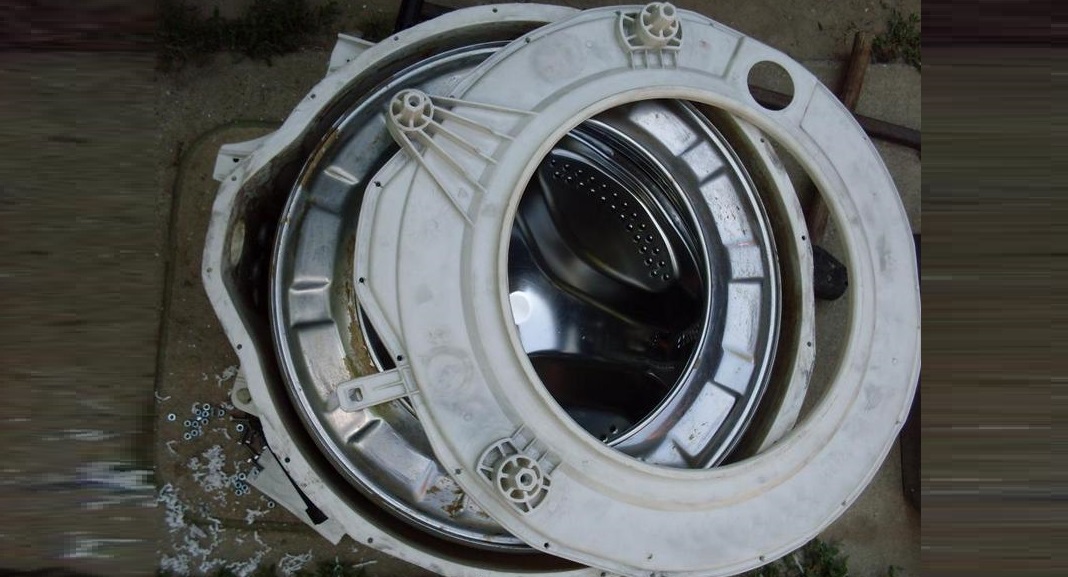
- Take an 8mm screwdriver and remove all the fasteners holding the tank halves in place.
- The tank will then split into two parts, but the rear of the tank will still be connected to the drum via shaft bearings.
- Find some old bolt that has a thread that fits the hole connecting the pulley to the drum shaft.
- After screwing in, take a hammer and a block. Place a block under the bolt and lightly tap it with a hammer until the tank separates from the bearing.
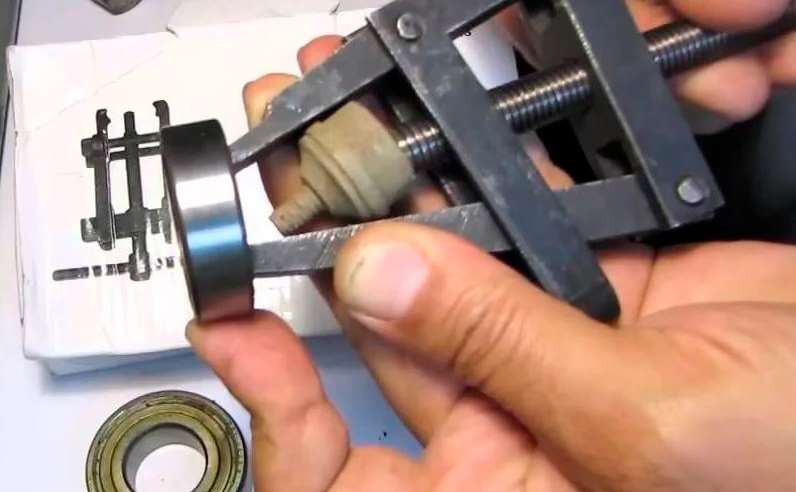
The last thing we need to dismantle is the part of the drum with the shaft and cross. A rubber seal and a bearing are “put on” the shaft.
- Take a puller and grab the bearing with it.
- Gradually turn the thread until a certain level of tension is created.
- Apply grease to the bearing.
- After 30 minutes, continue unscrewing the threads until the bearing and seal are removed.
After this step, you can confidently say that you have completely disassembled the Gorenje washing machine with your own hands. The unit is assembled in the reverse order according to the photo instructions you made yourself.
Interesting:


Reader comments
- Share your opinion - leave a comment
Categories
Washing machine repair


For buyers


For users


Dishwasher


Add a comment