How to install a Gorenje dishwasher
 There is a widespread belief that for a dishwasher to last long, it is enough just to handle it correctly and carry out thorough diagnostics from time to time. In fact, careful care begins even earlier - with installation and connection of the device to all communications. Correct installation of a Gorenje dishwasher is extremely important, as it directly affects the further operation of household appliances. Therefore, today we will analyze in detail the initial installation of the “home assistant” and everything connected with it.
Complete set of PMM Gorenje
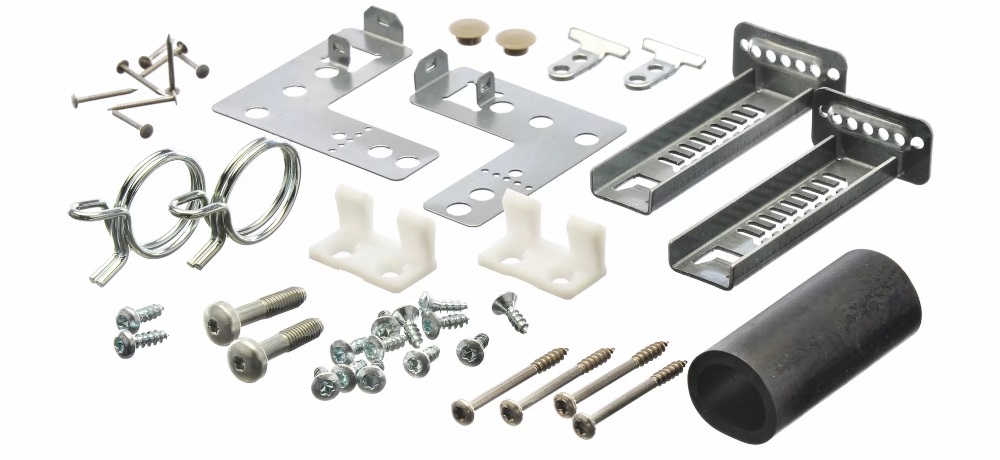
The Slovenian machine-building company Gorenje does not skimp on the configuration of its equipment, so in the package with the device you will find everything you need for comfortable use of the equipment. This list includes a number of items.
- Plastic holder for hoses that need to be used to secure the drain and fill hoses.
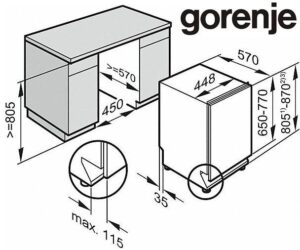
The holder is necessary because, according to the device’s passport, it is impossible to connect hoses for draining and collecting water with communications without raising them to a level of 35 centimeters or higher.
- Grids and baskets for the washing chamber to make it convenient to arrange dirty dishes.
- An installation kit to comfortably install the machine in its place. Kits differ for fully and partially built-in versions.
- Legs that are needed to level the machine on the floor if it is a free-standing dishwasher.
- A starter kit of detergents designed to prepare equipment for use. It usually contains special salt, rinse aid and either multi-purpose tablets or another detergent.
Never use ordinary table salt for PMM, as it is unable to effectively care for the machine’s ion exchanger, which softens hard tap water and loses its properties over time.
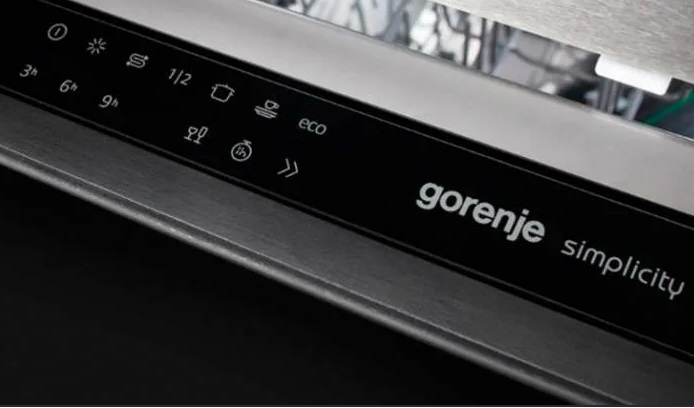
Good for Gorenje equipment and with additional functions. Most modern brand dishwashers are equipped with the following modern technologies:
- smart control panel, more convenient and intuitive for users;
- function of opening the door immediately after the working cycle to remove hot steam and allow a fresh air flow to dry the dishes;
- fast washing mode in 15 minutes to urgently wash a mountain of dishes when you are short of time;
- smart automatic mode that independently selects settings depending on washing conditions;
- function of automatic filter cleaning after operation, so that you do not need to regularly clean the drain with your own hands;
- the ability to adjust the height of the baskets inside the washing chamber to accurately place the largest items;
- the ability to wash dirty dishes with powerful water pressure to save cycle time;
- finally, a special purity sensor that analyzes the transparency of the water to save water consumption and control the rinse cycle.
Gorenje does not lag behind its more well-known competitors, providing users with a rich set of additional functions, which is why equipment from this brand is being chosen more and more often. The equipment has been selected, all that remains is to select the tools and install the device.
Additional components and tools
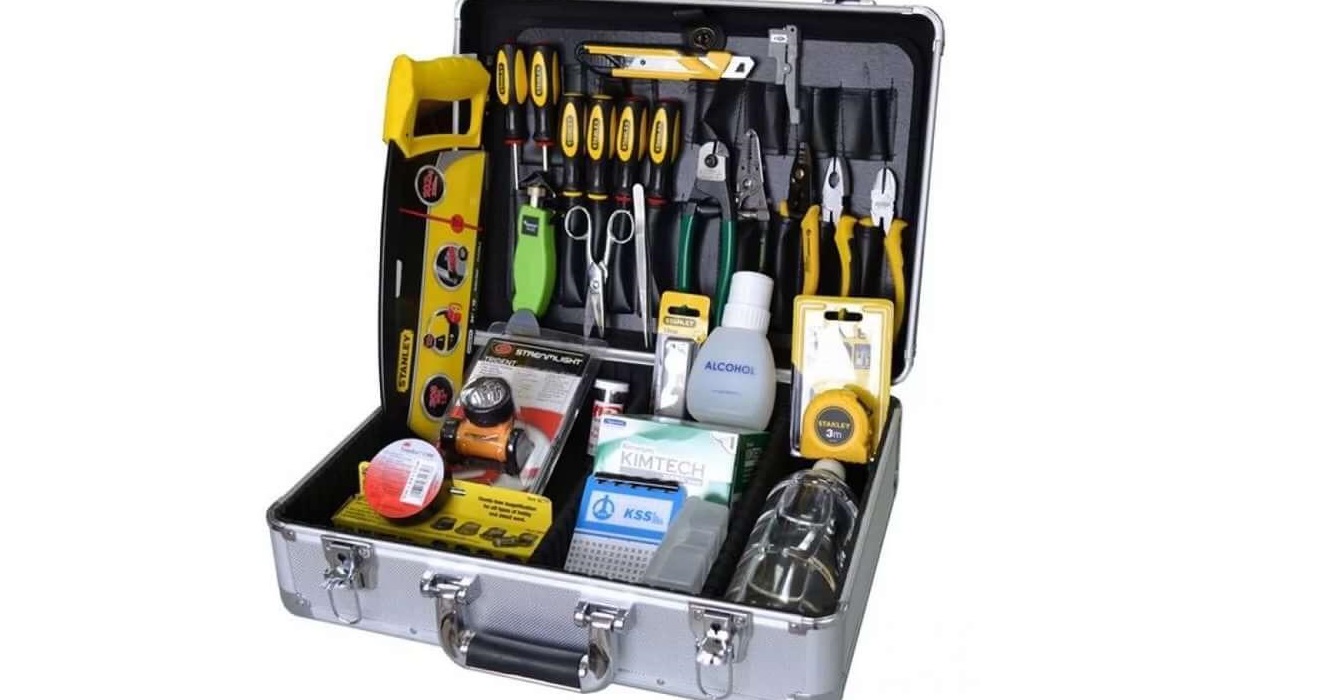
Despite the rich package, the company cannot include installation tools in the starter kit.Therefore, before installation, you will have to go to a hardware store and purchase everything you need if something from the list is not at home.
- An ordinary minus screwdriver, plus a Torx screwdriver, it’s just an “asterisk”.
- Tape measure for measuring the niche where it is planned to place the device, if we are talking about a built-in PMM.
- Construction level for high-quality, level installation, which is important for free-standing equipment.
Any dishwasher must be level, to eliminate the possibility of imbalance in the mechanism of household appliances and further failure with possible flooding of the floors.
- FUM tape and ordinary scissors for additional sealing of all connections.
You should also have a ¾ shut-off valve installed in your home to connect your dishwasher to. If there is no such valve, then you will either have to buy it and call a service center technician to install it, or you can buy an adapter from ½ to ¾, which will be cheaper and easier.
Installing the Gorenye dishwasher in place
Housewives often think that connecting to water supply and sewerage is a complex process that cannot be handled on their own without the help of a specialist. In fact, there is nothing difficult in the initial installation if you install the equipment strictly according to the instructions. We will tell you in detail how to properly connect the Gorenje PMM.
- Unpack the device and move it to the place where it will be located. Do not immediately move the machine close to the wall or push it into a kitchen cabinet so that you have access to the equipment.
- Connect the equipment to the sewer and water supply. It is advisable that the drain does not exceed one and a half meters in length, so that the water does not stagnate in the hose after the working cycle.

- Connect the dishwasher to the electrical outlet. It is important that the socket is at a height of 25 centimeters or more, so that in case of leaks, water cannot damage the power supply. For these reasons, experts recommend purchasing sockets with grounding and water curtains.
If there is no separate outlet near the unit, then you should call an electrician to make one, and in no case should you use an extension cord, which may not cope with the voltage, melt and even lead to a fire.
- Place the machine in the place prepared for it. It is best to select a niche so that you always have free access to the outlet, so that if necessary, you can quickly pull out the plug.

- All that remains is to check the performance of the machine, for which a dry test wash is suitable. During this working cycle, you can make sure that the PMM is working, all connections are tight, water does not leak anywhere, and after work it goes into the sewer without any obstacles.
Thus, only 5 points separate you from the moment you buy a brand new “home assistant” until the moment she washes the first batch of dirty dishes.
Interesting:


Reader comments
- Share your opinion - leave a comment
Categories
Washing machine repair


For buyers


For users


Dishwasher


Add a comment