How to change the bearing on a Bosch Maxx 5 washing machine
Washing machines from Bosch are famous for the reliability and wear resistance of the bearing unit and serve faithfully for many years. But due to regular overload of the drum, careless use or long-term operation, even strong equipment fails and the bearings are destroyed: the machine creaks, knocks and rumbles. You cannot run the washing machine with a damaged mechanism; you need to change the components faster. We suggest you figure out how to replace bearings in a Bosch washing machine. Let's show step-by-step instructions using the Maxx 5 model as an example.
Identifying broken bearings
It is not difficult to understand that the BoschMaxx 5 needs to replace the bearings. The washing machine will signal every wash about problems with the drum assembly. The very first and most obvious “symptom” is increased vibration of the body, which during spinning develops into a strong hum and “jumping”. At the same time, a rumble and clanging sound is heard, reminiscent of metal balls rolling. In neglected situations, rusty liquid will leak out from under the machine. It will also be found on the pulley if you remove the back wall and carry out an inspection.
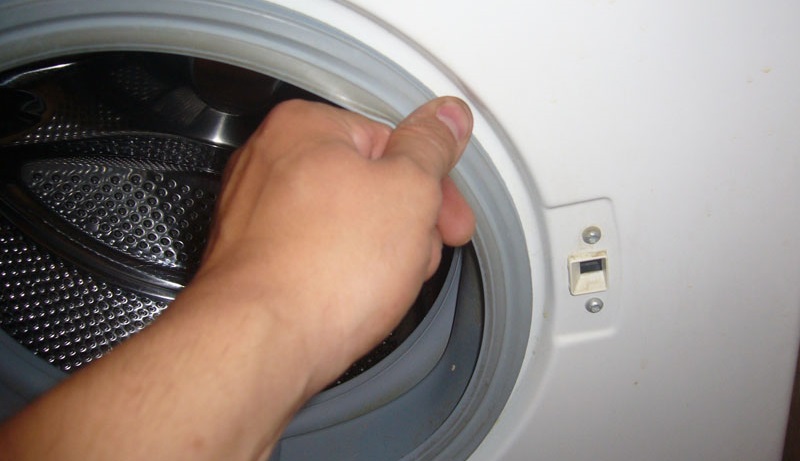
You can also check the condition of the bearing assembly using a “manual test”.
We take hold of the edge of the drum.
We pull the container forward and back, and then left and right.
We evaluate the movement of the tank: if play is noticeable, the drum is loose, which means the bearings need to be replaced.
You cannot operate the washing machine with broken bearings. With each wash, the drum will become more loose and begin to hit the tank, destroying it and itself. All this will lead to an imbalance, the machine will begin to jump and gradually damage internal parts and mechanisms.The pulley will not be left out, which will make grooves on the outside and finally “break through” the drum cylinder. In this case, Bosch repairs will become several times more expensive.
What is needed to fix the breakdown?
You can replace bearings with your own hands at home. The main thing is to prepare for the procedure, purchase new components and remember safety precautions. It is also important to soberly assess your strengths and capabilities: you will need to almost completely disassemble the machine and halve the tank. If experience and time are not enough, contact the service center.
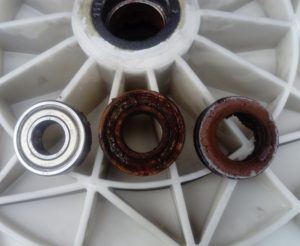
BoschMaxx 5 washing machines are equipped with bearings 6204, 6205 and an oil seal 30x52x10/12.
Having decided to do the repairs ourselves, we collect the tools:
hammer;
pliers;
screwdrivers (flat and Phillips);
punch;
thread locker (detachable – blue);
ratchet;
Torx hex screwdriver set.
Also useful during replacement are WD-40 or similar cleaner, high-temperature sealant, and lubricant. New components are also purchased: bearing and oil seal. As a rule, BoschMaxx 5 requires holders 6204, 6205 and a seal with parameters 30x52x10/12. But it is better to first dismantle the old assembly and check the markings of the “rings”.
Getting to the tank
Having collected the tools, we prepare the workplace. Disable we move the washer away from the communications and away from the wall, providing free access to both the front and rear walls of the case. Then we sequentially disassemble the equipment, getting to the drum.
Take photographs of the process of disassembling the machine to avoid mistakes during reassembly.
Remove the top cover by unscrewing the two retaining bolts from the back and lightly tapping the panel.
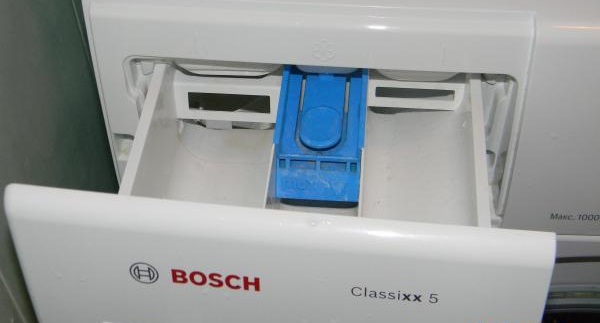
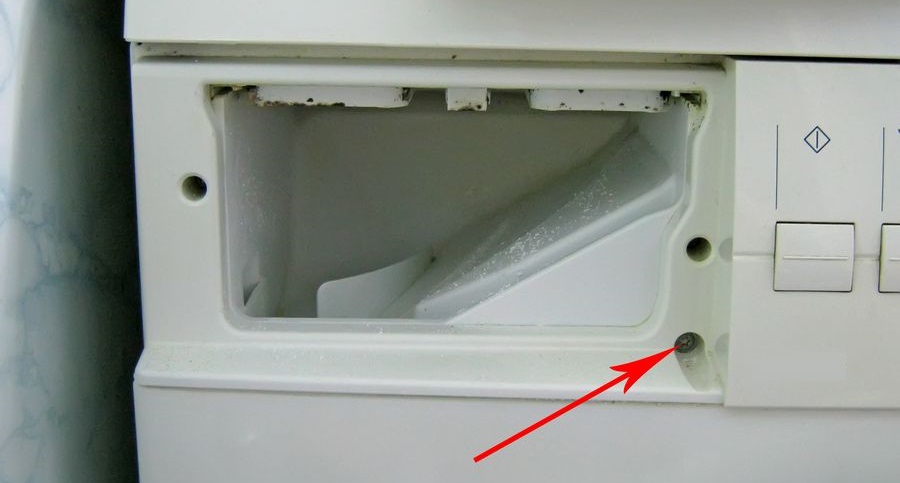
We take out the powder receptacle by holding the “tongue” with your finger.
We release the dashboard by unscrewing three bolts under the powder receptacle and one on the right side. We press out the plastic latches, using a screwdriver, and remove the board. There is no need to unhook the wiring - just carefully hang the module on the housing.
Disconnect the wire leading to the intake valve.
After loosening the central bolt, unhook and remove the upper counterweights.
Open the hatch door, loosen the outer clamp and remove the cuff.
We turn off the UBL by unhooking the corresponding wires.
We remove the technical hatch door to the side.
Unscrew the mounting screws holding the bottom bar and remove the panel.
We unscrew all the screws around the perimeter of the front panel, and then disconnect the end from the body.
Using pliers, unfasten the clamp from the pipe connecting the tray and the tank, and also free the other hoses and wires connected to the drum.
We remove the intake valve and pressure switch.
We dismantle a pair of metal upper strips.
Remove the front counterweight.
We release the wiring from the heating element and the pump.
We unhook the shock absorbers.
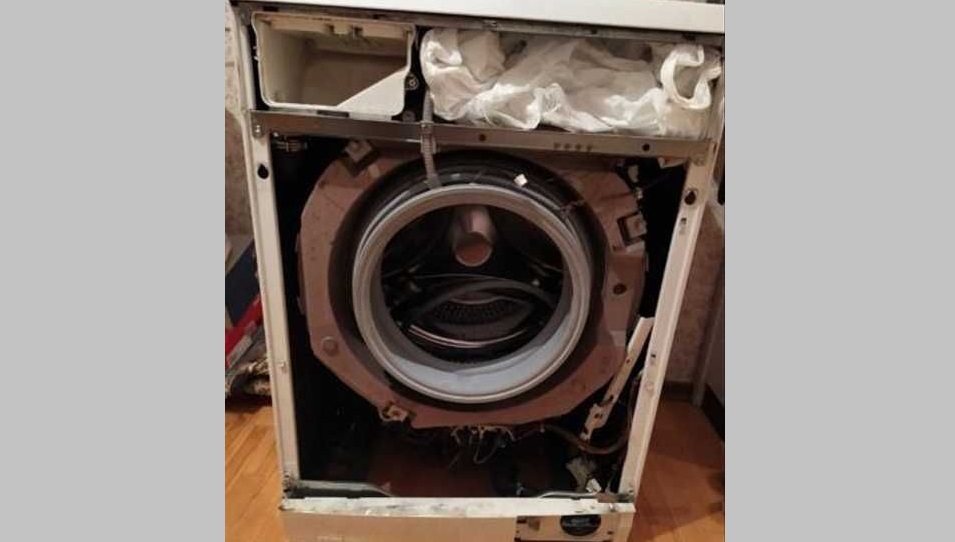
You can remove the tank now, but it’s better not to rush. The fact is that without dismantling the electric motor the drum will be very heavy. In order not to strain, you should remove the back wall of the case, remove the drive belt, turn the machine on its left side and loosen the motor with a ratchet. All that remains is to pull out the engine and move it to the side.
Then we lift the tank and take it out of the machine. The next step is to halve it. The reservoirs on the BoschMaxx 5 are equipped with disposable latches in the form of plastic latches. You can get through them in several ways: knock down the latches with a flat-head screwdriver and a hammer, or squeeze them out, unscrewing all the screws on the surface of the tank.
Removing Old Bearings
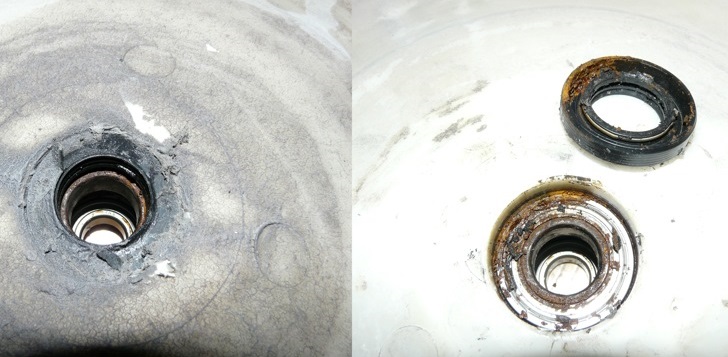
The repair does not end with dividing the tank into two halves. It is necessary to put aside the part with the hole and take the one where there is a cross and a shaft. This is where the bearings are located and need to be removed and replaced.
But first, we clean the tank from accumulated dirt. If water softeners were not added during washing, the tank will be covered with a thick layer of scale and debris. The shaft suffers especially, as it sticks to the plastic due to rust. To deal with corrosion and mineral deposits, you will have to generously treat the joints with WD-40 and leave for 10-20 minutes.
Before knocking out the bearings, it is recommended to treat the drum shaft with WD-40 and wait 10-20 minutes.
Now let's start dismantling:
we place half the tank with a cross on top and fix it on bricks or previously removed counterweights;
use a screwdriver to pull out the oil seal;
We take a drift (you can also use a car puller), fix it with a wide tip on the bearing and, moving the tool in a circle, punch it with a hammer;
We tap the inner race in the same way.
Knocking out old bearings is the hardest and most dangerous part of the job. The risk is that you may misjudge the impact and damage the tank or shaft. But if you act carefully and handle the drift correctly, there will be no problems.
We install new parts
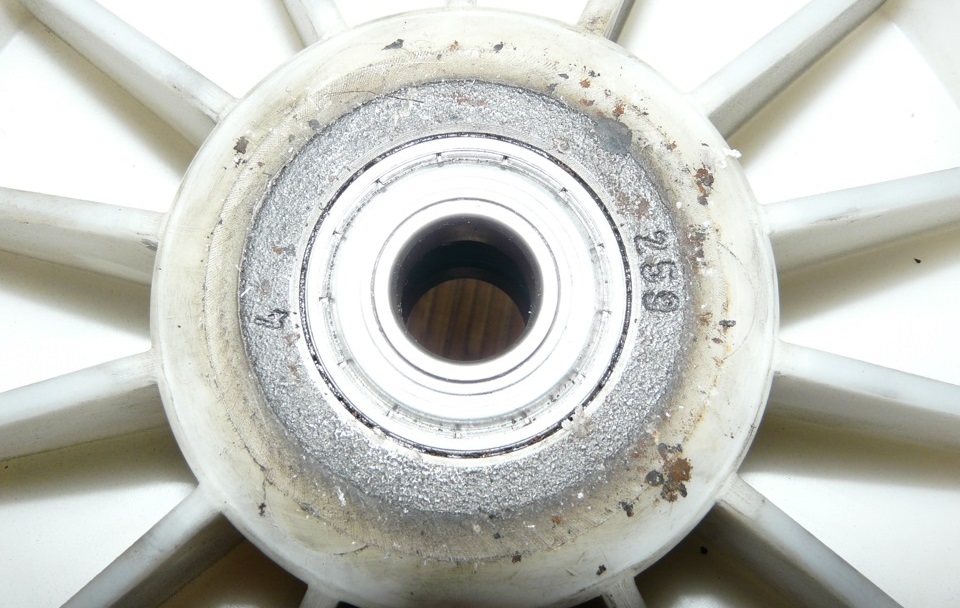
All that remains is to install new bearings. We clean the seat from dirt and scale, place the outer race in the bushing and tap it evenly. In order not to damage the new “ring,” it is recommended to first place the old part between it and the hammer, and then use a drift. As soon as a characteristic metallic click is heard, it will become clear that the spare part has rested and “stood up”.
We insert the second bearing in the same way, then cover it with an oil seal and generously treat it with special lubricant. Then we connect the two halves of the tank and begin assembling the washing machine. The machine is assembled according to the instructions described above in reverse order.
 Washing machines from Bosch are famous for the reliability and wear resistance of the bearing unit and serve faithfully for many years. But due to regular overload of the drum, careless use or long-term operation, even strong equipment fails and the bearings are destroyed: the machine creaks, knocks and rumbles. You cannot run the washing machine with a damaged mechanism; you need to change the components faster. We suggest you figure out how to replace bearings in a Bosch washing machine. Let's show step-by-step instructions using the Maxx 5 model as an example.
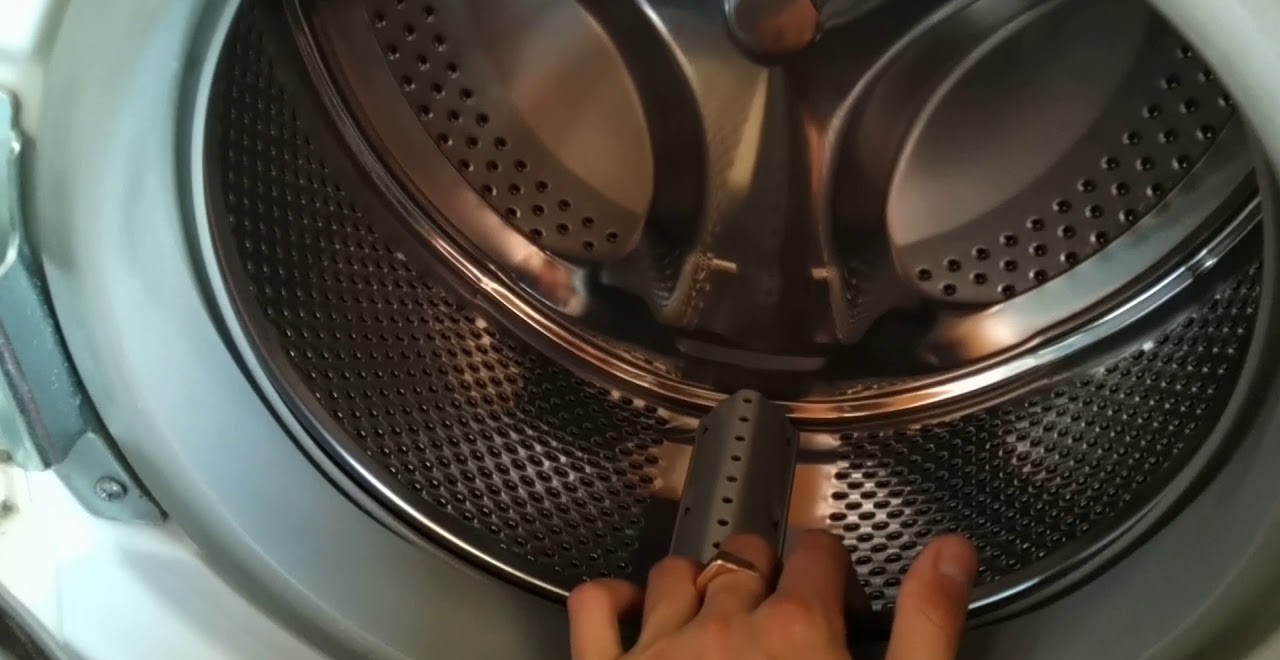


Add a comment