How to replace the tank in an Ariston washing machine with your own hands?
In case of some breakdowns, replacing the tank in the Ariston washing machine cannot be avoided. The work is labor-intensive and includes dismantling the old container and installing a new one, which will require almost complete disassembly of the machine. To cope with replacing the tank, you need to prepare tools, a workplace and the washing machine itself. Step-by-step instructions will help you avoid mistakes.
What will you need?
If the problem is diagnosed and a new container has been purchased, you can get to work. The first step is to prepare for the upcoming replacement - collect the required tools. Let us remind you that to dismantle the drum you will have to completely disassemble the washing machine, which cannot be done without:
pliers;
screwdrivers (flat and Phillips);
an adjustable wrench or a set of wrenches.
This is the minimum set. It is possible that when disassembling the machine, other defects will be discovered, to eliminate which additional devices will be needed. It’s better to play it safe and bring all available tools to the workplace.
Before any repair operations, the washing machine must be de-energized and disconnected from the water supply!
Special attention should be paid to the workplace. To make it more convenient and easier to change the tank yourself, you need to move the washing machine to a spacious room, garage, workshop or corridor. It is recommended to cover the space around the equipment with rags, oilcloth or old newspapers.
Removing the main unit of the machine
Getting the tank out of the Ariston washing machine is not easy. It will be necessary to disassemble the body of the machine almost to the “end”. We proceed like this:
disconnect the machine from communications, electricity, sewerage and water supply;
unscrew the bolts holding the top cover and remove the panel;
we clamp the central valve on the dispenser and take out the powder receptacle;
Unscrew the screws securing the dashboard;
disconnect the instrument panel from the body and, without disconnecting the wires, place it on top of the washing machine;
It is recommended to record all actions on a camera to facilitate reassembly.
use a flat screwdriver to bend the plastic latches on the technical hatch and remove it;
unscrew the garbage filter and tilt the machine forward to drain the remaining water in the hoses;
use a screwdriver to hook the outer clamp on the cuff, loosen the ring and remove;
tuck the cuff inside the drum;
unhook the wiring from the UBL by unscrewing the screws and releasing the hatch locking device sensor;
Unscrew the bolts located around the perimeter of the front panel of the washing machine;
pull the end freed from the bolts toward you, remove it and set it aside;
remove all fasteners and elements from the surface of the tank (pressure switch, drain hose, inlet valve filler pipe);
disconnect the wiring coming from the heating element;
we take out the heater, electric motor, thermostat and drain pump;
remove counterweights, shock absorbers and spring elements from the body;
make sure that the tank is free of tubes and wires.
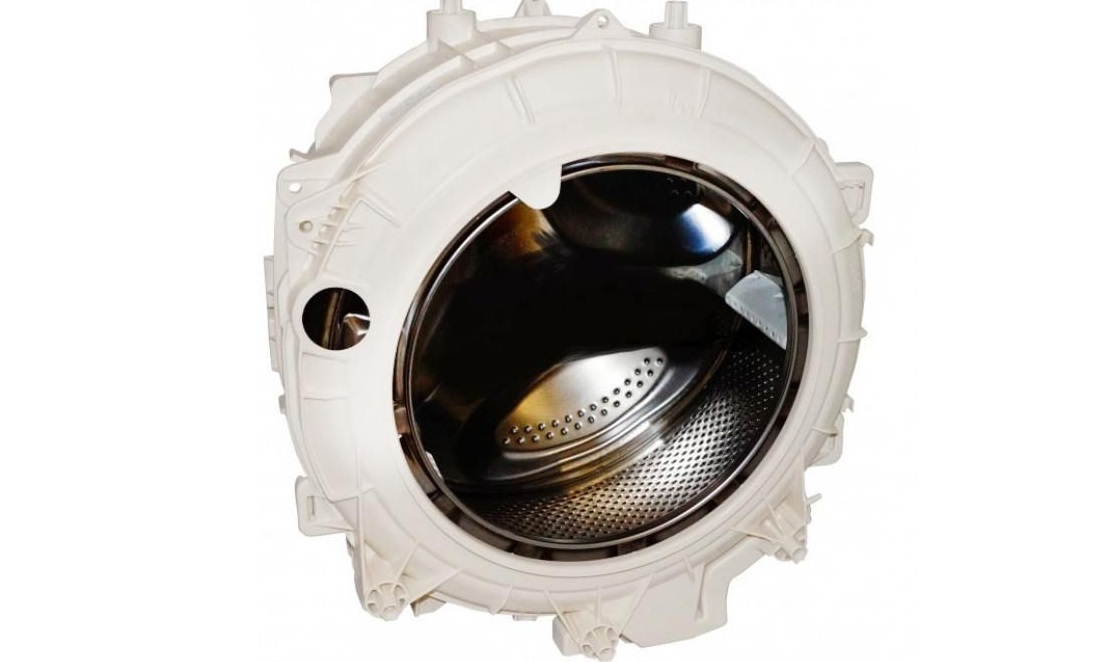
Ariston washing machines have plastic, non-separable tanks and metal drums.
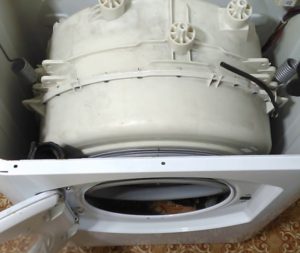
Now you can remove the tank. The reservoir is difficult to reach, so working in pairs is highly recommended. One grabs the drum, lifting the container, and the second unhooks the upper springs. There is no need to worry about the heaviness of the tank - only lightweight plastic tanks are installed on Ariston.
Installing a new part
Having dismantled the old tank, you can begin installing the new one. First you need to find a replacement part. Ideally, order original spare parts from the manufacturer. It is worth understanding that there is no point in cutting half the tank and getting the “whole” drum - Ariston supplies the parts as a single unit. It is not safe to buy plastic “half” from local dealers, as there are often fakes that lead to leaks and accidents.
After purchase, it is recommended to check the tank for leaks. It is enough to close all the provided outlets for the pipes with plugs and fill the drum with water. Such an express test will allow you to immediately identify a defective unit and save time on its installation.
If the new tank does not leak, you can begin assembly. We proceed according to the previously described scheme, only in reverse order. We start with springs and shock absorbers, then add counterweights and return all previously removed wires and pipes to their places. Next, the main components are installed, the front panel is screwed on, the UBL is connected, the powder receiver and pressure switch are inserted.
After installation, we run a test wash and evaluate the result. If there are no suspicious knocks or drops of water, then the replacement was completed successfully.
 In case of some breakdowns, replacing the tank in the Ariston washing machine cannot be avoided. The work is labor-intensive and includes dismantling the old container and installing a new one, which will require almost complete disassembly of the machine. To cope with replacing the tank, you need to prepare tools, a workplace and the washing machine itself. Step-by-step instructions will help you avoid mistakes.


Add a comment