Is it possible to replace the cuff on a Haier washing machine without the help of a technician? Definitely yes. To dismantle the old and install a new seal, you will need a minimum of tools, and the work itself will take about half an hour.
We'll tell you how to change the sunroof cuff on Haier front cameras. We will describe in detail all stages of the upcoming work. We will draw attention to difficulties that may arise during the process and show you how to avoid them.
Have you prepared everything for the upcoming work?
When you decide to replace the washer cuff yourself, prepare for the work ahead. First, figure out where the seal is located, how it is secured, and how to remove it correctly. The elastic band is secured with two crimp clamps - they will have to be removed from the machine.
You should also take care in advance about selecting new components. To ensure a guaranteed fit of the rubber seal, choose spare parts for a specific SMA model Haier. It is better to buy an original high-quality cuff rather than a cheaper analogue. Then the gasket will last longer.
If you are afraid of making a mistake, you can first remove the old rubber band and go to the store with it. There is also a marking on the cuff - when ordering online, you can refer to the factory mark. Then you will definitely be able to choose a seal of the appropriate size.
The next stage is preparing the tools for work. The list is small. To replace the Haier SMA cuff you will need:
screwdrivers (phillips and slotted);
screwdriver (if you don’t want to unscrew the screws with screwdrivers);
flashlight.
To replace the drum cuff of a Hyer automatic machine, a Phillips and slotted screwdriver and a screwdriver will be sufficient.
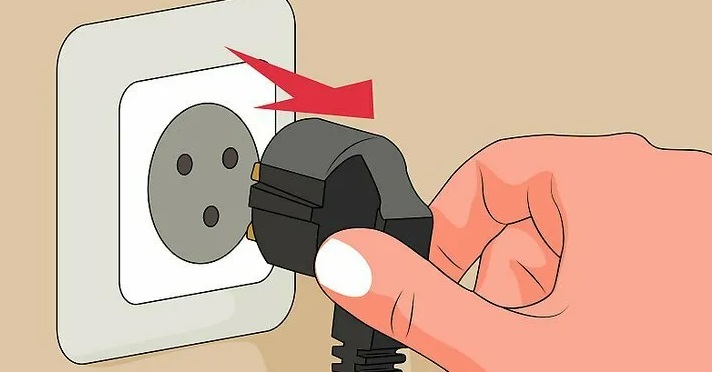
Then you need to start preparing the washing machine. Be sure to turn off the power to the machine by unplugging the power cord from the outlet. Then turn off the shut-off valve responsible for supplying water to the device. Next, disconnect the inlet and drain hoses from the SMA body.
Compliance with safety precautions is an important nuance. You cannot disassemble a machine that is plugged into the network. Therefore, you first need to turn off the power to the washing machine, and only then move it away from the wall/furniture and remove the top cover of the case.
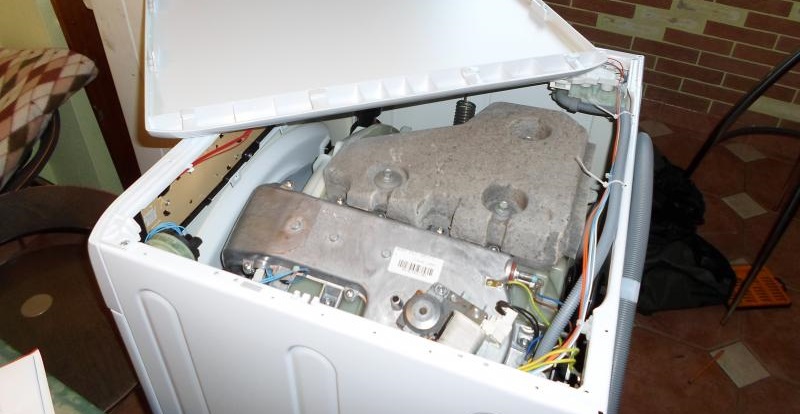
It will not be possible to do without disassembling the SMA Hayer case. In any case, it will be necessary to remove the top cover and the instrument panel with buttons. In what order is the work performed?
Partial disassembly of the machine and removal of the external clamp
Removing the old cuff is a fairly easy task. Removing the rubber is much easier than securing a new seal in place. All that is required is to remove the “top” of the SMA body and the instrument panel. The sequence of actions will be as follows:
make sure that the machine is de-energized and disconnected from water and communications;
Unscrew the two screws holding the top cover of the SMA housing;
remove the panel and put it aside;
remove the bolts securing the metal strip, which was hidden under the top panel, remove the part;
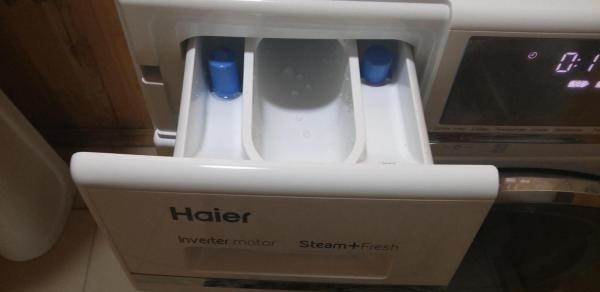
remove the powder receptacle from the washing machine;
remove the two screws holding the water tray;
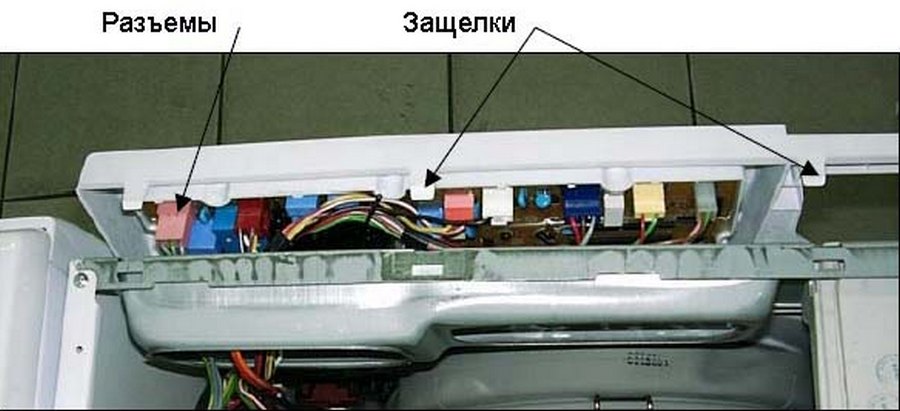
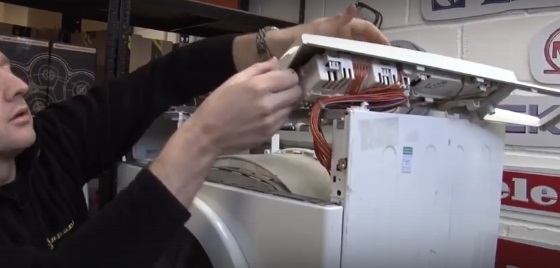
Unscrew the bolts securing the control panel (they are located on the sides of the tidy);
take a photo of the wire connection diagram to the control module;
reset the wire contacts, move the dashboard to the side;
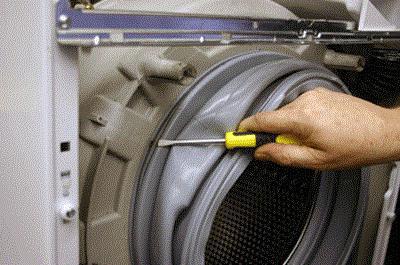
Unscrew the screw located on the front panel of the machine, just below the cuff (it secures the external crimp clamp);
pull out the outer clamp securing the rubber seal;
tuck the protruding edges of the cuff inside the drum;
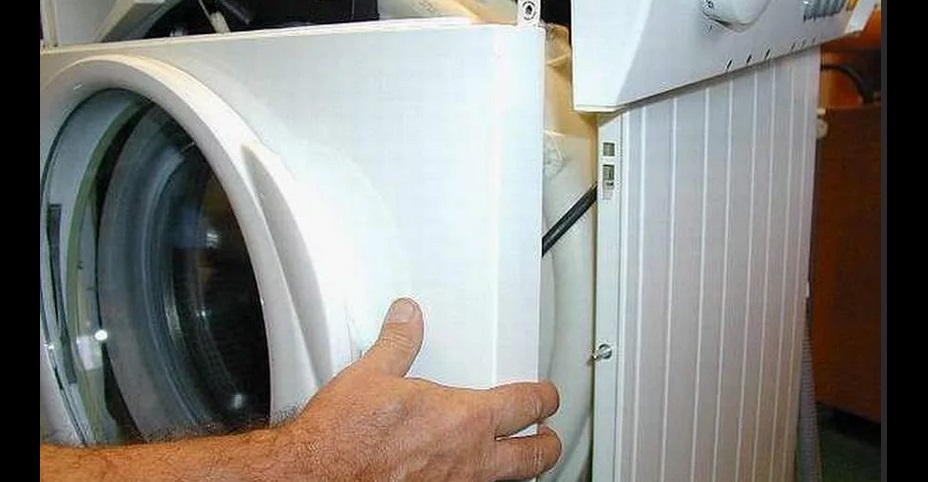
Unscrew the front plate of the SMA housing.
The next step is to remove the cuff from the tank. Here you will have to try; dismantling the internal clamp is more difficult than the external one. We'll tell you how to proceed next.
Remove the old rubber band and install a new one
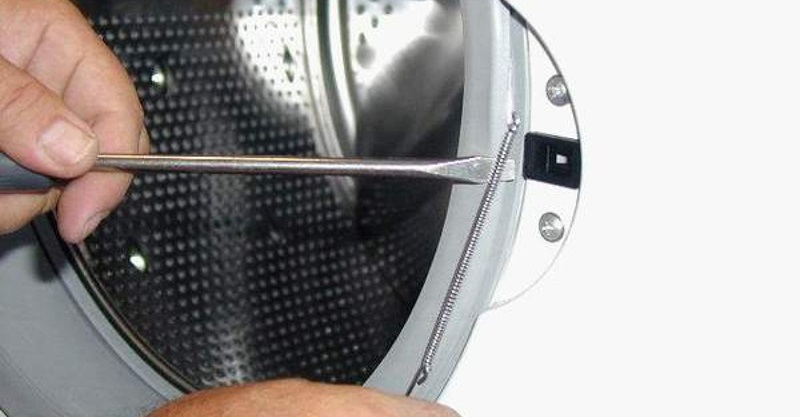
To pull the cuff off the tank, you need to work with the inner crimp rim. The metal clamp is loosened using a slotted screwdriver. Having dealt with the latch, you can pull the cuff out of the body along with the ring.
This will complete the dismantling of the old gasket. Before installing a new cuff, be sure to clean the seat from dirt and debris. Wipe the surface with a clean damp cloth.
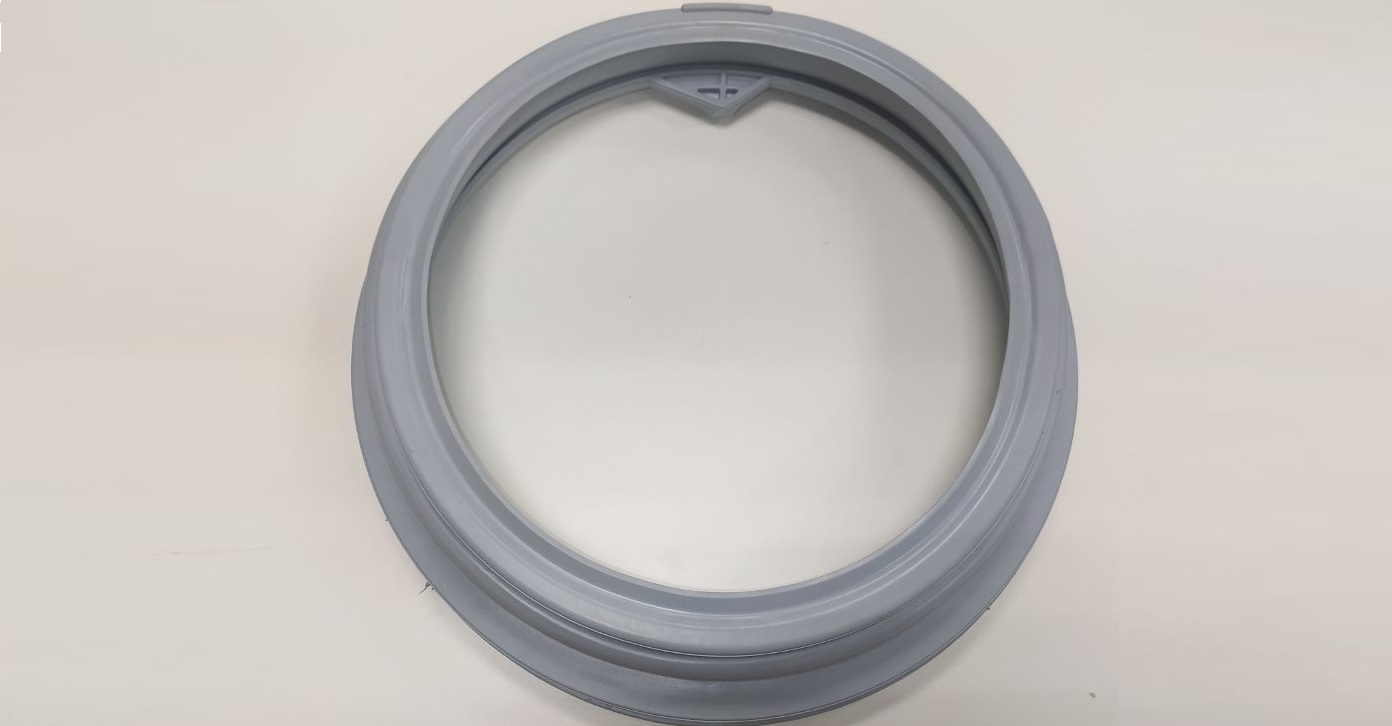
It is important to install the new cuff correctly - the drain hole should be located at the bottom.
Craftsmen recommend additionally treating the seat with sealant. Any silicone, moisture-resistant composition will do. This will help avoid leaks.
Installing a new cuff is easy. Insert it into the drum so that the drain hole “looks” down, then pull the edges of the seal onto the tank and body as they were previously located. The next stage is returning the inner and outer clamp to its place.
First, the internal crimp clamp is installed. It is necessary to stretch its fastening to the maximum so that the diameter of the rim is as large as possible. This will make it easier to put the ring back in place.
The tightening side of the clamp should be on the right - otherwise it will be inconvenient to work with the fastening with a tool.The ring is inserted inside through the loading hole of the MCA. When the rim is in place, tighten it with a screwdriver through the top of the washer (the main thing here is not to overdo it, otherwise you can tear the cuff).
The external crimp clamp is installed in the same way. It needs to be secured with the self-tapping screw that was unscrewed earlier. Reassembling the washing machine is carried out in the following order:
Replace the upper anterior bar of the MCA;
connect the wires to the control panel according to the previous diagram;
install the tidy, secure it with self-tapping screws;
screw in the bolts securing the detergent bin;
return the powder receptacle to its place;
place the top cover of the washing machine body, secure the panel with two self-tapping screws;
connect the machine to the communications.
After finishing the work, you need to run a test cycle, without laundry in the drum. You can select the shortest mode that involves drawing water, for example, rinsing. Observe the machine - if water does not leak from under the door, then the cuff has been installed correctly. If there is a leak, you will have to disassemble the washing machine again and look for the “leaky” area.
It is easier to prevent any breakdown than to fix it later. If you follow the operating rules, you will not have to change the cuff of the SMA Hayer drum. Therefore, carefully load and unload laundry, do not leave sharp objects in the pockets of things that could damage the gasket, and wipe the seal dry after each wash (this will prevent mold from appearing). Such measures will help avoid premature wear of the rubber band.
 Is it possible to replace the cuff on a Haier washing machine without the help of a technician? Definitely yes. To dismantle the old and install a new seal, you will need a minimum of tools, and the work itself will take about half an hour.
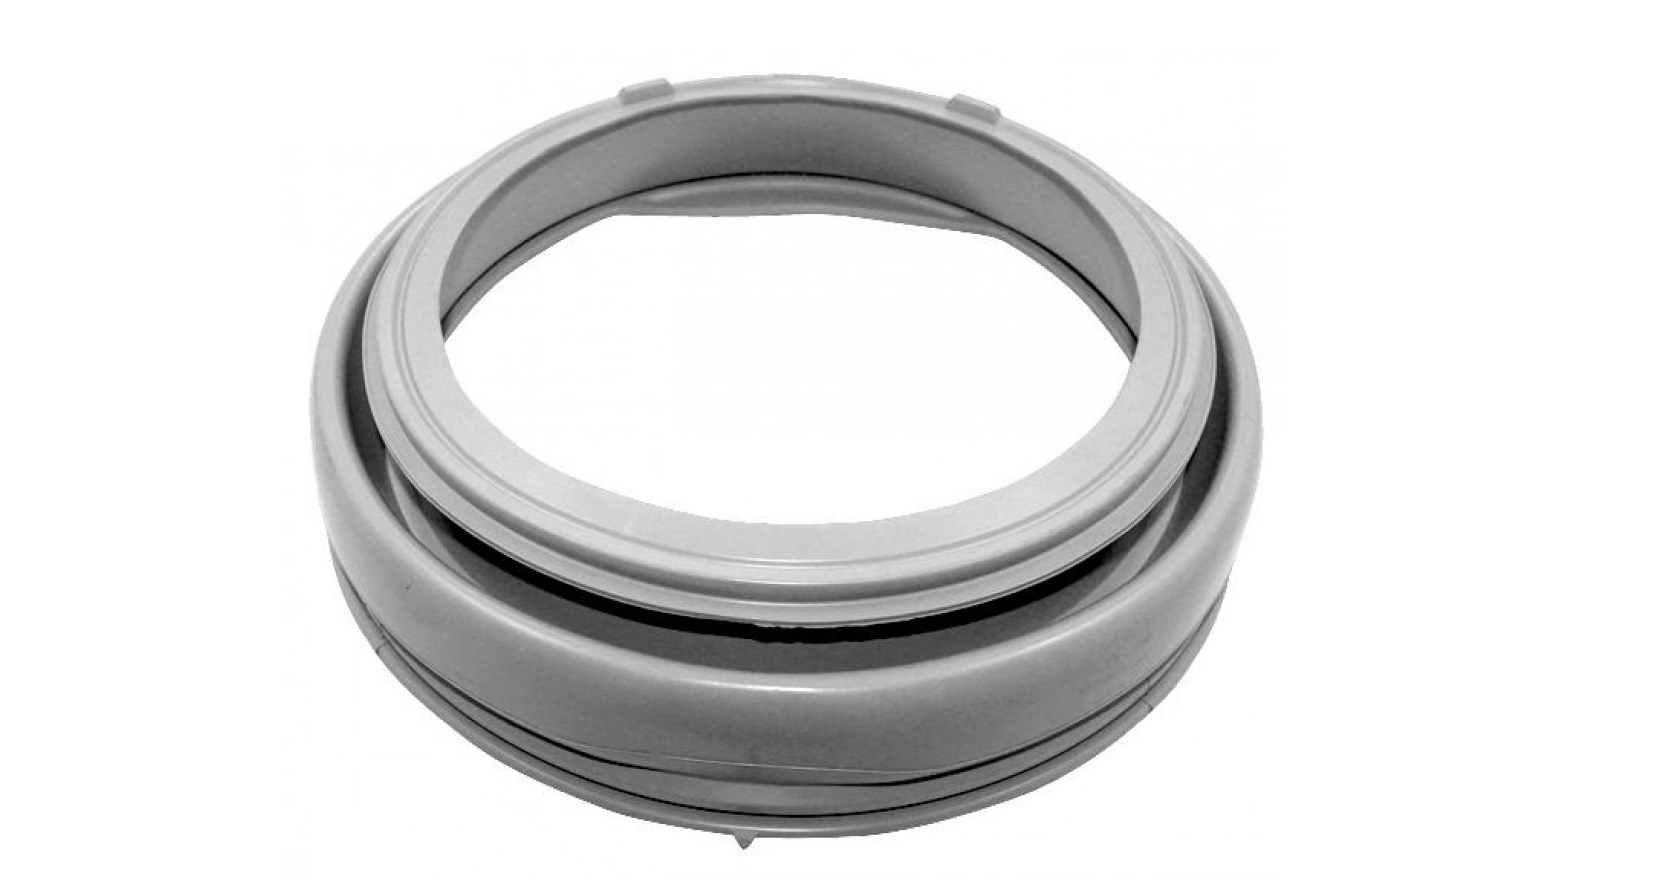


Add a comment